
Sometimes you can be bored out of your life using the same terminal again and again and it makes you no different than all other people. If you are someone who likes to do things a little different then you are going to enjoy this.
Some Instructions Before We Jump in:
I am going to use these commands on multiple places while working so won’t be able to show all the time, memorize them and see what they do so it’s easy for you to cover them later when needed:
- We are going to use ~/.bashrc file multiple times to make changes to the terminal.
- To open .bashrc file, use nano editor: $ sudo nano ~/.bashrc
- After making changes, use CTRL+O to save changes and CTRL+X to exit the editor.
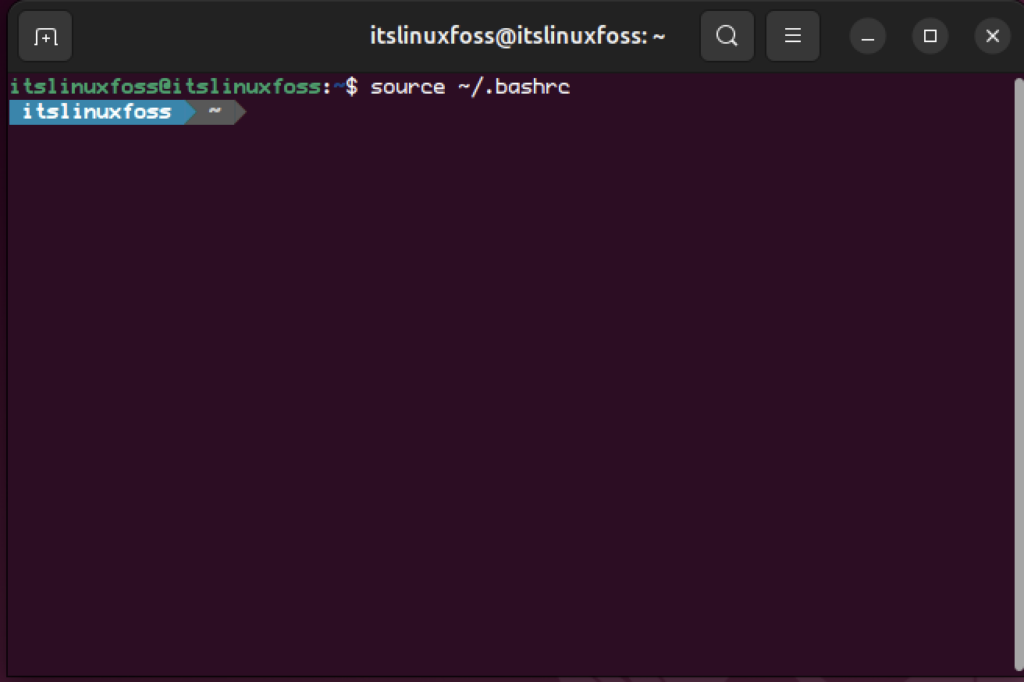
- Finally, use this command to reload .bashrc file: $ source ~/.bashrc
First off fonts are a powerful way to enhance or change the terminal’s look, and for that matter you need to install powerline fonts.
How to Install Powerline Fonts on Ubuntu
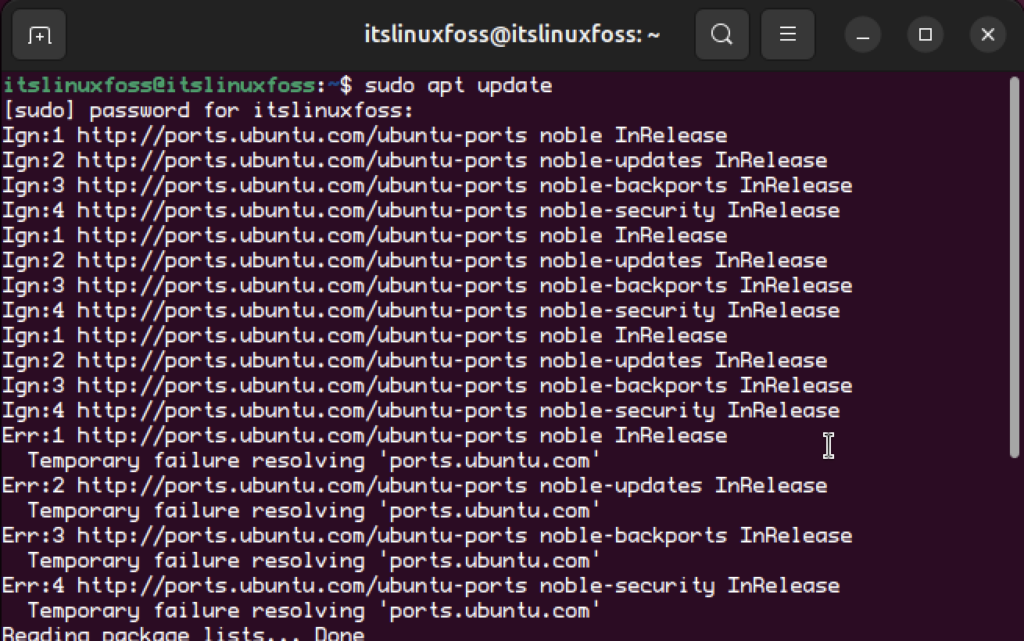
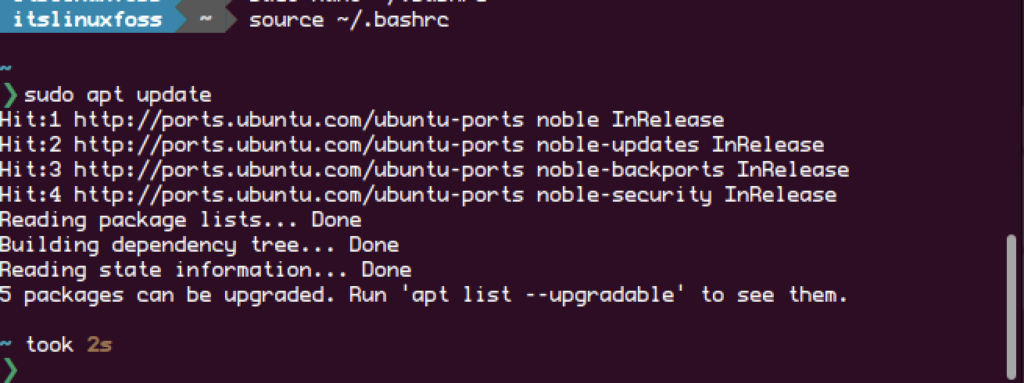
Step 1: Go to your terminal and run this command to update:
$ sudo apt update
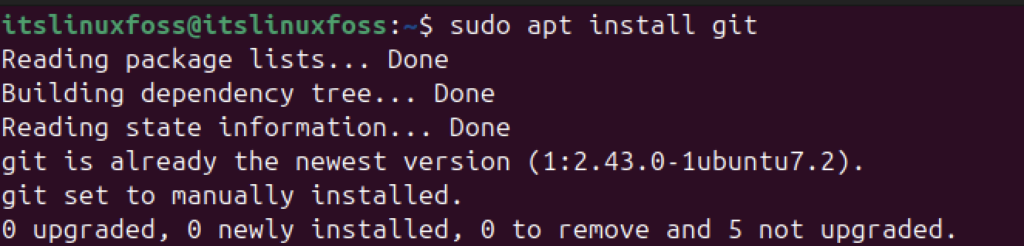
Step 2: Now, install git if it is not already installed:
$ sudo apt install git
Step 3: You need to clone the powerline font repository afterwards:
$ git clone https://github.com/powerline/fonts.git --depth=1

Step 4: Go to the fonts directory:
$ cd fonts
Step 5: Install powerline fonts by running this command:
$ ./install.sh

Step 6: To remove installation files to prevent any confusion, do this:
$ cd ..
$ rm -rf fonts
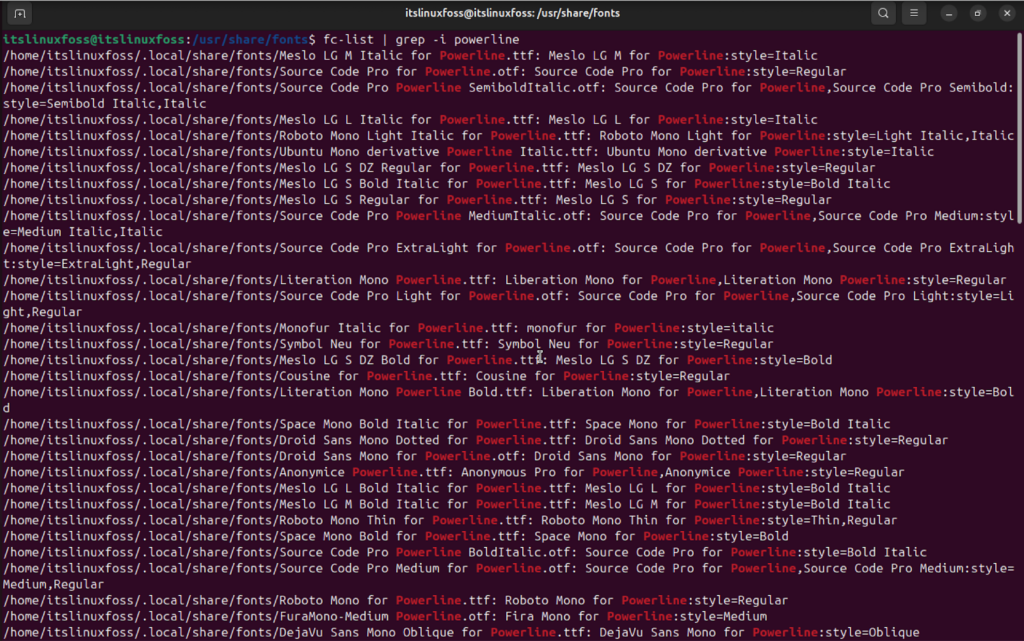
Step 7: Finally, verify if the powerline fonts have been installed successfully.
$ cd /usr/share/fonts
$ fc-list | grep -i powerline
How to Configure Terminal to Use Powerline Fonts
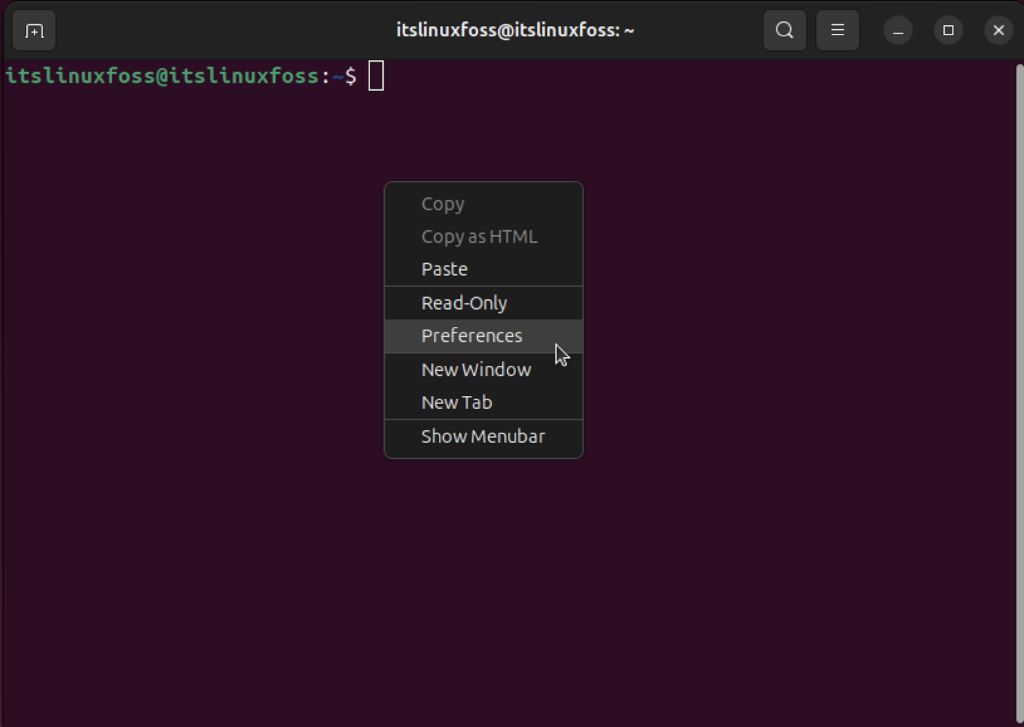
Step 1: Go and right click anywhere on your terminal and select ‘preferences’ option.
Step 2: Mark the ‘Custom font’ checkbox and open the font window.
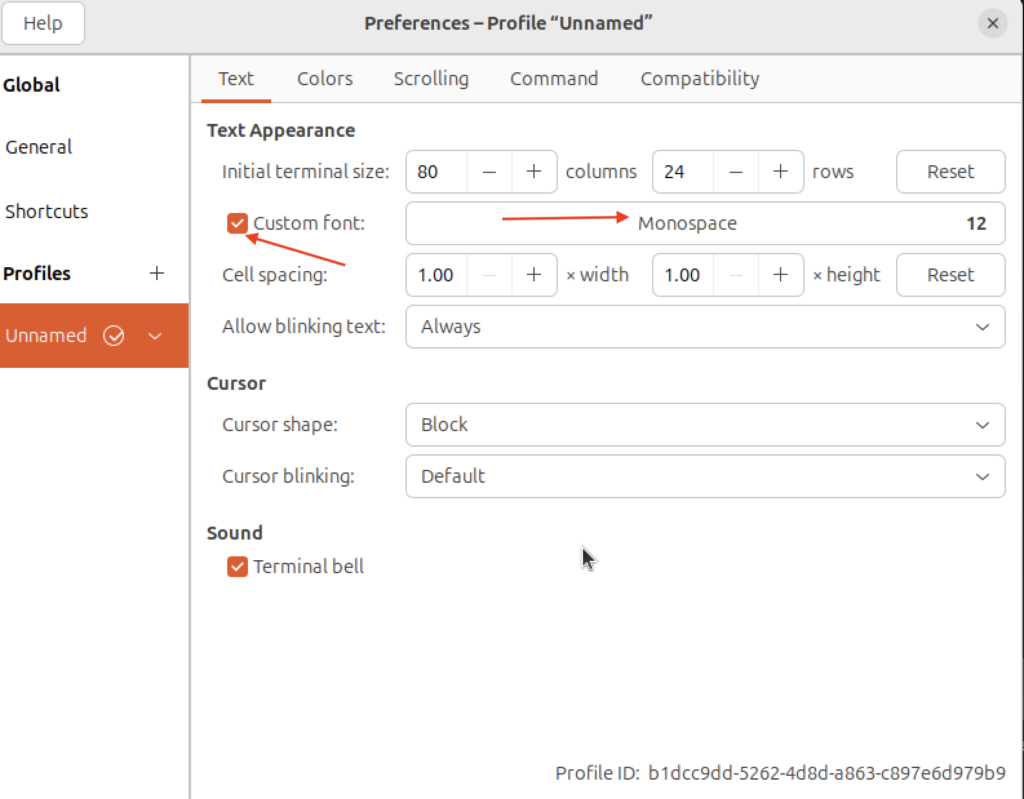
Step 3: Search for ‘powerline’ in it and pick a font you like, I selected ‘ProFont for Powerline’.
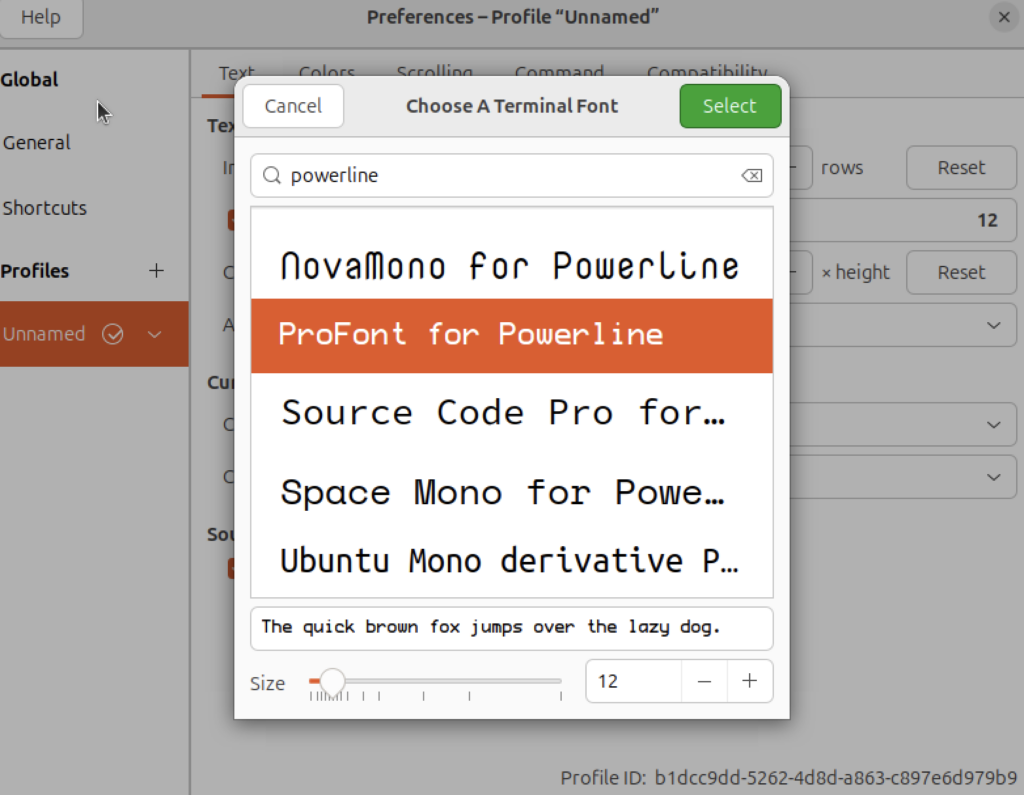
Step 4: Once selected, it’d be applied automatically, you can test it. Take a look below how my terminal font has changed. There are many other beautiful powerline fonts that you can use too.
You can say that alright we changed the font but still it doesn’t look that beautiful? I agree. That’s where we use ~/.bashrc file to make further changes to the terminal look in terms of colors and text.
How to Enable Powerline to Add Color to Your Terminal Hostname
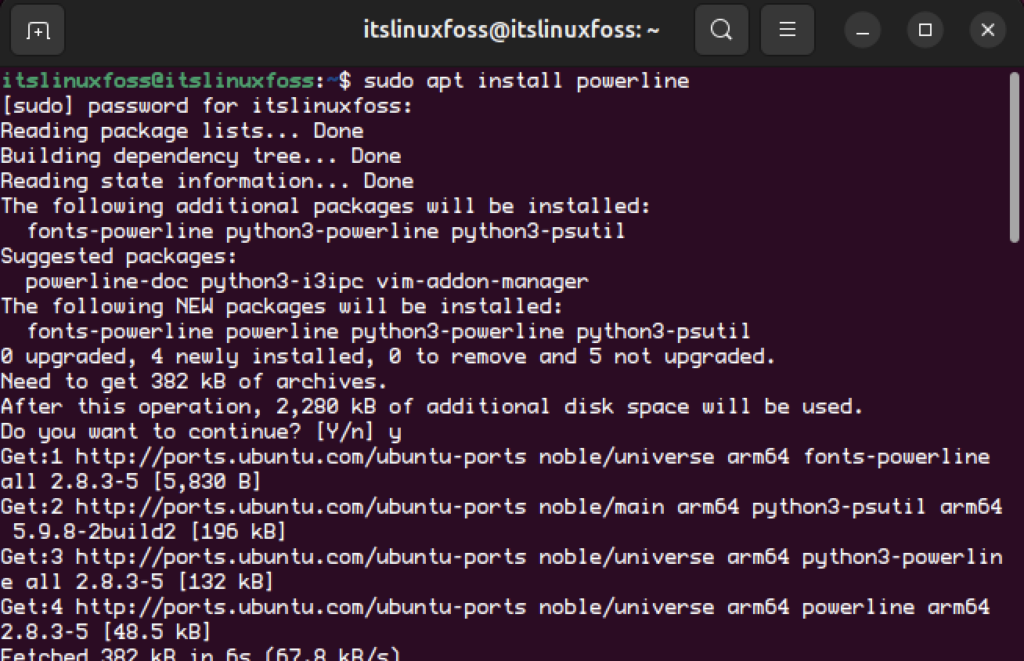
Step 1: First off, you have to install the powerline package.
$ sudo apt install powerline
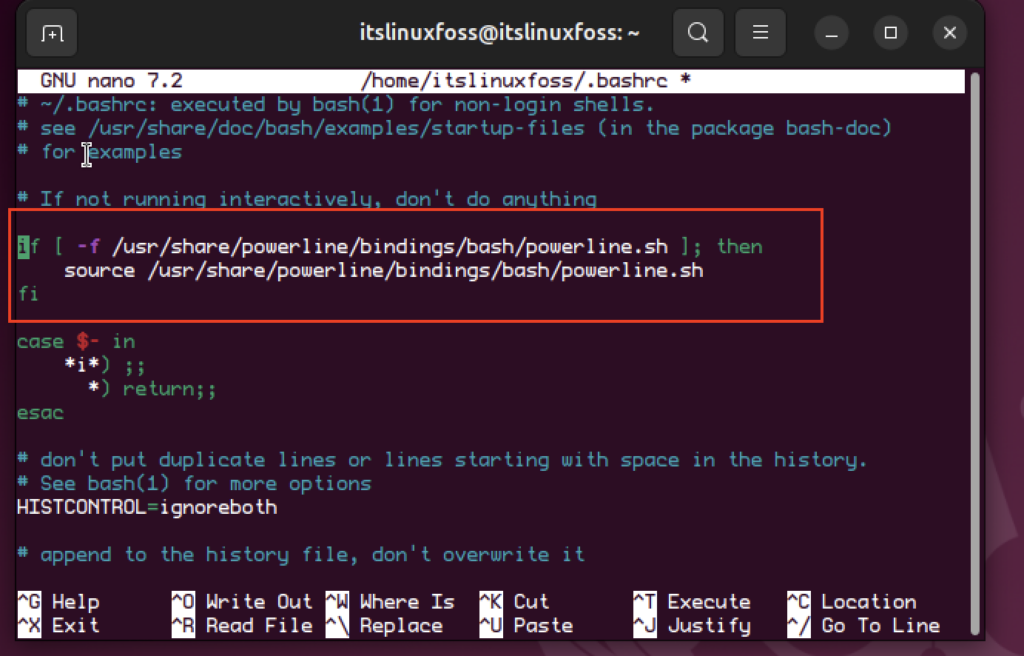
Step 2: Now open your ~/.bashrc file using nano editor and you have to enable powerline by adding following lines to your ~/.bashrc file:
if [ -f /usr/share/powerline/bindings/bash/powerline.sh ]; then
    source /usr/share/powerline/bindings/bash/powerline.sh
fi
Step 3: Use the following command to make sure changes are applied, it basically reloads the ~/.bashrc file.
$ source ~/.bashrc
You can see that the colors of hostname and user information have changed in the terminal.
You can do plenty of other things to customize your terminal even more.
How to Install Starship Prompt for a Modern Terminal Look
Step 1: You need to download and install the starship prompt first:
$ curl -sS https://starship.rs/install.sh | sh
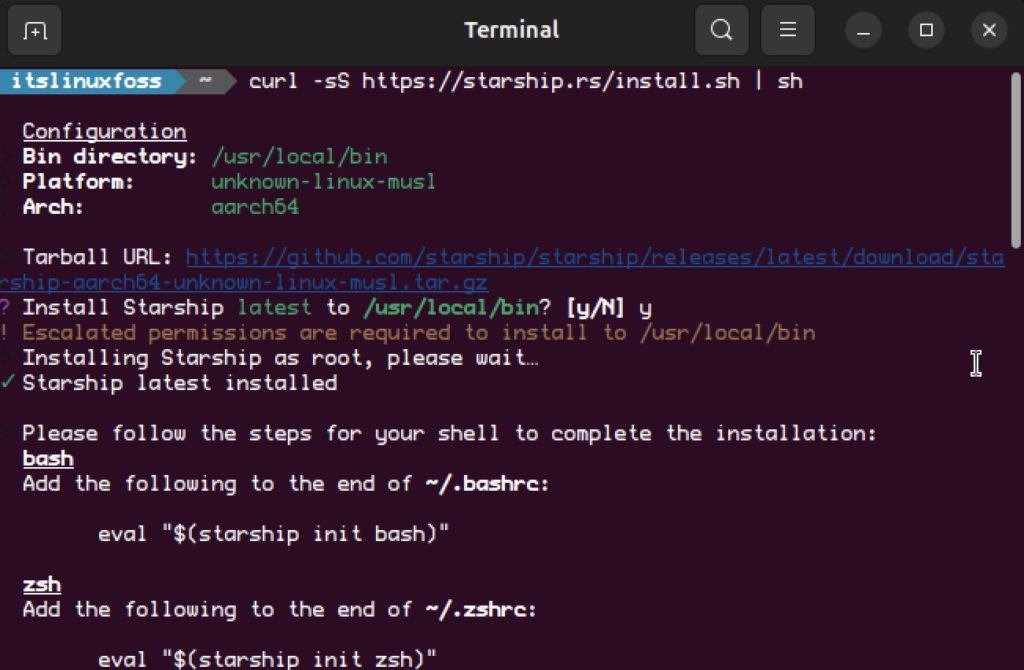
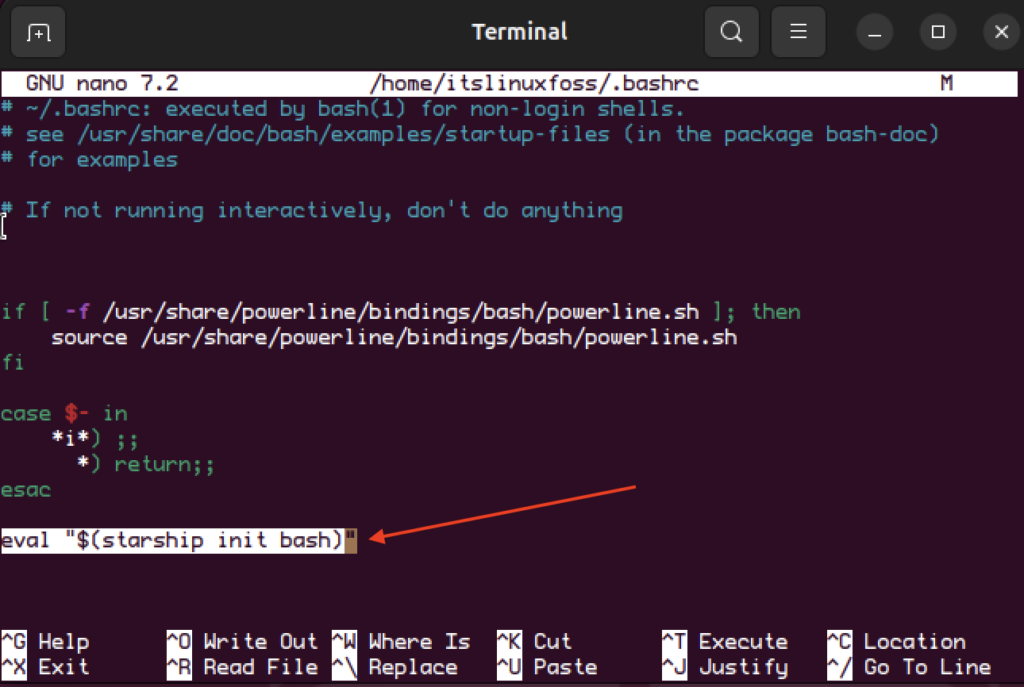
Step 2: Add the following to your .bashrc file:
eval "$(starship init bash)"
Step 3: Just apply the changes by reloading the .bashrc file:
$ source ~/.bashrc
Look at the terminal now, you are using the starship prompt.
How to Display Random Fun Quotes in the Terminal
You can display a new random and fun message or quote each time you open your terminal.
Step 1: We are going to install fortune and cowsay first:
$ sudo apt install fortune cowsay
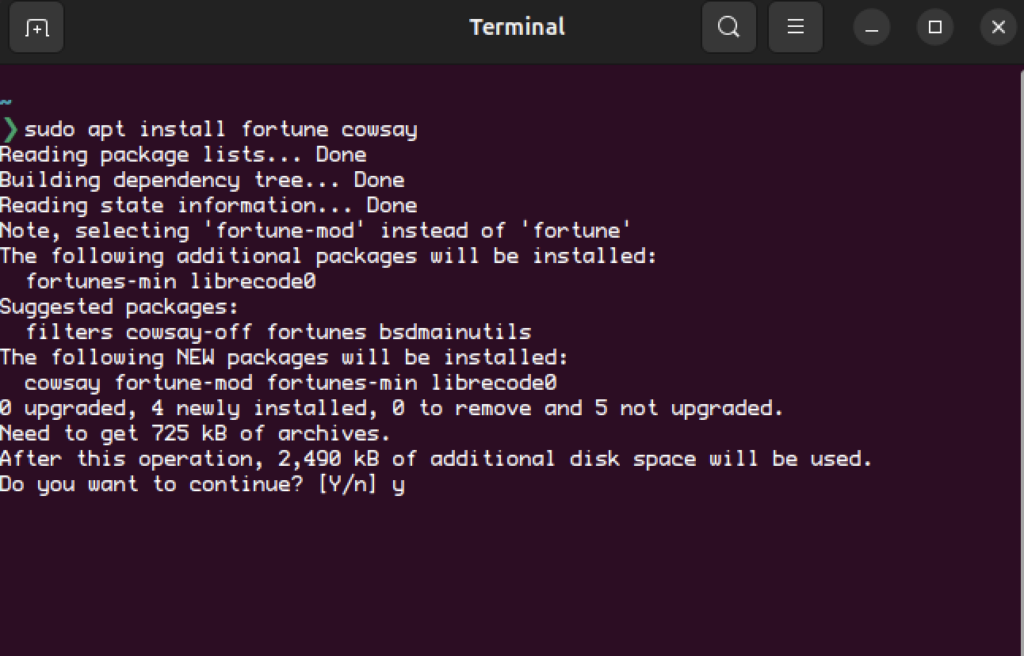
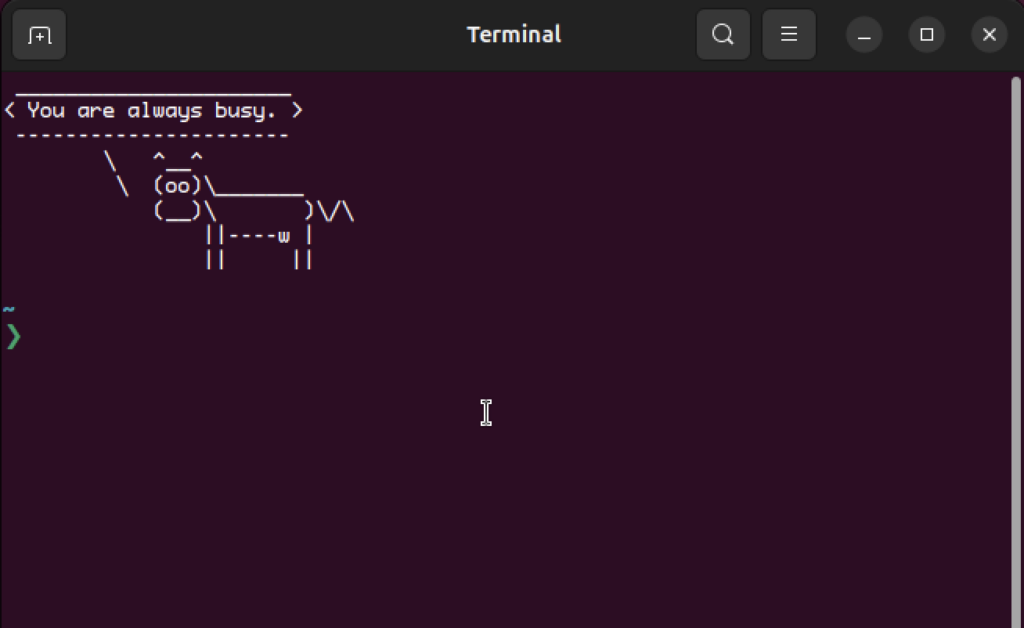
Basically, fortune is a command that shows the fun message while cowsay takes the text and makes it a cow with those characters.
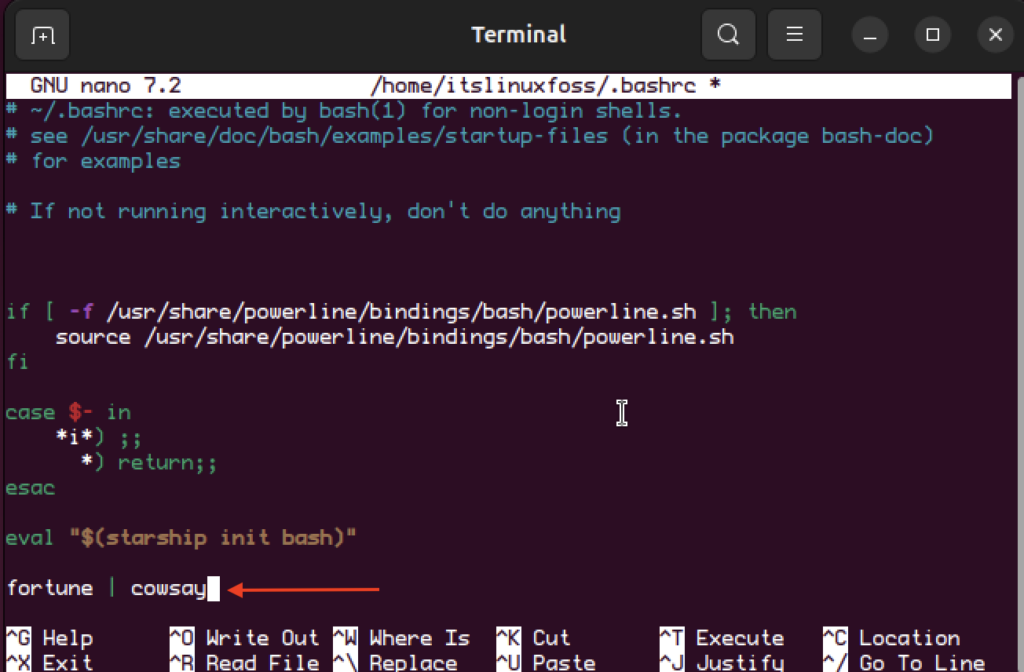
Step 2: Add the following lines to ~/.bashrc:
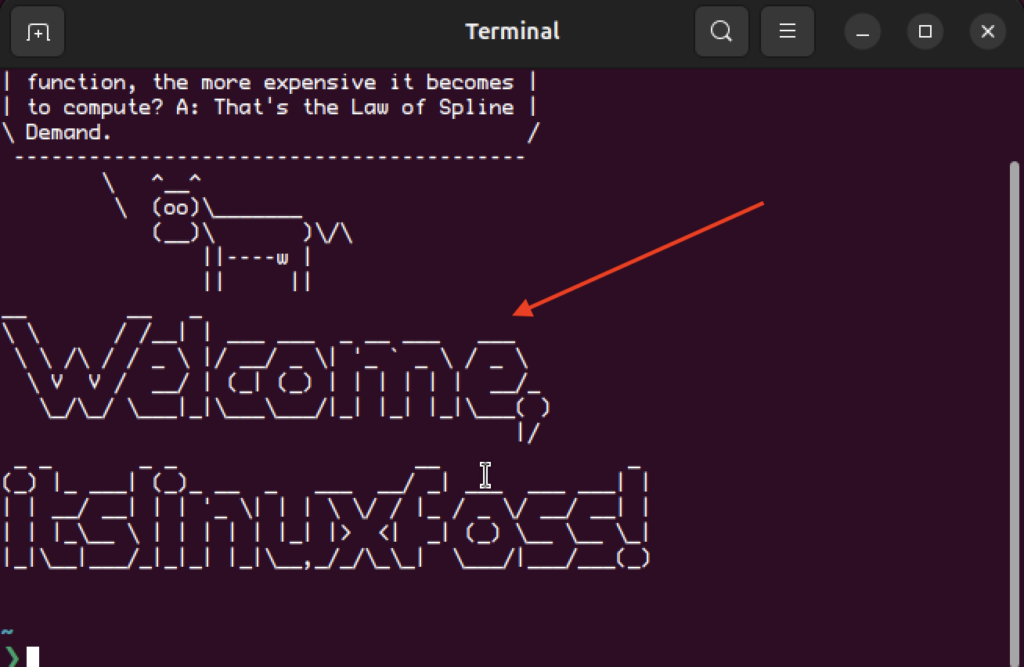
fortune | cowsay
Step 3: Reload the ~/.bashrc file or close and reopen the terminal:
How to Add a Custom Welcome Message in the Terminal
If you like this sort of thing that your terminal welcomes you whenever you open it, this can be a good add for you. There are two command-line utilities you can use for that matter. One is ‘figlet’ and the other is ‘toilet’.
I’ll show you how to do it using ‘figlet’.
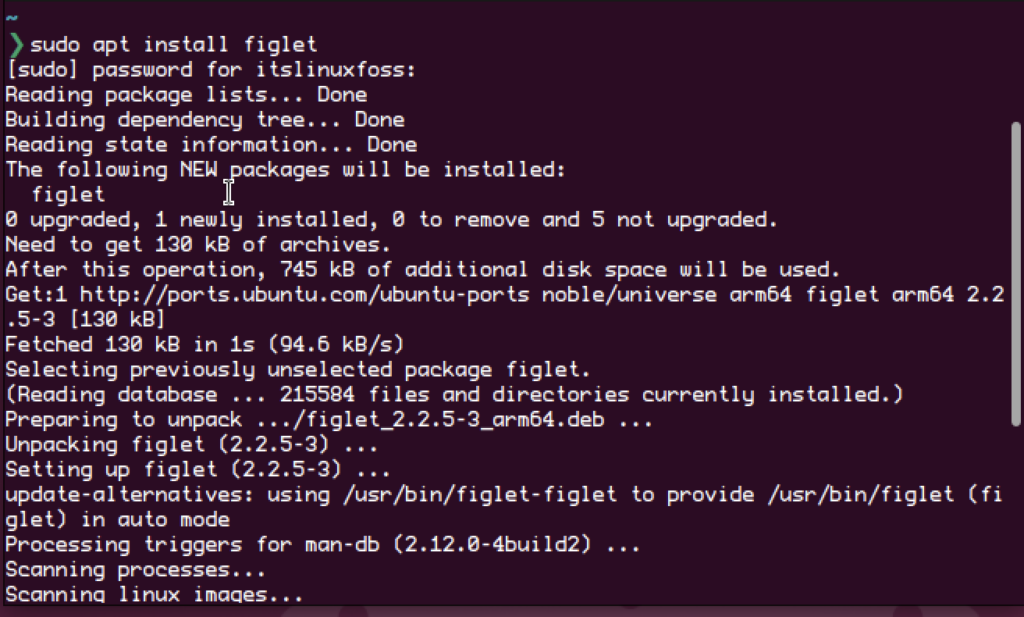
Step 1: Install figlet using the following command:
$ sudo apt install figlet
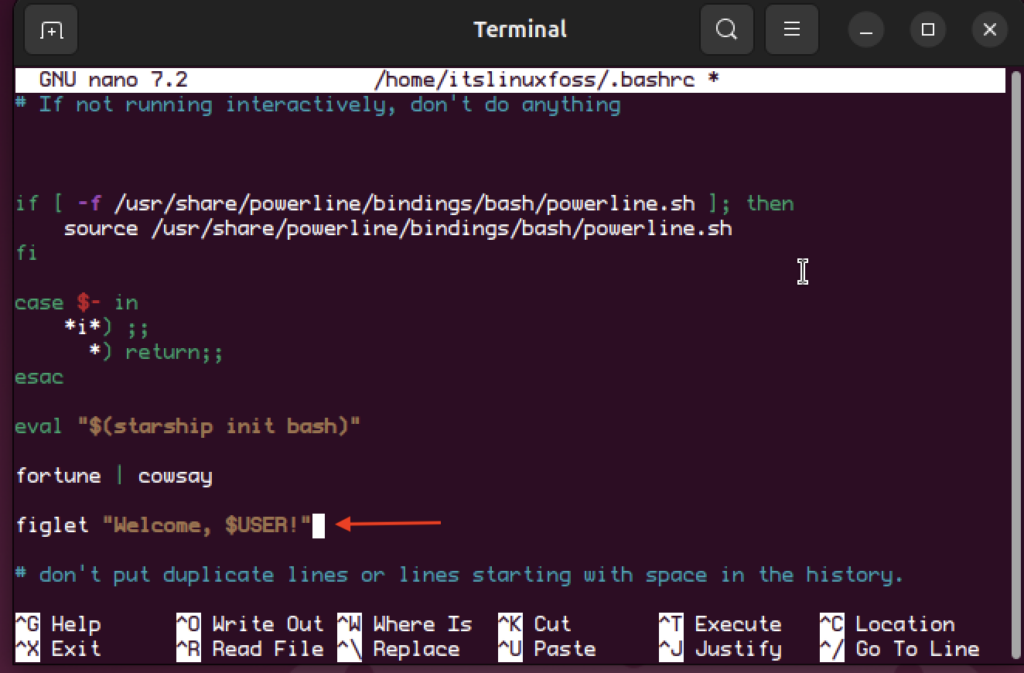
Step 2: Open the ~/.bashrc file using nano and add the following line in it:
figlet "Welcome, $USER!"
Step 3: Reload the ~/.bashrc file or close and reopen the terminal:
Conclusion
We have learned how to install and use powerline fonts along with making changes to the .bashrc file which is crucial to make changes to the terminal. There are countless changes you can make to alter the look of the terminal completely, we have covered a few to give you a heads up. You can go ahead and use your own creativity to make the terminal look the way you want.

Check our LinkedIn company page