
VMware is a hypervisor through which one can run multiple primary operating systems on a single desktop. VMware is supported by various operating systems that include Microsoft Windows and widely used Linux distributions i.e., Ubuntu. VMware claims to build your application, run to test, manage and secure all your works with VMware services.
This learning base write-up aims to explore the method of Installation of VMware Workstation Pro 16 on Ubuntu 22.04.
How to Install VMware Workstation Pro 16 on Ubuntu 22.04
VMware is a hypervisor supported by both Linux distributions i.e., Ubuntu and Microsoft Windows. The following are the procedural steps to install VMWare Workstation Pro 16 on Ubuntu 22.04.
Step 1: Download VMWare Workstation
First of all, download a package file from the official website of VMware. To do so, navigate to the following link.
https://www.vmware.com/products/workstation-pro/workstation-pro-evaluation.html 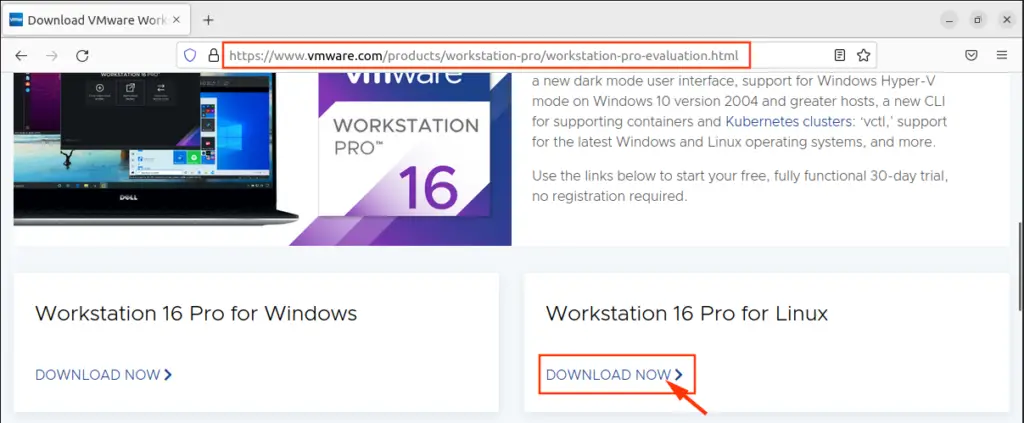
The downloading will start instantly.
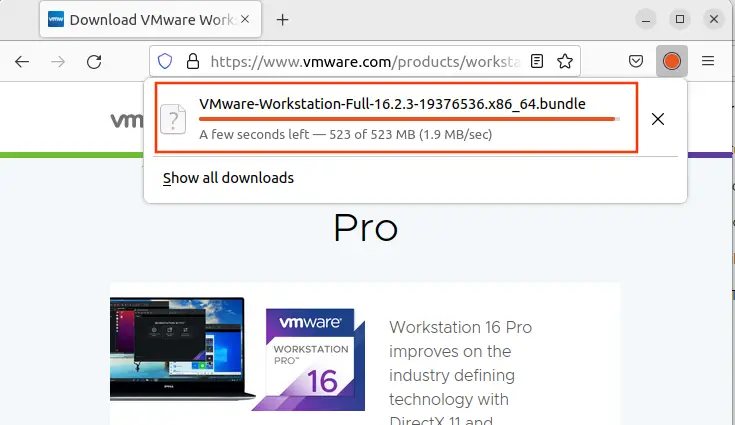
You can find the VMware package in the Downloads folder of the local drive.
Step 2: Grant execution permission
To move to the Downloads directory, use the cd command as typed below:
$ cd Downloads/
To make the package executable, you need to use the following command:
$ sudo chmod +x VMware-Workstation-Full-16.2.3-19376536.x86_64.bundle
The above command is terminated without any error which shows that you can execute the package.
Step 3: Install VMware Workstation
Copy the complete name of the package along with the extension (.bundle) and extract it from the current folder.
$ sudo ./VMware-Workstation-Full-16.2.3-19376536.x86_64.bundle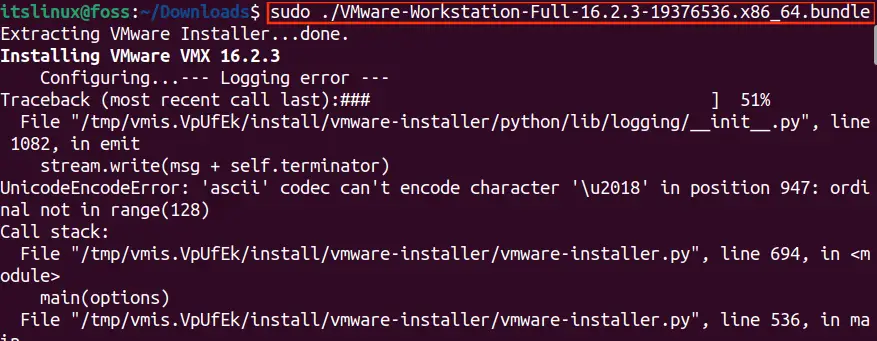

After successful installation, the result will be shown in the terminal.
Step 4: Open VMware Workstation
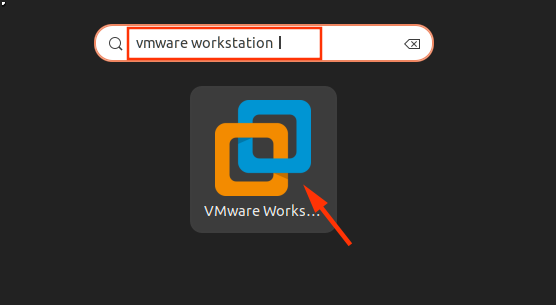
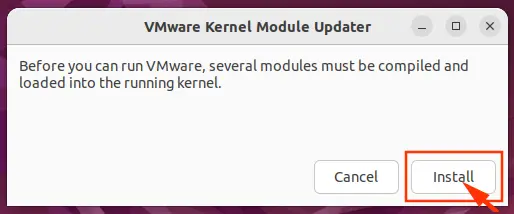
Open Ubuntu Activities grid (WindowKey + A) and search VMWare Workstation in the search bar. Click on VMware Workstation to open the Virtual Machine Configuration process.
The below dialogue box shows that several modules must be compiled before running the VMware.
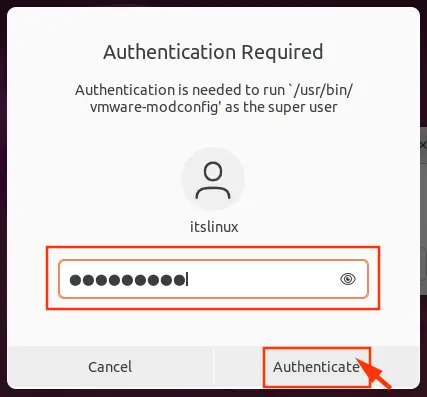
Type your password for authentication and press the button “Authenticate”.
After clicking the Authenticate button, the system will reload the above-mentioned dialogue box with additional module installation.
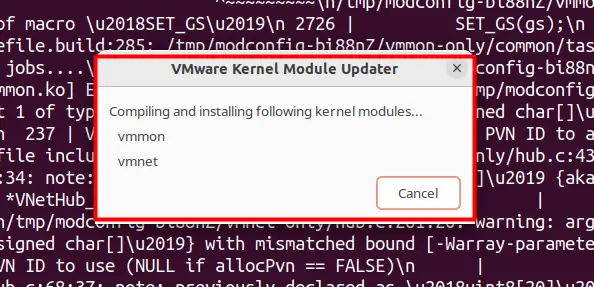
You may encounter errors while installing vmmon and vmnet modules.
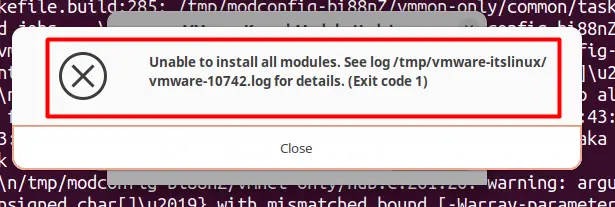
To encounter this error, you have to install them manually. The upcoming step 2 refers to the installation of vmnet and vmmon modules.
Step 5(optional): Install vmnet and vmmon modules
This step is only applicable if you are unable to get vmnet and vmmon modules. First, download the VMware host modules via the following command:
$ wget https://github.com/mkubecek/vmware-host-modules/archive/refs/tags/w16.2.3-k5.17.tar.gz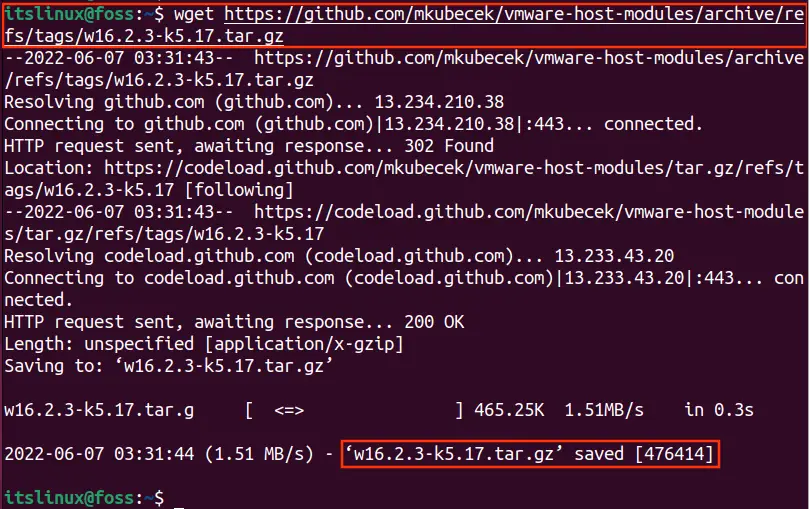
According to the above-mentioned screenshot, the VMware module package is downloaded to your local drive successfully.
Extract the downloaded file with the below command:
$ tar -xf w16.2.3-k5.17.tar.gz
Run the below command to go inside the VMware module folder:
$ cd vmware-host-modules-w16.2.3-k5.17
As you can see in the blue text, you are now inside the VMware module folder.
We need to convert vmmon-only and vmnet-only folders to a “.tar” format
$ tar -cf vmmon.tar vmmon-only && tar -cf vmnet.tar vmnet-only
The tar folders are have generated successfully without any error.
Now, copy the “vmon.tar” and “vmnet.tar” to the module’s directory of the VMware:
$ sudo cp -v vmmon.tar vmnet.tar /usr/lib/vmware/modules/source/
The above results of the command show that the two folders have moved to the /modules/source/ folder.
Lastly, you have to run the below command to install the VMware modules.
$ sudo vmware-modconfig --console --install-all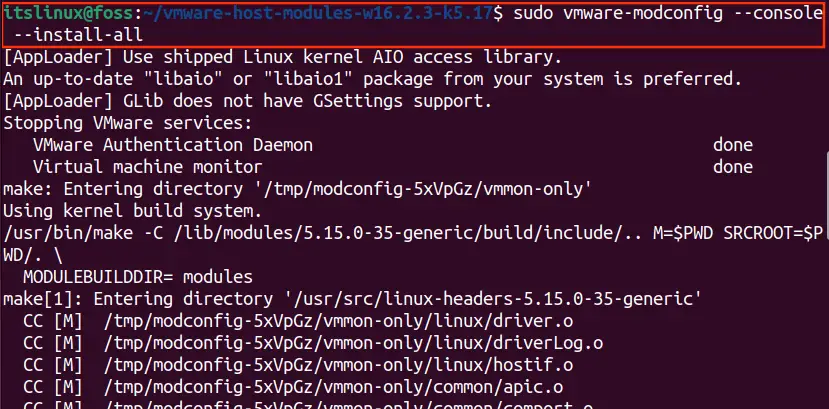
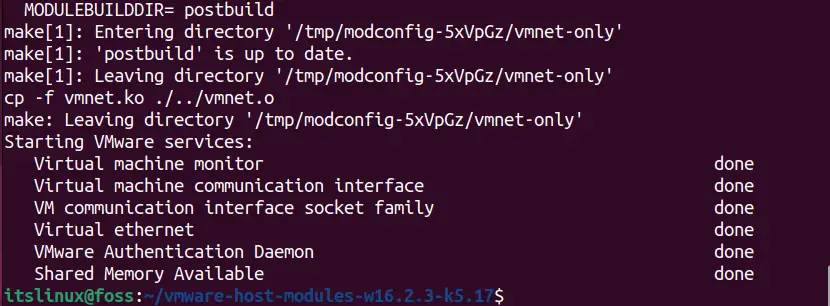
As per the above screenshot, the vmnet-only and vmmon-only were successfully installed and configured with the VMware.
At this stage, you can proceed with further steps.
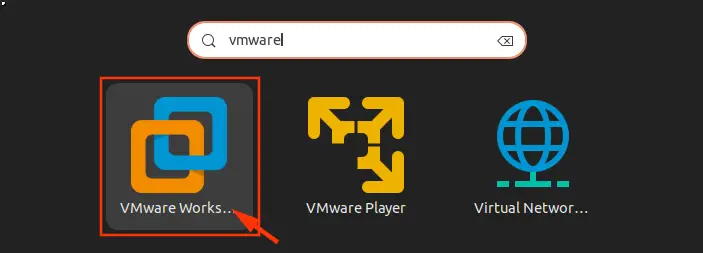
Step 6: Launch VMware
Search VMware workstation in Ubuntu Activities and select the VMware Workstation, as shown in the below screenshot.
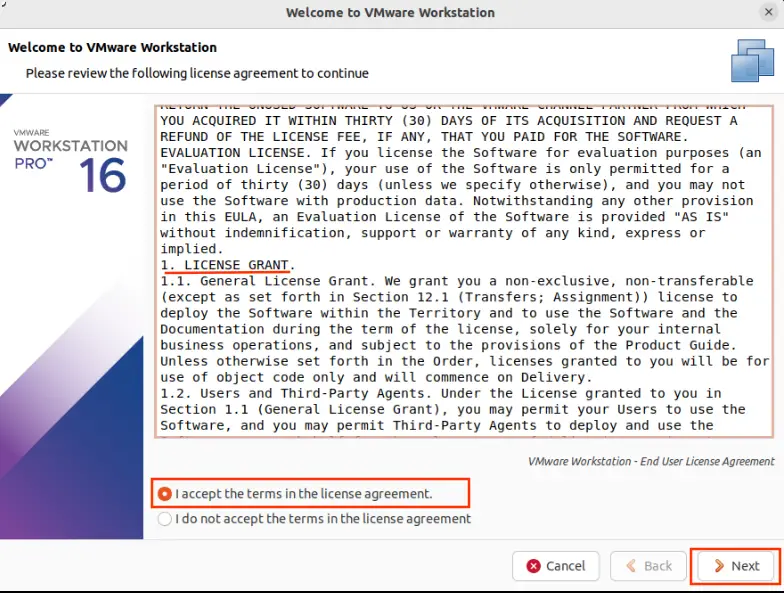
Before starting VMware Workstation, you have to sign a few licensing agreements. Accept the terms of the VMware agreement by checking the first option and proceed with the Next button.
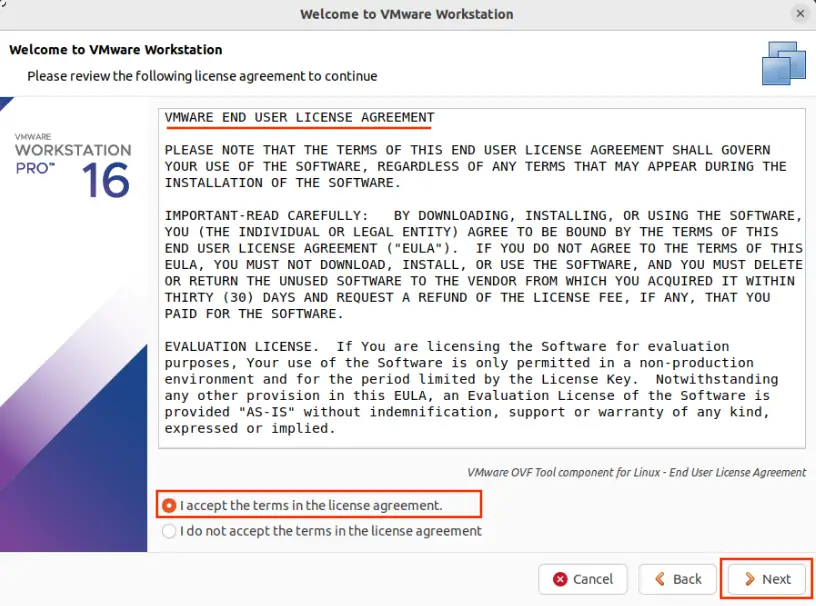
Also, accept the VMware end-user license agreement by checking the first option. Select the Next button to proceed next.
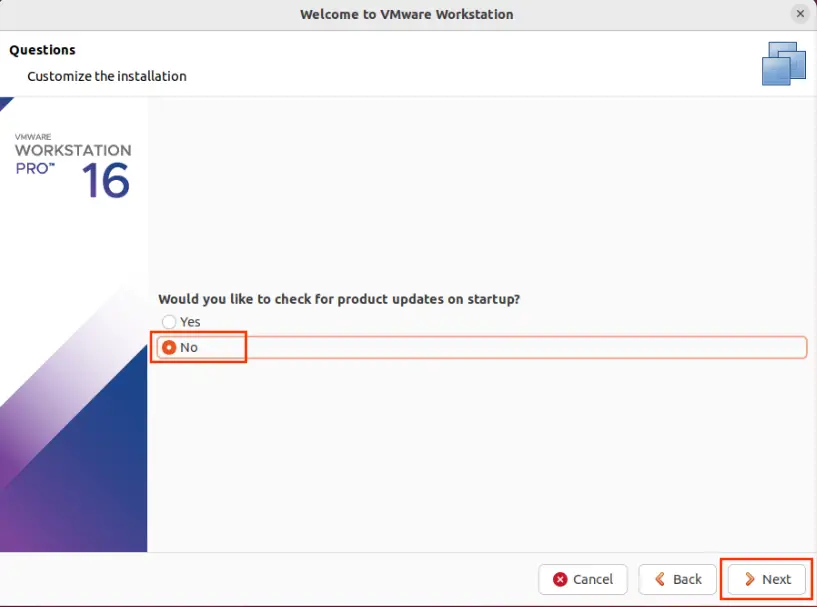
If you want to check for updates on each startup, click Yes otherwise select No.
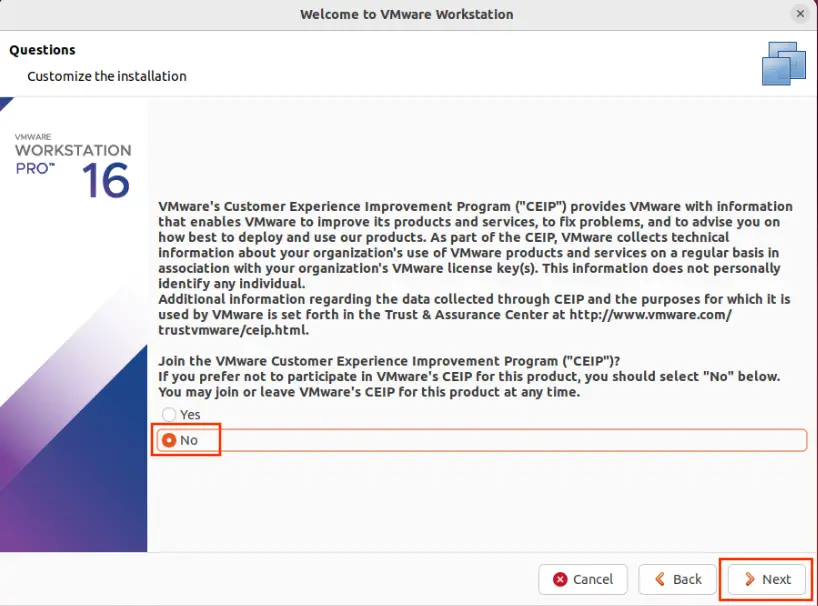
VMware wants to incorporate the customer experience into its products. If you want to report your error, check on the Yes option otherwise check No and click on the Next button to proceed.
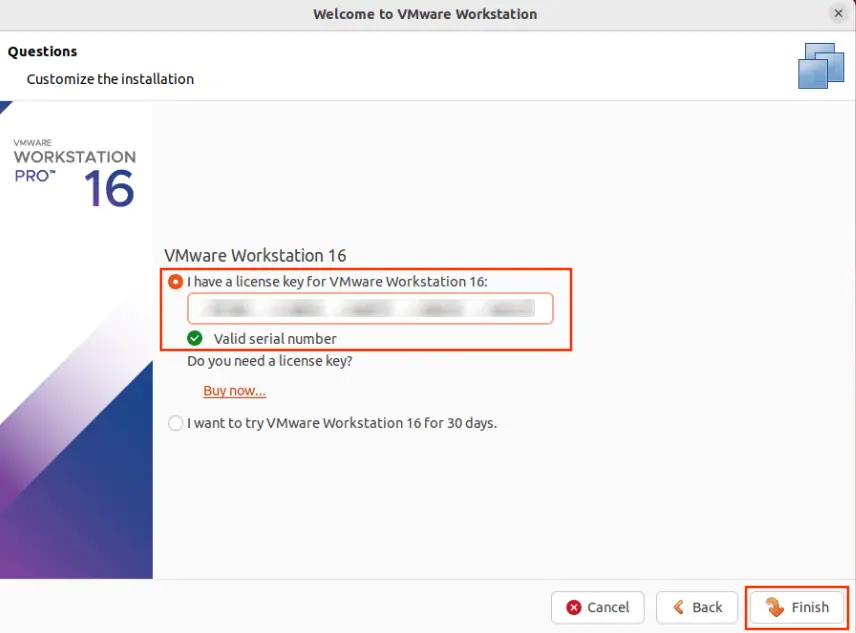
VMware is not for free therefore you will need to enter the licensing key to avail of the complete services. Once you enter the valid key, click on Finish.
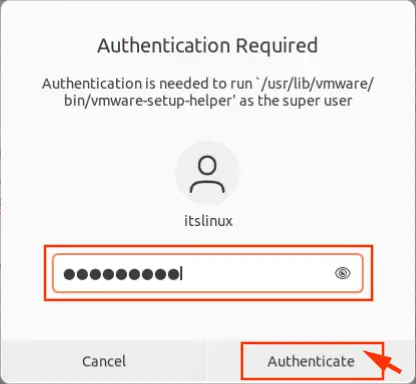
Authenticate with your password.
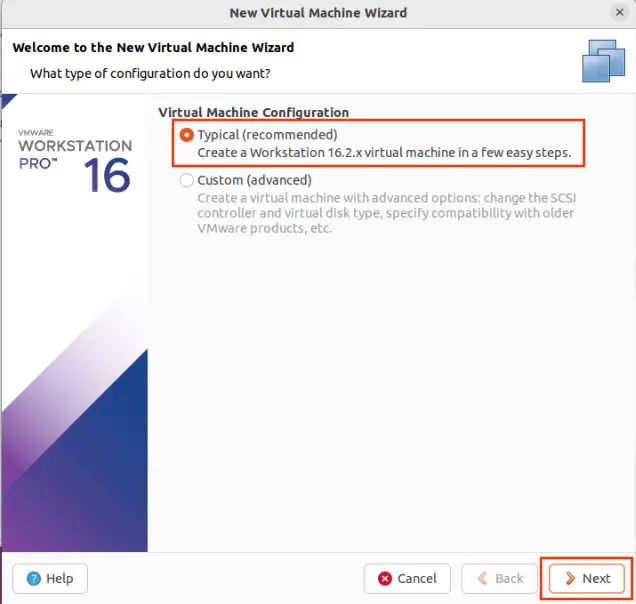
Finally, it will ask you what type of virtual machine configuration do you want? If you want to start with default settings, check on Typical (recommended) and click on the Next button.
VMware will open with the greeting words. The thanks message can be seen in the below-attached screenshot.
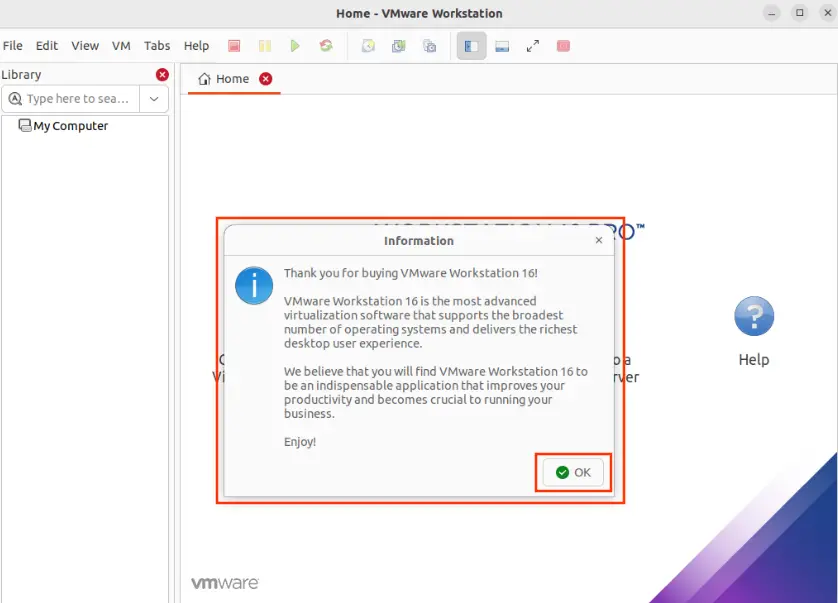
The VMware Workstation Pro 16 has been successfully installed in your Ubuntu 22.04 with a number of advanced data management tools.
How to Remove VMware Workstation from Ubuntu 22.04
Just in case you do not want the VMware workstation in your Ubuntu 22.04 operating system, run the following command from your terminal window.
$ sudo vmware-installer -u vmware-workstation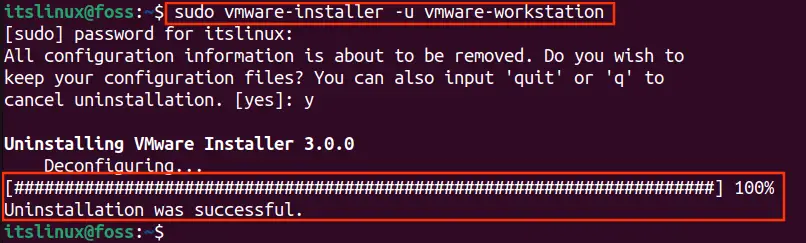
It can be seen in the above output that the VMware has been uninstalled from the system.
Conclusion
VMware Workstation Pro 16 can be installed on Ubuntu 22.04 by downloading its package from its official website. It is supported by primary distributions like Linux and Windows. This article aims to demonstrate the method to install VMware workstation pro on Ubuntu 22.04. Moreover, we have also provided the installation of VMware modules to get rid of the module missing error.

Saryia is a technology entrepreneur and digital publisher specializing in Linux, open-source technologies, and developer education.