Google Drive is a pretty solid platform when it comes to storing your files. It’s super convenient and offers very economical rates for storage in comparison to the other players in the industry. However, if you are someone like me who obsesses over privacy and security while uploading your important files, server logs, backups, or anything, then you should be a little skeptical or maybe even worried because legally Google is obliged to give that info to the Government in case they subpoena them or ask them to share. Luckily, people like you and me have already found a way out where even if Google shares that info with anyone, they won’t be able to open it except you.
Rclone comes into the picture here; you can have a Google Drive remote and then can create a crypt remote. You add your files to the crypt remote and simultaneously an encrypted version of that file appears in your Google Drive. Setting that up might be technical for the first time but you can do so if you follow this guide. Luckily, you don’t have to use and remember all those Rclone commands. Here comes Rclone UI in the picture, it’s built on top of Rclone and you can set up your remotes in a beautiful interface and can even drag and drop files to your crypt remote from your local machine. So the idea is that while setting up a crypt remote, you also set up an encryption and a password. This password once forgotten cannot be reset so ensure you save it offline somewhere on a paper or something. If you lose your password then you lose your file forever and that’s by design because you won’t be able to decrypt it. You still might see encrypted files in your Google Drive but they’d be of no use, and there is a solid reason behind that, two words for that solid reason: Privacy & Security.
Encrypt your files & backups on Google Drive using Rclone UI
Step 1: Install Rclone UI
If you don’t have it already installed then download Rclone UI from their website. Once downloaded, you can cd into your Downloads directory or wherever it was downloaded and write this command in your terminal:
sudo apt install ./Rclone_UI_PackageName.deb
Replace Rclone_UI_PackageName with whatever package name appears on the .deb package after the download. If you want a step-by-step guide on how to install it then you can read this article and follow along.
Step 2: Create a Google Drive Remote
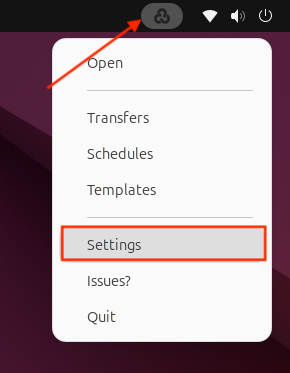
After the installation, you will see an Icon in your apps menu, click on that and Rclone UI will start. You would often see this icon in the top bar from where you can always access it while it’s running in the background. So click on that icon and then go to settings.
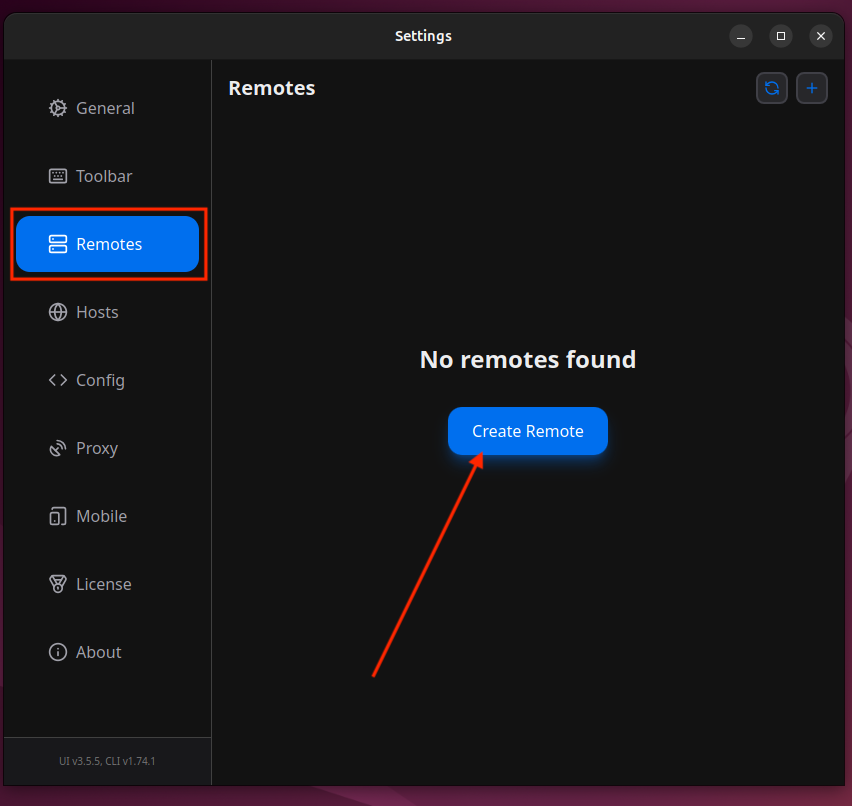
In settings, go to Remotes then click on Create Remote.
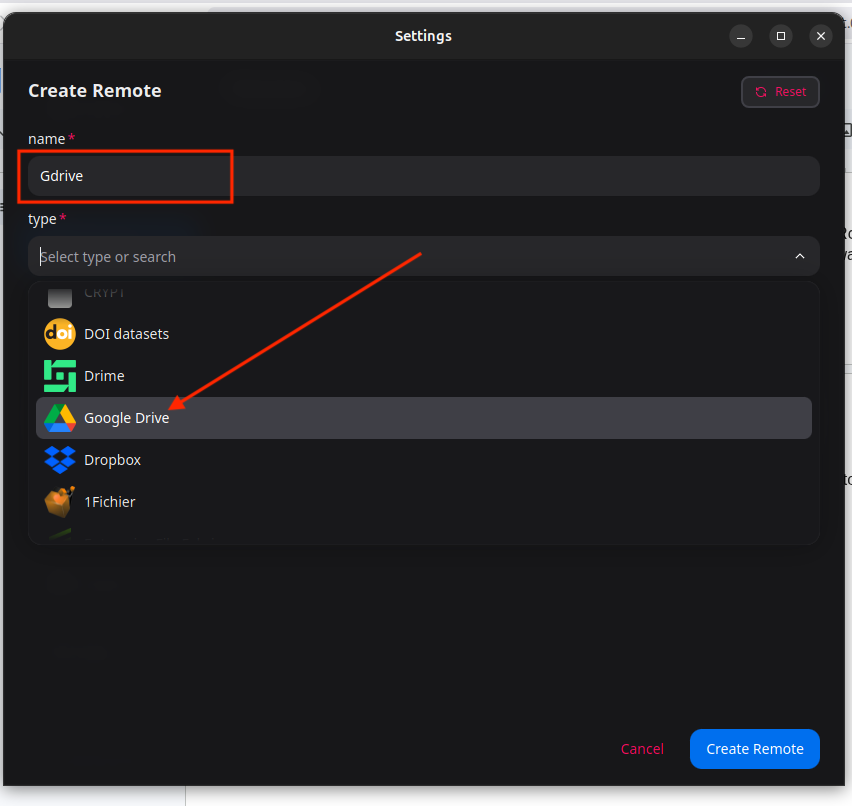
Enter the name of this remote, I’ll name it GDrive and select the type as Google Drive.
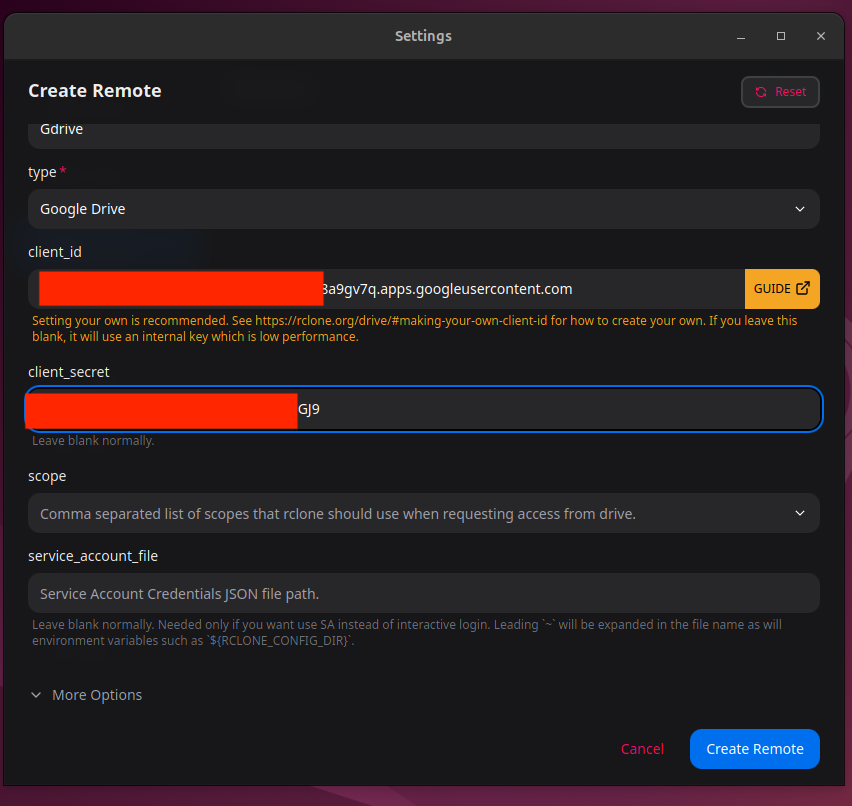
Once I select the Google Drive, other options will appear. It will ask for a client_id. Click on the orange guide button GUIDE in UI and follow an 11 step process to generate your Google App Client ID named as client_id and secret key named as client_secret in Rclone UI. That’s basically necessary to connect your Google Drive. After following the 11 step process, add your client_id and client_secret.
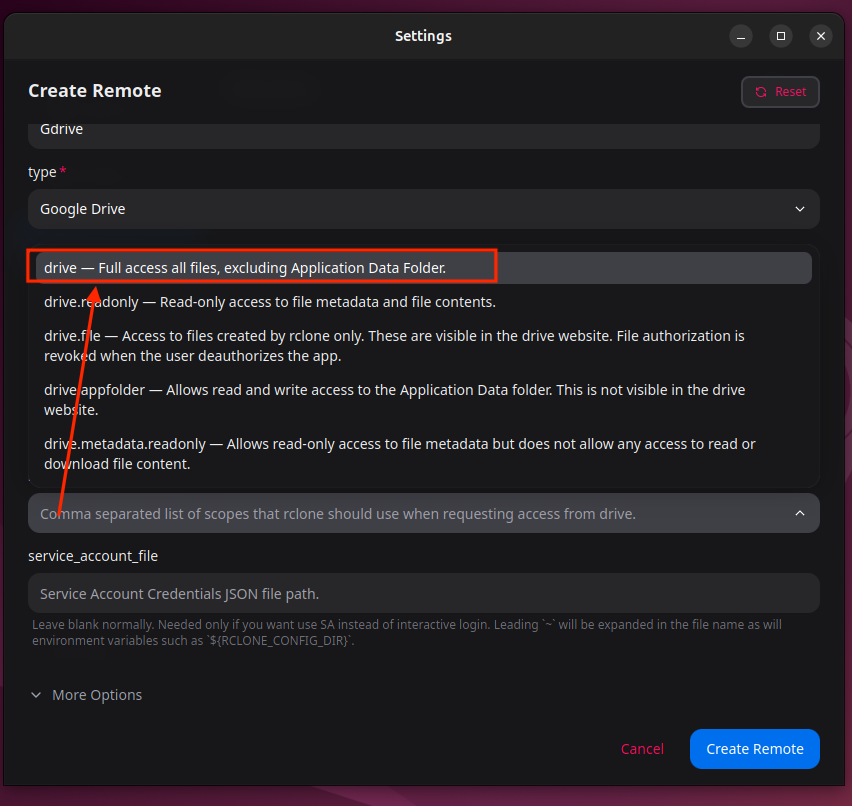
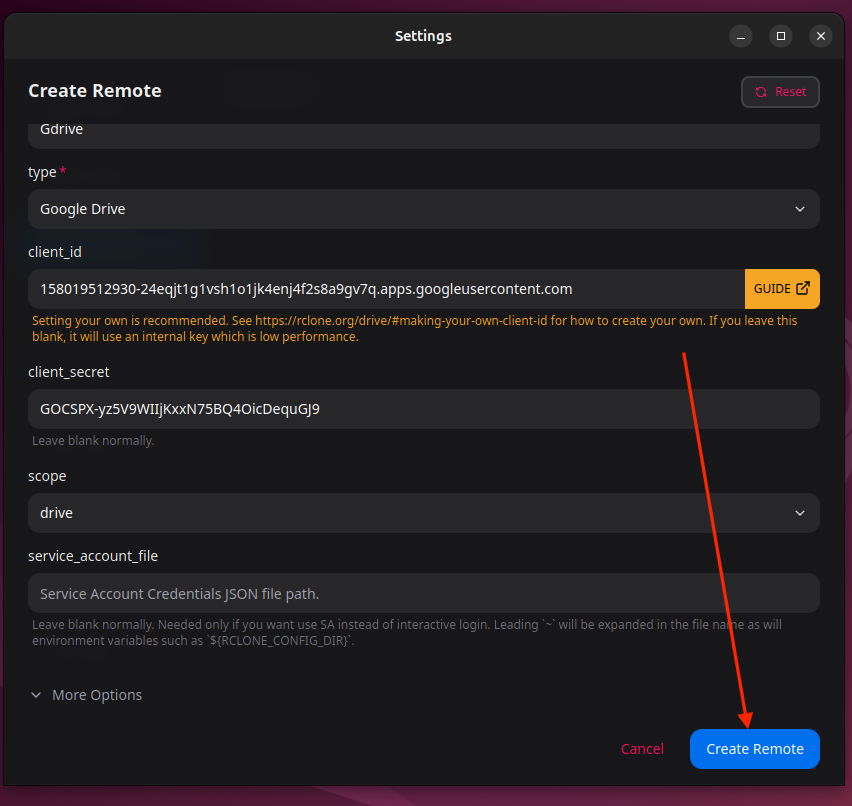
Now click on Scope and select drive — Full access all files, excluding Application Data Folder.
Click on Create Remote and now it will take you to the Gmail account page in your browser where you will select the Google account for which you have performed those 11 steps we mentioned earlier.
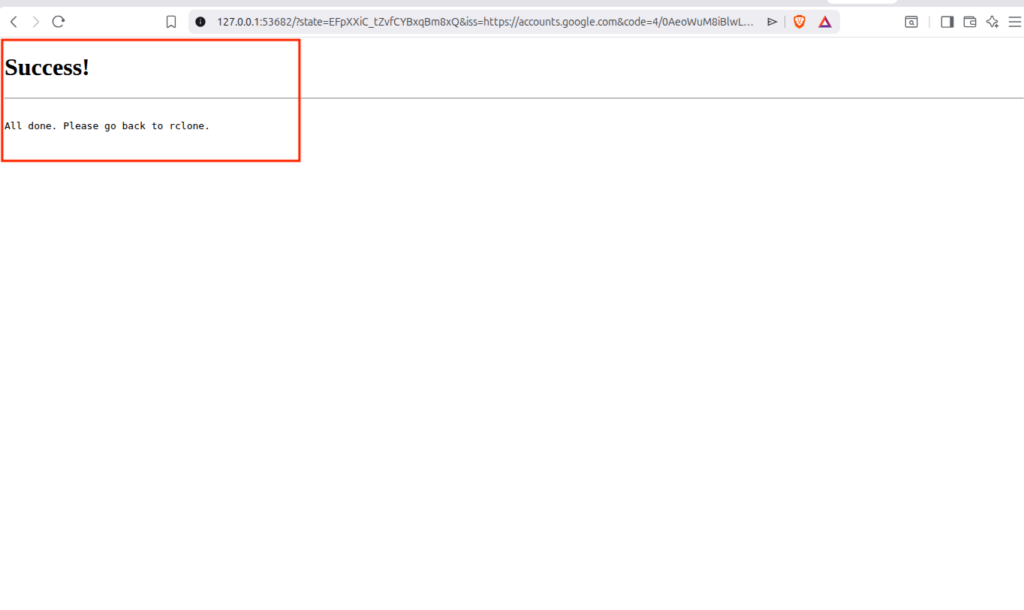
Once you accept permission, you will see a success page in your browser. This means that your Google Drive is now successfully connected.
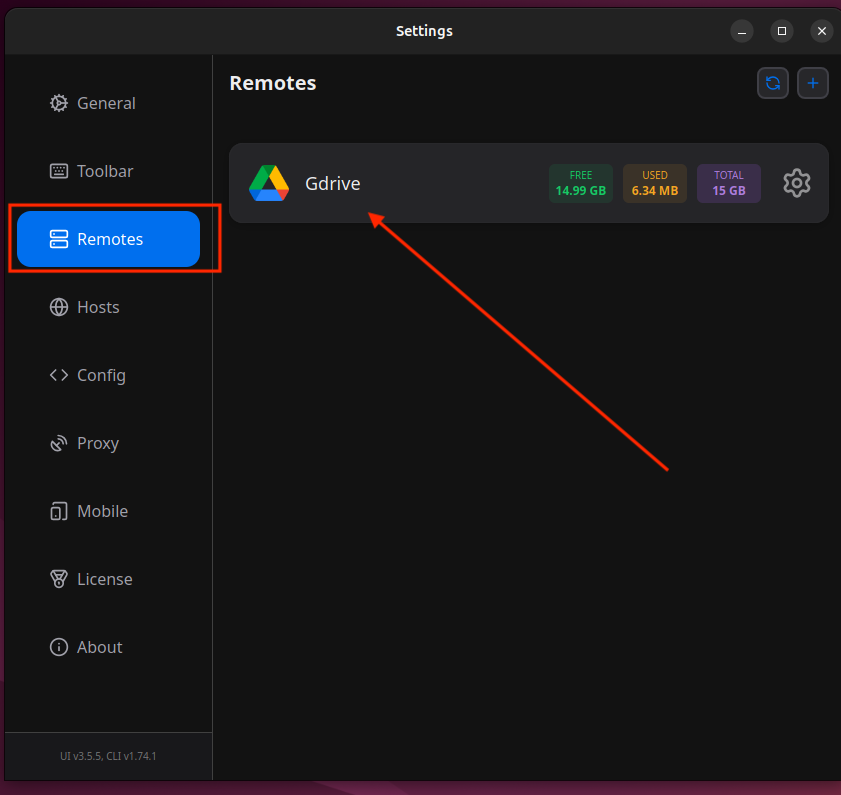
You can even see that now if you go to Settings and then go to Remotes.
Step 3: Test Google Drive Remote
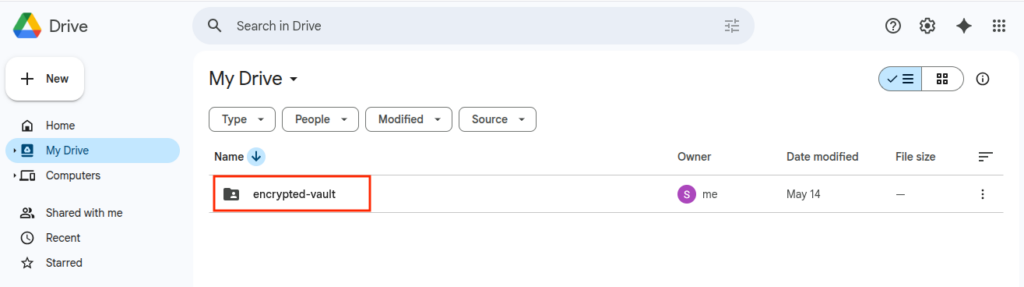
I will create a folder in my Google Drive named as encrypted-vault:
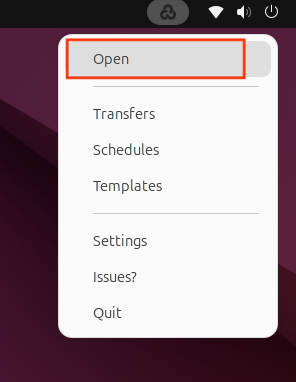
Now I will come back and click on the Rclone UI icon and click on Open.
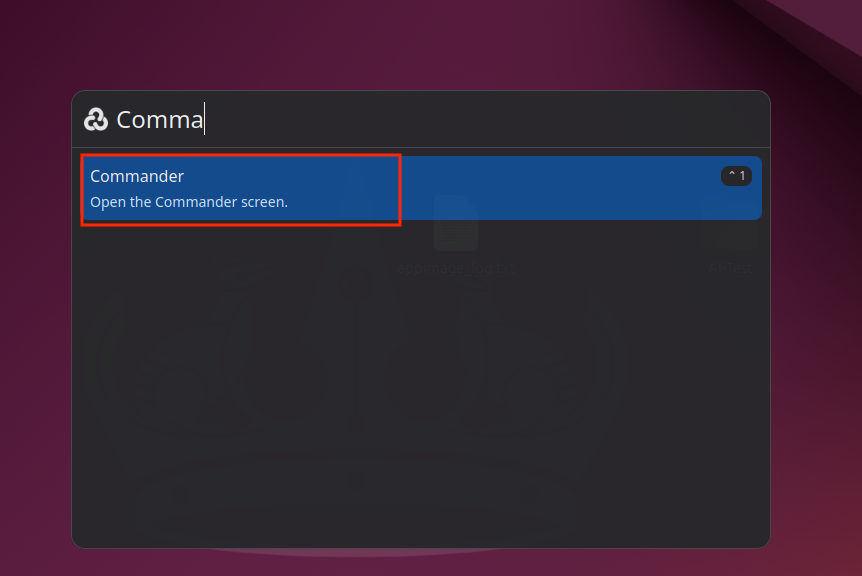
I will search for Commander and click on that.
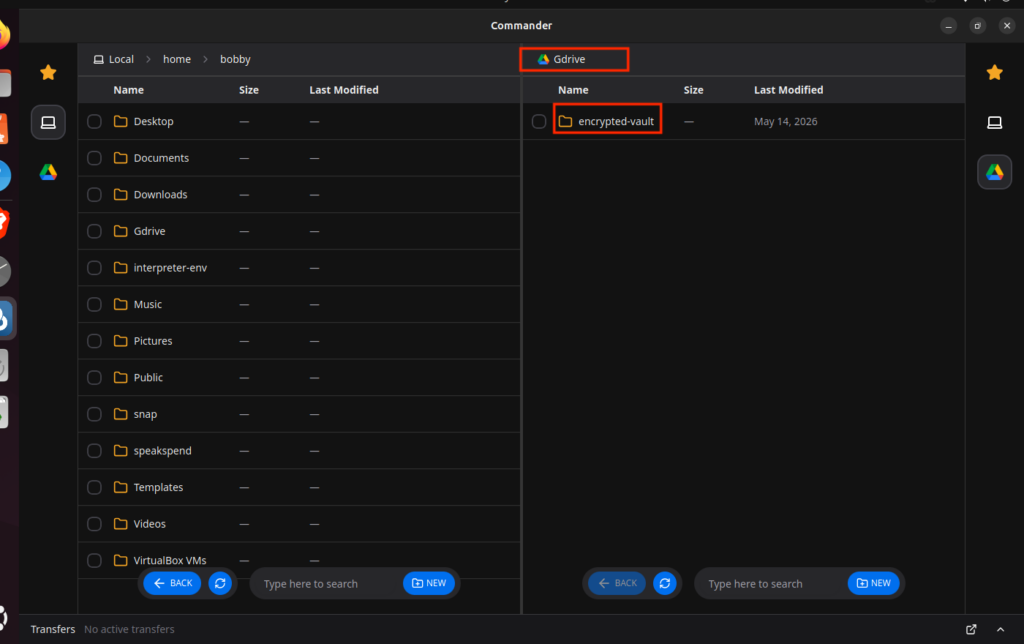
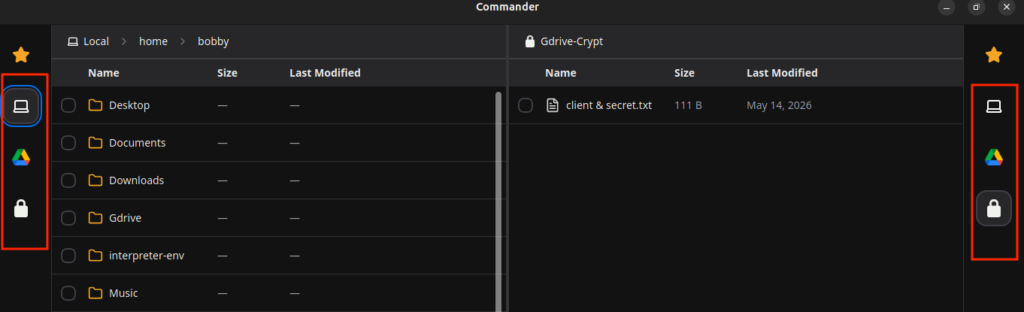
In the Commander window, you can see that on the left side I have all the folders/directories of my home directory and on the right side I have my GDrive with a folder encrypted-vault that I created earlier.
Now I will go to my Desktop directory on the left side and on the right side I will go inside encrypted-vault.
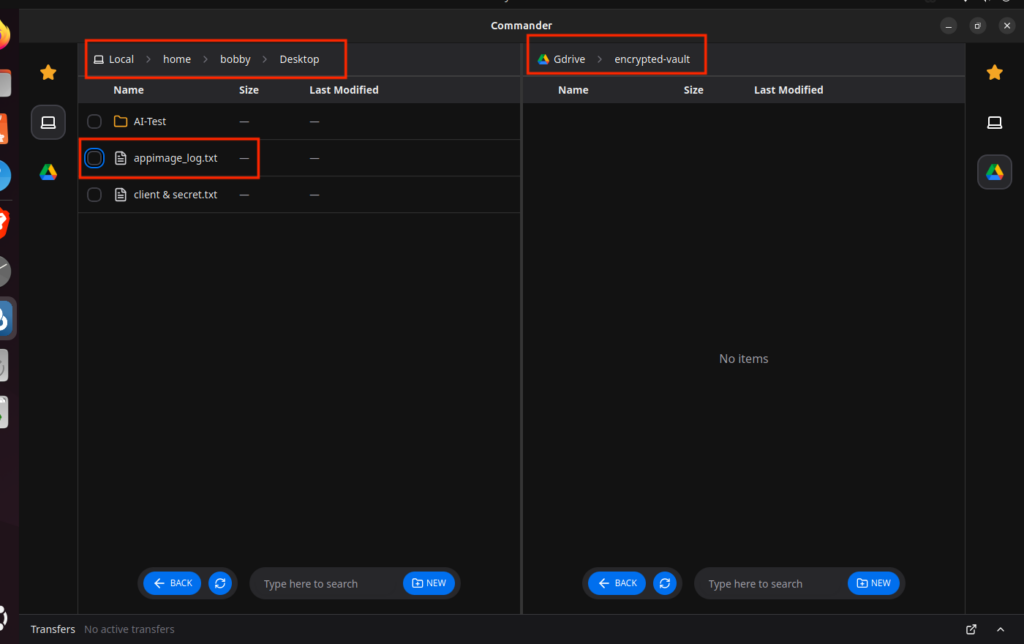
I will drag appimage_log.txt from left to right and it will ask for a confirmation whether I want to Copy or Move the file.
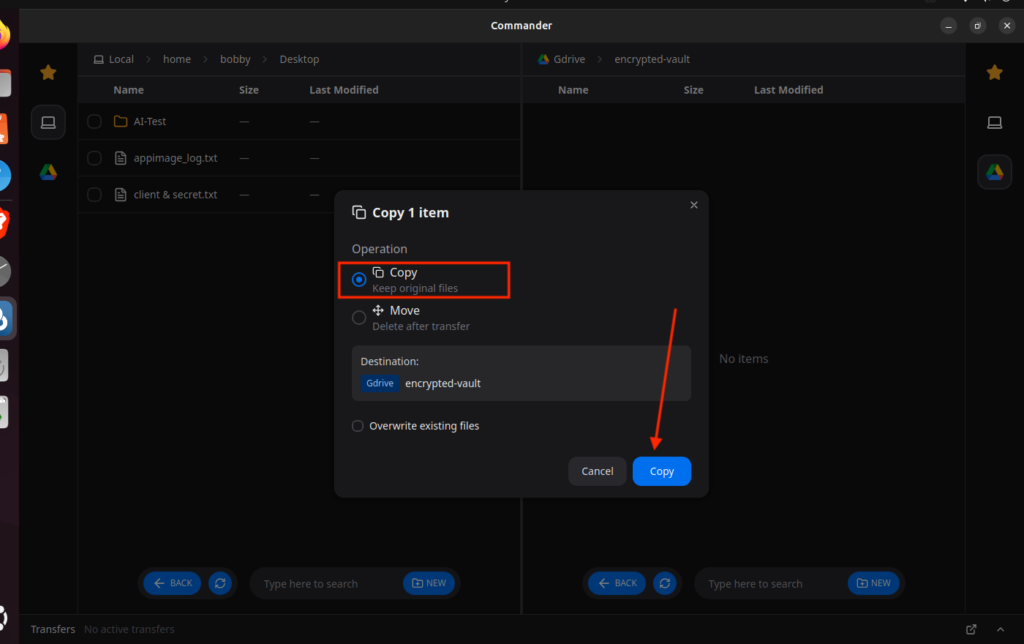
I will simply copy the file and now just refresh the GDrive by clicking on the refresh icon at the bottom and you will see that file in your GDrive now.

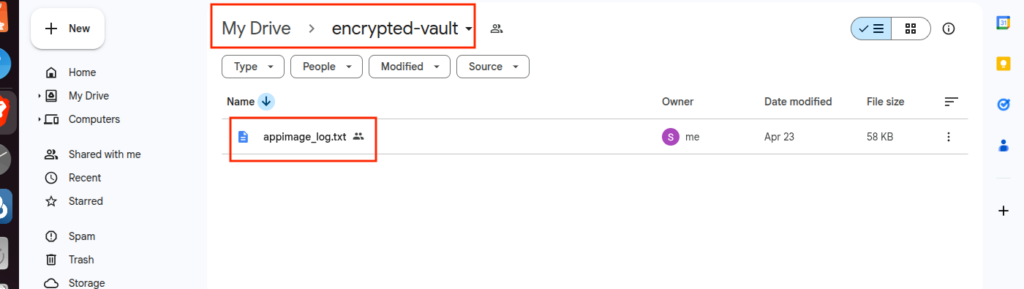
You can also see that file in the Google Drive dashboard.
This file is not encrypted yet; we will do that in the next step.
Step 4: Create a Crypt Remote
Crypt remote will be linked to Google Drive remote and whatever file we upload in the crypt remote, it gets encrypted first and then the encrypted version is uploaded to Google Drive.
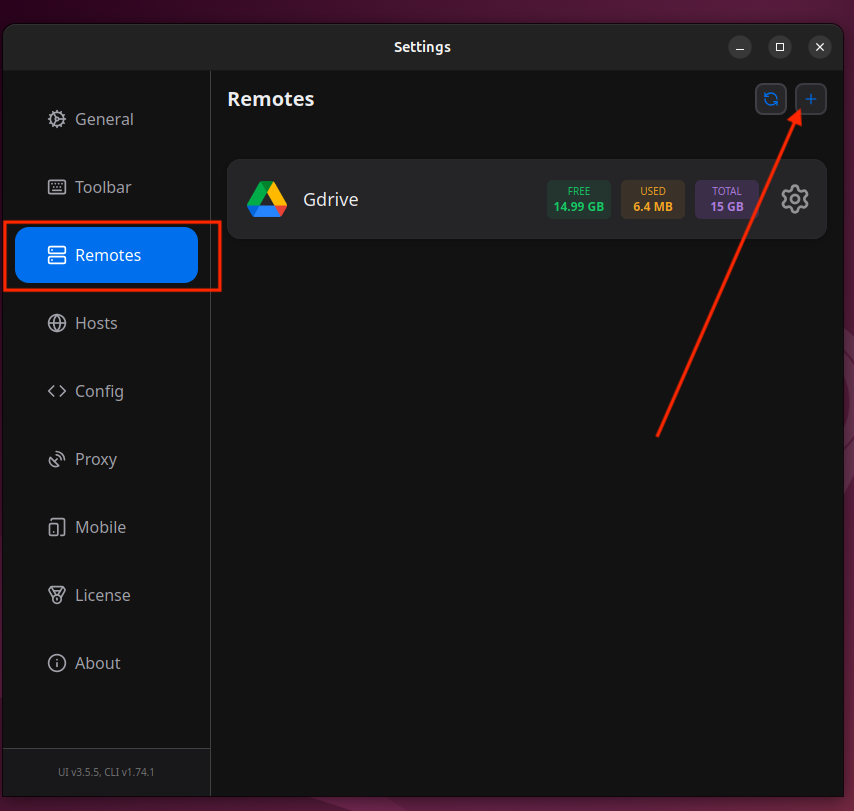
To create a crypt remote, go to Settings and then Remotes and then click on + icon.
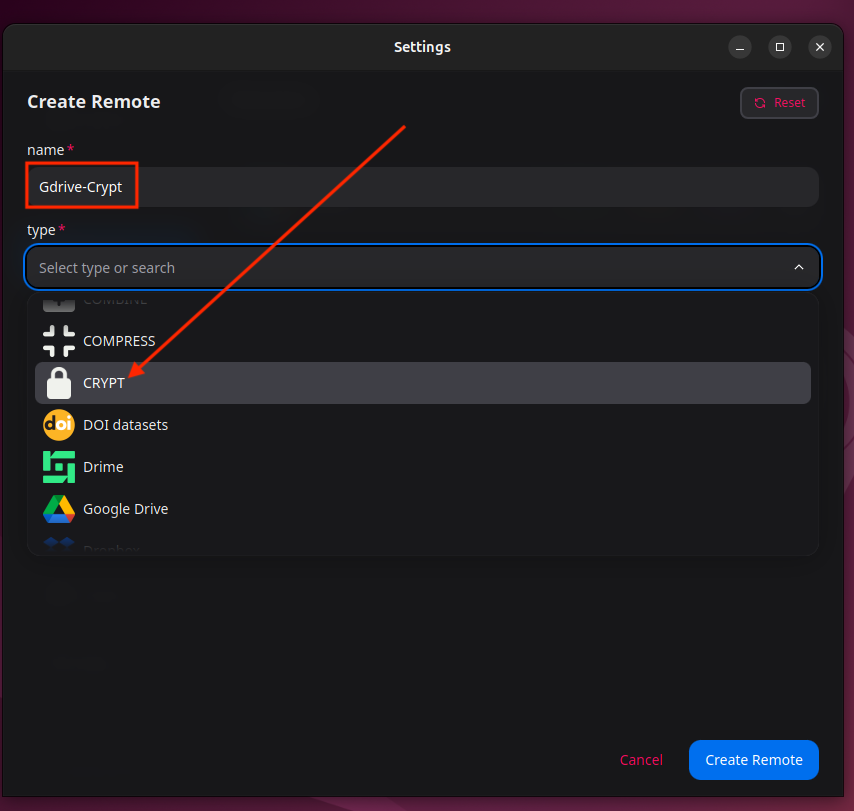
I will name my remote GDrive-Crypt and then select the type as Crypt.
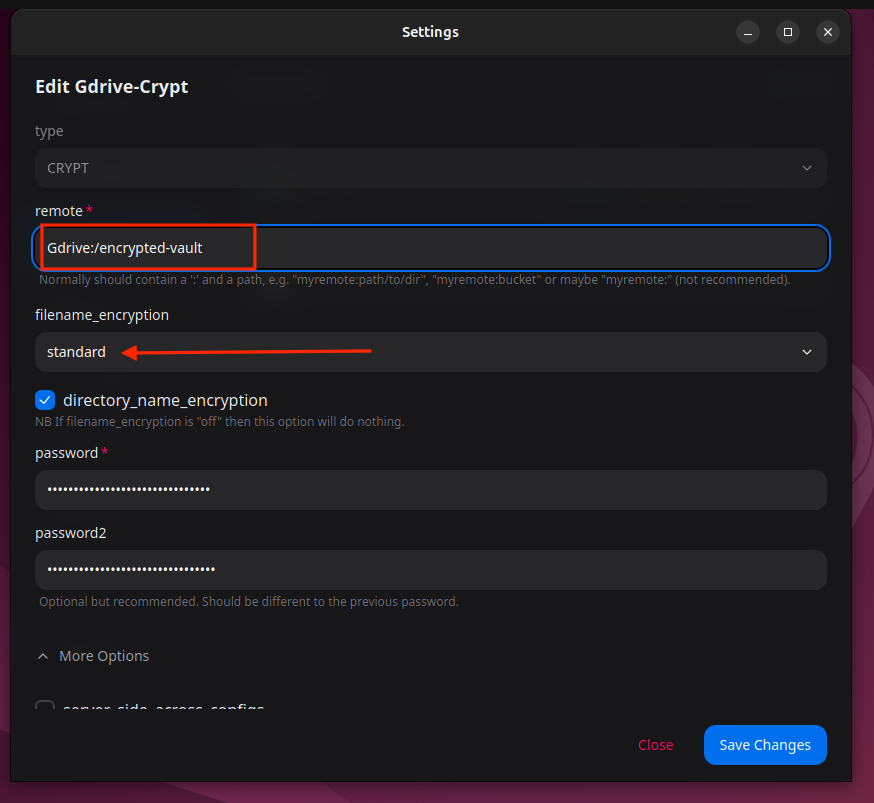
I will write the remote name that I wanna encrypt/decrypt. I’d write Gdrive:/encrypted-vault. I will select filename_encryption as standard. Leave the directory_name_encryption option checked and add my passwords. The second one is optional though. Yes, you can add two passwords!
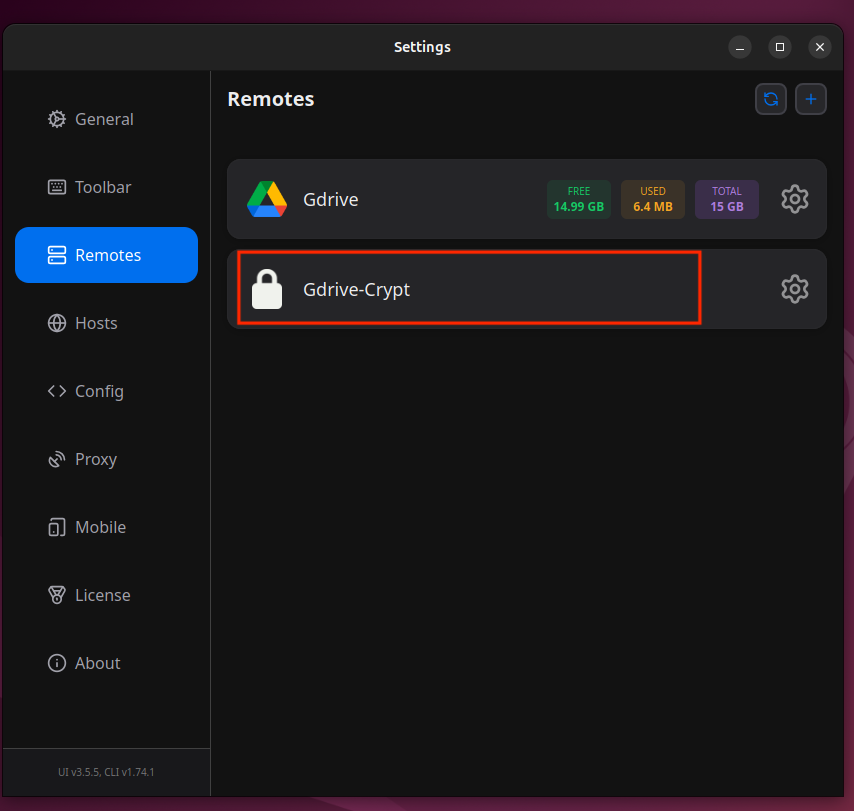
Finally click on Create Remote and you will be able to see a Crypt remote as well in your Settings dashboard in the Remotes section.
Step 5: Test Crypt Remote
I will go to the Commander again this time and I will edit the GDrive on the right side by clicking the path and write the path for our crypt remote that we just created:
Gdrive-Crypt:/
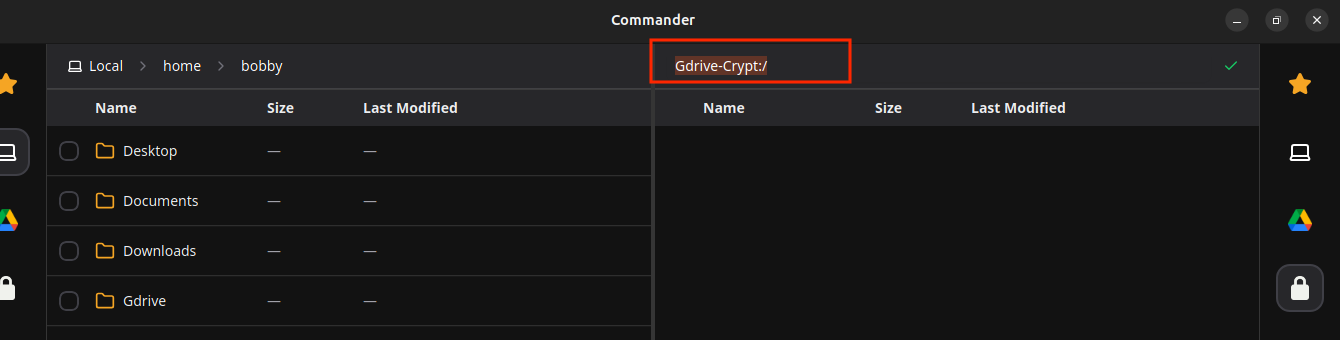
Now, I will go to my Desktop directory and here I have a sensitive file that contains my client id and secret key.
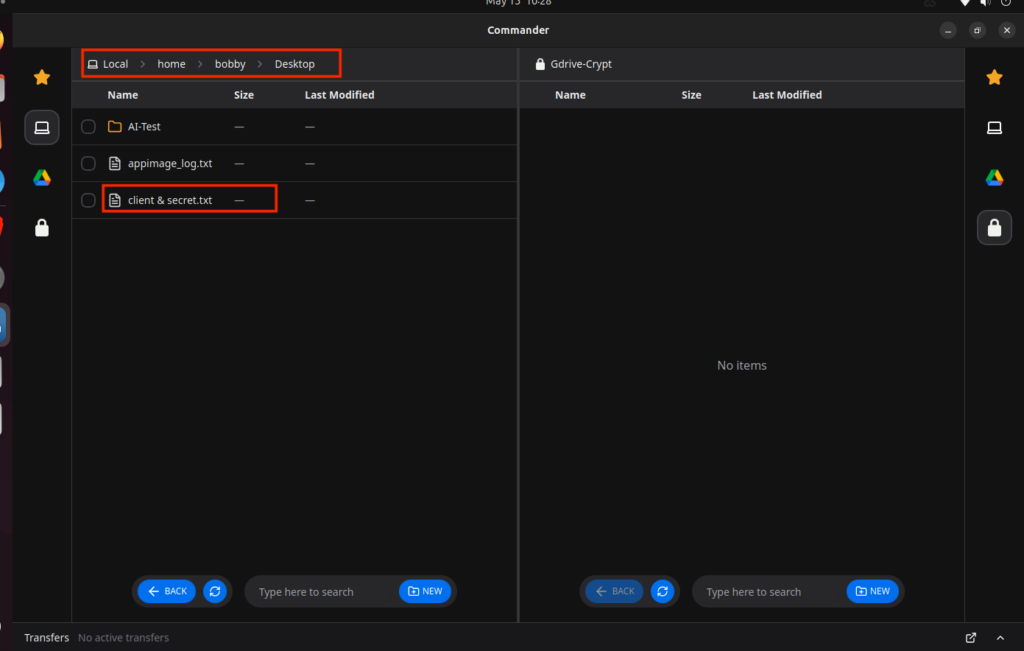
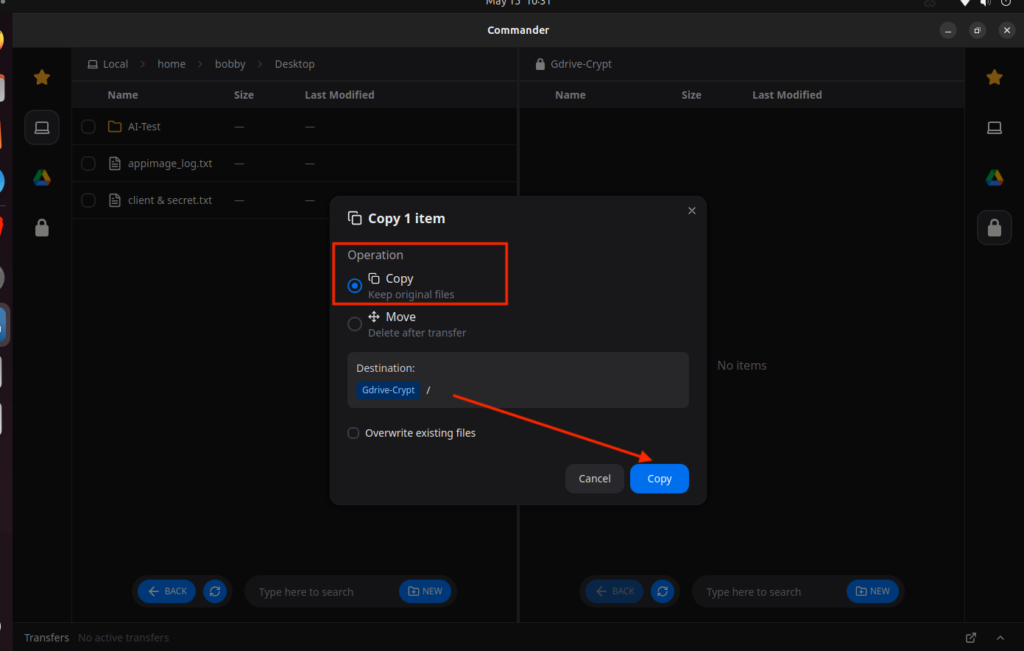
I wanna securely upload an encrypted version to GDrive remote(Google Drive). I will simply drag and drop the file from the left to right and it will ask me whether I wanna Copy or Move. I will click on Copy.
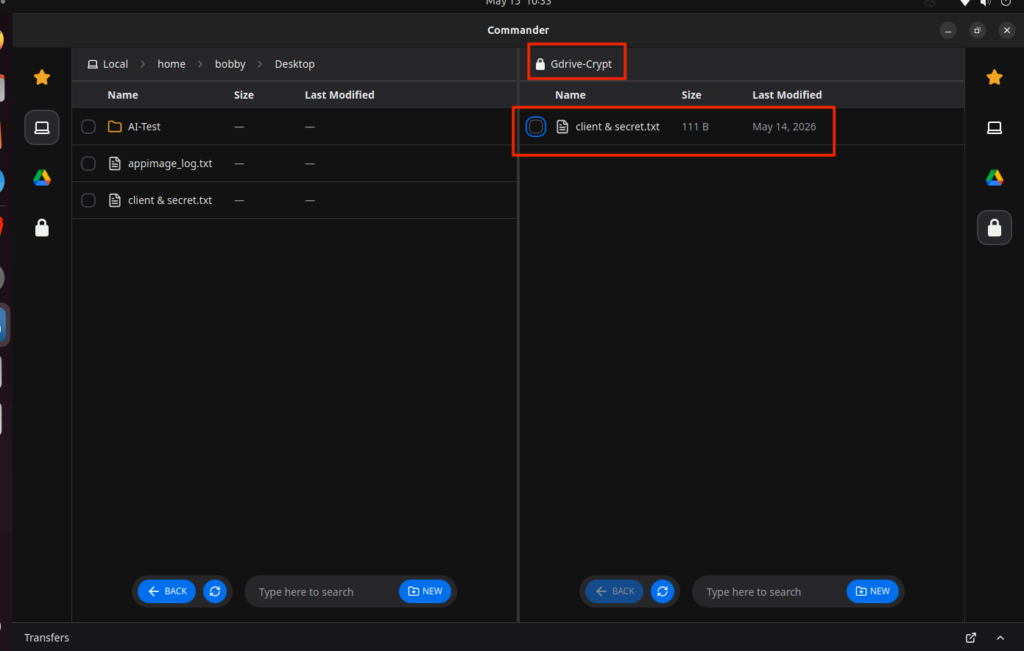
You can see that it has been successfully copied to GDrive-Crypt.
Now go to GDrive by clicking on the pencil icon in Commander on the right side. Type in:
Gdrive:/

By the way, you can also switch between remotes and local by clicking on these icons you see on both sides.
Anyway now I am in my GDrive and here you can see an encrypted file. This is the file that contains our client id and secret key but it’s encrypted.
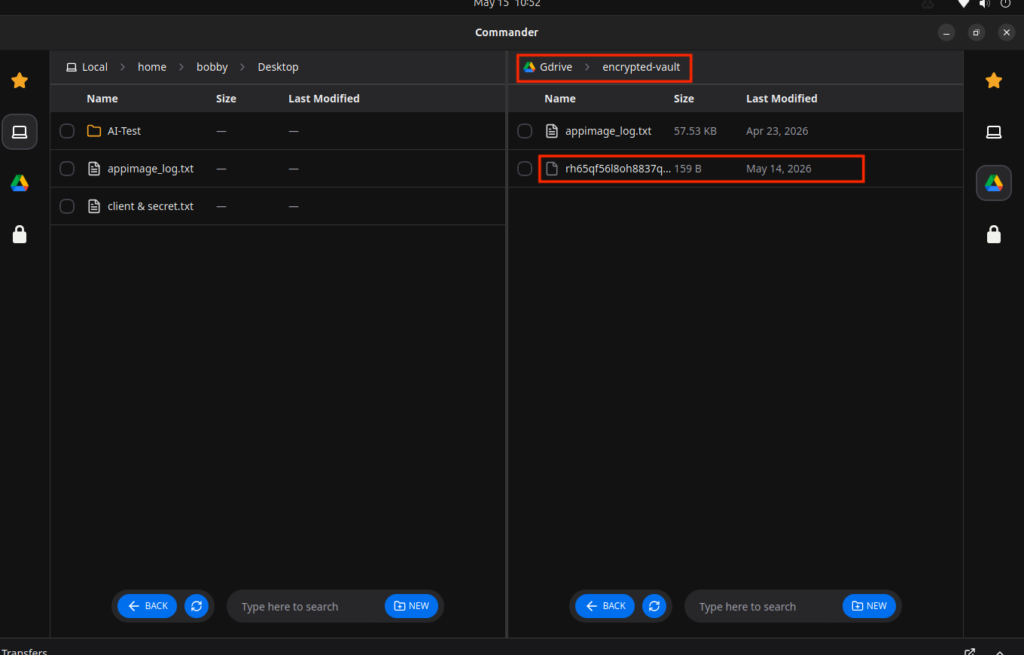
To download the original file, you can always go to GDrive-Crypt remote and download it.
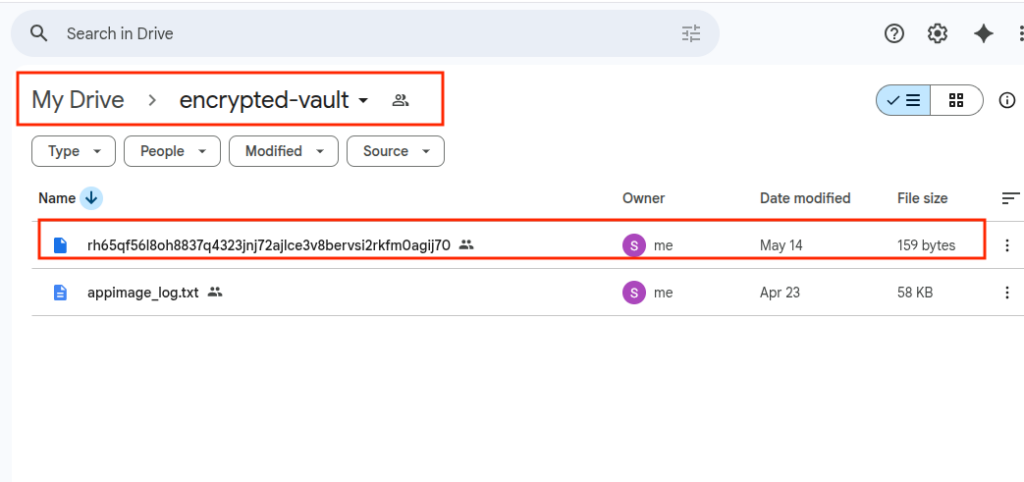
You can also see in the Google Drive dashboard that the encrypted file is there.
Conclusion
We must encrypt our sensitive files before uploading them to Google Drive, there could be multiple situations where someone might get access to your Gmail and hence the Google Drive could be compromised but if your files are encrypted, you need not to worry about anything. It’s like thieves getting the first copy of your safe that is of no use for them. Because original files are there with you and without your password nobody can decrypt them. In this tutorial, we created two remotes, one remote is Google Drive’s remote named as Gdrive and the other is a crypt remote named as Gdrive-Crypt that sits on top of the Gdrive and whatever we copy and paste inside Gdrive-Crypt, it gets encrypted first and then uploaded to our Gdrive(Google Drive). All of this wouldn’t have been easy without the Rclone UI. Without that you’d be memorizing all those commands that you have to use to do this whole operation in your terminal. You don’t have to do that, just use the interface and do a few clicks and your job becomes so much easier. Thanks to the Rclone UI team for making my life easy!

Check our LinkedIn company page