Typing commands manually in the terminal to work with a powerful command-line tool such as Rclone could be challenging at times. Rclone is a powerful tool that you are going to have to use in your everyday job whether you are a sysadmin or a developer to sync files, create backups and to download/upload files to the cloud.
Now, to do all this you have to use Rclone in the terminal and type in commands like these:
rclone copy /home/local/file S3Drive:/backup
This could be difficult especially for beginners. That’s where Rclone UI comes in; it provides a beautiful interface and it sits on the top of Rclone. You can simply drag and drop files and get things done visually instead of doing it inside the terminal.
We’ll show you how to setup Rclone UI on Linux step-by-step in this guide:
Method 1: Download & Install Rclone UI via Official Website (.deb Package)
Step 1: Download Rclone UI
First off, go to the Rclone UI website and download it for your distro. It has the option to download it for Linux.
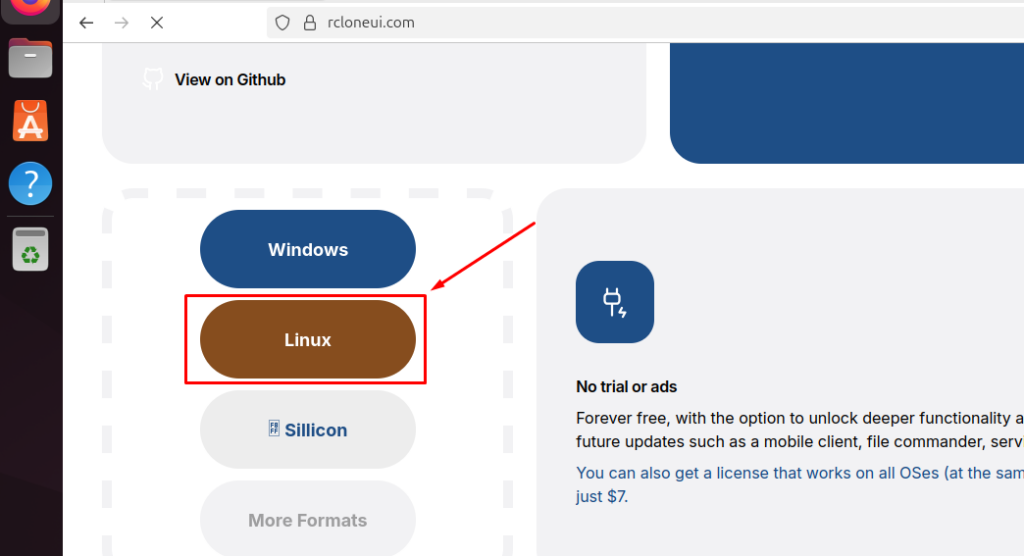
Click on Linux and a .deb file will be downloaded, save it to your respective directory. Usually it’s the Downloads directory.
Step 2: Verify and Install the Package
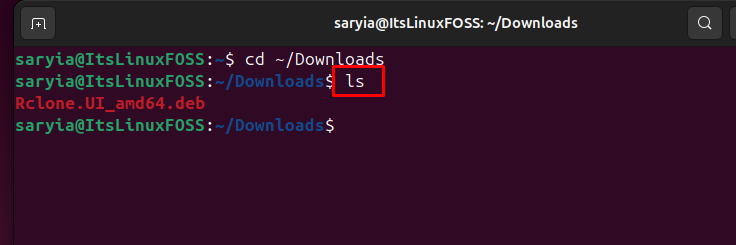
Open the terminal by pressing CTRL+ALT+T and move to the Downloads directory by using cd command:
cd ~/Downloads
Next you can use ls command to see what is inside this directory:
ls
Now to install this package, I want you to use apt. We are using apt intentionally instead of dpkg, it’s just better at installing dependencies if any.
sudo apt install ./Rclone.UI_amd64.deb
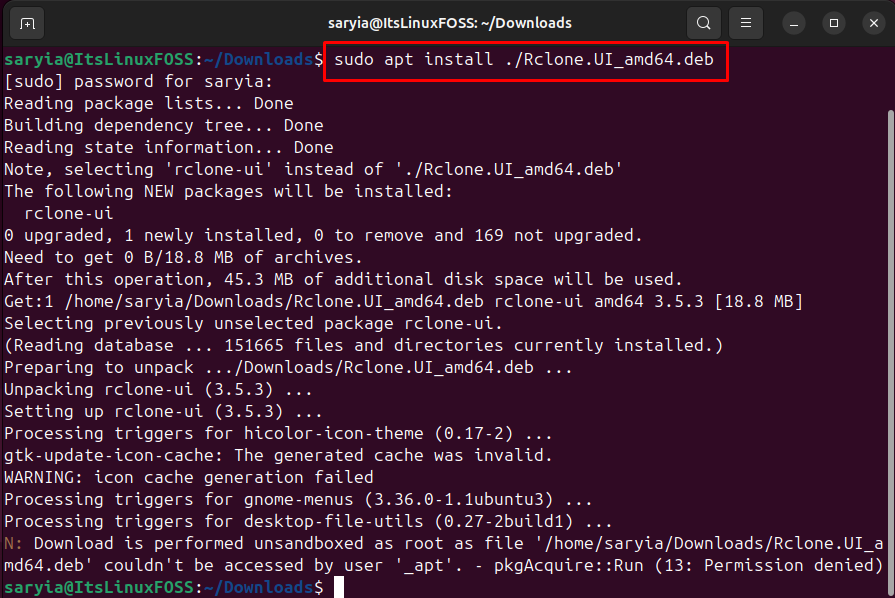
This is actually installed successfully and the line you see at the end (N: Download is performed… 13: Permission denied) is just a harmless warning and it has no real impact on the installation. Installation is done.
Step 3: Verify if Rclone is Already Installed
Remember that Rclone UI is the GUI tool which works on top of the command-line utility Rclone. Check if you have Rclone:
rclone --version
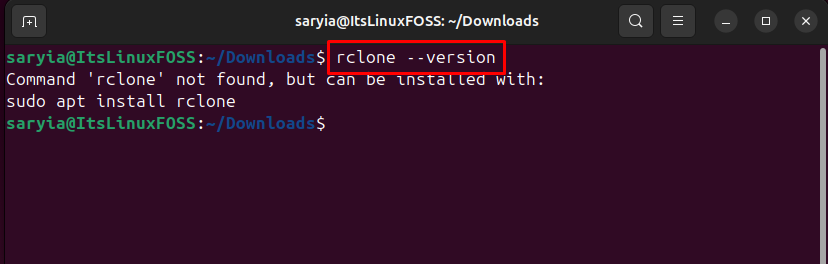
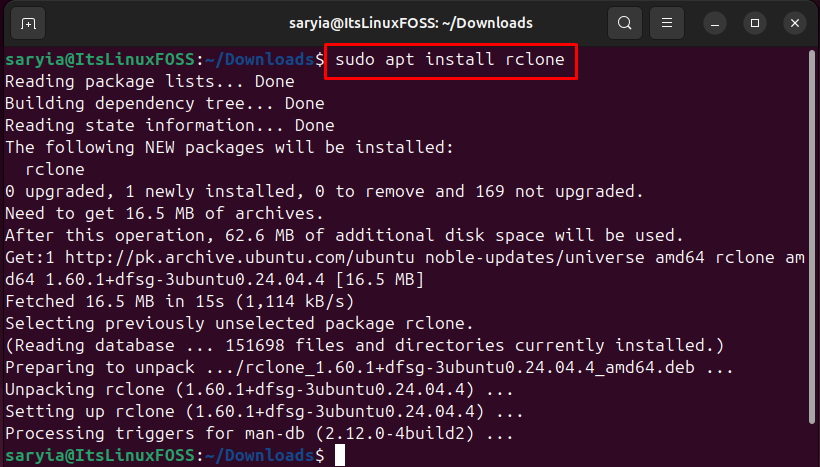
If rclone is not installed then you can install it using this command:
sudo apt install rclone
Step 4: Verify if Rclone UI is Installed
Go to your Applications and here you will see an icon of Rclone UI.
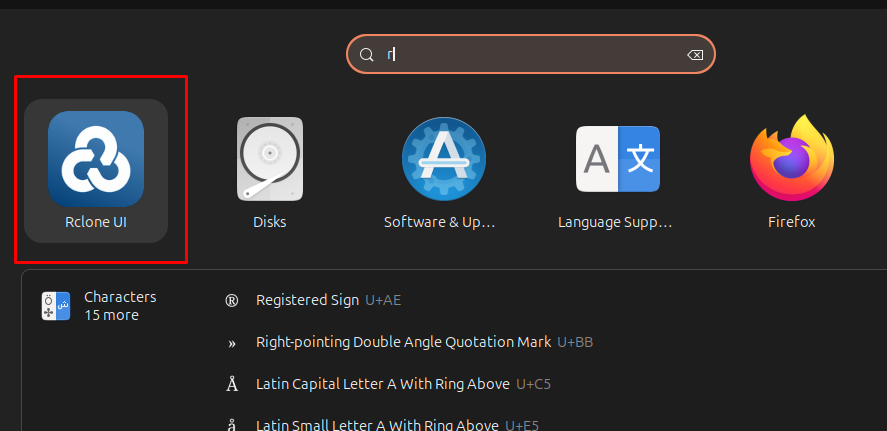
You can see the icon in the above screenshot so now you know that it was installed successfully. Go ahead and click on that to open it.
Rclone quickly goes and hides into the background so no need to worry about if you don’t see a window.
This part is a bit tricky because Ubuntu’s tray is black and the Rclone UI logo is also very light grey(ish). This may cause confusion but if you hover over it and then click on it you will be able to see a drop-down.
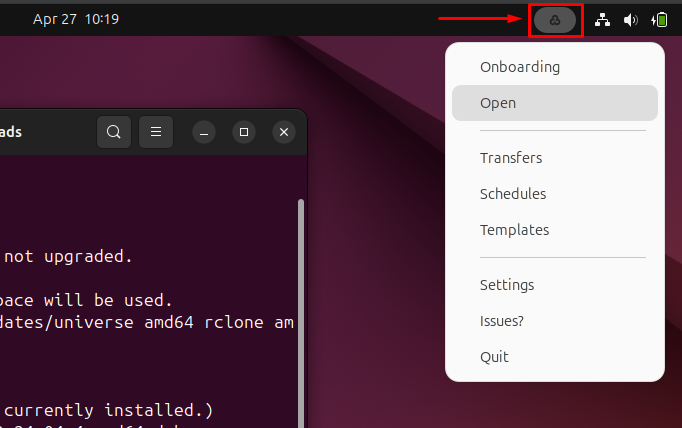
Using this drop-down you can open the Rclone UI menu and start using it.
Method 2: Run Rclone UI using AppImage (GitHub Release)
Step 1: Download Rclone UI AppImage
Go to the official Rclone UI GitHub Repository and download the AppImage:
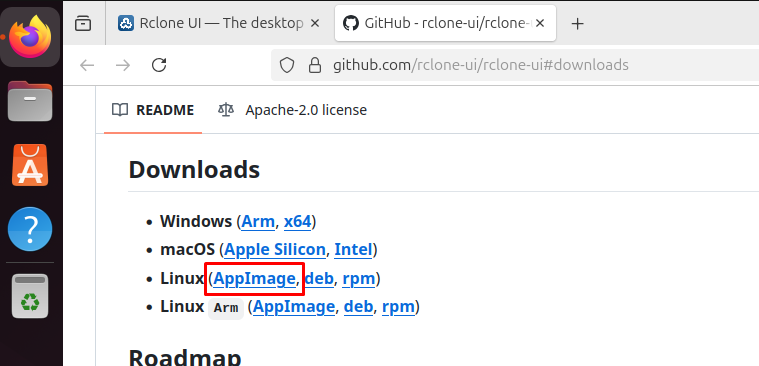
Step 2: Make the AppImage File Executable
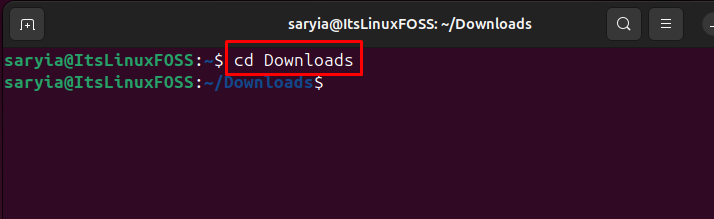
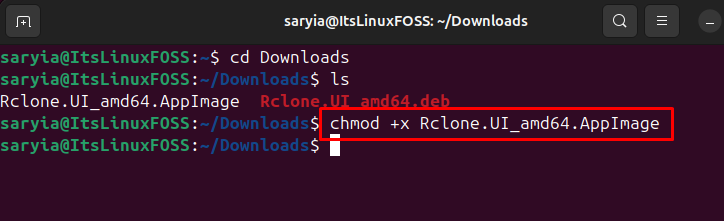
Change the directory to Downloads or where you have downloaded this AppImage file:
cd Downloads
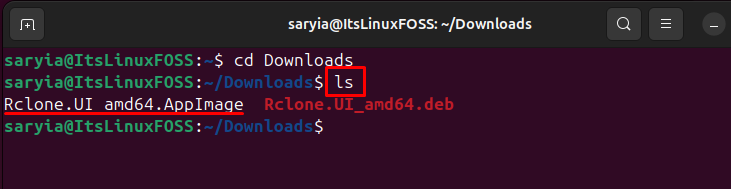
Now list all files to ensure it was downloaded and it is in this directory, verify that:
ls
Go ahead and use chmod command to make this AppImage file executable:
chmod +x Rclone.UI_amd64.AppImage
Step 3: Run AppImage & Start Using Rclone UI
Run the AppImage file like this:
./Rclone.UI_amd64.AppImage
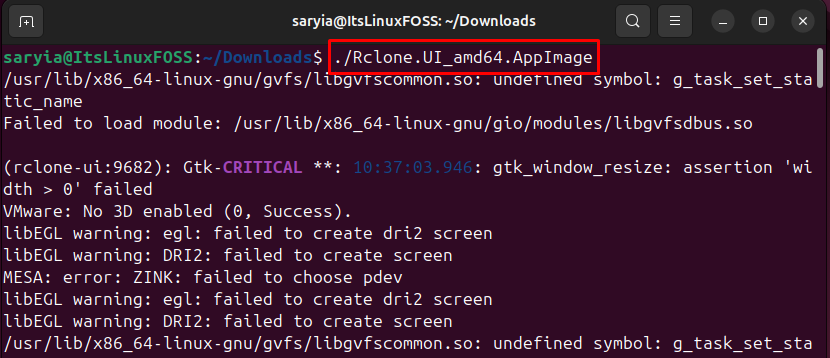
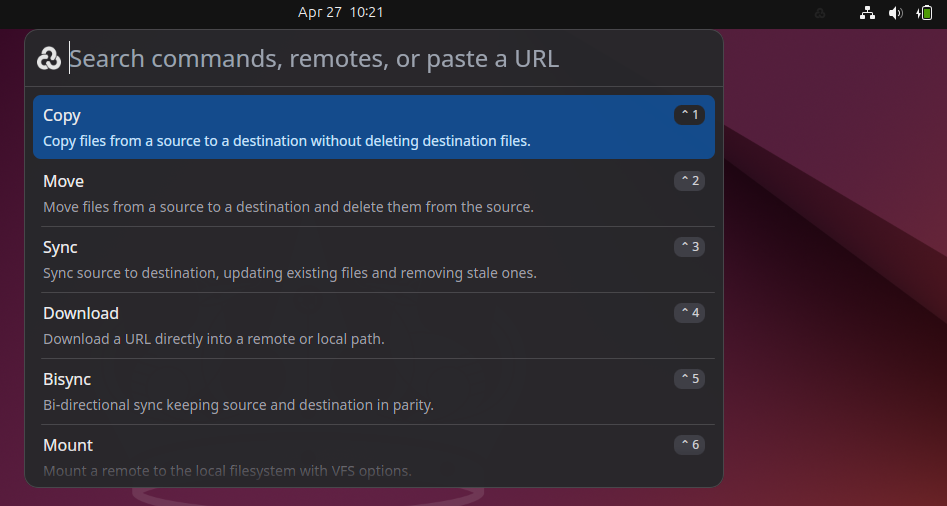
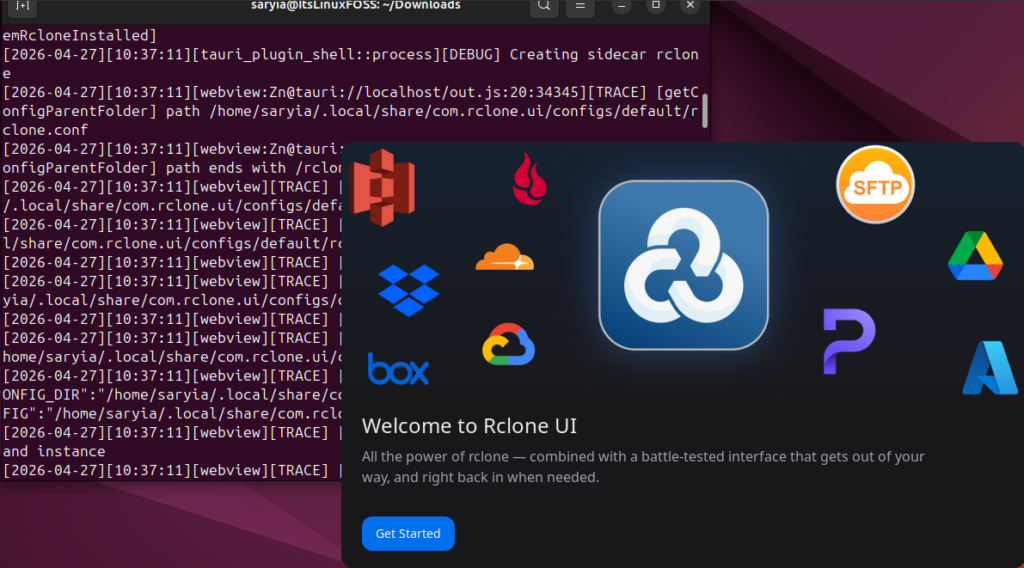
Rclone UI onboarding window will pop up, just follow along and now you can start using Rclone UI.
Conclusion
Instead of typing in commands in the terminal and downloading/uploading files to the cloud, it is far better and easier to use Rclone UI which is built on top of the rclone command line tool. Rclone UI gives you a neat user interface and makes your job 10 times easier. You can directly download it from the website (.deb package) for Linux and install it or you can also download AppImage from Github repository and run it to start using Rclone UI. Please remember to check the Rclone UI icon in your top bar; it might get camouflaged due to GNOME design philosophy.

Saryia is a technology entrepreneur and digital publisher specializing in Linux, open-source technologies, and developer education.