A package is a piece of code written by someone else that can be executed and usually serves a particular purpose. A package should be thought of as a tool that you can utilize for your projects. These packages are useful because in their absence you’d have to write a lot more code to accomplish your goals. As most people face similar issues, you’ll often find that a group of people wrote code to help them fix it, and then they deployed it in the market as a package.
Software distributions such as Miniconda and Anaconda exist in the software industry. Anaconda has 150 data science packages, including everything you can think of, while Miniconda only has a few of the essentials. Miniconda is a data scientist’s workstation. Each workbench begins its journey with nothing but some of the simple essentials. However, as a project progresses the number of tools on the workbench increases. These tools are used, swapped, and updated all the time. A data scientist should customize each workbench to his or her liking. Even though they’re on the same team, one data scientist’s workbench may be going to be entirely different from another.
Miniconda is a free Conda installer. It is a lightweight version with only conda, a handful of useful modules like zlib, pip, and a few others including Python, the required packages. Using the install command of conda, you can install extra conda packages from the registry of Anaconda. The simplest way to get conda on your system is to install Miniconda.
Space requirement for the installation of Miniconda:
When you first start using Miniconda, the most important consideration is computer space. If you don’t have 3 GB of free space on your system then consider a minimal configuration setup.
That’s all about Miniconda. Now, let’s start its installation guide on Ubuntu 20.04. Firstly, ensure that you are using the terminal as a ‘superuser’.
Installing and Using Miniconda on Ubuntu 20.04
Step 1: Open the terminal by pressing ‘CTRL+ALT+T’ or search it manually in the activities and update the packages list.
$ sudo apt update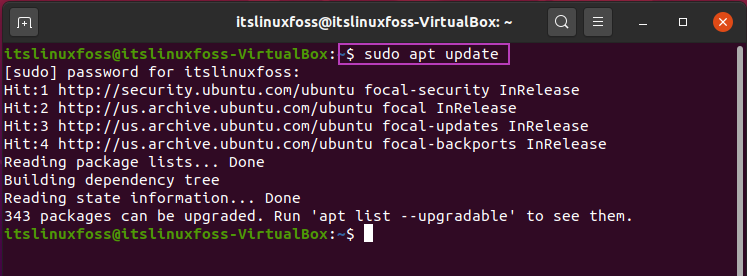
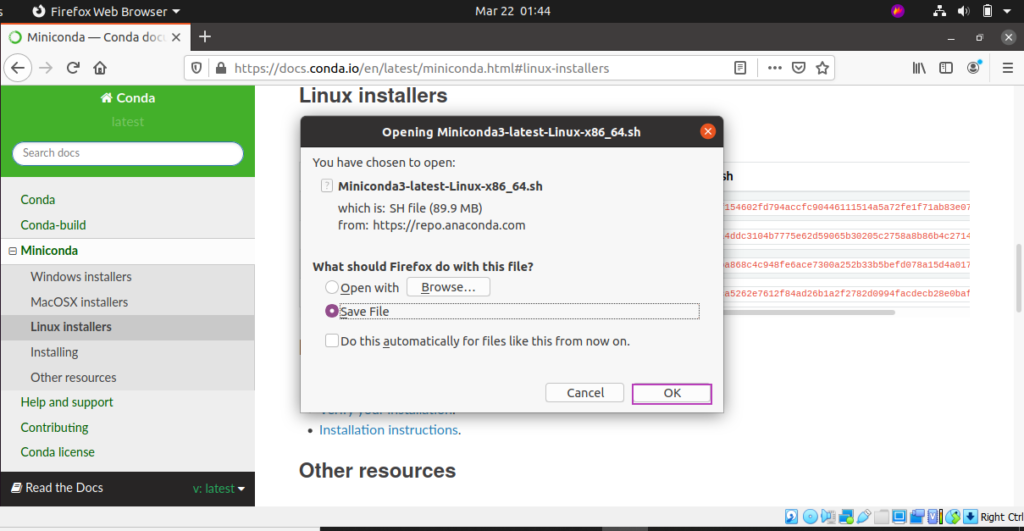
Step 2: Utilize the below-given link for downloading the Miniconda from its official website.
https://docs.conda.io/en/latest/miniconda.html#linux-installers
Save the file on your system
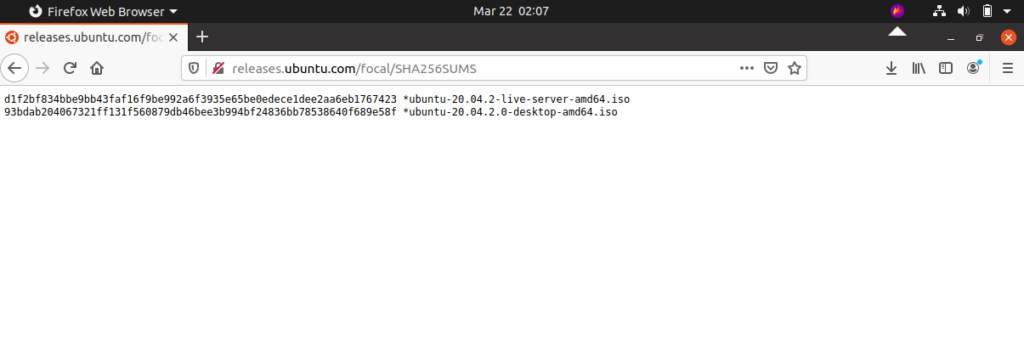
Step 3: Verify your Miniconda installer by using shah256sum.
releases.ubuntu.com/focal/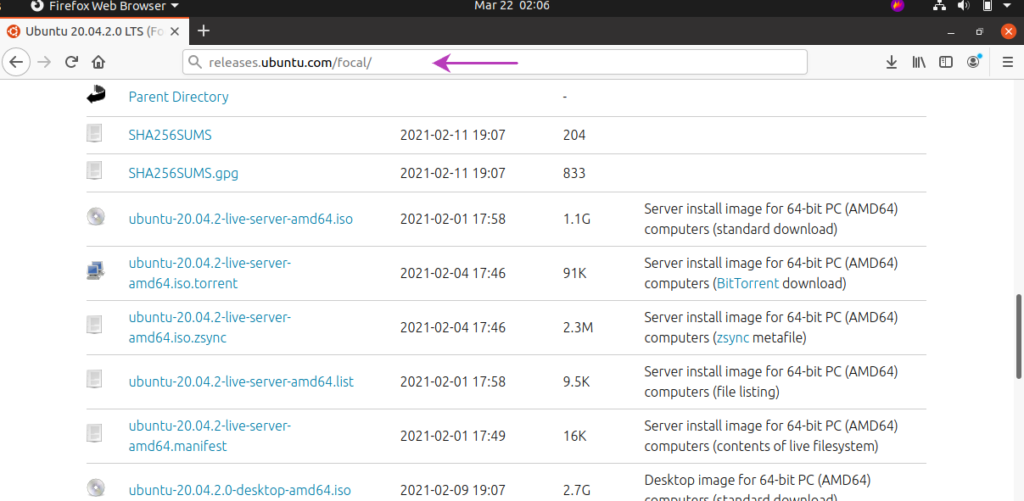
Step 4: Now write-out the following command to execute the Miniconda installer on your Ubuntu 20.04.
$ bash Miniconda3-latest-Linux-x86_64.sh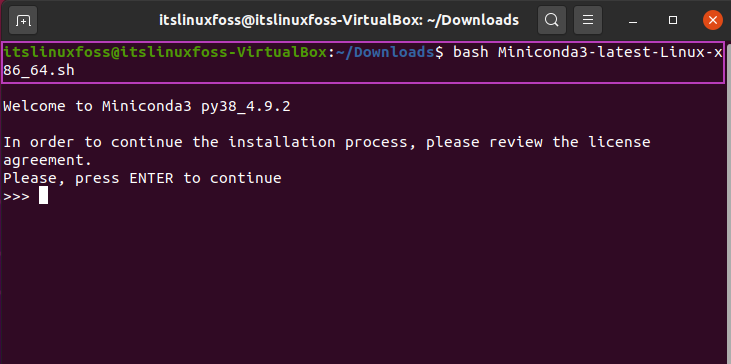
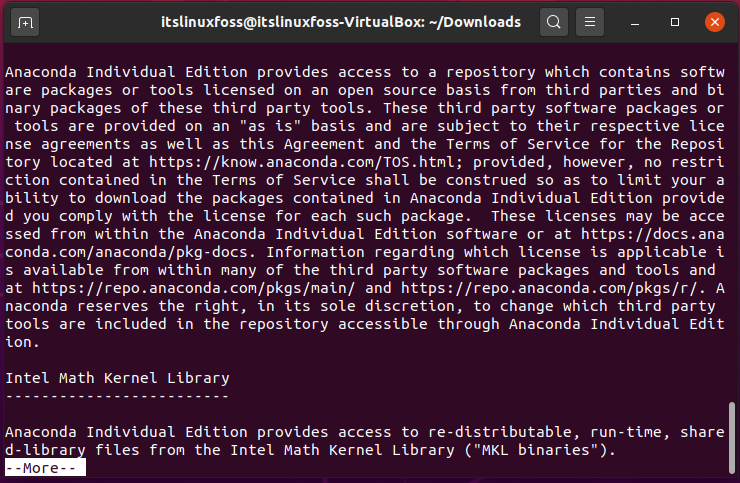
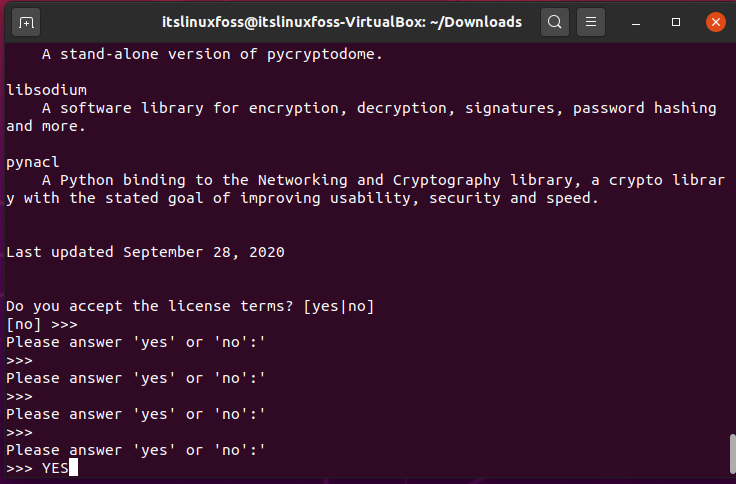
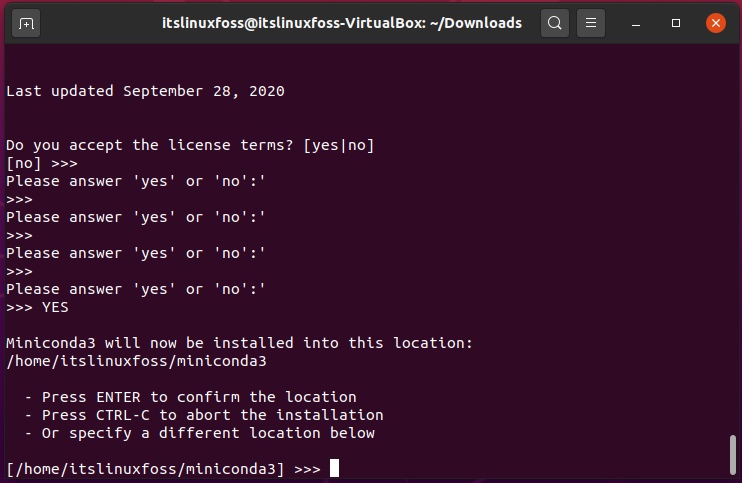
Accept the Miniconda License terms.
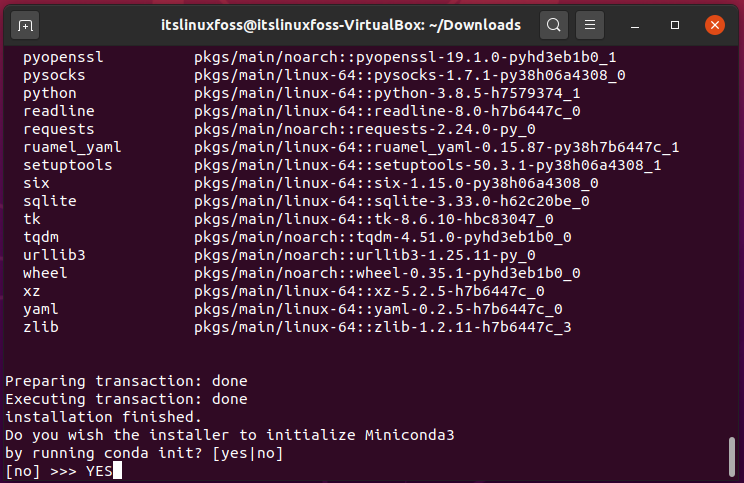
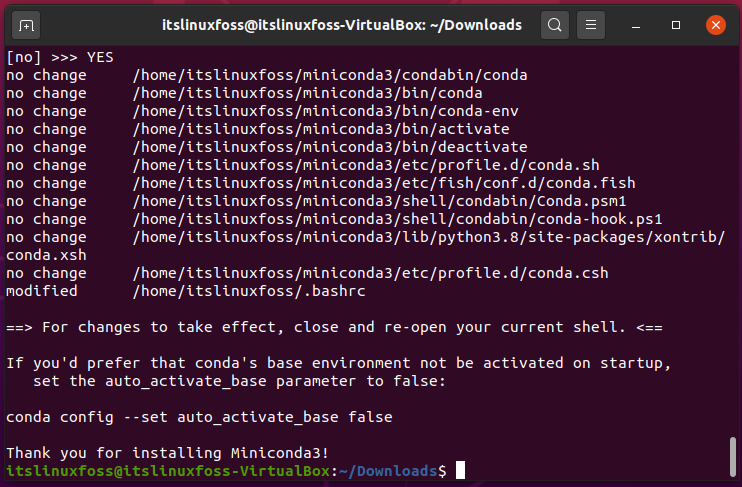
Initialize the Conda.
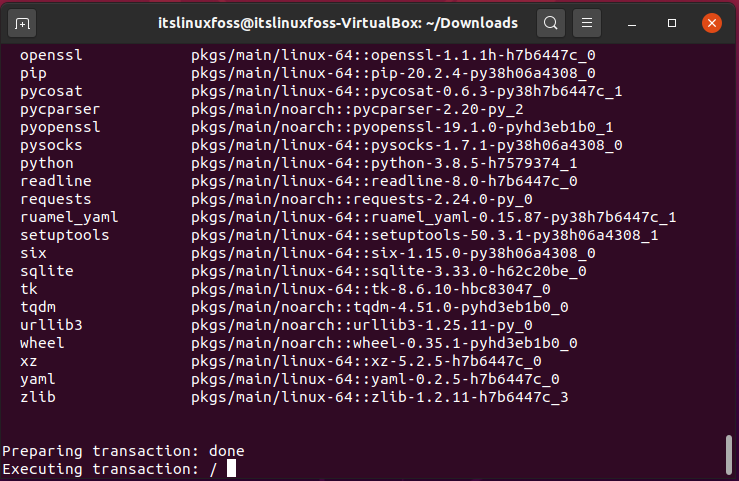
Step 5: Checkout the packages present in this environment.
$ conda list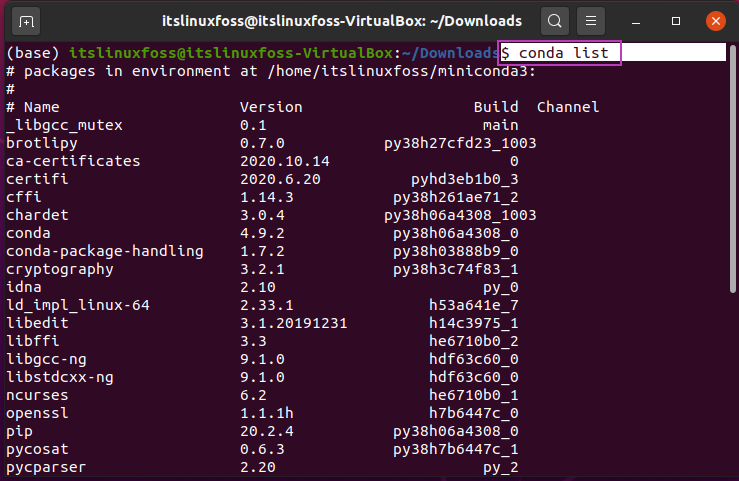

Step 6: You can also use the Fish shell for Conda initialization.
$ conda init fish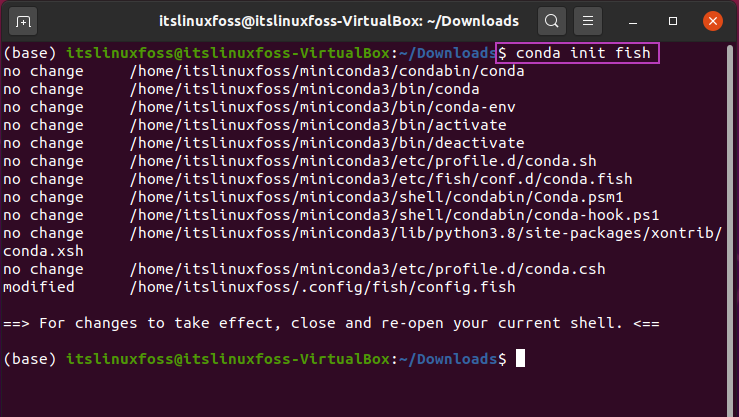
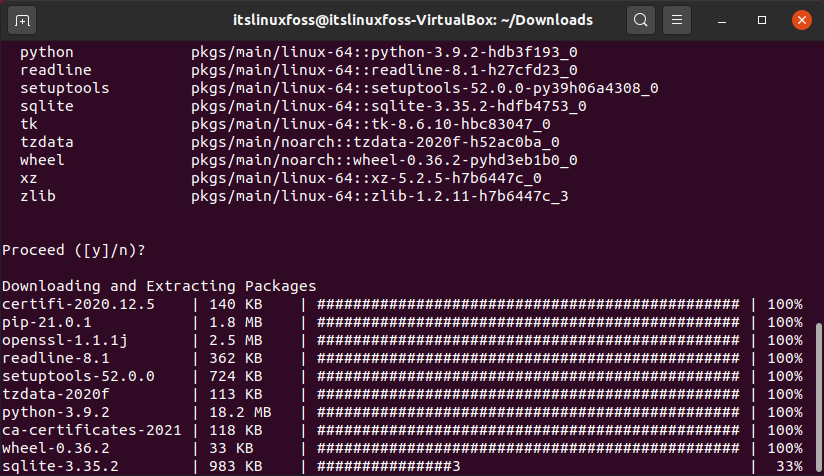
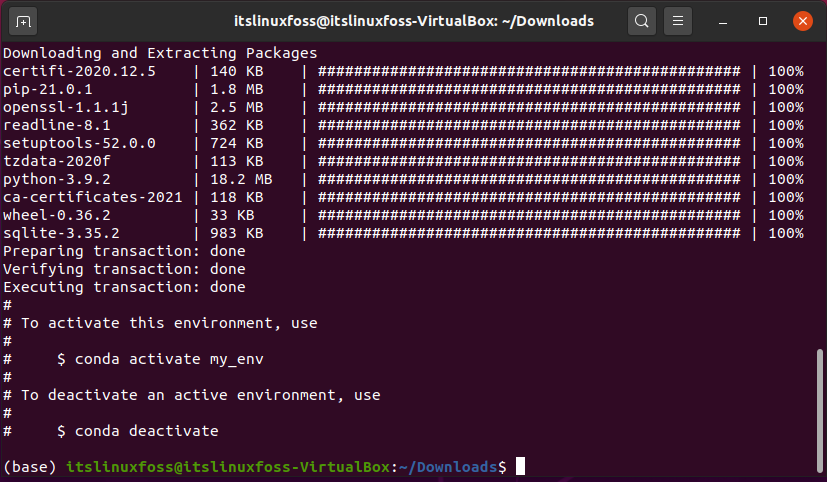
Step 7: Create an environment named as ‘my_env’.
$ conda create --name my_env python=3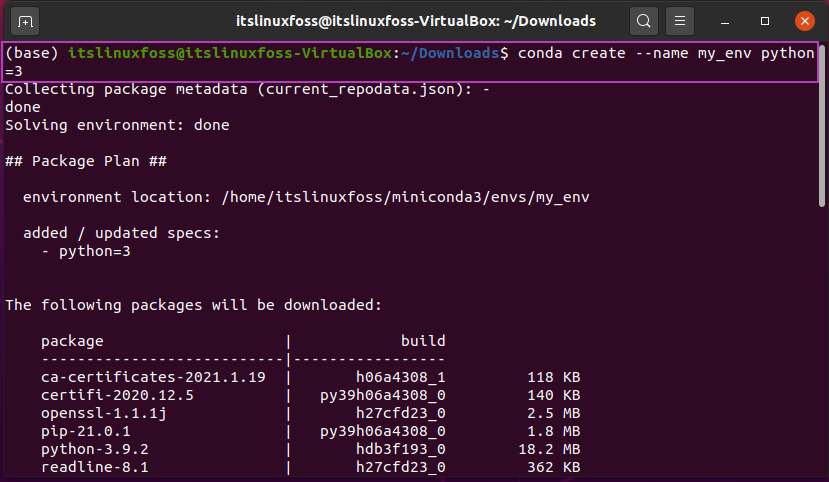
Step 8: You can easily activate the created environment variable by utilizing the following command.
$ conda activate my_env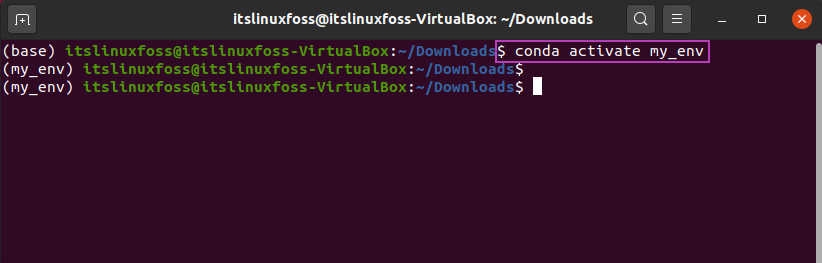
Step 9: For deactivating, the environment, write-out this command:
$ conda deactivate 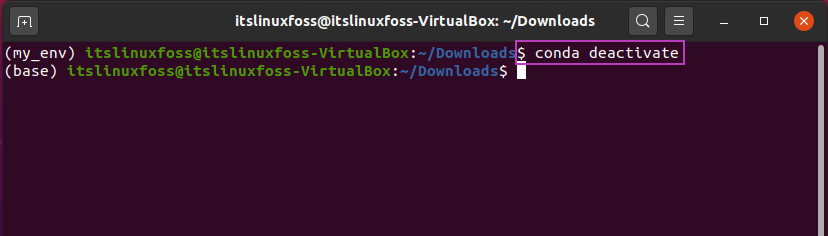
Conclusion:
We have shown you the complete procedure of installing and setting up Miniconda on Ubuntu 20.04.

Saryia is a technology entrepreneur and digital publisher specializing in Linux, open-source technologies, and developer education.