
A popular PBX open source platform known as “Asterisk” is used for the development of various communication applications by different groups of organizations worldwide. It comes with many features such as voicemail, real time monitoring, call recorder, conference calls etc.
Asterisk is written to run on various Unix including Linux and is used to connect different telephone protocols. In today’s tutorial, we’ll learn how to install Asterisk on Ubuntu 20.04. Note that the version we’re installing is Asterisk 18.
Step By Step Guide For Asterisk Installation
Step 1: Update the System
Firstly, you need to update your system by running the following commands:
$ sudo apt update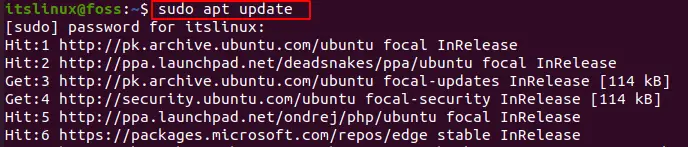
This will up-to-date your system. Now, run the following command in order to install the required packages for Asterisk:
$ sudo apt install wget build-essential git autoconf subversion pkg-config libtool
Step 2: Install DAHDI and LibPRI:
In order for Asterisk to communicate with analog and digital telephones we need drivers. Henec, DAHDI and LibPRI are required drivers and utilities and to install them you’ve run the following command:
First, switch to /usr/src/ directory:
$ cd /usr/src/
Now run the following commands:
$ sudo git clone -b next git://git.asterisk.org/dahdi/linux dahdi-linux
$ cd dahdi-linux
$ sudo make
$ sudo make install 
Now, run the following commands:
$ cd /usr/src/
$ sudo git clone -b next git://git.asterisk.org/dahdi/tools dahdi-tools
$ cd dahdi-tools
$ sudo autoreconf -i
$ sudo ./configure
$ sudo make install
$ sudo make install-config
$ sudo dahdi_genconf modules
Now, to build LibPRI run the following command:
$ cd /usr/src/
$ sudo git clone https://gerrit.asterisk.org/libpri libpri
$ cd libpri
$ sudo make
$ sudo make install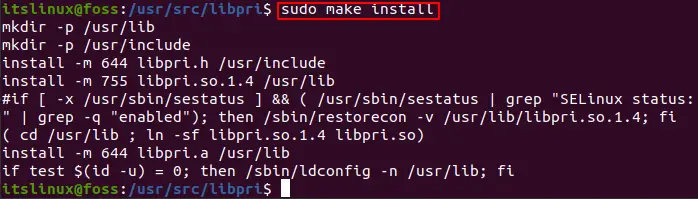
Step 3: Install Asterisk:
Now, Asterisk source should be cloned to the /usr/src/ directory. For that frun the following commands:
$ cd /usr/src/
$ sudo git clone -b 18 https://gerrit.asterisk.org/asterisk asterisk-18
Here, we downloaded the 18th version of Asterisk. To download a different version, change the branch number in the above command.
Change to asterisk directory:
Now you’ve to go to the asterisk directory. For that run the following command:
$ cd asterisk-18/
Now, download the mp3 source. Through this we’ll be able to build mp3 modules and use mp3 files on asterisk:
$ sudo contrib/scripts/get_mp3_source.sh
Now, run the following command to install all the necessary dependencies:
$ sudo contrib/scripts/install_prereq install
This above command might take some time. Now to check if all the dependencies required are installed on the system, run the following command:
$ sudo ./configure
Now, after you’ve all the dependencies required, you’ve to select modules that you want to install and compile. For this run the following command:
$ sudo make menuselect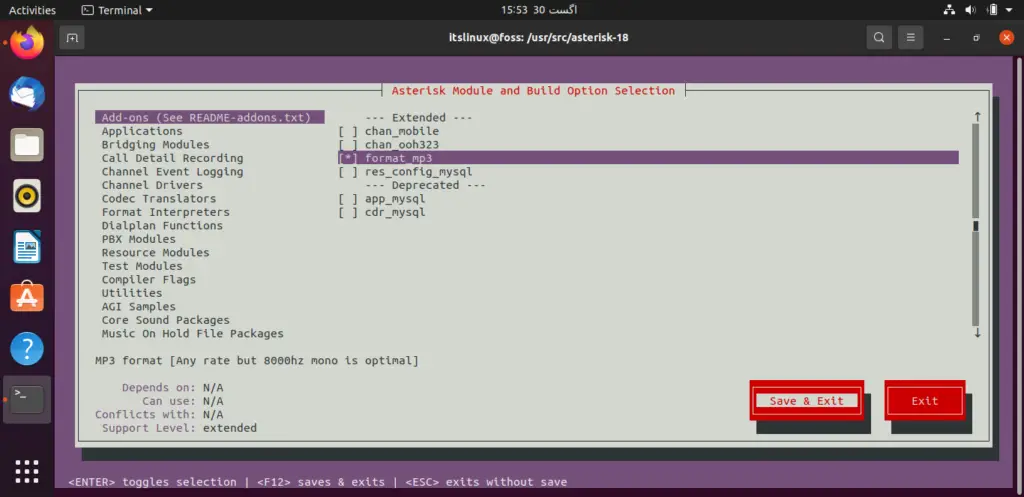
Now, here select the desired module. I selected the “format_mp3” option. After that, select the “Save and Exit” option. Now, you’ve to compile and for the run the following command:
$ sudo make -j2
This might take some time. Here, you can change the j flag depending on the number of cores in your system. Once it’s completed run the following command:
$ sudo make install
This will install Asterisk and its module. Now, to install the configuration files:
| Generic: | $ sudo make samples |
| Basic PBX: | $ sudo make basic-pbx |


Finally, install the init script for Asterisk:
$ sudo make config
And to update the shared libraries cache, run the following command:
$ sudo ldconfig
Step 4: Create User And Start Asterisk:
Run the following command with user named ‘asterisk’:
$ sudo adduser --system --group --home /var/lib/asterisk --no-create-home --gecos "Asterisk PBX" asterisk
Now, to configure Asterisk to run as asterisk user, run the following command:
$ sudo nano /etc/default/asteriskThis will open a file, in the file comment out following two lines:
AST_USER="asterisk"
AST_GROUP="asterisk"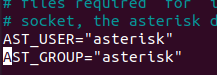
Now, in the dialout and audio groups add the aster user:
$ sudo usermod -a -G dialout,audio asterisk
Now, finally to provide the aster user all the ownership and permissions to the files and directories, run the following command so that aster user can access it:
$ sudo chown -R asterisk: /var/{lib,log,run,spool}/asterisk /usr/lib/asterisk /etc/asterisk
$ sudo chmod -R 750 /var/{lib,log,run,spool}/asterisk /usr/lib/asterisk /etc/asterisk
$ sudo systemctl start asterisk
Verify it using the command:
$ sudo asterisk -vvvrThis will give you an Asterisk CLI prompt without any errors. Now, enable Asterisk services to start on system boot:
$ sudo systemctl enable asteriskIn this way you’ll be able to install Asterisk on Ubuntu 20.04.
Conclusion
In today’s guide we learn how to install Asterisk on Ubuntu. Asterisk provides us various benefits from SMS messaging to voice calls etc. Installing it you can build various customizable communication applications. It provides the user with open source code for modification through which users can integrate various telephone functions and protocols.

Saryia is a technology entrepreneur and digital publisher specializing in Linux, open-source technologies, and developer education.