
Conda is a powerful tool that helps you manage different packages and environments for programming, especially when you are working with R and Python. Conda is like a toolbox that keeps all your coding tools well organized and ready to use, making things simple for you to install, update, or remove packages. You can use Conda to create a virtual environment for managing packages and avoid conflicts with preinstalled packages installed on the system.
With the latest release of the Ubuntu 24.04 system, you may need Conda to handle complex projects, so this guide will help you learn:
- How to Install Conda on Ubuntu 24.04
- How to Use Conda on Ubuntu 24.04
- How to Update Conda on Ubuntu 24.04
- How to Remove Conda from Ubuntu 24.04
- Conclusion
How to Install Conda on Ubuntu 24.04
Conda has two main distributions; Miniconda and Anaconda. The Miniconda is the minimal distribution that includes Conda, Python, prerequisites of these packages, and a few numbers of useful packages. On the other hand, Anaconda is a comprehensive distribution that includes over 250 packages preinstalled and provides you access to 7500 additional open-source packages. Anaconda is extremely helpful for scientific computing and data science-related tasks.
In the next sections of this guide, we will cover the installation process of both Conda distributions on Ubuntu 24.04.
How to Install Miniconda on Ubuntu 24.04
Installing Miniconda on Ubuntu 24.04 can be done using the following steps:
Step 1: Download the Miniconda Script
Conda developers have provided an installation script that allows you to install Miniconda; you can download and run the script to perform Miniconda installation on Ubuntu. However, for this script to run, ensure you are using Ubuntu 24.04 64-bit system because the script will only be supported for 64-bit Linux systems.
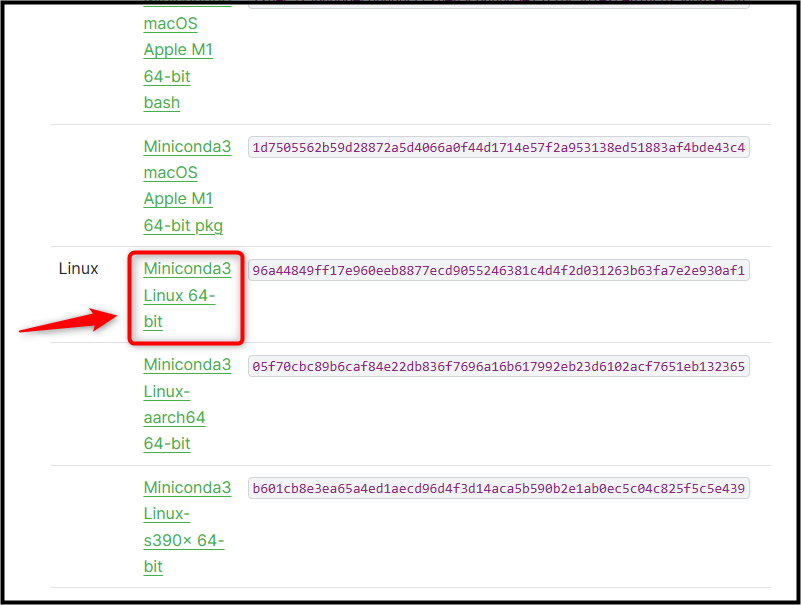
To download the Conda script, open any web browser on Ubuntu and visit the official Miniconda download page. Then click on the desired Miniconda file for Linux to download it on the system:
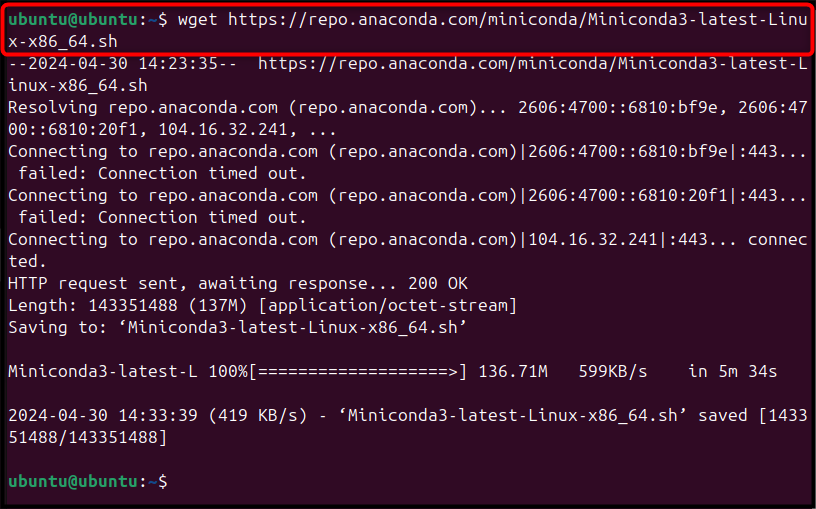
Alternatively, you can also download the Miniconda script using the below-given wget command in the terminal:
wget https://repo.anaconda.com/miniconda/Miniconda3-latest-Linux-x86_64.sh
Step 2: Install Miniconda on Ubuntu
After downloading the Miniconda script, you can execute it on Ubuntu using the below-given command:
sudo sh Miniconda3-latest-Linux-x86_64.sh

To continue the Conda installation process on Ubuntu, you must press the Enter button:

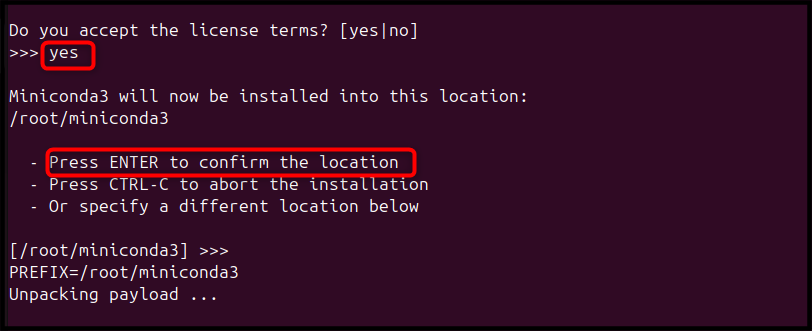
Then scroll down the License Agreement Terms using the Space button. Scroll down further until you see the option to accept the License agreement. Simply, reply with the yes to approve the Conda License Agreement.
Further, you will also find the option to choose the location where Miniconda needs to be installed. If you press the Enter button, it chooses the default location for Conda installation, while you can specify the location according to your choice. We are going with the default root location for Conda installation on Ubuntu 24.04:
The installation process will begin installing the required files on your system needed to run Conda. Once the installation is finished, reply with yes to activate the base environment on Ubuntu.
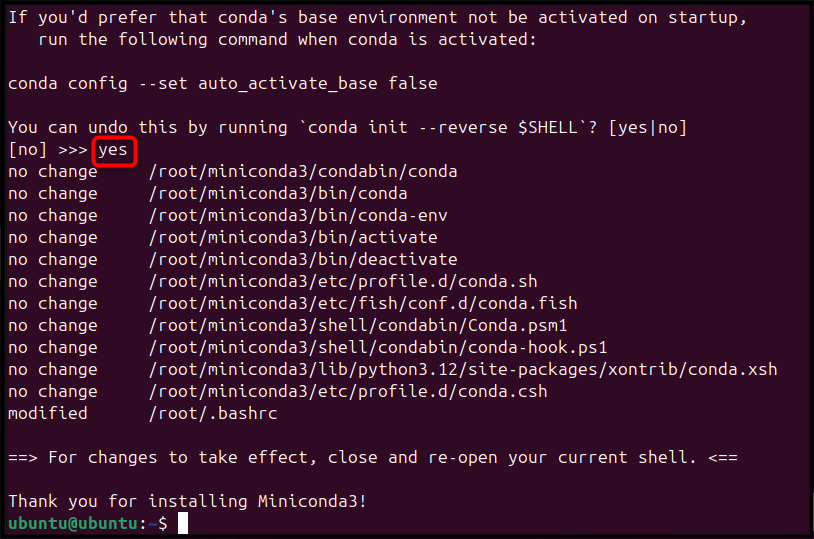
At this stage, the setup process completes the installation of Conda on the Ubuntu system. To apply the changes, reopen your terminal again; when the terminal starts, your base environment will be activated automatically.
Since we have set up the root directory as the default location for Conda, so the environment will be activated once you log in to the terminal as a root user:

To confirm Conda is successfully installed on Ubuntu, use the below-given command:
conda --version

How to Install Anaconda on Ubuntu 24.04
Installing Anaconda on Ubuntu 24.04 is also simple and has steps similar to the one we performed for the Miniconda installation. For installing Anaconda on Ubuntu 24.04, use the below-mentioned steps:
Step 1: Download Anaconda Script
First, open your favorite browser on Ubuntu and visit the Anaconda web page, there, click the 64-Bit Installer option for Linux to download Anaconda script on Ubuntu:

If you are using Ubuntu server, you can use the following command to directly download the Anaconda script file on the system:
wget https://repo.anaconda.com/archive/Anaconda3-2024.02-1-Linux-x86_64.sh
Step 2: Run the Anaconda Script
Once you downloaded the Anaconda script, run it on the system through the sh command with the script file name.
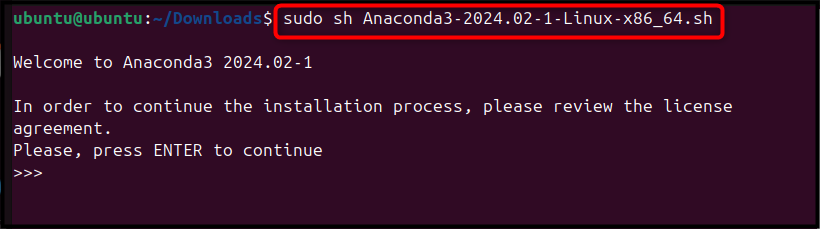
sudo sh Anaconda3-2024.02-1-Linux-x86_64.sh
When you run the script, you must press the Enter button to allow the script to perform the necessary installation:
Once you press the Enter button, you will see a detailed list of agreements. You can read them carefully or skip them by pressing the Space button again and again until you see the option to accept the license terms:
The rest of the process is similar to the one we covered for the Miniconda installation, like accepting the terms, choosing the location for Anaconda, and others:

Once everything works well, you can close the terminal and reopen it again. Since, we have used the root locations for Anaconda installation, the default based environment will be activated once you log in to the system as a root user:
How to Use Conda on Ubuntu 24.04
You can use Conda to create a new Python virtual environment on Ubuntu. By default, Conda automatically sets the base environment when you launch it after the installation. However, the base environment can be disabled to run at startup through the below-given command:
conda config --set auto_activate_base false

To apply the changes, you should restart the terminal and open it again.
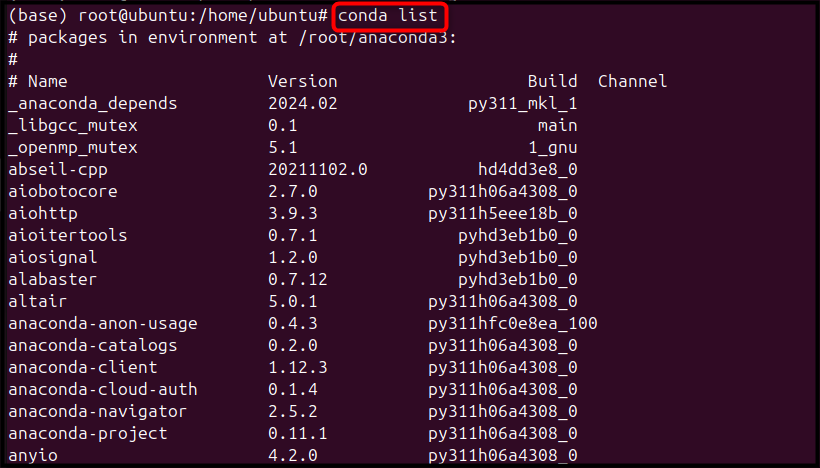
To verify the list of packages that come preinstalled with the base environment, you can use the below-provided command:
conda list
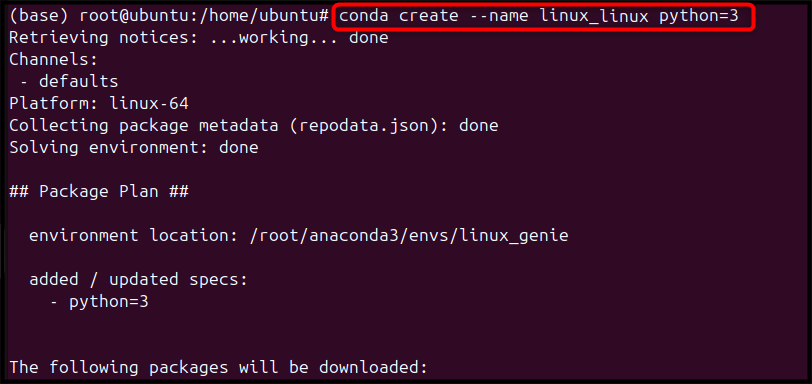
To create a separate Python virtual environment using Conda on Ubuntu, you can use the below-given syntax:
conda create --name conda_env_name python=3
Here, replace conda_env_name with the name of your choice.
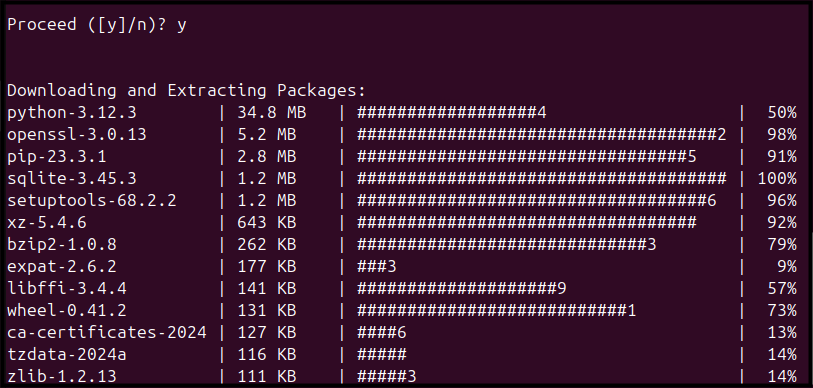
Allow the process to download and install Python packages for your newly created environment by replying with yes:
If everything goes well, you can activate your newly created Python virtual environment using the following command:
conda activate conda_env_name

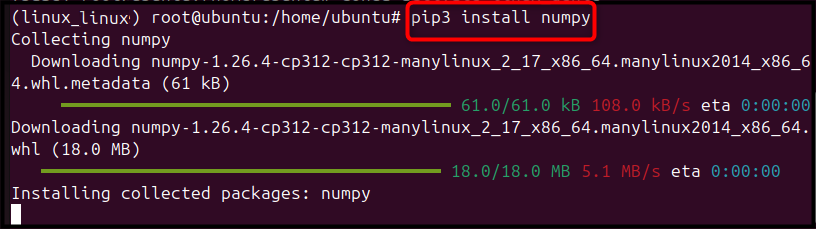
After activating the environment, you can test it by installing Python packages using the pip command followed by the package name you want to install:
pip3 install package_name
To deactivate your Python virtual environment, you can use the below-given command:
conda deactivate
However, the above command will only deactivate your created environment and once it is deactivated, the base environment will be activated. You can disable the base environment as well by running the conda deactivate command again:

For more details, follow this dedicated guide.
How to Update Conda on Ubuntu 24.04
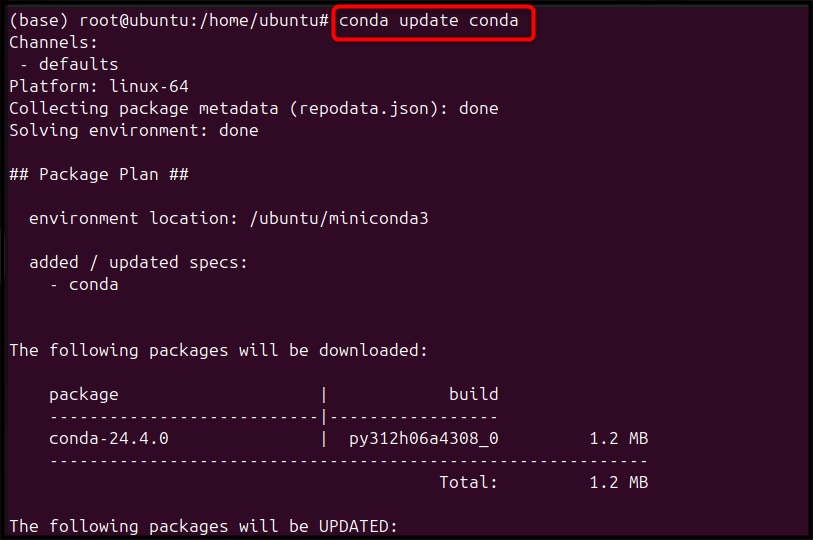
Besides installing Conda on Ubuntu 24.04 through Miniconda or Anaconda, you can also update the previous Conda version. To do this, simply use the conda update command followed by the keyword conda:
conda update conda
It will start looking for the new updates if available:
Simply reply with y to update Conda on Ubuntu:

To confirm the previous version of Conda is updated, you can use the following command again:
conda --version

How to Remove Conda from Ubuntu 24.04
Removing Conda from Ubuntu 24.04 will be different for different Conda distributions. For example, if you have installed Miniconda on Ubuntu 24.04, then you can remove the directory using the below-given command:
sudo rm -rf /root/miniconda3

However, if you have installed Anaconda on Ubuntu 24.04, you can remove it by using the following command
sudo rm -rf /root/anaconda
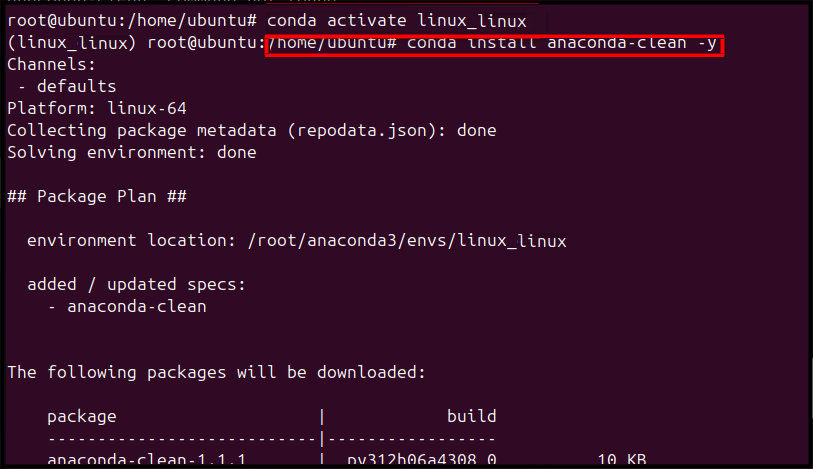
Besides that, you can also remove Anaconda and all its configuration files by first installing the Anaconda module via the below-provided command:
conda install anaconda-clean -y
After that, use the anaconda-clean command to remove the Anaconda configuration files from the system:
anaconda-clean -y

To remove a Conda environment with all its dependencies, you can use the below-given command:
conda remove --name conda_env_name --all

Conclusion
Conda is an open-source tool used for managing different packages and environments. It has two main distributions; Miniconda and Anaconda. Both distributions of Conda can easily be installed on Ubuntu 24.04 through a script downloaded from the official web page. The steps to run the script and perform the remaining installation process are similar for both distributions, which can be followed from the above-mentioned guide. Besides that, you can also use Conda commands to update Conda itself, update and remove packages, create a Python virtual environment, and more. Doing this will make it easy to handle projects and perform data science-related tasks.

Check our LinkedIn company page