
Jitsi Meet
Jitsi Meet has defined a set of open-source projects that permits the user to easily develop and deploy various video conferencing solutions. At this point Jitsi has Jitsi Meet and Jitsi Videobridge. These applications allow you to have video conferences on the internet meanwhile enabling other features such as recording, audio, dial-in, recording, etc. It all started as a strategy to talk to people using audio or video on the internet. It is so much enhanced over a decade. In 2020, Jitsi crossed the number of monthly average users.
At this point, Jitsi is:
- A lively community of developers: First of all, it is a developers community that is forcing the limits of embedding the quality of video conferencing on the web.
- It is a base containing confounding products and projects.
- Anyone can use this free, completely crazy-good video-conferencing application without fearing the privacy issue.
- Security was the factor in the developer’s mind from the beginning.
- The candidates who are engaged in video calls can log in to any session without creating an account. After the end of the call, the chat content of the meeting is going to be destroyed completely.
- Generated characters or numbers make secure meeting rooms.
Features
- Jitsi provides Debian and Ubuntu packages with an easy installation guide.
- It is also compatible with WebRTC which is considered a standard for communication on the web.
- Jitsi can support advanced video conferencing tools such as scalable video coding, simulcast, bandwidth estimations, and much more.
- Better quality with low latency is a Jitsi thing. It is an inexpensive and scalable video conferencing solution for your service.
Now, let’s step-in towards the Jitsi Meet installation process on Ubuntu 20.04. Before following the installation guide, make sure that you are working as a ‘superuser’.
Installing Jitsi Meet on Ubuntu 20.04
Step 1: Open the terminal by pressing ‘CTRL+ALT+T’ or search it in the activities. The package list needs to be updated.
$ sudo apt-get update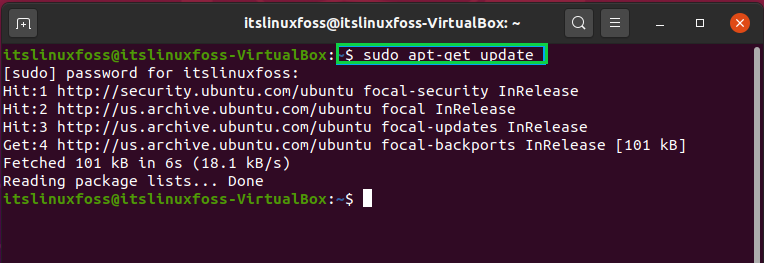
Step 2: Declare a hostname for executing your Jitsi meet instance.
$ sudo hostnamectl set-hostname jitsi.itslinuxfoss$ hostname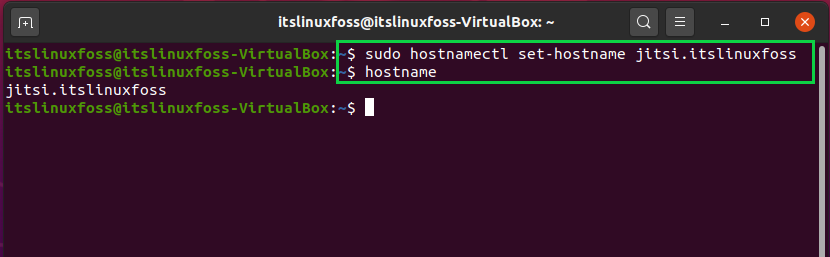
Step 3: Add the host address in the configuration file and save it.
$ sudo nano /etc/hosts
127.0.0.1 jitsi.itslinuxfoss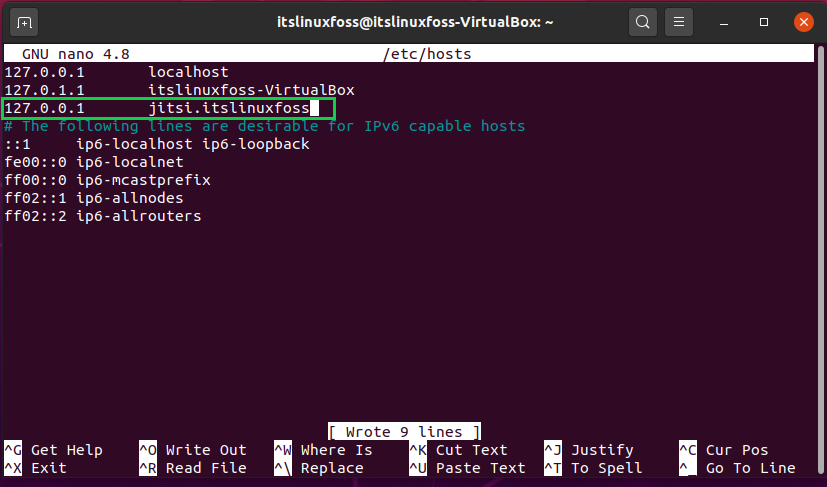
Step 4: Also configure the Firewall settings by utilizing the following commands.
$ sudo ufw allow 80/tcp
$ sudo ufw allow 443/tcp
$ sudo ufw allow 4443/tcp
$ sudo ufw allow 10000/udp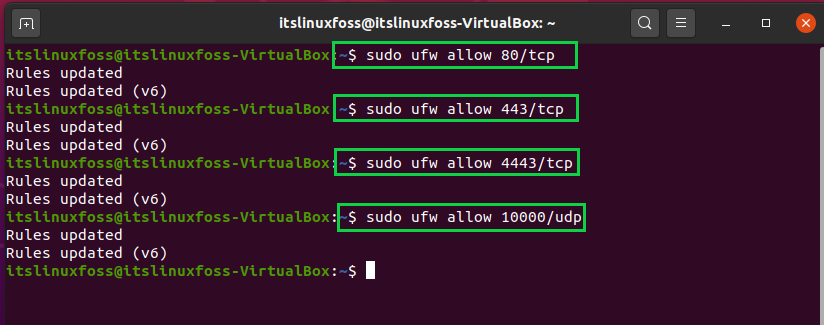
$ sudo ufw status
Step 5: Use the ‘wget’ command to install the GPG key of Jitsi Meet.
$ wget https://download.jitsi.org/jitsi-key.gpg.key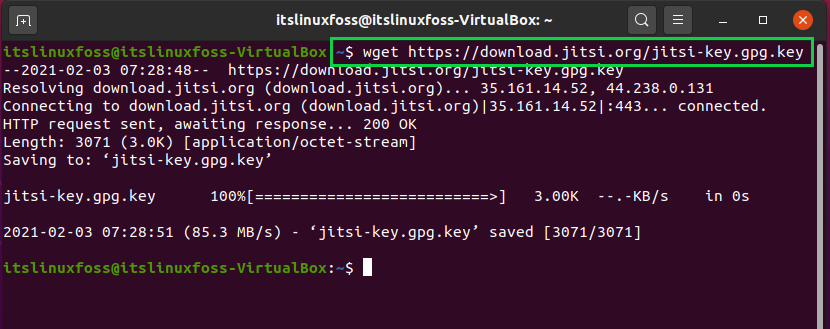
$ sudo apt-key add jitsi-key.gpg.key
Now, Open the jitsi configuration file and add the jitsi repository link.
$ sudo nano /etc/apt/sources.list.d/jitsi-stable.list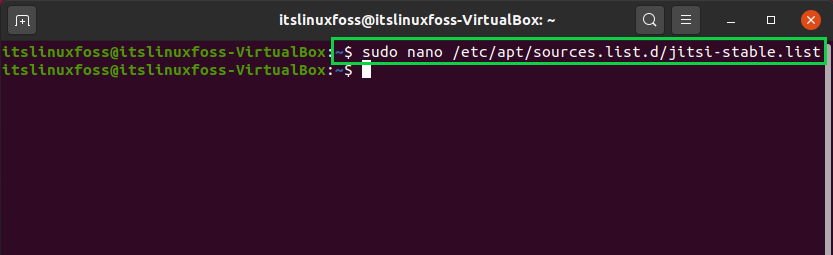
deb https://download.jitsi.org stable/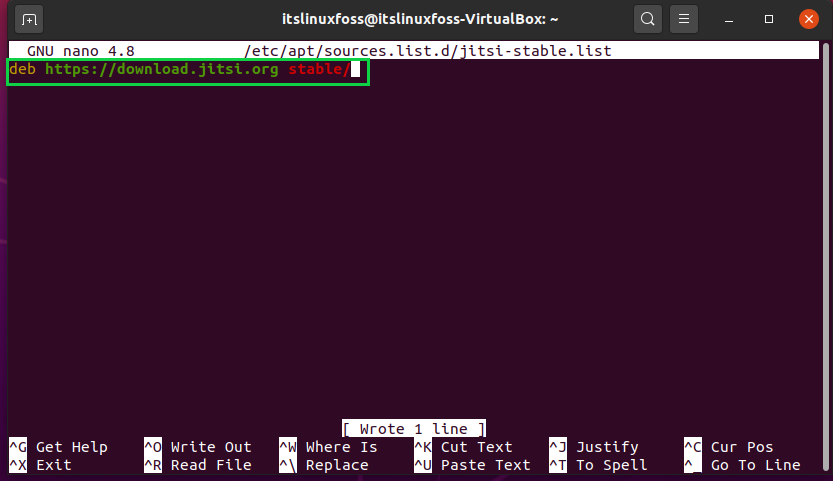
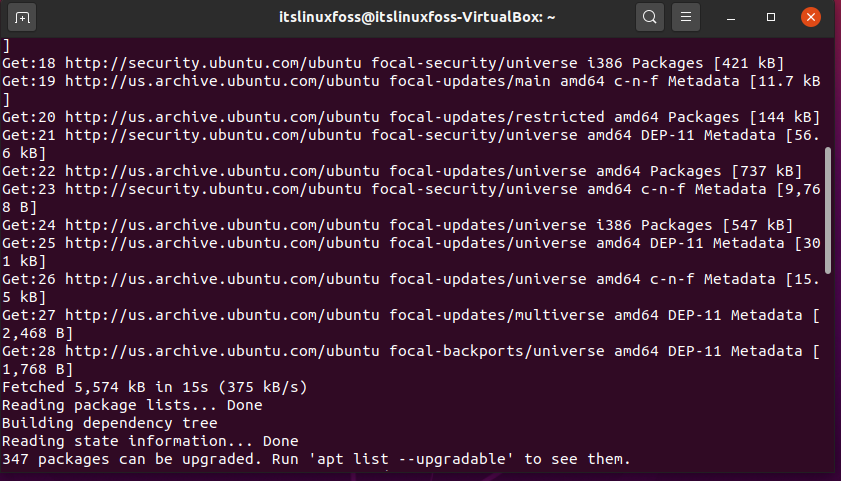
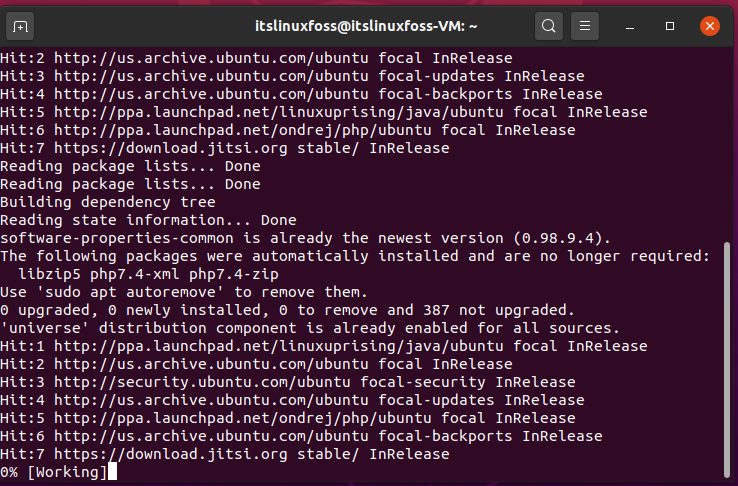
Again, update the packages list.
$ sudo apt update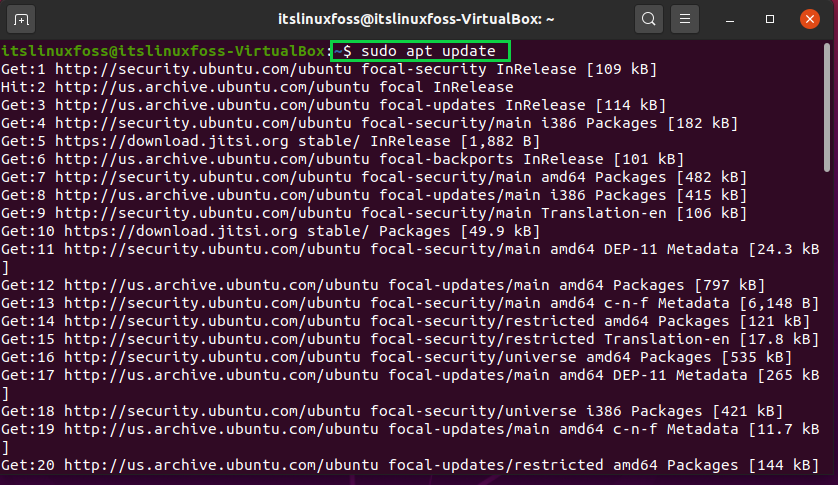
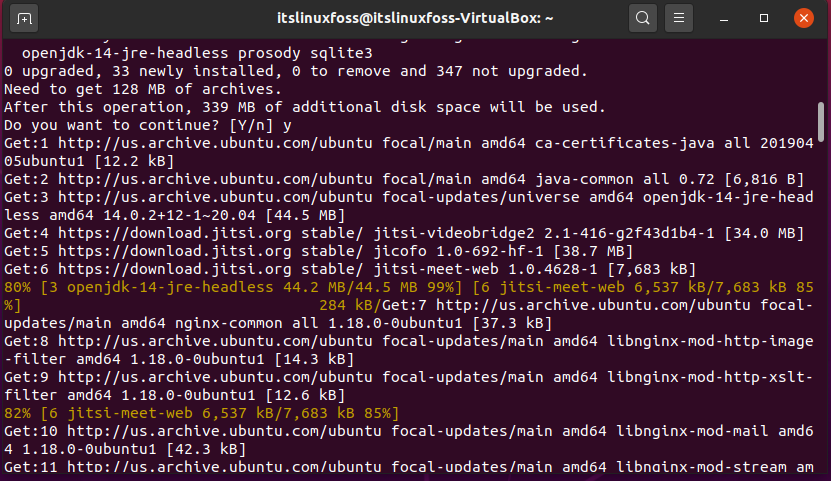
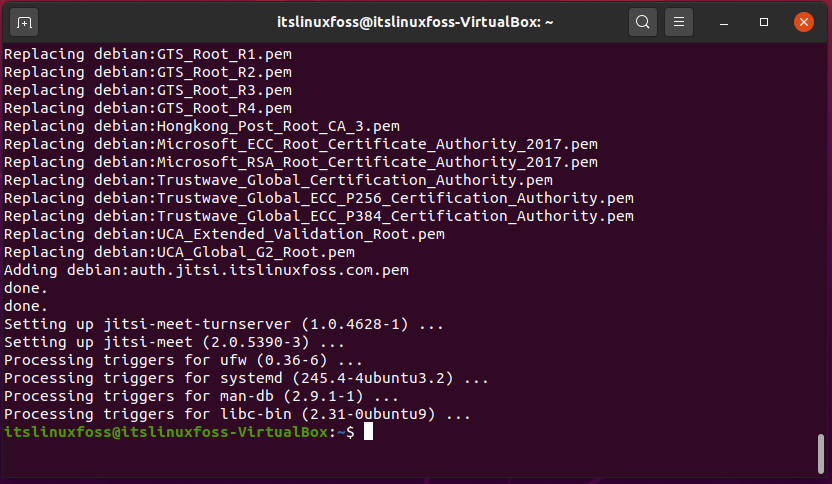
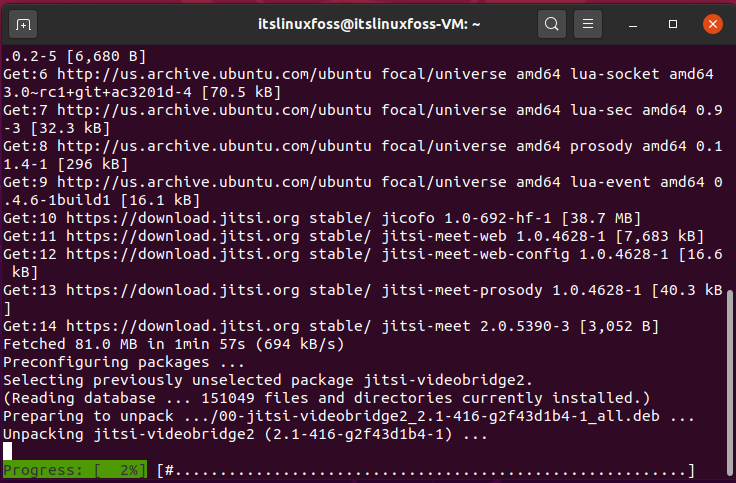
Step 6: Write-out the following command to install Jitsi meet on your Ubuntu 20.04.
$ sudo apt install jitsi-meet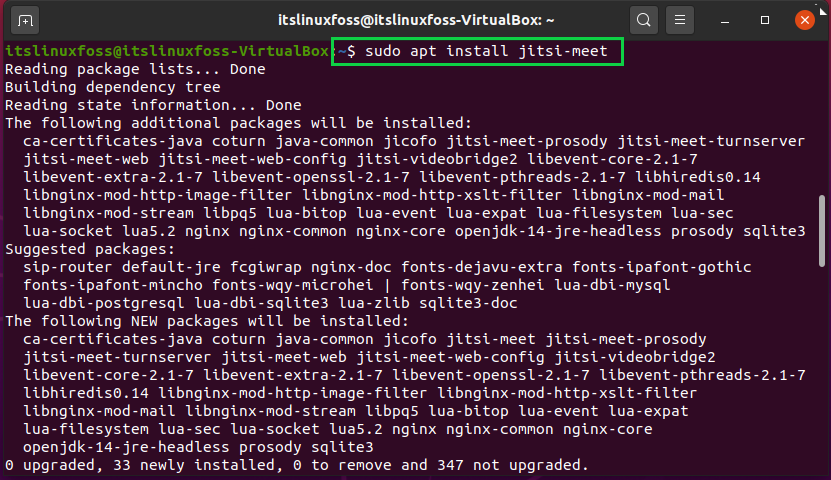
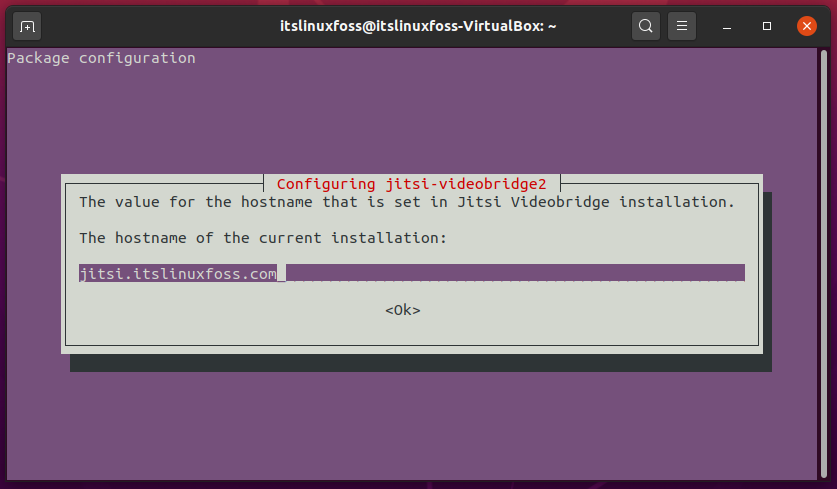
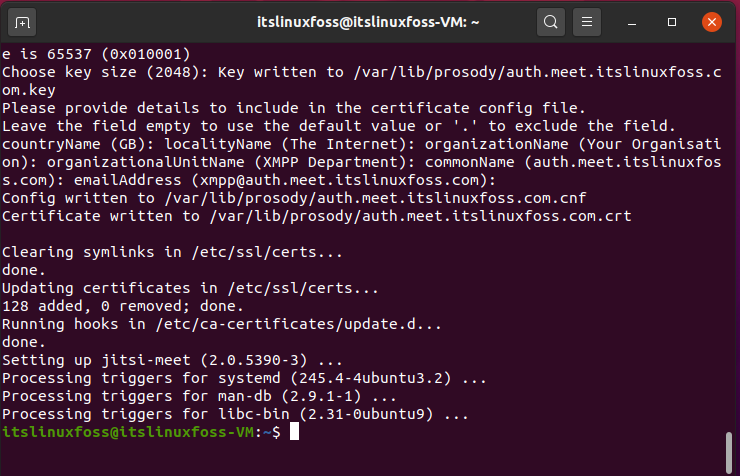
Step 7: Add the hostname you have declared at the start of this procedure and check out the SSL certificate assurance.


$ sudo /usr/share/jitsi-meet/scripts/install-letsencrypt-cert.sh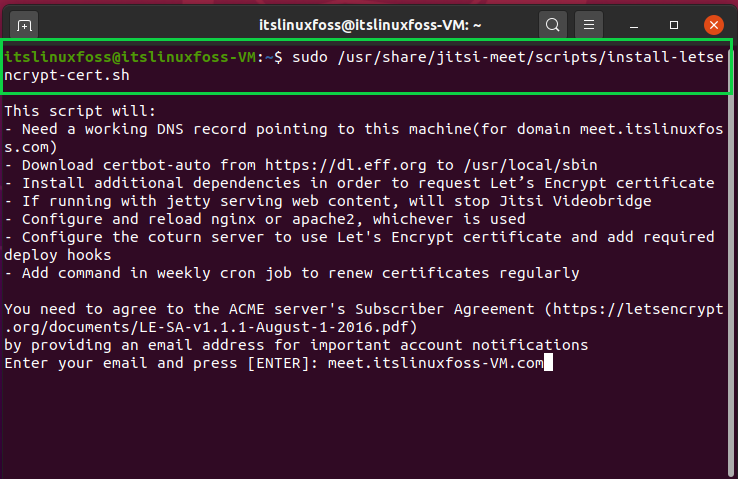
Step 8: Check the status of the Jitsi video bridge.
$ systemctl status jitsi-videobridge2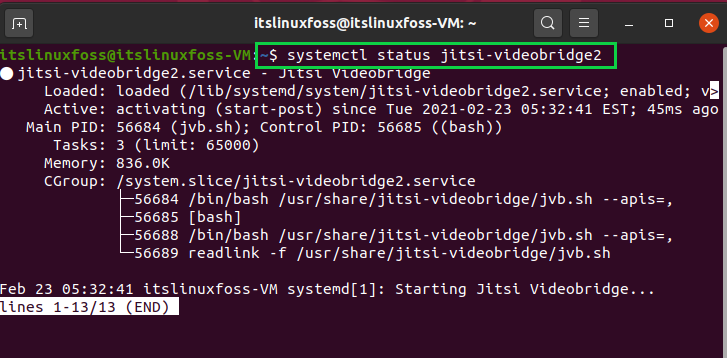
$ sudo netstat -lnptu | grep java
Step 9: Execute these last two commands for installing certbot and its setup for Jitsi.
$ sudo apt install certbot
$ sudo sed -i ‘s/\.\certbot/g’ /usr/share/jitsi-meet/scripts/install-letsencrypt-cert.sh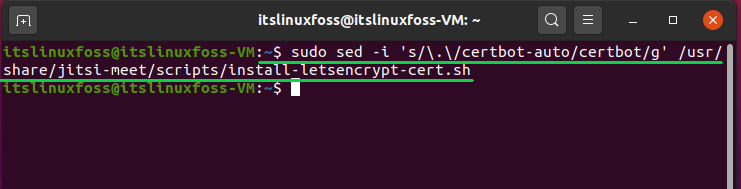
Now you are all ready to go to use Jitsi. Enter the following link in the address bar and interact with Jitsi meet.
https://meet.itslinuxfoss-vm.com/
Conclusion:
We have talked about Jitsi, its milestones to the date, and its features. A complete installation procedure of Jitsi meet on Ubuntu 20.04 is also given in the article.

Saryia is a technology entrepreneur and digital publisher specializing in Linux, open-source technologies, and developer education.