
Moodle Learning Platform
Moodle is an open-source application used for the course management system. The best thing about Moodle is that Moodle is highly customizable. Anyone can download the code and get quick access to this amazing learning management system. In the organization and educational sectors, this is the reason behind its success.
Now let’s talk about some of its strengths.
Strengths
- As Moodle comprises robust architecture. You will not be going to lose your work in any case even if you are a Moodle user as a student or an employee in a company.
- Students enjoy its experience. Online grading, assignments, and Quizzes provide value to the courses.
- The tremendous amount of features in Moodle will let you do a lot of things you want to do.
A list of features that are supported by Moodle as a learning platform is given below:
- Security: Role-based Access, Authentication, Role-based Access
- Registration, Enrolment, Course Management
- SCORM Compliance
- Collaboration and Communication (as Learner and Instructor)
- Social features: Blogs, Forums
- Course Delivery: Online, Blended classroom learning, Instructor-Led Training
- DashBoard: LeaderBoard (Course level, Site level), Role-specific dashboards
- User Experience (H5p interactive content, Level-up, Grades, Badges)
- Certifications management, customization, and tracking
- Individual plans of development and their management review
- Notifications
- External integration for analytics: (Risk Analytics, Engagement, and Learner analytics)
- Reporting: Learner reports, Teacher/Manager/Instructor reports, Course reports)
These were just a handful of features that we have picked for you. Now, let’s step-in towards the Moodle installation process on Ubuntu 20.04. Before following the installation guide, make sure that you are working as a ‘superuser’.
Installing Moodle on Ubuntu 20.04
Step 1: Open the terminal by pressing ‘CTRL+ALT+T’ or search it in the activities. The package list needs to be updated.
$ sudo apt-get update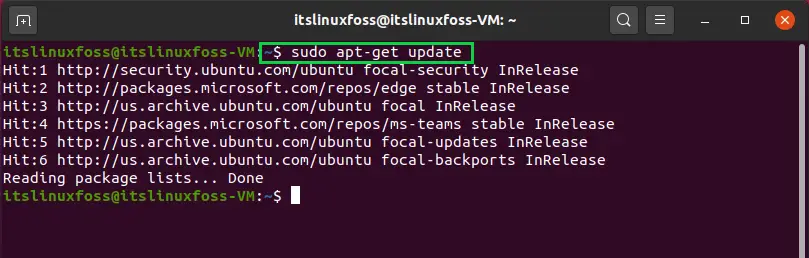
Step 2: Now, Install Nginx and start its service.
$ sudo apt install nginx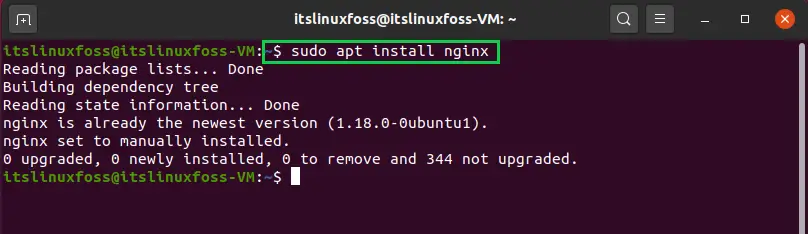
$ sudo systemctl stop nginx.service
$ sudo systemctl start nginx.service
$ sudo systemctl enable nginx.service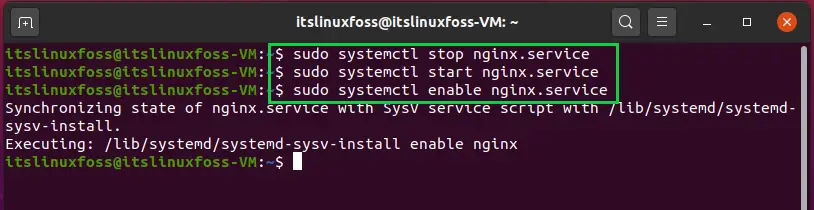
https://localhost/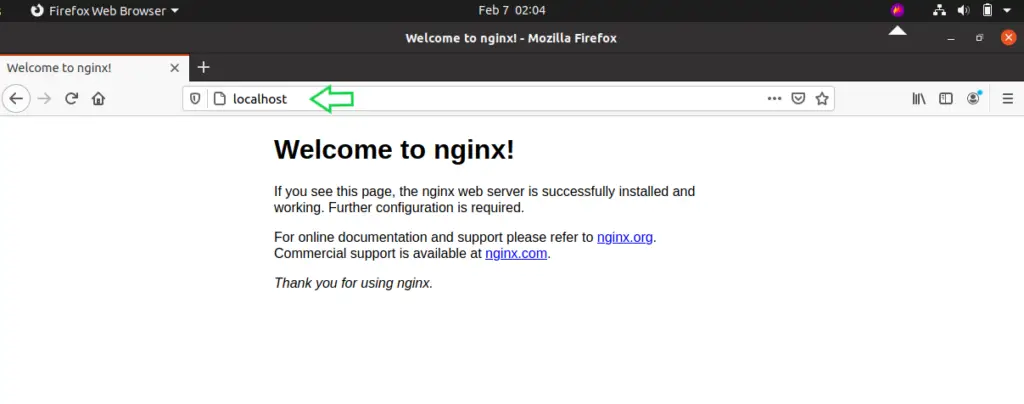
Step 3: You will need a database server for Moodle which should be open-source. For that, we are installing the ‘MariaDB’.
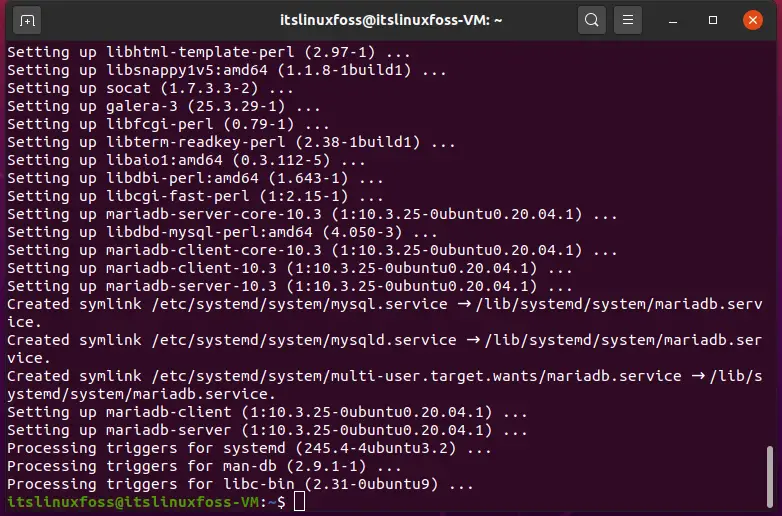
$ sudo apt-get install mariadb-server mariadb-client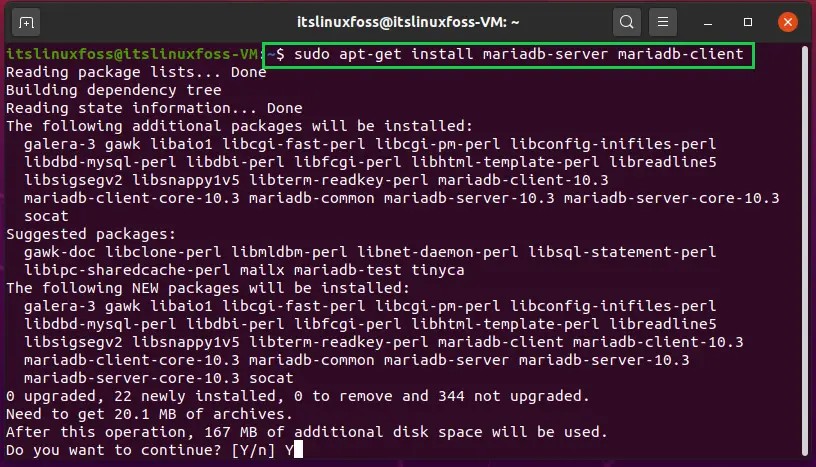
After its installation, enable the service of Mariadb.
$ sudo systemctl stop mariadb.service
$ sudo systemctl start mariadb.service
$ sudo systemctl enable mariadb.service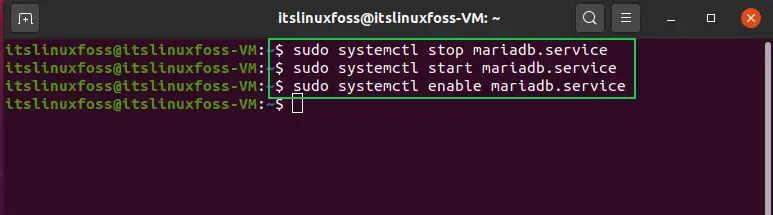
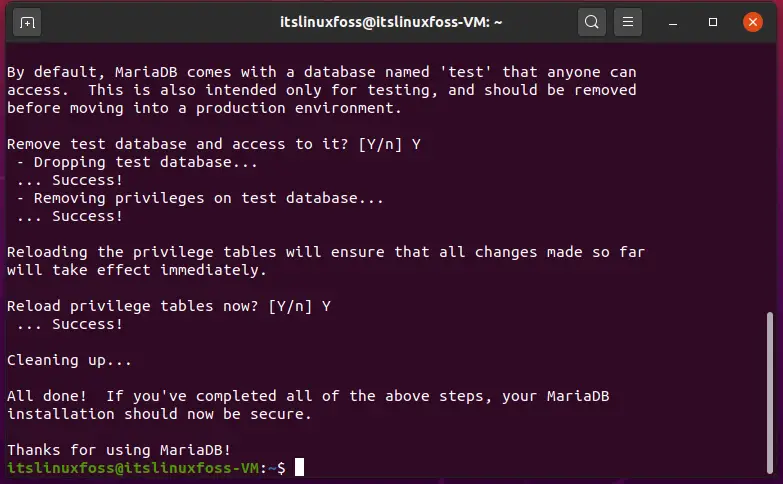
Step 4: Now it’s time to secure the database with a strong password and some other settings.
$ sudo mysql_secure_installation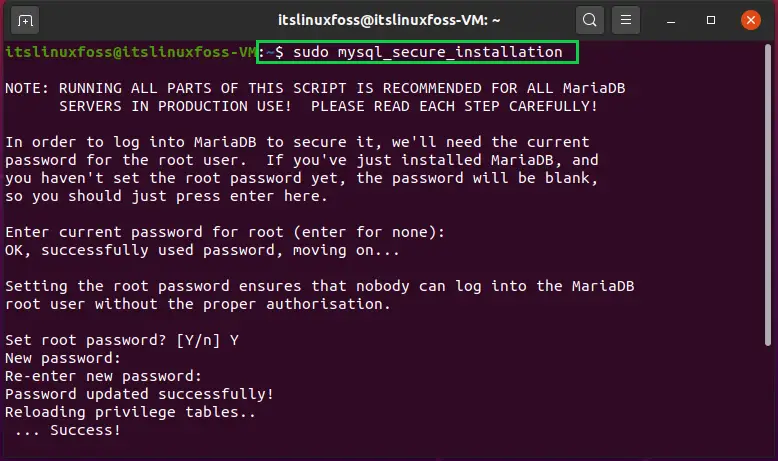
Step 5: Verify the successful installation of MariaDB by utilizing the following command.
$ sudo mysql -u root -p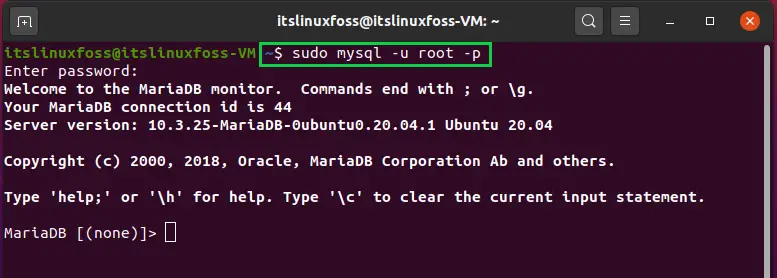
Create a database named ‘Moodle’, a Moodle user, and its password.
CREATE DATABASE moodle;
CREATE USER 'moodlesuper'@'localhost' IDENTIFIED BY 'password';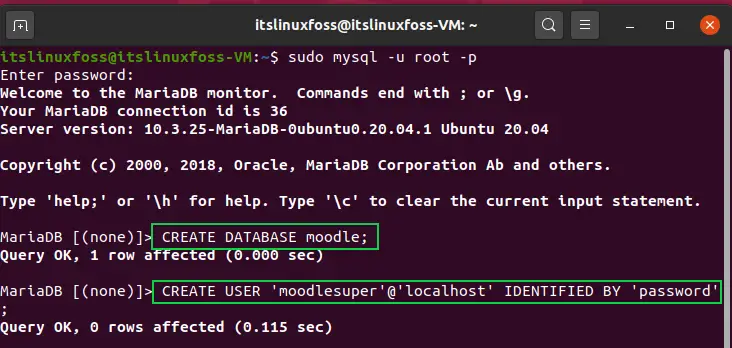
Step 6: Install PHP related packages using the given command.
$ sudo apt-get install php-fpm php-mysql php-xml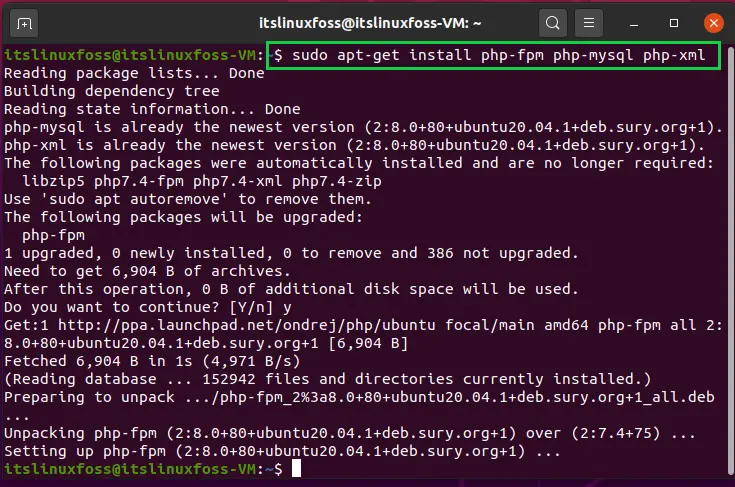
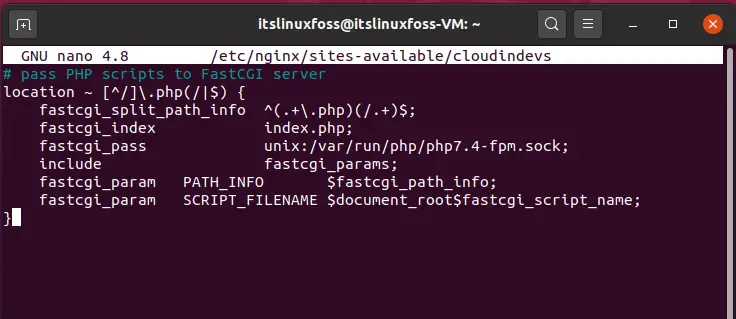
Step 7: Add the following content in the configuration file of the virtual host.
$ sudo nano /etc/nginx/sites-available/cloudindevs
# pass PHP scripts to FastCGI server
 location - [^/]\.php(/1$) {
fastcgi_split_path info   ^(.+\.php(7.+)$;
fastcgi_index   index.php;
fastcgi_pass   unix:/var/run/php/php7.4-fpm.sock;
include   fastcgi_params;
 fastcgi param  PATH INFO    $fastcgi path_info;
fastcgi_param   SCRIPT_FILENAME   $document_rootsfastcgi_script_name;
}
Also, do the basic setup in the MariaDB configuration file.
$ sudo nano /etc/mysql/mariadb.conf.d/50-server.cnf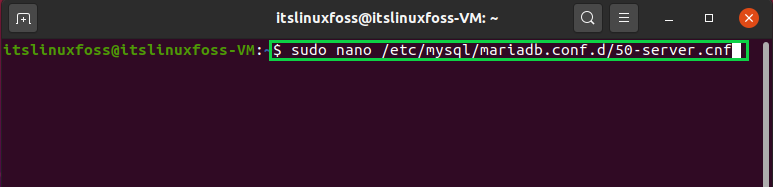
[mysqld]
#
* Basic Settings
#
user = mysql
pid-file = /run/mysqld/mysqld.pid
socket = /run/mysqld/mysqld.sock
#port = 3306
basedir = /usr
datadir = /var/lib/mysql
tmpdir = /tmp
lc-messages-dir = /usr/share/mysql
#skip-external-lockinginnodb_file_format = Barracuda
innodb_file_per_table = 1
innodb_large_prefix = ON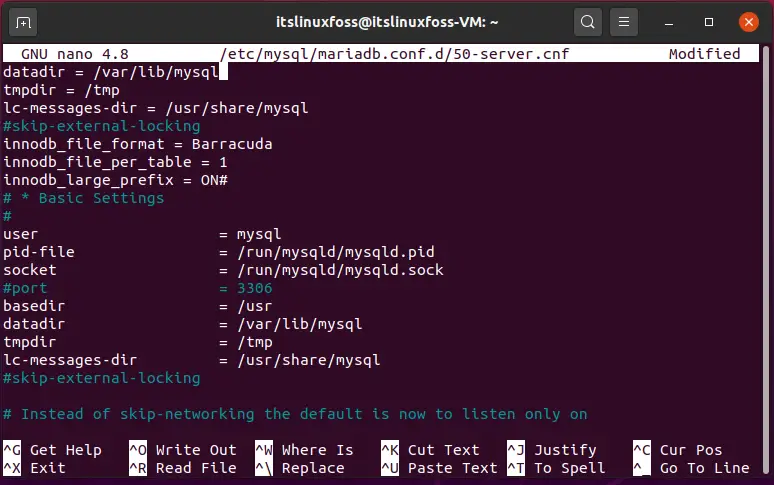
Step 8: Now download the Moodle package and install it on your Ubuntu 20.04.
$ sudo wget https://download.moodle.org/download.php/direct/stable310/moodle-3.10.1.tgz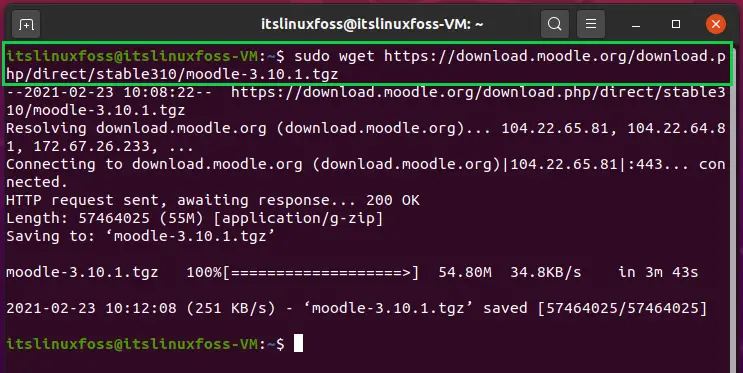
$ sudo tar -zxvf moodle-3.10.1.tgz -C cloudindevs.com

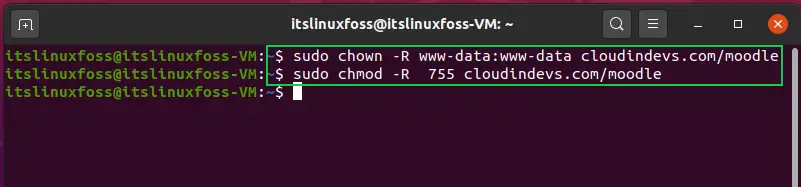
Step 9: Change the file permissions of the Moodle data file.
$ sudo chown -R www-data cloudindevs.com/moodle
$ sudo chown -R 755 cloudindevs.com/moodle
$ cd cloudindevs.com/moodle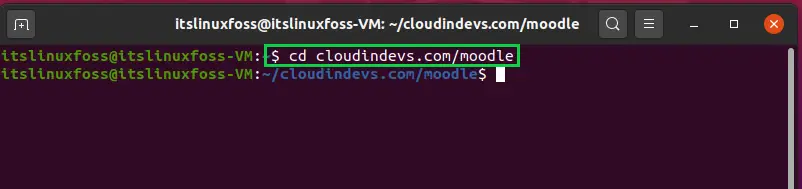
$ sudo cp config-dist.php config.php
Step 10: That’s It. Now Use this learning management system by using the following link.
http://www.cloudindevs.com/moodle/admin/index.php
Conclusion:
This article provided you a step-by-step guide for the installation of Moodle Learning Platform on Ubuntu 20.04.

Saryia is a technology entrepreneur and digital publisher specializing in Linux, open-source technologies, and developer education.