
CouchDB is an open-source and NoSQL Database created by Apache Software Foundation. It is basically a document-oriented database and it can be coupled with multiple databases and perform multitasking. The best thing about CouchDB is that it allows the creation of clustered databases as well as a standalone single database. CouchDB is built in the Erlang language and it uses JSON to store data as a document.
Installing CouchDB is simply a five steps process
- Update and upgrade the packages
- Configuration of Server
- Import GPG key and enable Apache CouchDB repository
- Installation of CouchDB
- Installation Verification
Update and upgrade the Packages
First of all, check your system’s package repository and install the latest available packages by typing the command given below.
$ sudo apt update && sudo apt upgrade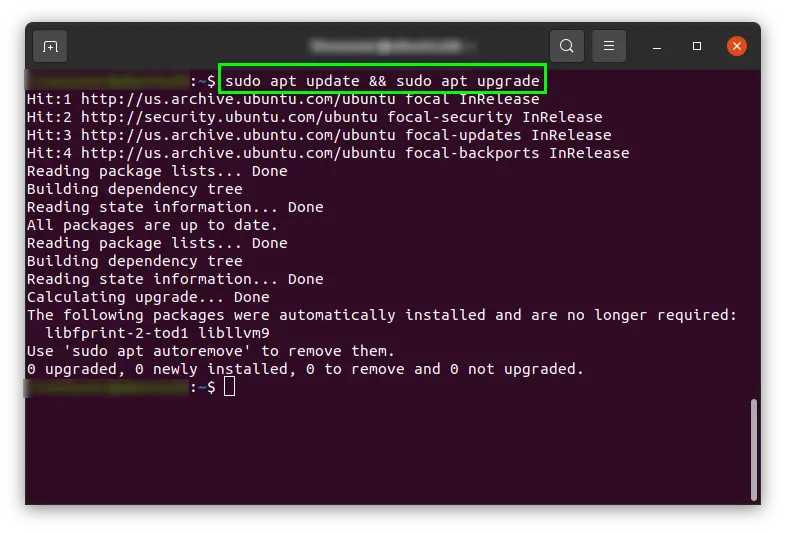
Once the packages are upgraded. Let’s configure the server.
Configuration of the server
You first need to install some prerequisite software for the configuration of the Apache CouchDB server. For that purpose, run the command
$ sudo apt install software-properties-common -y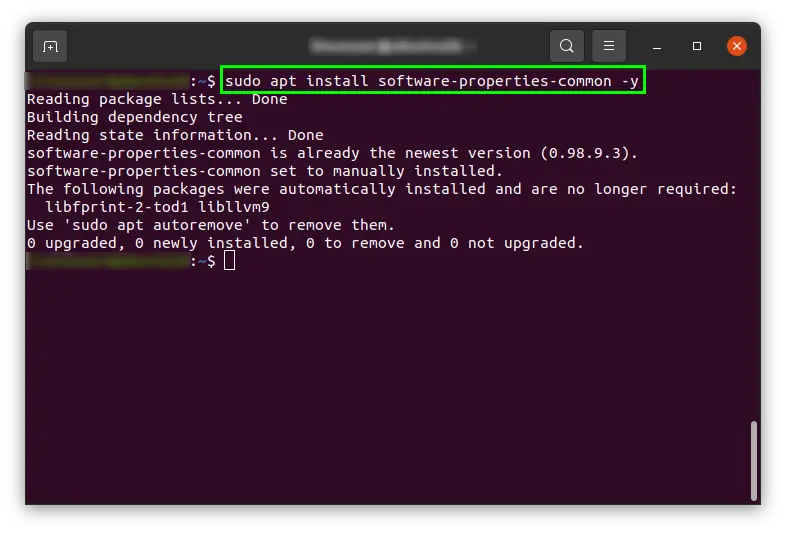
In the above command, the “-y” flag is used so that it will automatically answer “yes” to each pop-up, and automating the process will speed up the installation process.
Once they are installed, let’s import the GPG key and enable the Apache CouchDB repository for the installation of CouchDB.
Import GPG Key and Enable Apache CouchDB repository
Now, import GPG keys and enable the Apache CouchDB package repository using the official PPA repository by the Apache foundation team.
$ curl -L https://couchdb.apache.org/repo/bintray-pubkey.asc | sudo apt-key add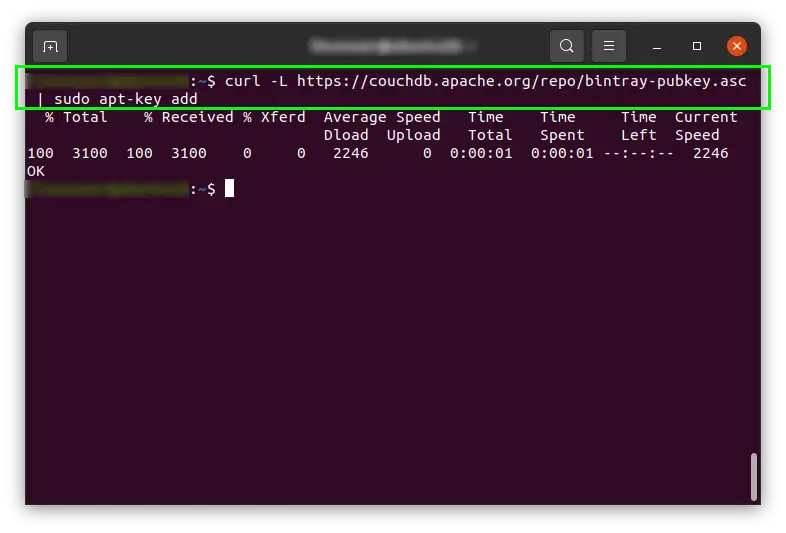
$ echo "deb https://apache.bintray.com/couchdb-deb focal main" | sudo tee -a /etc/apt/sources.list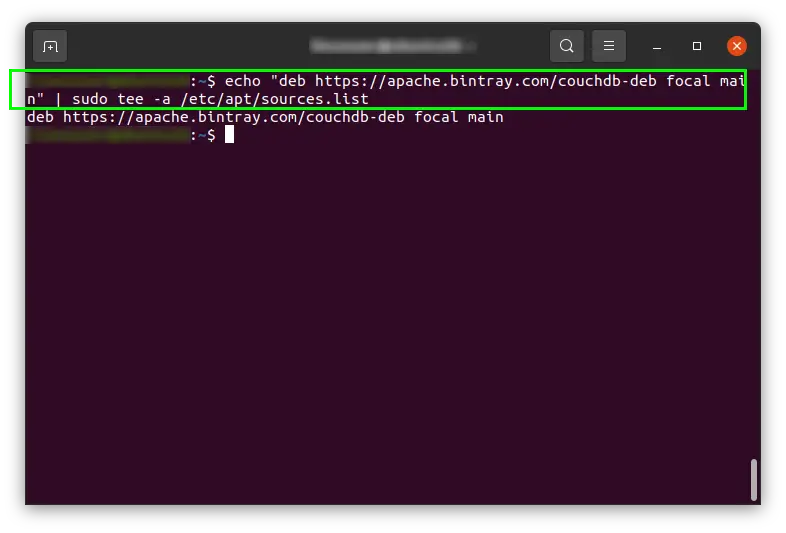
Once the GPG keys are imported and the Apache CouchDB repository is turned on. Update the system’s package repository once again so that the CouchDB is ready to install.
$ sudo apt update
Installation of CouchDB
CouchDB comes up with two types.
- Standalone
- Clustered
Standalone means only one data store and Clustered means that multiple single data stores are connected together as a single distributed database.
So when you will run the command
$ sudo apt install couchdb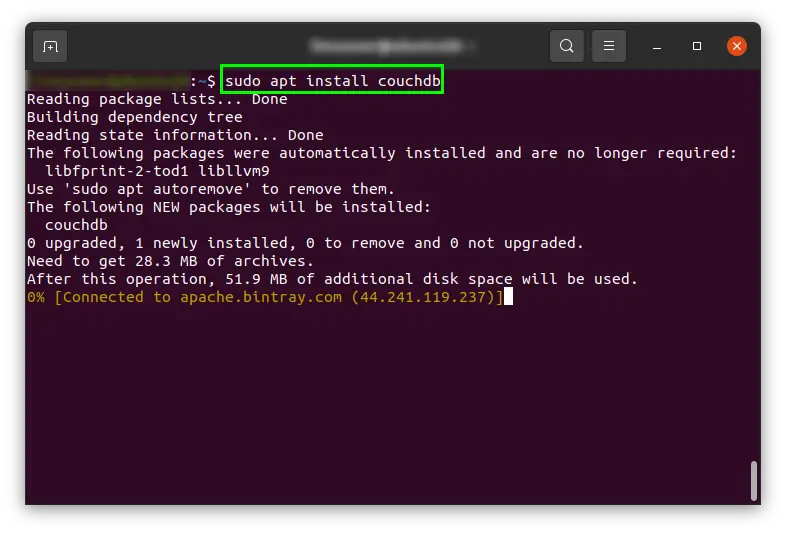
Using the arrow keys, hit enter on “<Ok>”
It will ask you to choose between standalone and clustered databases. For now, select the standalone and hit Enter.

Then, enter the network interface bind IP address. As it is suggesting that 127.0.0.1 is the default IP address for the standalone node so go with the default IP address and hit Enter.

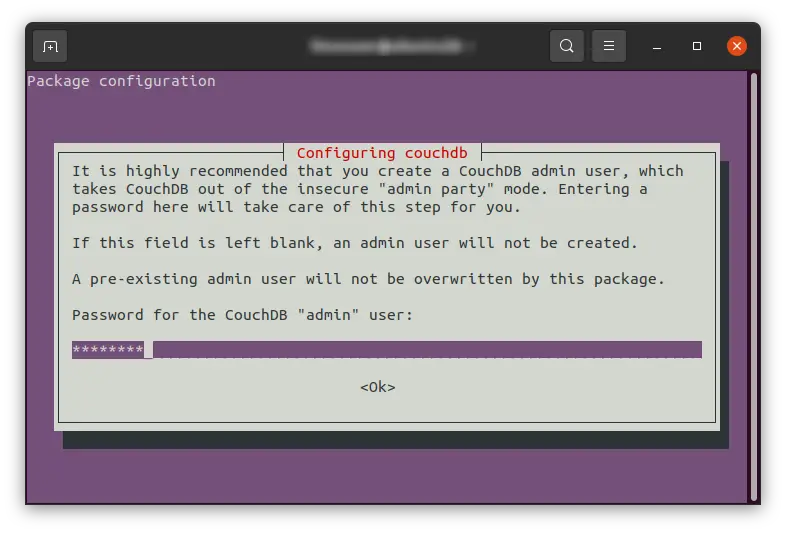
Now, set the password for the CouchDB’s Admin user.
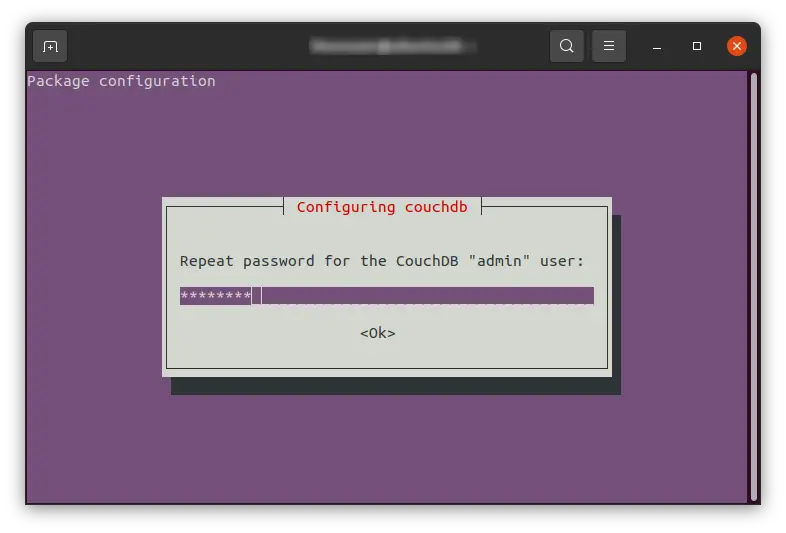
In the end, Repeat the password and hit Enter for the installation to complete.
Alright, the installation is finished. Let’s verify the installation and run it.
Installation verification
You can verify the installation of CouchDB on your Ubuntu 20.04 LTS Operating system, either by checking the status of the service of CouchDB using the systemctl command
$ sudo systemctl status couchdb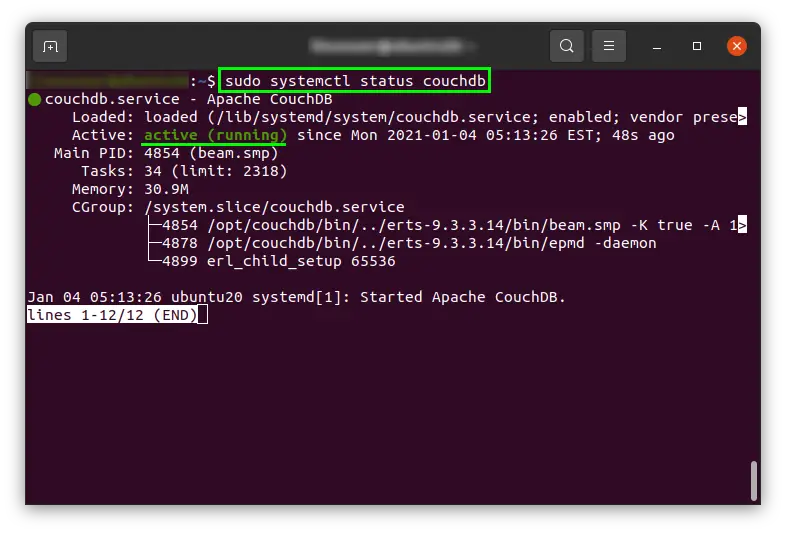
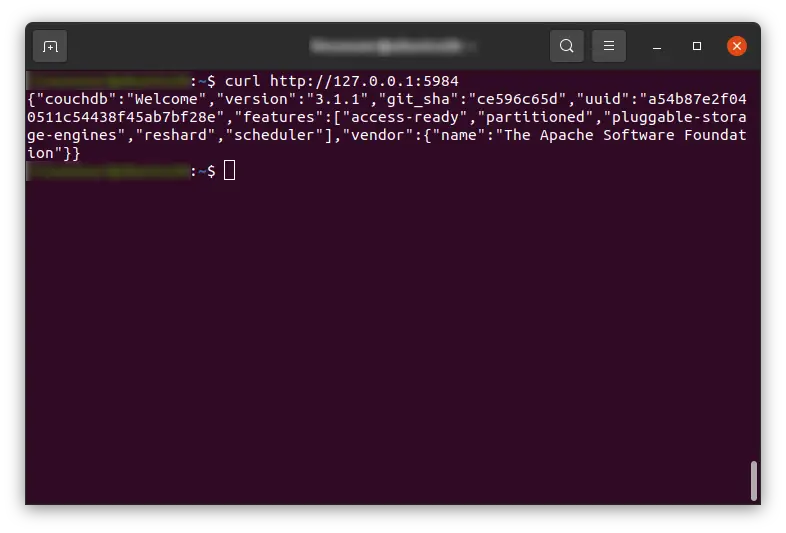
Or you can verify it by using the curl command, by providing it the network interface IP address along with the port number 5984 because CouchDB is running at port number 5984.
$ curl http://127.0.0.1:5984The output should look like this
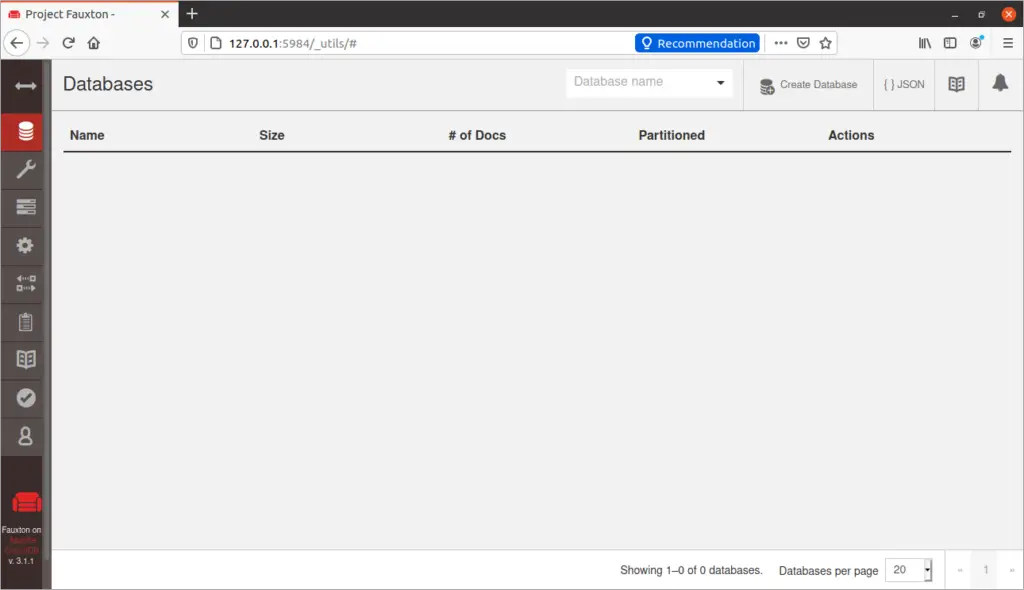
If you want to access the web-based GUI control panel of CouchDB. Visit the link http://127.0.0.1:5984/_utils/
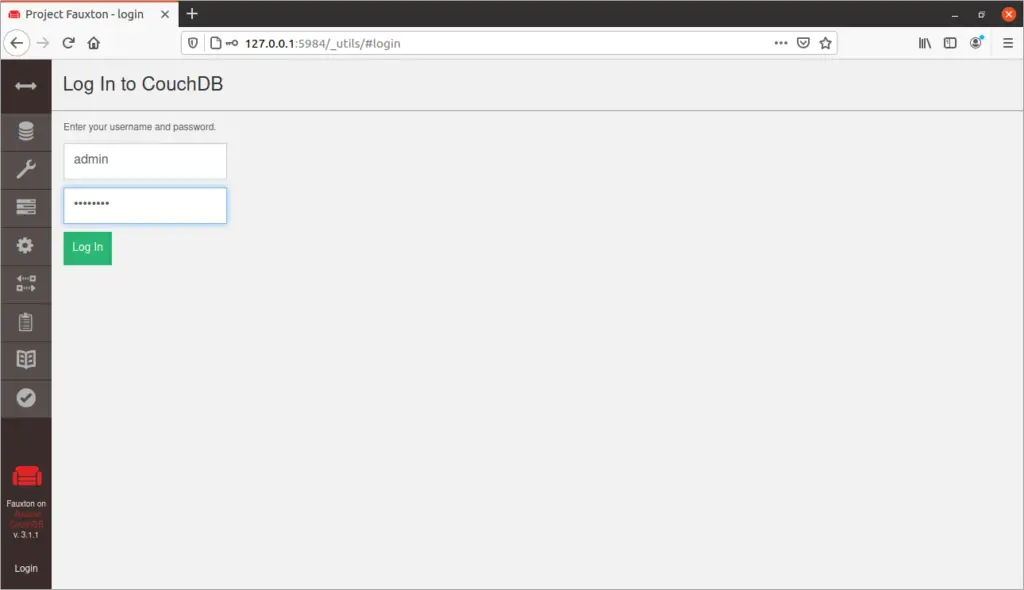
Ether your credentials and you are in.
Wrap Up
This is how you can configure and install the single standalone document-oriented CouchDB database on Ubuntu20.04 LTS.

Saryia is a technology entrepreneur and digital publisher specializing in Linux, open-source technologies, and developer education.