
There exist major chances that you have heard about the Zoom application, doesn’t matter if you work from home or not.
Zoom is a well-known platform for video communication between different communicates, technology startups, federal governments, for the people who want to have face to face virtual conversations. Zoom application is Ranked #1 in customer reviews because this video conferencing application is accepted as a standard for communicating and connecting with Office workers, family, friends, etc and it can be used for both personal and business settings.
Here’s everything you should know about the Zoom application, including how to download it on Ubuntu 20.04 and get started.
What is Zoom?
Zoom is a cloud-based application. It allows video communication by setting the audio and video virtual conferencing, screen sharing, and some other functionalities. Zoom doesn’t ask you to have an account or subscription for attending a meeting. This can be considered as one of the reasons behind its popularity among other videoconferencing applications whereas the simplicity of the zoom application is the other major reason. It has a self-explained interface having various demanding features such as Gallery View. Zoom is also a lightweight application. Linux, Android, Mac, iOS, and Windows are the most compatible working platforms for Zoom.
Why Zoom?
Here are some of the features that will definitely force you to have Zoom as a videoconferencing application on your system.
- Easy to use
- Optimized to work reliably
- One consistent enterprise experience for all use cases
- Up to 10,000 viewers, and 1,000 participants
- Affordable and straightforward pricing
That’s the approximate information you should know before Installing and using the ‘Zoom’ application. Now let’s move on to its Installation process on Ubuntu 20.04. In this article, you are going to explore two methods for Zoom installation.
Note: To follow the installation, make sure that you are a ‘superuser’ or ‘root’ as the superuser provides unrestricted access to all the commands, files, resources, and directories.
Method 1:
Step 1: First of all, Open up the terminal by searching it manually in activities, or you can also press ‘CTRL+ALT+T’ to view the terminal window.
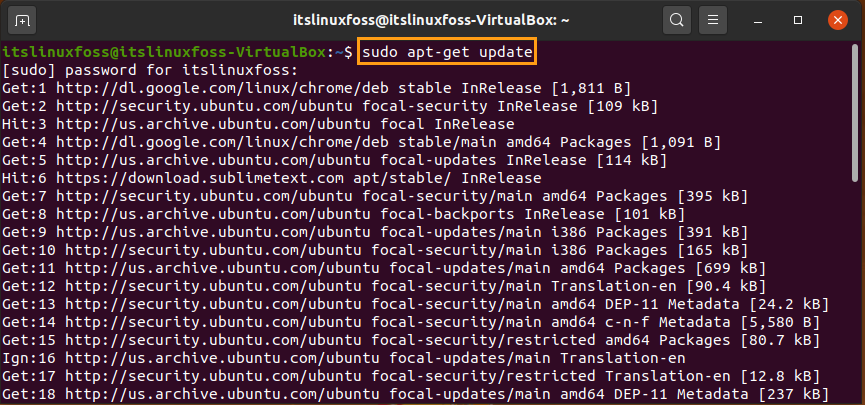
Step 2: Now update the package lists to upgrade the packages.
$ sudo apt-get update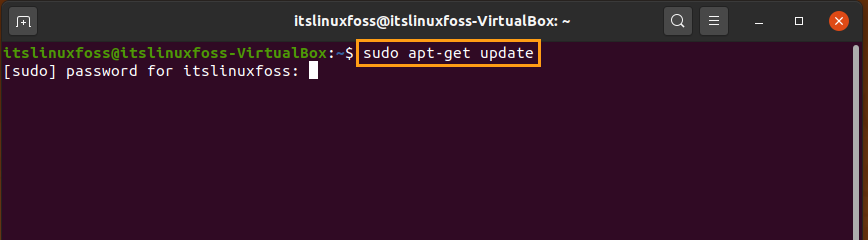
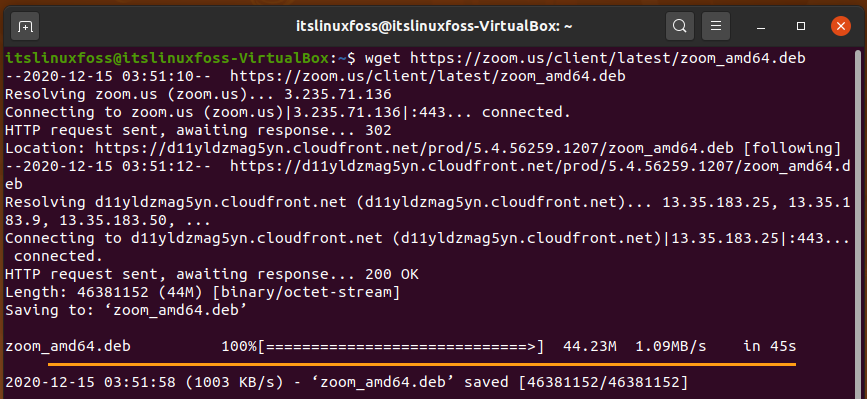
Step 3: After the quick packages update, move forward to download the ‘.deb’ latest package by typing the following command.
$ wget https://zoom.us/client/latest/zoom_amd64.deb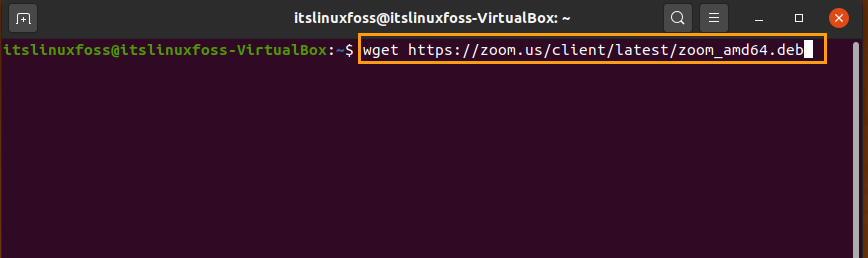
Step 4: As the download is complete, now you can install Zoom by writing-out this command.
$ sudo apt install ./zoom_amd64.deb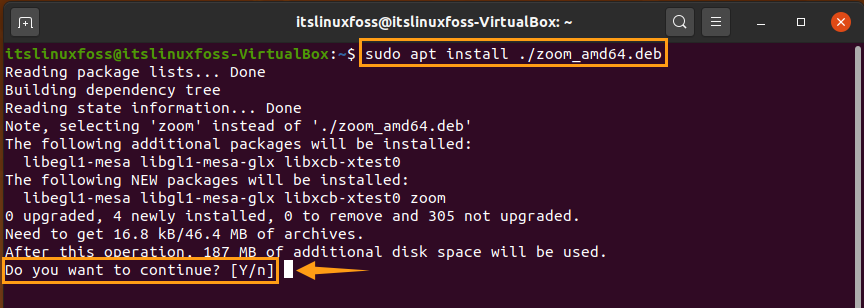
Press ‘y’ to proceed with the installation.
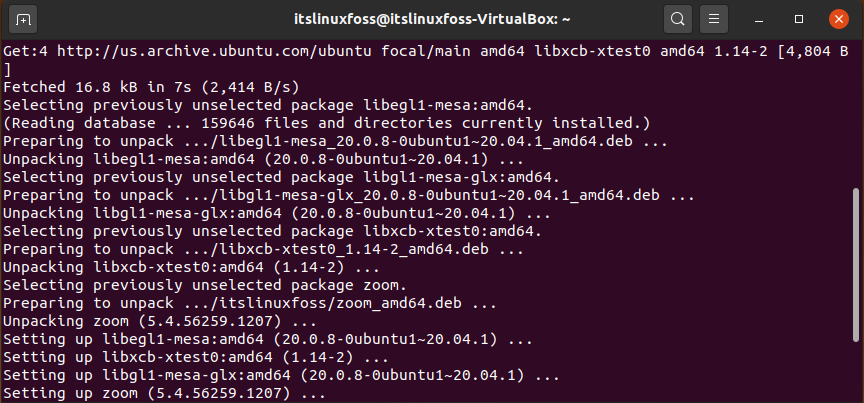
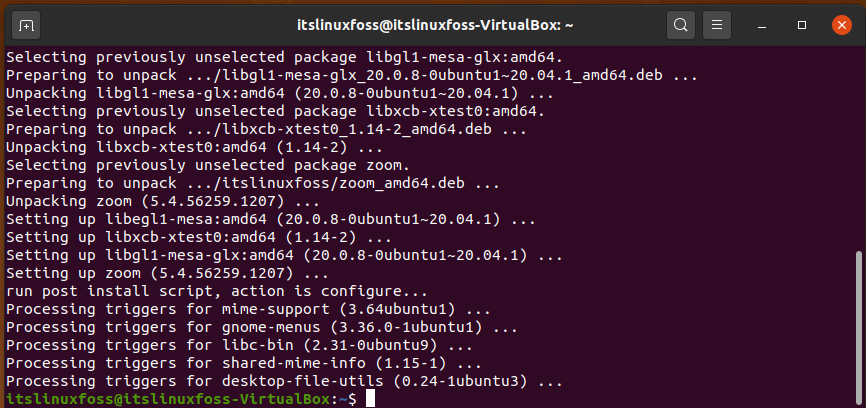
You can see from the output that the package is successfully installed.
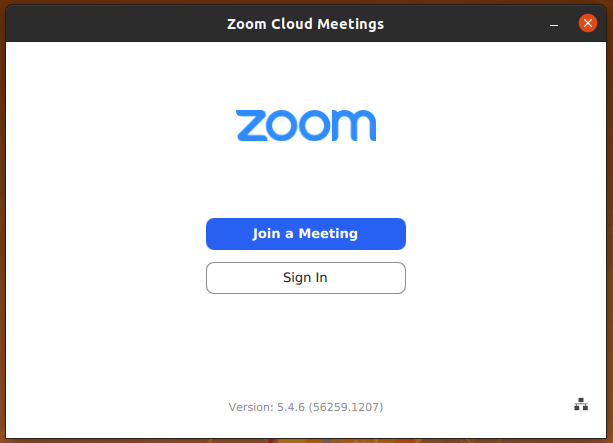
Step 5: As the method of installation is completed. Now you can open the Zoom application by type ‘zoom’ in your terminal.
$ zoom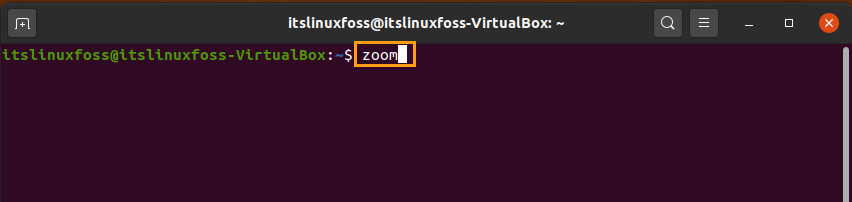
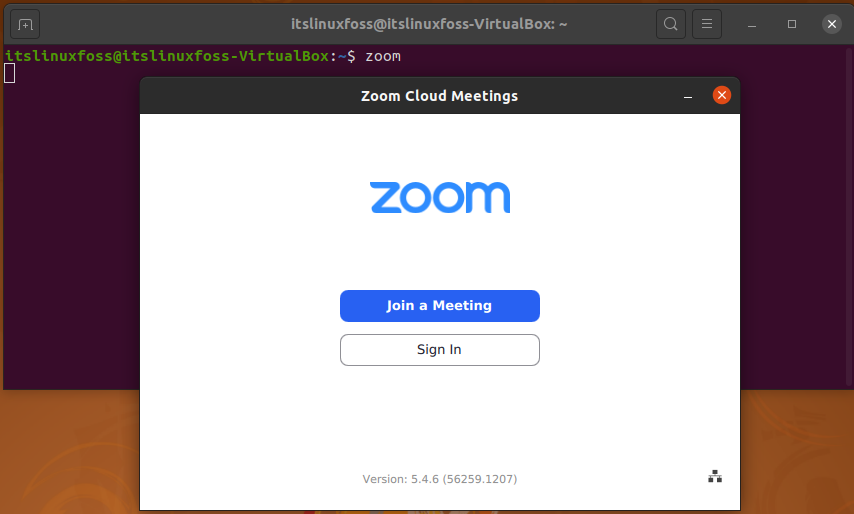
Sign In to explore further options otherwise, you can directly join a meeting from here by entering its ID and password.
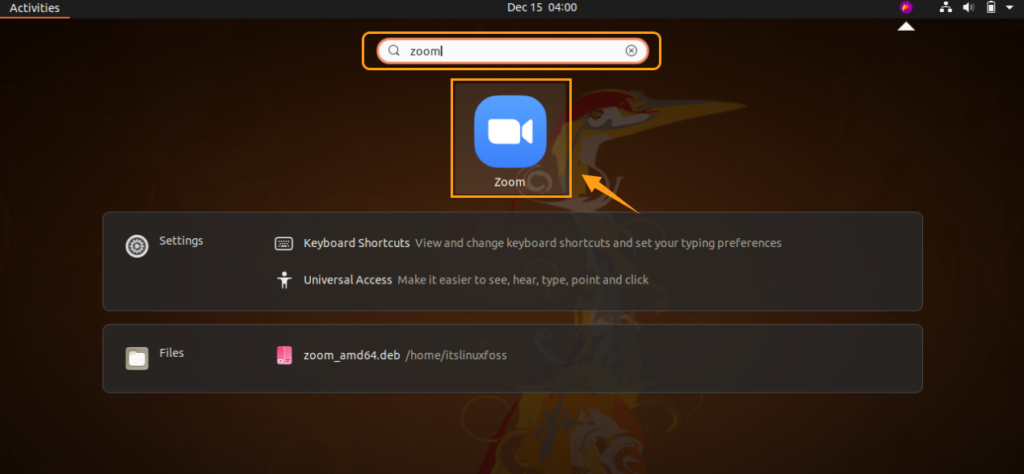
You can also search Zoom manually in the search bar of ‘Activities’ to open it.
Method 2:
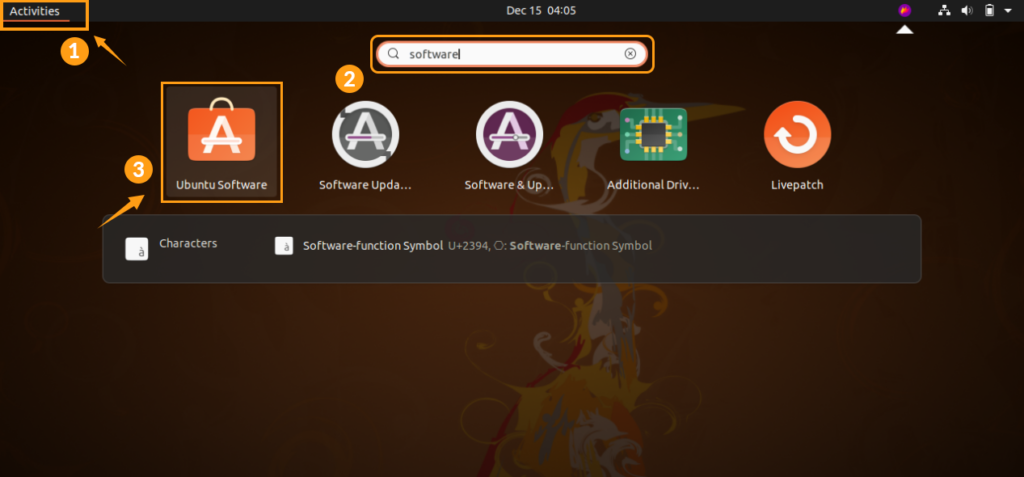
You can also download the Zoom application via the Ubuntu software center. Open up the Ubuntu software center by using the activities search bar.
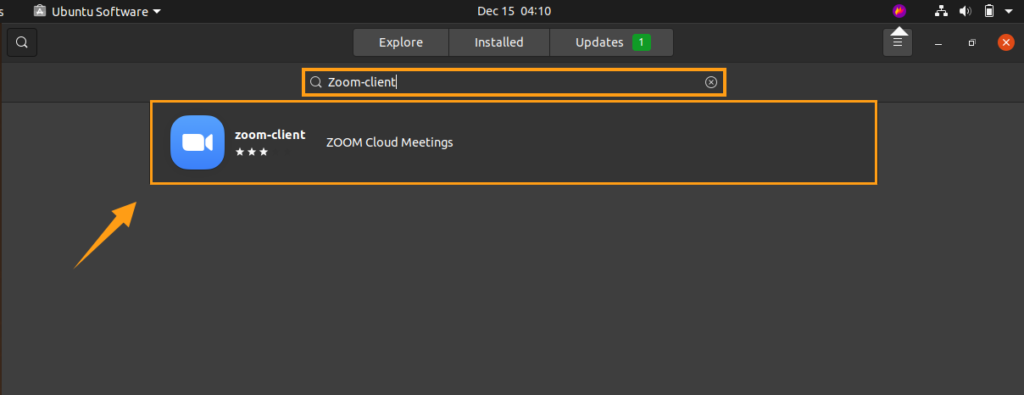
Now type ‘zoom-client’ in the search bar which can be utilized from the top left side of this interface.
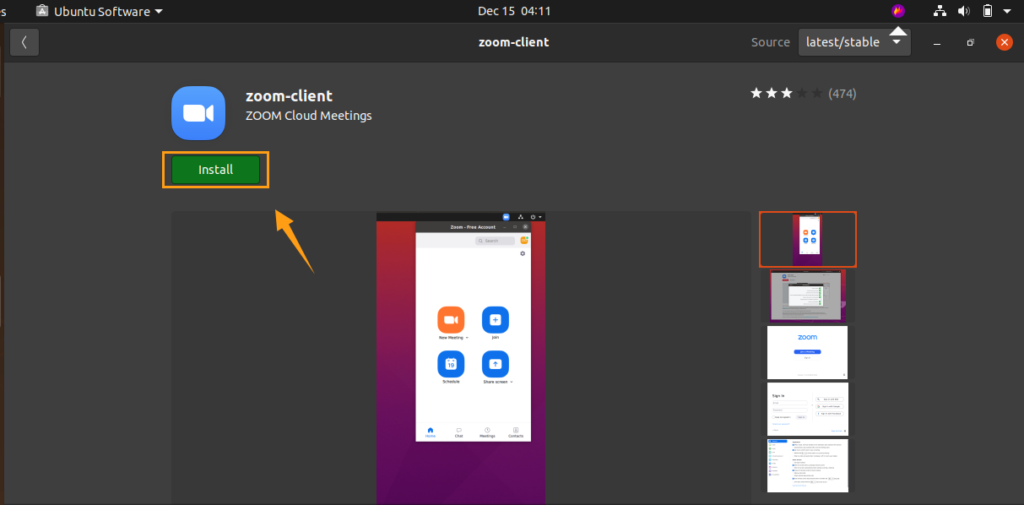
As you find out your desired application, it is time to install it on your Ubuntu 20.04 by clicking the ‘Install’ button.
Conclusion:
In this article, we have discussed the Zoom application, its features, and its uses. Furthermore, we have also shared its Installation method on Ubuntu 20.04 step by step. You can utilize this application to communicate and connect with Office workers, family, friends, etc and it can be used for both personal and business settings.

Saryia is a technology entrepreneur and digital publisher specializing in Linux, open-source technologies, and developer education.