A popular library used for video and audio files processing is FFmpeg. It provides its users with various features including the encoding of videos and audios to different formats. Furthermore, users can resize their videos and capture streaming audios or videos.
It’s a free and open-source software containing libraries for audio and videos such as libavformat, libavutil. Here in this article we’ll guide you through the installation of FFmpeg on UBuntu 20.04 and demonstration of how to use it.
Installation of FFmpeg
FFmpeg installation on Ubuntu is an easiest straight-forward process through “apt” package manager as Ubuntu repositories already contain FFmpeg packages.
Firstly, you need to update your system before installing anything and for that run the command given below:
$ sudo apt update
Now all packages are updated and all you’ve to do is install FFmpeg:
$ sudo apt install ffmpeg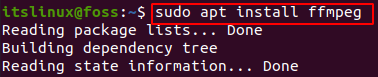
After few seconds installation will be completed and in order to verify it run the command below to check the version of ffmpeg:
$ ffmpeg -version
This will provide us with the version of ffmpeg we installed along with furthermore information about the software. In order to check all available encoders and decoders for ffmpeg:
$ ffmpeg -encoders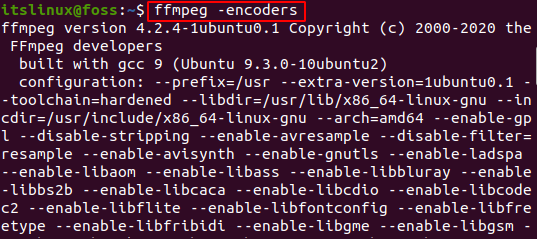
This will provide you with all the encoders type information along with a long list. In case to print out all the decoders:
$ ffmpeg -decoders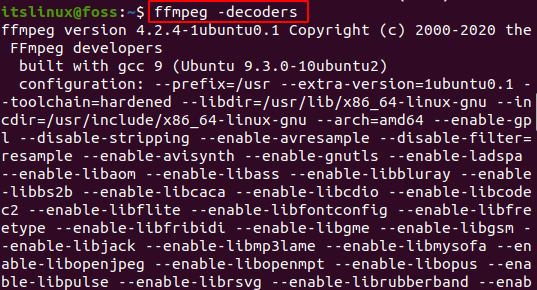
This is all for the installation of FFmpeg on your UBuntu 20.04. Incase of any updates simply update it through the command line.
How to Use FFmpeg?
FFmpeg can be used for converting various audios and videos, reducing file size as well as extracting information about a media file. Given below are some commands to use for these purposes:
Reducing .mov File Size using FFmpeg
Size of media files can be reduced using FFmpeg. Here the file input and output should be replaced by the name of your file that needs to be converted.
$ ffmpeg -i “[input.mov]” -c:v libx264 -c:a copy -crf 20 "[output.mov]"Converting .mov to .mp4 file using FFmpeg
We can convert one type of media to another using FFmpeg. Simply in the command below replace input and output files with the name of your files.
$ ffmpeg -i “[input.mov]” -vcodec copy -acodec aac -strict experimental -ab 128k “[output.mp4]”Extract file information using FFmpeg
Extracting a file information can be done using ffmpeg. In the command below replace the inputfile with the name of your file that you want to extract information of.
$ ffmpeg -i "[inputfile.mp3]"Extract Audio from a Video using FFmpeg:
Ffmpeg also provides the feature of converting a video into an audio file. In the command provided below replace the names with your file names.
$ ffmpeg -i "[inputVideo.mp4]" -vn "[outputAudio.mp3]"Convert Media File to Different Format
Another feature is converting a media file into another format. Commands are provided below in which you need to replace your file name with these input output.
Video file from mp4 to webm
$ ffmpeg -i input.mp4 output.webmAudio file from mp3 to ogg
$ ffmpeg -i input.mp3 output.oggHow to uninstall FFmpeg?
In case you want to uninstall it from your system run the command provided below:
$ sudo apt remove ffmpeg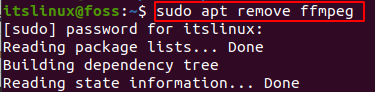
$ sudo apt autoclean && sudo apt autoremove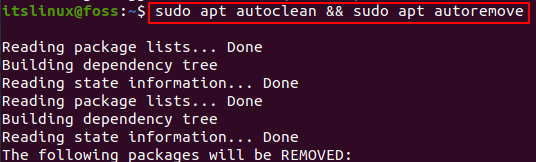
Conclusion
FFmpeg is a software widely used for converting various media files into different patterns, reducing media file sizes and capturing streaming videos. In this how-to guide we installed FFmpeg on Ubuntu 20.04 along with how to use it.
Furthermore, various commands are provided in this article in order to help you get started with FFmpeg and convert your media files. Now, after the installation you simply need to copy the desired command that you want to use and perform the action on your media files.

Check our LinkedIn company page