
Squid Proxy is one of web-server applications that provide its user with caching options as well as reverse proxy services. This causes a better speed, performance of websites and hence less load time when being used.
Many popular networks such as FTP, HTTP, HTTPS are supported by Squid Proxy.
As it’s a proxy, there are various ways to use Squid. With a firewall it can be used to help maintain the security. Even users can use multiple proxies together. Furthermore, which type of object should be cached can also be determined by it.
Many Linux and other UNIX platforms use Squid Proxy, but here in this article we will discuss Linux and how to install and configure Squid Proxy on Ubuntu 20.04. A step by step guide is provided for your ease to understand better.
Step By Step Guide For Installation
Simply follow all the steps for an error free installation.
Step 1: Update Your System and Install Squid
Before anything you need your system to be updated and for that following code needs to be run:
$ sudo apt update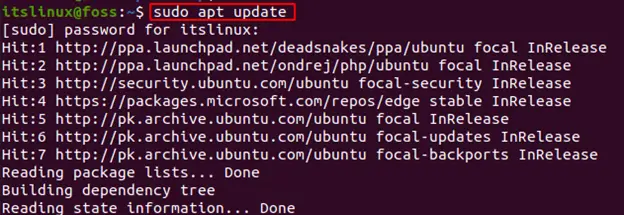
After all the packages have been updated we’ll install Squid, for this you need to run the following command:
$ sudo apt install squid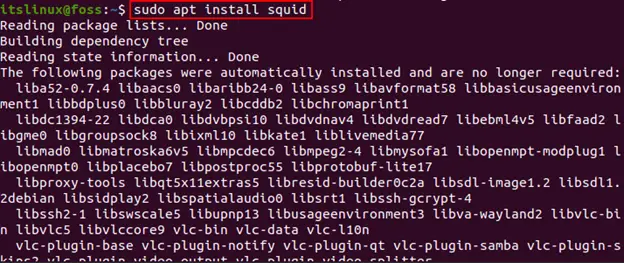
This will take few seconds and after this the Squid Proxy is installed on your systems and you need to verify the service status through the command:
$ sudo systemctl status squid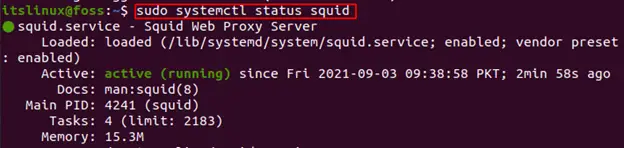
This “active (running)” indicates that it has been successfully installed and is actively running. Now we need to configure Squid Proxy and for this go to the next step,
Step 2: Configuration of Squid Proxy
We can configure Squid by editing the file: /etc/squid/squid.conf. In this file comments are provided to guide users regarding each setting. Before making any changes it’s better to back-up your original file of configuration.
$ sudo cp /etc/squid/squid.conf{,.orginal}
After backing it up we need to open the file in order to configure it:
$ sudo nano /etc/squid/squid.conf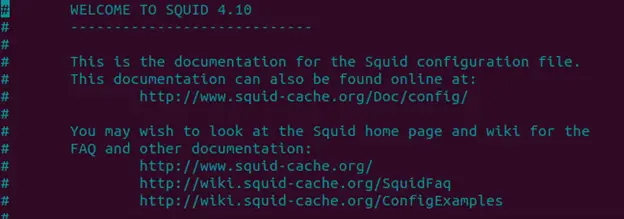
This will open up the file where you need to make changes. Here, if you need to set a listening interface and change the port then locate the line http_port and here specify both. If not specified, Squid will listen to all the interfaces, which is the default setting:
# Squid normally listens to port 3128
http_port IP_ADDR:PORT
Next thing is that Squid allows users to control how the clients can access the web resources. This is done through ACL (Access Control List) which contains only those IP addresses that can access the proxy server. For this, simply create a new file that contains all the IP addresses:
$ sudo nano /etc/squid/allowed_ips.txtThis will create and open the file, here specify the IPs you want to allow:
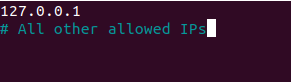
I also went back and added my internet IP address. Once you’re done, go back to the configuration file and create allowed_ips and allow the access to ACL using http_access directive and add the following two lines in the file:
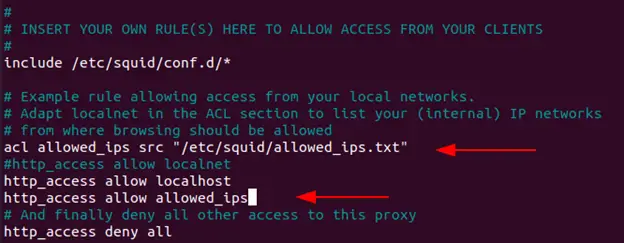
Now restart the service for changes to take place:
$ sudo systemctl restart squid
Step 3: Configuration of Firewall:
In order for Squid ports to open you need to enable the UFW ‘Squid’ profile:
$ sudo ufw allow 'Squid'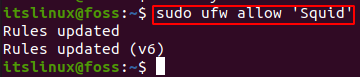
If squid is running on some other non default port like 6666, you can use sudo ufw allow 6666/tcp in order to allow the traffic on that port.
Step 4: Configuration of Browser to Use Squid Proxy:
Now everything is completed and you need to allow your browser to start using the Proxy:
FirFox: The steps are same for Windows, Linux and macOS:
- Open your browser and click the icon ☰ on top right.
- Here go to Settings.
- Once opened go to Network Settings at the end of the page and click Settings:

- Once it’s open you need to select the radio button of “Manual Proxy Configuration” and make the following changes:
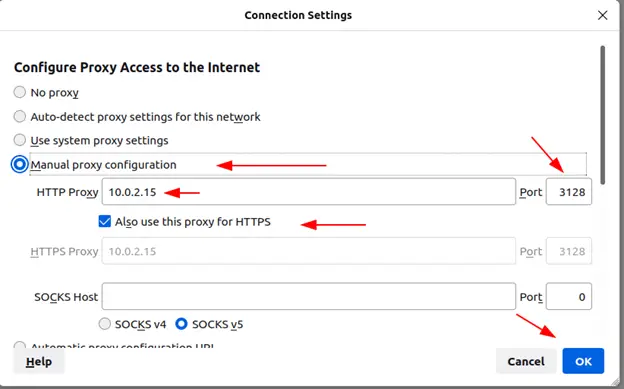
Now after all this is done simply select OK and you’re all set to use the proxy. If you want to verify it simply go to the google and search “What is my ip” and you’ll get the following result:

Google Chrome: In order for your Chrome Browser to connect to the Squid Proxy you need to run the following commands:
/usr/bin/google-chrome \
    --user-data-dir="$HOME/proxy-profile" \
    --proxy-server="http://SQUID_IP:3128"
Once all is done, verify it the same way by searching “what’s my ip”.
Uninstalling Squid Proxy
If you want to uninstall Squid Proxy from your system then all you’ve to do is run the command provided below:
$ sudo apt remove squid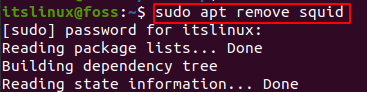
In this way you’ll be able to successfully remove squid from your system. Now you’ve learned both how to install, use and uninstall the Squid Proxy.
Conclusion
Squid Proxy provides us various services including server caching as well as boosting up the speed of web server. It further provides you to restrict the users who can have access to the internet. In this how-to guide we guided you step by step through the installation of Squid Proxy.
Furthermore, we guided you how to configure it along with the firewall and use it with your browser. At the end just in case if you want to uninstall it the command is also provided in this article. Now following the steps you must have installed it on your systems without any errors.

Saryia is a technology entrepreneur and digital publisher specializing in Linux, open-source technologies, and developer education.