The AWS (Amazon Web Service) is a command line interface tool for controlling and commanding the user amazon web services. It gives access to the public API (Application Programming Interface) directly for amazon web services. This tool is necessary for developers to communicate with AWS cloud services. Using this, users can use the Linux terminal for controlling AWS services instead of the AWS console. Two methods are available for installing AWS CLI in Linux.
This article will demonstrate the AWS (CLI) installation methods in ubuntu. The content for the post is:
Let’s get into the first installation method.
Method 1: Install AWS Command Line Interface Using apt Package
The first method that can be used for installing the AWS command line interface is to use the apt package. Before running the AWS install command, run the system update command to update all the packages.
$ sudo apt update
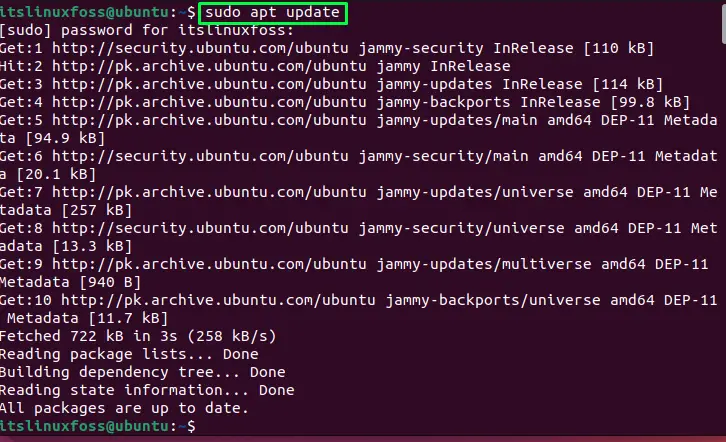
All packages will be up to date.
To install AWS, run the given command:
$ sudo apt install awscli
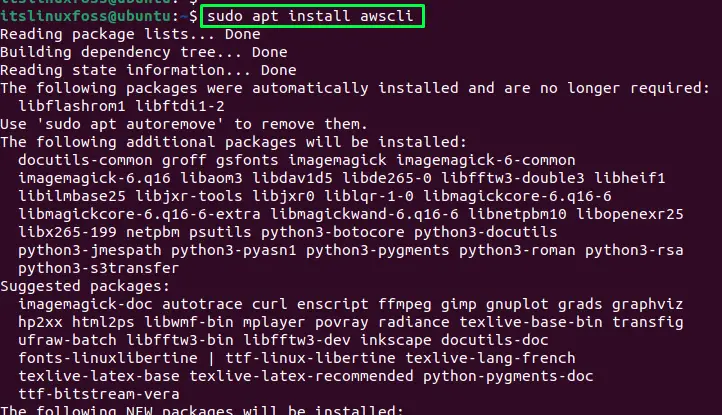
The AWS command line interface has been installed.
Let’s verify the installation of AWS by checking its version. To do so, run the “aws” command with the “–version” option:
$ aws --version

The “AWS-CLI” version 1.22.34 has been installed.
Method 2: Install AWS Command Line Interface Using Python pip
The AWS command line interface is also available as a python module that has an advantage for the user for getting an up-to-date version of AWS. Installing AWS as a python module provides an easier method to upgrade AWS to the latest version (if any) because users don’t need “sudo” privileges for installing AWS CLI in a python module.
The availability of AWS is for both python2 and python3. Before installing it, ensure you have python-pip installed in the operating system.
Installation of pip For python2
To install python-pip for python2, run the given command in the terminal:
$ sudo apt install python-pip
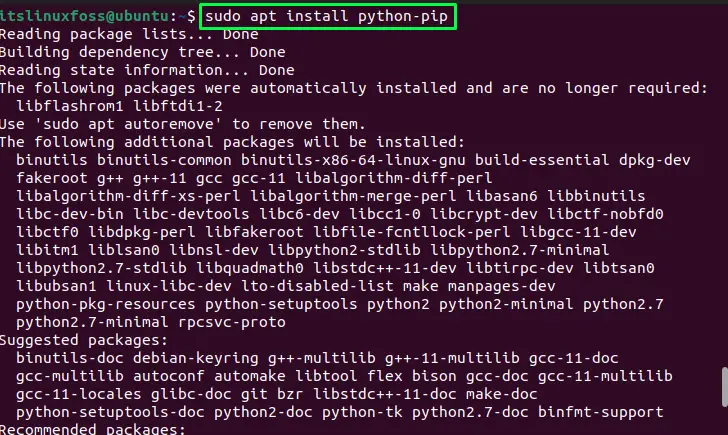
The python-pip has been installed.
Installation of pip For python3
Similarly, to install the pip for python3, use this command:
sudo apt install python3-pip
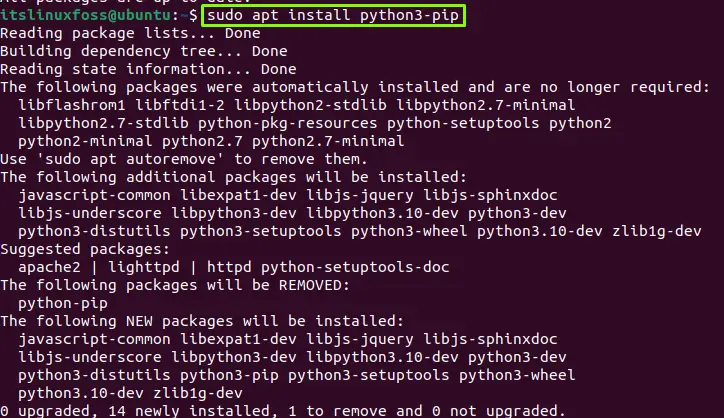
The python3-pip package has been installed.
Installing AWS (CLI) For Python2
Now, install the AWS (CLI) python module using the pip utility for python2. Use the following command in the terminal:
$ pip install awscli --upgrade --user
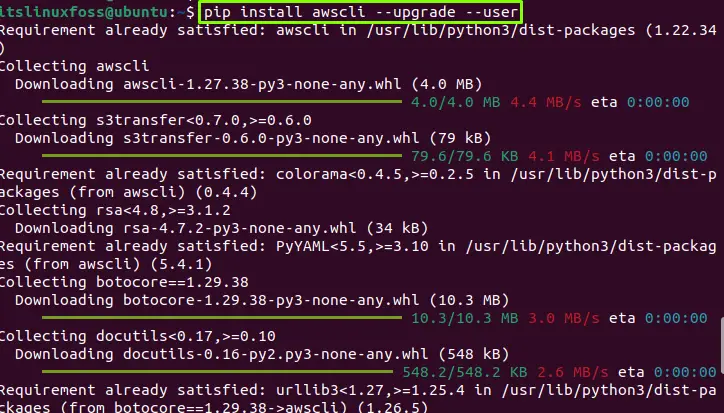
The AWS(CLI) will be installed for python2.
Installing AWS (CLI) For Python3
Similarly, to install AWS (CLI) for the python3 module, use the “pip3” in the command:
$ pip3 install awscli --upgrade --user
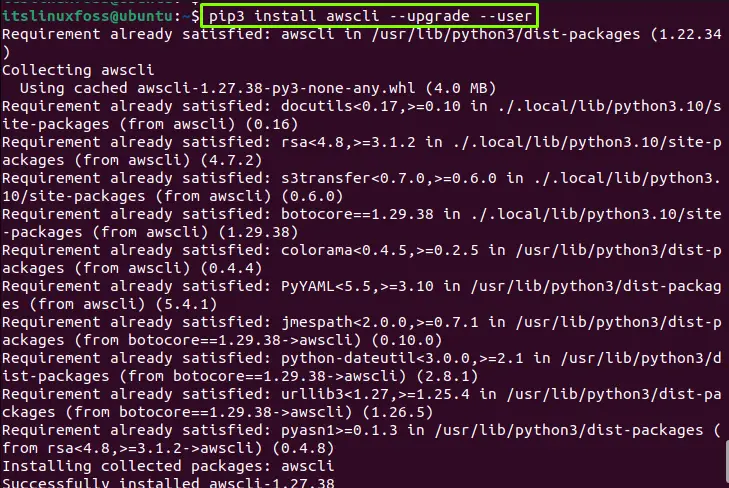
The AWS (CLI) will be installed for python3.
Let’s check the AWS(CLI) version to verify the installation:
$ python3 -m awscli --version

The AWS (CLI) version 1.27.38 has been installed.
How to Configure AWS?
To configure the AWS, use the “aws” command with the “configure” option and enter the “Key ID”, “Secret Access Key”, “region name,” and “Default output” Format:
For apt Package
$ aws configure
$ python -m awscli configure         #For Python2
$ python3 -m awscli configure        #For Python3

That’s how you can install and configure AWS CLI on Ubuntu.
Conclusion
In Ubuntu, AWS (Amazon Web Services) is the command line tool for controlling AWS services that can be installed as an apt package or python module. Using the apt package, first, run the system update command for updating the system packages and install it using the given command. For the python module, install the pip utility if it is not installed and use it for installing the AWS. This write-up has illustrated the methods for installing the AWS (CLI) on Ubuntu.
