Git is a version control system that tracks changes in computer files and projects. It is an open-source and easy-to-use software tool that can be accessed and used on different operating systems like Linux, macOS, etc. We can use Git on Ubuntu 24.04 to create and manage new or existing projects, merge multiple versions, and delete unnecessary files or repositories.
Considering the significance of Git, in this post, we’ll illustrate a step-by-step process of installing, configuring, and using Git on Ubuntu 24.04.
Git Installation on Ubuntu 24.04
To install Git on Ubuntu 24.04, we can use different methods, such as “apt” package manager, “source code”, and “PPA” repository.
1. Installing Git on Ubuntu 24.04 Using Default Packages (APT)
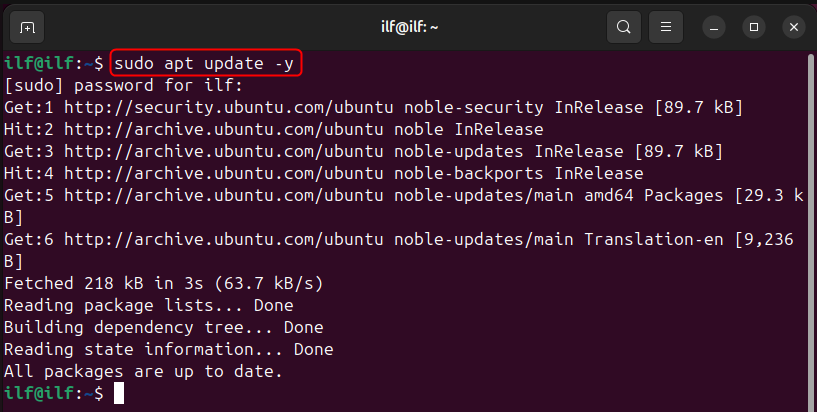
apt is the default package manager that contains different packages, including the Git package. It is the easiest way of installing Git on Ubuntu 24.04. However, the installed version of Git might not be the latest one, therefore, to install the latest version, make sure the apt repository packages are up-to-date. For this purpose, execute the below-mentioned command:
sudo apt update -y
Step 1: Check Git Version
After updating the system packages, execute the mentioned command from the terminal to check if Git is already installed on your system:
git --version

The output shows that git is not installed on our system; however, we can install it using the mentioned command.
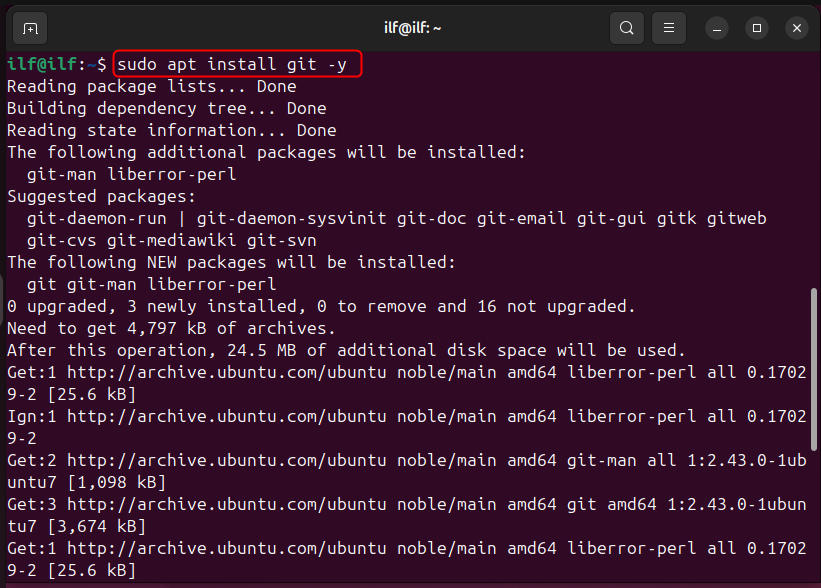
Step 2: Install Git
Run the given command to install git using the apt package manager:
sudo apt install git -y
Step 3: Verify Git Installation
Once the installation process is complete, run the following command to confirm the installation of Git on Ubuntu 24.04:
git --version
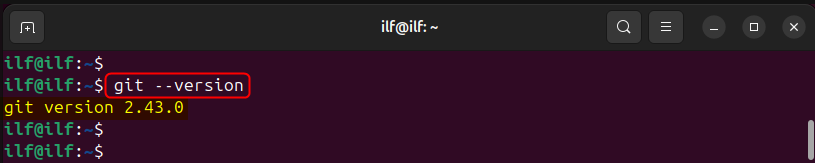
The above output snippet shows that git “2.43.0” has been successfully installed on our Ubuntu 24.04.
2. Installing Git on Ubuntu 24.04 From the Source Code
We can use the source code to install the latest or a specific Git version on Ubuntu 24.04. To do this, we must first download the “tar.gz” file from GitHub, and then configure it to complete the installation. To install Git using source code, follow the below-given stepwise instructions:
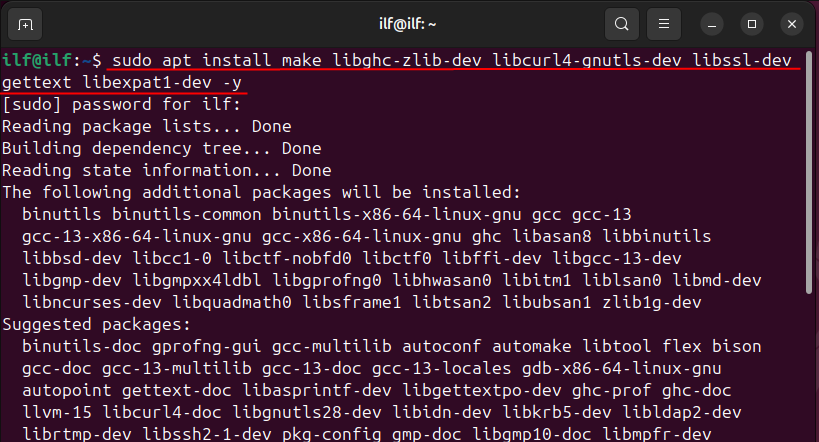
Step 1: Install Relevant Packages
To ensure smooth installation of Git on Ubuntu 24.04 using source code, first, we need to install the relevant packages by executing the given command:
sudo apt install make libghc-zlib-dev libcurl4-gnutls-dev libssl-dev gettext libexpat1-dev -y
Step 2: Download Git From Github
Once the relevant dependencies are installed, download the “tar.gz” file of the latest Git version. To do this, you can simply execute the “wget” command as follows:
wget https://github.com/git/git/archive/refs/tags/v2.45.0.tar.gz
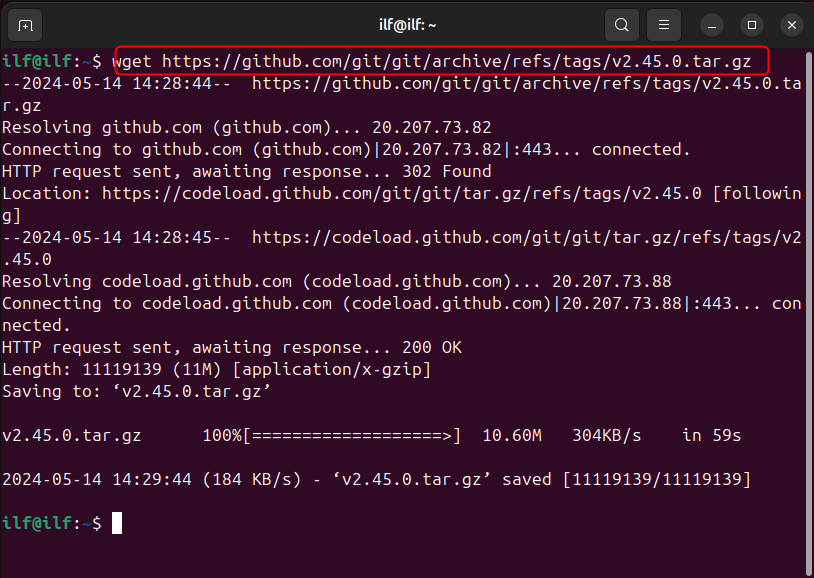
Currently, the latest version of Git is “2.45.0,” so we specify it in the command, however, you can install a different version as needed.
Step 3: Extract the Compressed Tarball File
Now, unpack the downloaded “tar.gz” file by executing the “tar -xf” command:
tar -xf v2.45.0.tar.gz

Step 4: Configure Git Installation Files
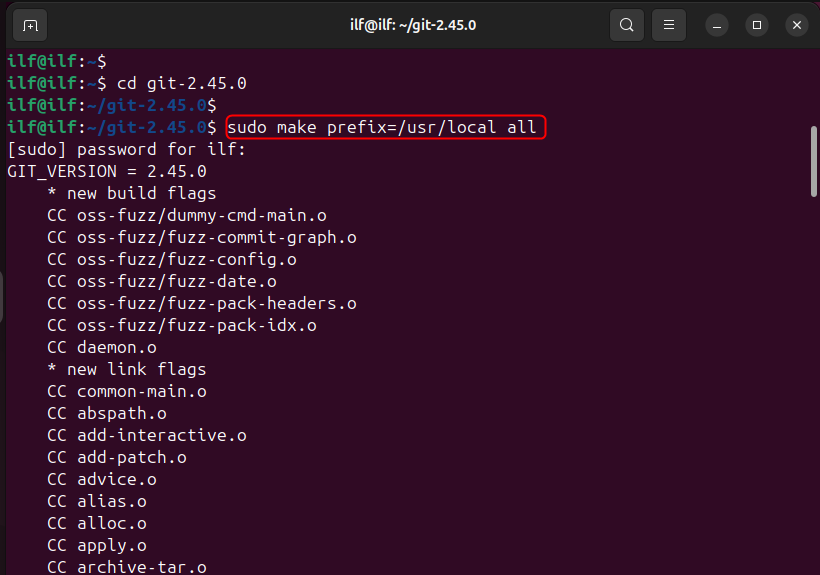
Once the content of the “tar.gz” file is extracted, navigate to the source directory of Git, and then configure the Git installation files using the following commands:
cd git-2.45.0                           #navigate to the Git directory
sudo make prefix=/usr/local all         #configure git files
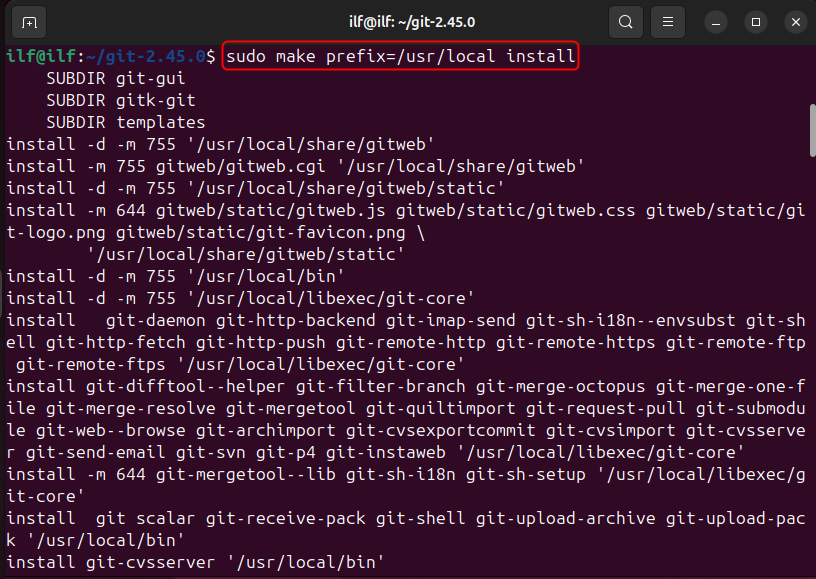
Now execute the mentioned command to install the latest Git version on your Ubuntu 24.04:
sudo make prefix=/usr/local install
Step 5: Confirm Git Installation
Once the installation process is finished, run the given command to verify the Git’s installed version:
git --version

That’s it! The output confirms that the latest Git version, i.e., “2.45.0” is successfully installed on Ubuntu using the source code.
3. Installing Git on Ubuntu 24.04 Using PPA
Personal Package Archive (also known as PPA) is a special software repository that can be used to install different software on Ubuntu, including Git. We can use PPA to add the latest version of Git to the list of repositories, then update the system repositories, and finally install Git using the “sudo apt install git” command. Here is a step-by-step procedure for installing git on Ubuntu 24.04 using PPA:
Step 1: Add Git’s PPA to the Repositories
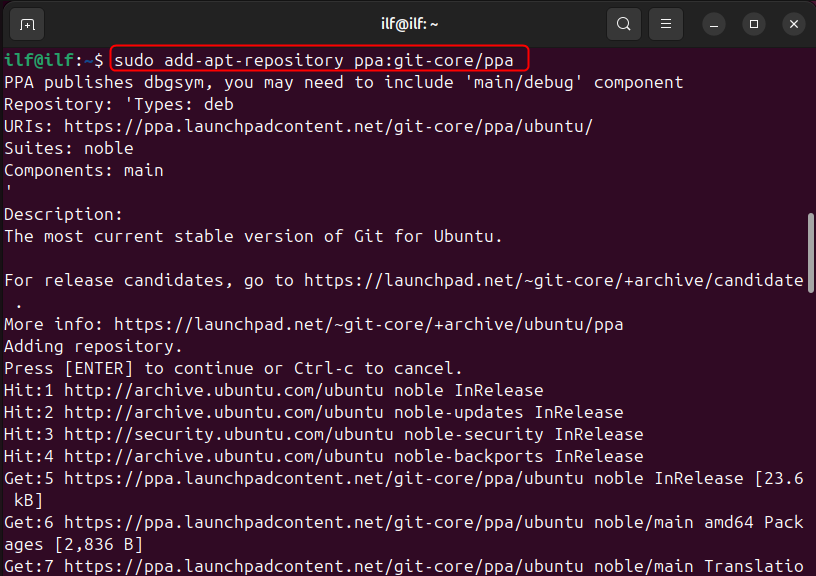
First, add the Git’s PPA to the system repositories using the following command:
sudo add-apt-repository ppa:git-core/ppa
Step 2: Update System Repositories
Now update the system repositories by executing the mentioned command:
sudo apt update
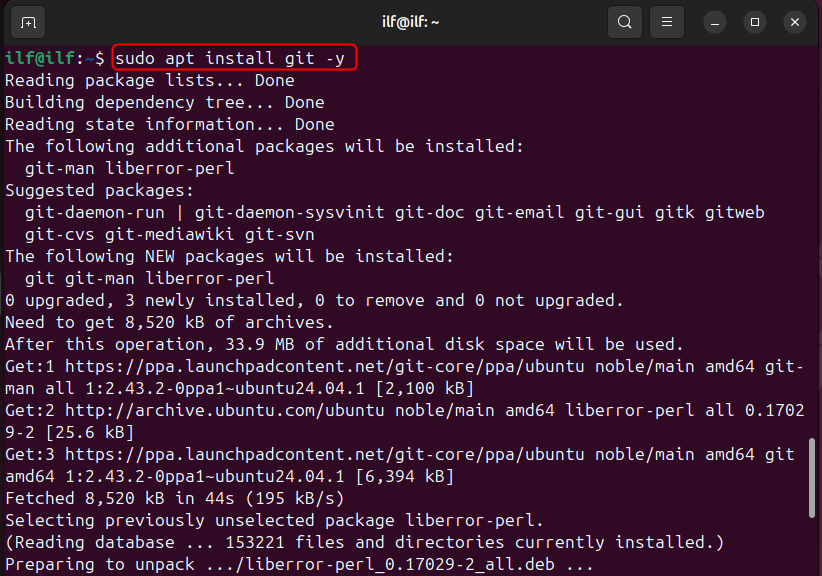
Step 3: Install Git
Finally, execute the given command to install Git on Ubuntu 24.04 using PPA:
sudo apt install git -y
Step 4: Verify Git Installation
After installing Git using PPA, you can confirm the installation using the command:
git --version

The output snippet illustrates that Git version “2.43.2” is installed on Ubuntu 24.04 using PPA.
Configuring Git on Ubuntu 24.04
Once Git is successfully installed on our system, we can configure it by configuring the username and email address. For this purpose, execute the following commands one by one:
git config --global user.name "ilf"
git config --global user.email "[email protected]"

After this, we can execute the “git config” command with the “–list” option to verify the Git configuration on Ubuntu 24.04:
git config --list

Alternatively, we can make these configurations in the “~/.gitconfig” file. For this purpose, simply open this file in an editor like Nano and specify the username and email, as follows:
nano ~/.gitconfig
Save the changes and hit the “CTRL+X” to navigate back to the terminal.
Using Git Commands on Ubuntu 24.04
After installing and configuring Git on Ubuntu, we can execute Git commands from the Terminal to achieve different functionalities. Some of the basic and commonly used commands are illustrated in the following table:
| Command | Usage |
|---|---|
| git config | This command lets us configure settings like username and email. |
| git init | It begins a new repository. |
| git add | This command adds the content of the specified file(s) to the staging area. |
| git rm | It removes the specified files from the working directory and stages the deletion. |
| git clone | We can execute this command to copy/clone a repository from an existing URL. |
| git commit | It records/captures the modifications made in the file(s) in the version history of the Git repository. |
| git show | This command demonstrates the expanded details of the selected commit. |
| git remote | This command establishes a connection between the local repository and the remote server. |
| git status | We can use this command to list all the files that need to be committed. |
| git branch | It shows all the branches in the current repository. |
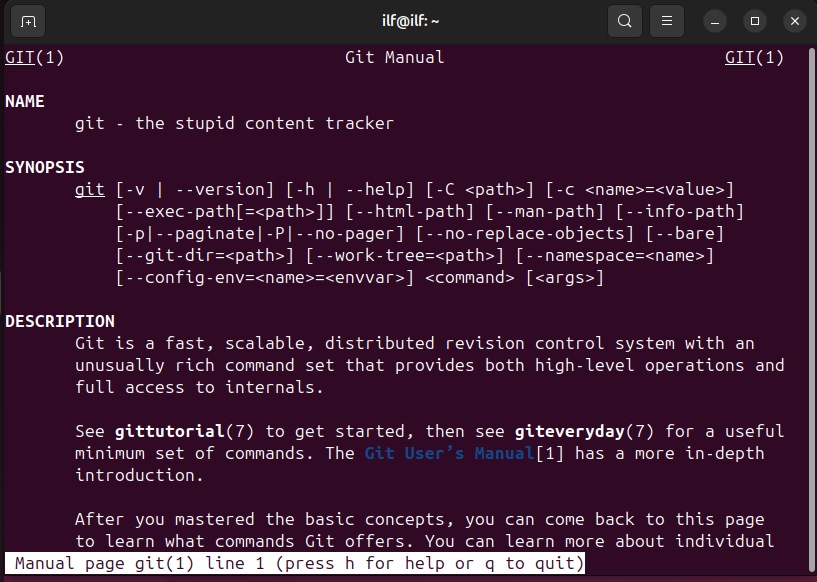
Execute the below-given command to learn the basic concepts of Git by reading its Manual:
man git
How to Remove Git From Ubuntu 24.04
We can uninstall/remove git from Ubuntu based on the method used for installation.
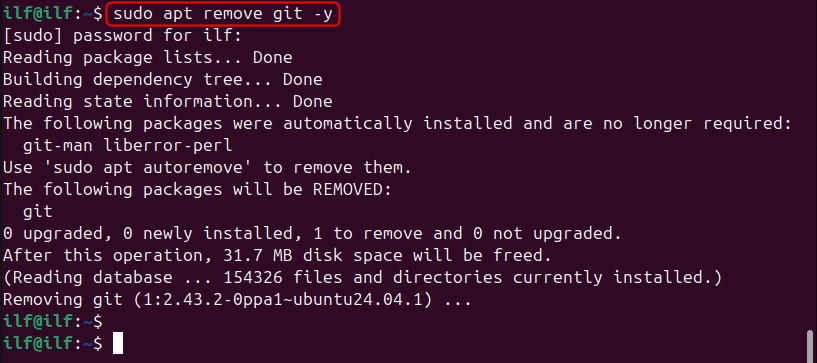
- If Git is Installed using apt, then execute the mentioned command to remove it from Ubuntu 24.04:
sudo apt remove git -y
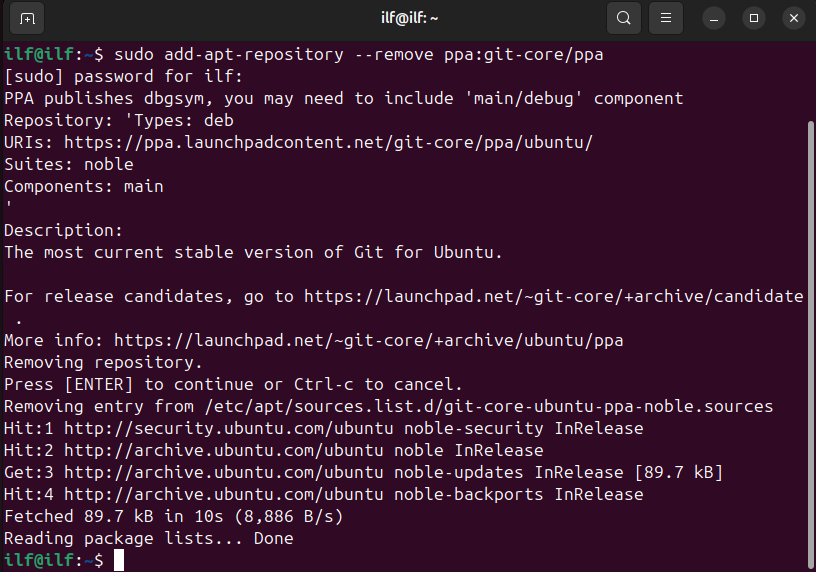
- In case, you install git using PPA, then first remove the specified PPA from the list of repositories using the mentioned command:
sudo add-apt-repository --remove ppa:git-core/ppa
After this execute the “sudo apt remove” command to uninstall git from Ubuntu:
sudo apt remove git -y
- If you install git using source code, first locate the directory where git is installed using the “which” command. After this, run the rm command with the Git source directory’s path to delete it from Ubuntu 24.04:
which git
sudo rm /dir_path

This is how you can install, configure, use, and remove git from Ubuntu 24.04.
Conclusion
Git is open-source software that is available for use on different operating systems, including Ubuntu. We can install Git on Ubuntu 24.04 using default packages (APT), source code, or PPA. The apt is the most convenient approach that installs Git on Ubuntu using a single command. This method might not install the latest version of Git. To install the latest or any specific Git version on Ubuntu, we can use the source code method. We can also install Git using the PPA repository, however, this is not the recommended approach, use this method only when you have a specific reason.
