A Printed Circuit Board (PCB) brings the electronic circuit to life in physical form. KiCad is one of many PCB applications available in the market. It is compatible with both Windows-based and Linux operating systems, including Ubuntu 22.04. KiCad is a freely available and open-source software tool, having a big built-in library for PCB design. It has the capability to design multilayer PCBs.
In this article, we will cover the techniques to install KiCad on Ubuntu 22.04, using terminal and GUI. So, let’s start!
Method 1: Kicad Installation using Ubuntu’s terminal
In the following method we will use Ubuntu terminal to install KiCad on our system. So, let’s get started!
Step 1: Update and Upgrade APT repository
To update and upgrade the APT repository, first open up the terminal by pressing “CTRL+ALT+T” and run the below-given command:
$ sudo apt update && sudo apt upgrade 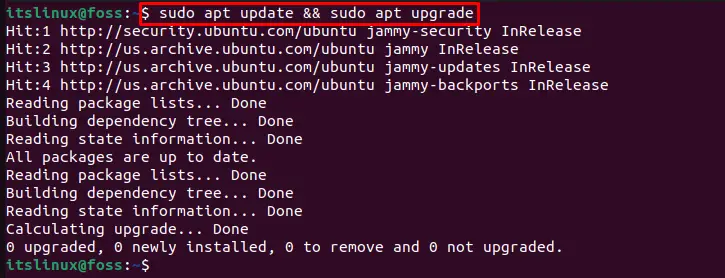
Step 2: Add KiCad PPA repository
Now, add PPA repository to install KiCad by utilizing the provided command:
$ sudo add-apt-repository ppa:kicad/kicad-5.1-releases

Step 3: Update the Ubuntu’s repository
After adding PPA repository again update Ubuntu’s APT repository by using the following command:
$ sudo apt update
Step 4: Install KiCad
Finally, install KiCad on Ubuntu 22.04 with the help of the provided command:
$ sudo apt install --install-recommends kicad

Now, let’s check out the second method to install KiCad on Ubuntu 22.04.
Method 2: KiCad Installation using GUI
To install KiCad from the Ubuntu Software store, follow the below-given procedure:
First, search “Ubuntu Software” in the “Activities” menu and open it from the search results:
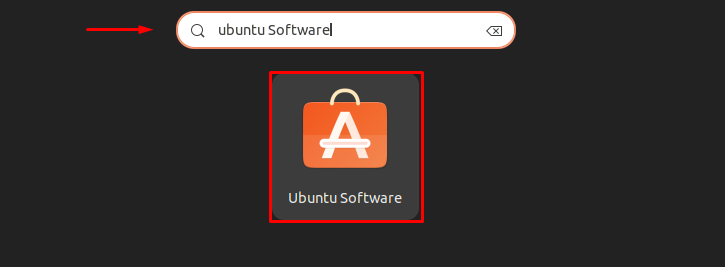
Now type out “KiCad” in the search bar and select KiCad from the available options:
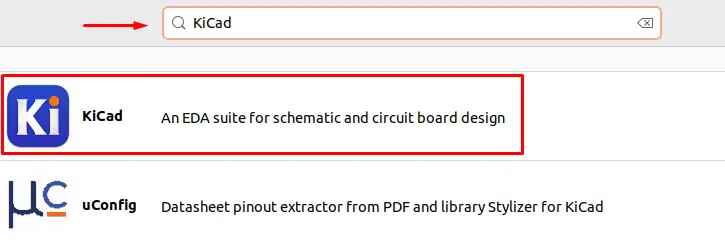
Then, click on “Install” button to start “KiCad” installation through GUI:

As you can see installation of KiCad is done successfully and this application is all ready to use:

Launch KiCad on Ubuntu 22.04
To launch KiCad on Ubuntu 22.04, follow up the given procedure.
First of all, search for “KiCad” in the “Activities” menu. The menu will display KiCad installed applications. Choose the very first “KiCad” option with a blue icon and open it:

Upon doing so, a “Configure KiCad Settings Path” window will appear on the screen. Select “Start with default settings” option and press the “OK” button:
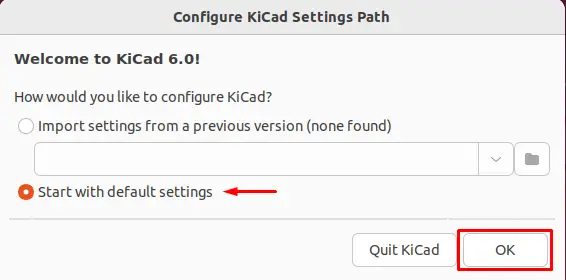
Now, KiCad is ready to use as shown below:
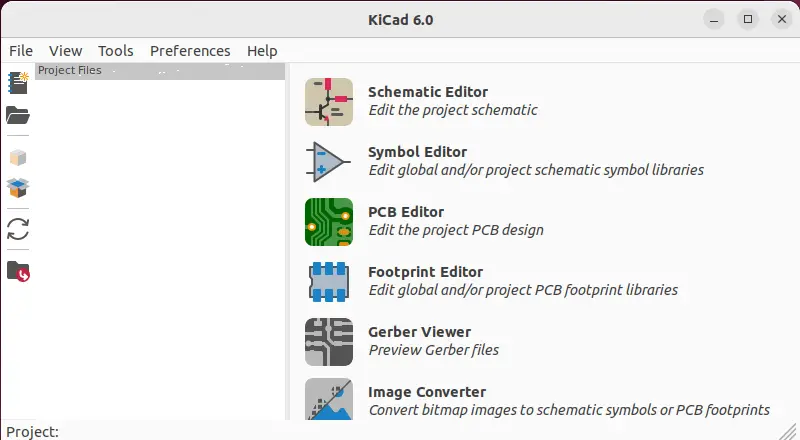
We have explained the method to launch KiCad on Ubuntu 22.04. Now we will take a look at its uninstallation procedure.
KiCad Uninstallation on Ubuntu 22.04
To uninstall KiCad from Ubuntu you can use the below-given command:
$ sudo apt autoremove --purge kicad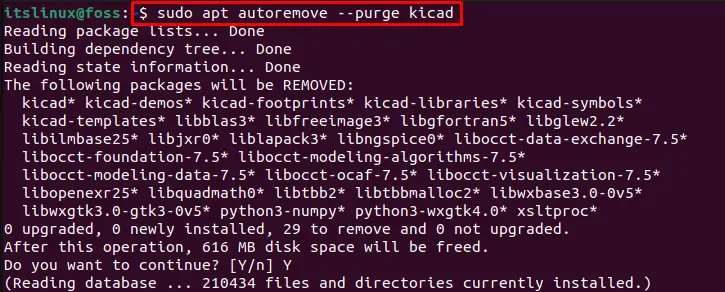

We have gone through the procedure of installation, configuration, and uninstallation of KiCad on Ubuntu 22.04.
Conclusion
On Ubuntu 22.04, you can either use Ubuntu terminal or Ubuntu Software Center to install KiCad. In case of using first method, add the PPA repository with the “$ sudo add-apt-repository ppa:kicad/kicad-5.1-releases” command and then run “$ sudo apt install –install-recommends kicad“. For the second method, go to the Ubuntu Software Center and search for “KiCad” to install it. In this article, we have elaborated the method to install KiCad on Ubuntu 22.04

TUTORIALS ON LINUX, PROGRAMMING & TECHNOLOGY