Ubuntu 24.04 (codenamed Noble Numbat) is the latest LTS release that continues to support Python 3 as its default programming language. For Python developers and enthusiasts, pip is a powerful tool that abbreviates “Pip Installs Packages” It is a package manager that is utilized to install as well as manage a bundle of packages that are written in Python.
This guide will walk you through the step-by-step process to install and set up pip on the Ubuntu 24.04 system to ensure a smooth and successful installation.
- How to Install pip on Ubuntu 24.04
- Method 1: Using Default Ubuntu Repository
- Method 2: Using Virtual Environments
- Method 3: Using a Python Script
- Method 4: Using Pipx Package Installer
- How to Uninstall pip on Ubuntu 24.04
- Conclusion
How to Install pip on Ubuntu 24.04
Installing Pip3 on Ubuntu 24.04 is essential for managing Python packages. Pip3 interacts with the Python Package Index to install, upgrade, and remove packages, making it a vital tool for Python developers.
Let’s install pip on the Ubuntu 24.04 system with the easiest method.
Method 1: Using Default Ubuntu Repository
Since Ubuntu 24.04 comes with Python3 by default, Pip3 is necessary to manage Python3 packages. For installing pip through the Default Ubuntu Repository, follow the below steps:
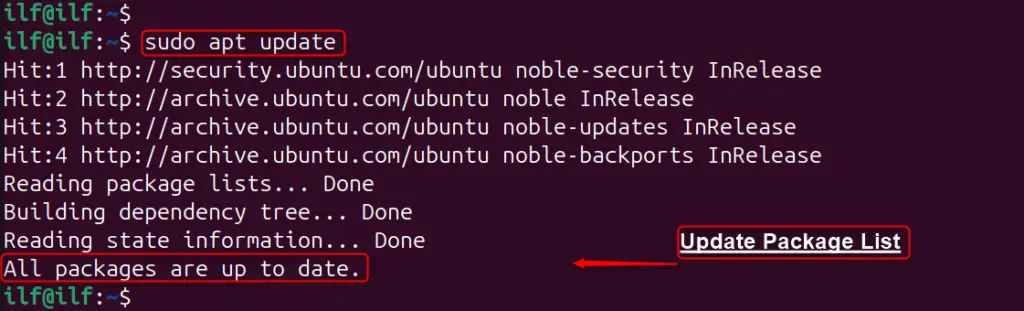
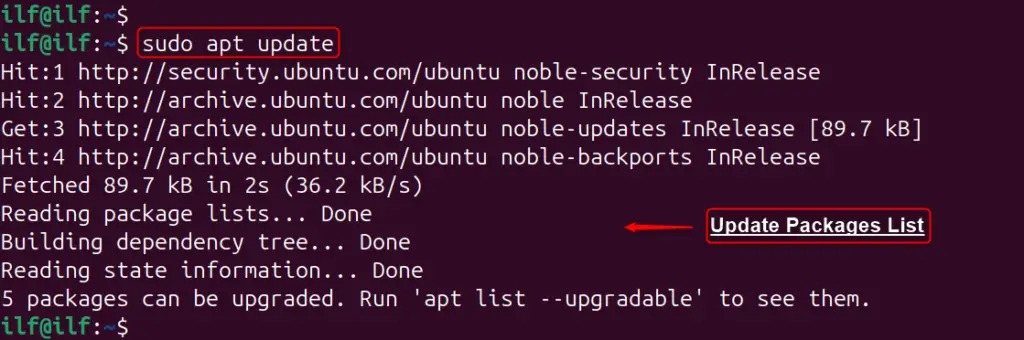
Step 1: Update the Package List
To update the package list on Ubuntu 24.04, use the below command. It reloads the indexes of the local package, as well as ensures that all subsequent installations are up to date:
sudo apt update
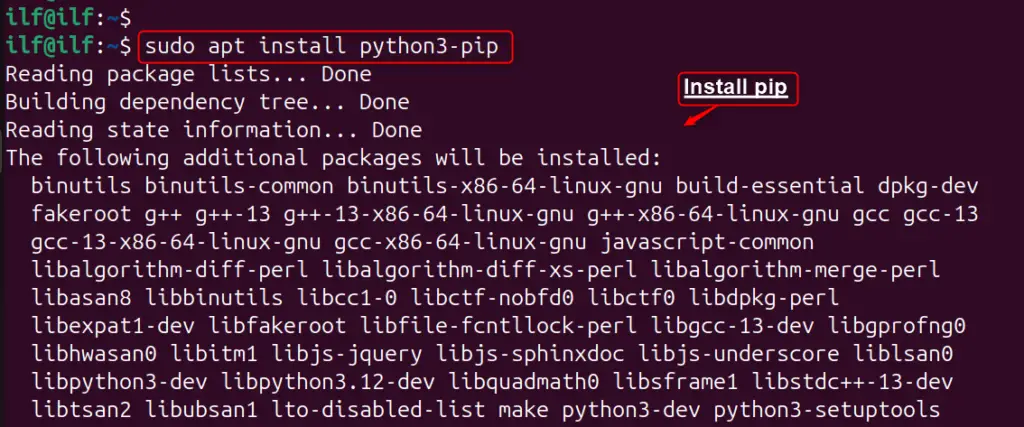
Step 2: Install pip for Python 3
With your package list updated, let’s move forward with the installation of pip. Since Ubuntu 24.04 comes with Python 3 pre-installed, you’ll be installing pip for Python 3. The “python3-pip” package downloads and installs pip along with any necessary dependencies:
sudo apt install python3-pip
Step 3: Verify Installed pip
For confirmation that pip is correctly installed, utilize the “–version” utility of pip that is installed on the Ubuntu system:
pip --version

Finally, pip has been successfully installed on the Ubuntu 24.04 system. It is preferred to use Pip3 within a Python environment to avoid system conflicts and maintain a clean global environment.
Method 2: Using Virtual Environments
Virtual environments allow users to deal with separate environments for several projects, due to their Python versions and dependencies. This isolation maintains a clean global Python environment. Let’s install pip on Ubuntu 24.04 via the virtual environments:
Step 1: Install Virtual Environments
First, users need to install the “virtualenv” package for the creation of a virtual environment:
sudo apt install virtualenv

Step 2: Create a New Environment
Then, create a new environment for the project by executing the below command. Let’s create a “py_project_env” environment:
virtualenv py_project_env
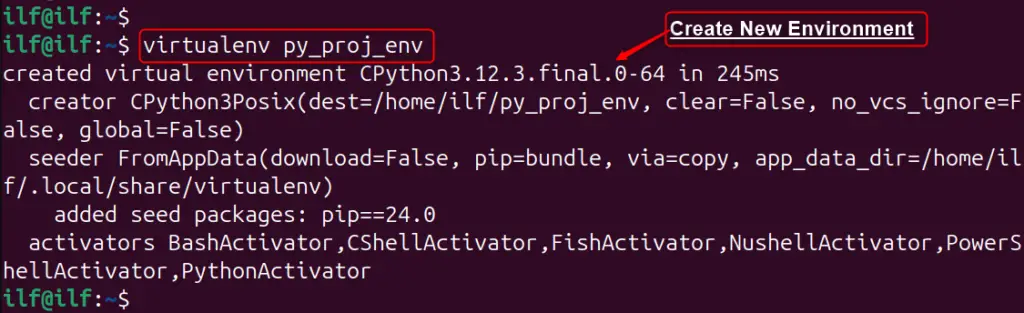
Important: Modify “py_project_env” with the name that users desire to give the environment. Activate this environment before installing new packages to ensure they are installed within this isolated space.
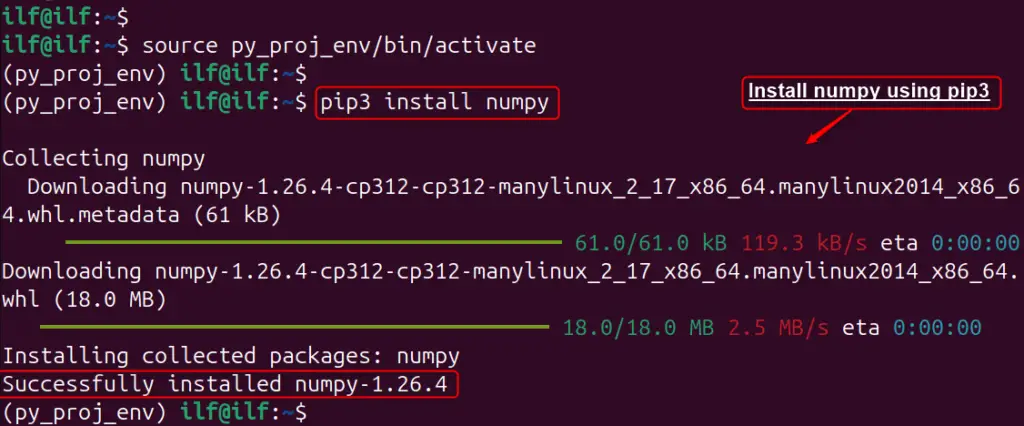
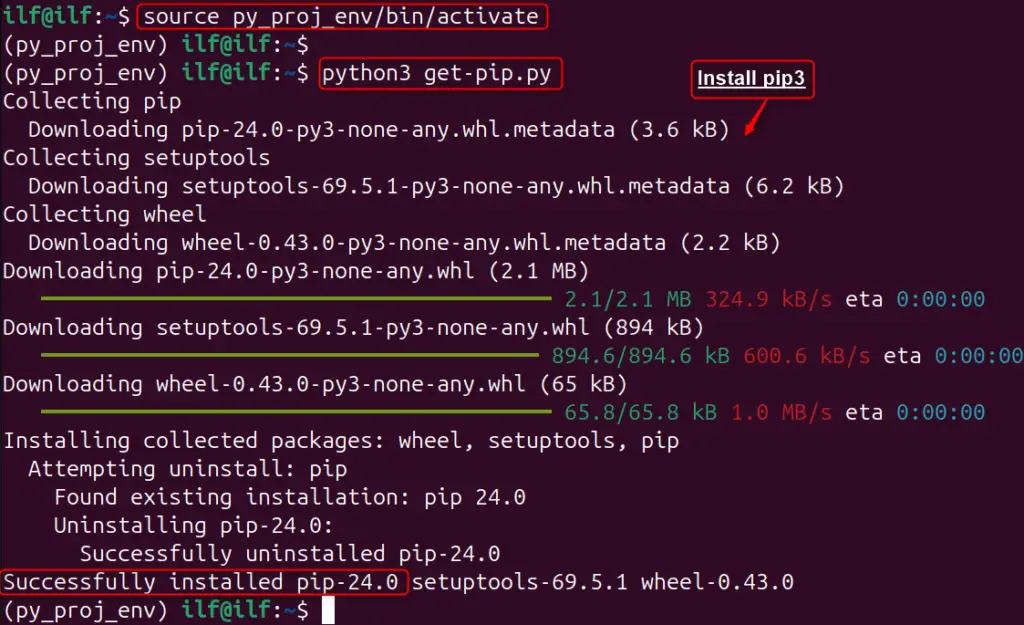
Step 3: Activate Python Virtual Environment
Let’s activate the environment via the “source” command after the environment creation:
source py_proj_env/bin/activate

Step 4: Verify Installed Pip
Now, any Python packages you install with “pip” or “pip3” will be contained within this environment. Let’s install numpy module using the pip3 as below:
pip install numpypip3 install numpy
That is all from the installation of pip via the virtual environments.
Method 3: Using a Python Script
This method is simple and allows users to install the latest version of Pip3 directly from the source. To install Pip3 on Ubuntu 24.04 using a Python script, follow these steps:
Step 1: Update System
First, ensure that your system is up-to-date by running the below command:
sudo apt update
Step 2: Download Python Script
Then, download the “get-pip.py” script using a tool like “curl”. For instance, use this tool to download the script:
curl https://bootstrap.pypa.io/get-pip.py -o get-pip.py

Step 3: Install Pip
Once the script is downloaded, users need to activate the virtual environment and install Pip3 by running the below commands:
source py_proj_env/bin/activatepython3 get-pip.py
Note: Python2 and its associated Pip version are no longer supported on Ubuntu 24.04, so it’s best to work with Python3 and Pip3.
Step 4: Verify Installed Pip
After installation, verify that pip is installed correctly by checking its version:
pip --versionpip3 --version
If you encounter any issues during the installation, such as an “externally-managed-environment” error, consider using a Python virtual environment or managing Python packages globally with the “python3-<python-package>” command.
Method 4: Using Pipx Package Installer
Installing Pip using the Pipx package installer can be a more secure and isolated way to manage Python packages globally across the operating system. It is a tool that installs and runs Python applications in separate environments.
Let’s install Pip using the Pipx installer:
Step 1: Ensure System Requirements
Before installing Pipx, ensure Python 3.7 or the latest is installed on the Ubuntu system. Users may also be required to have Pip installed for Python3.
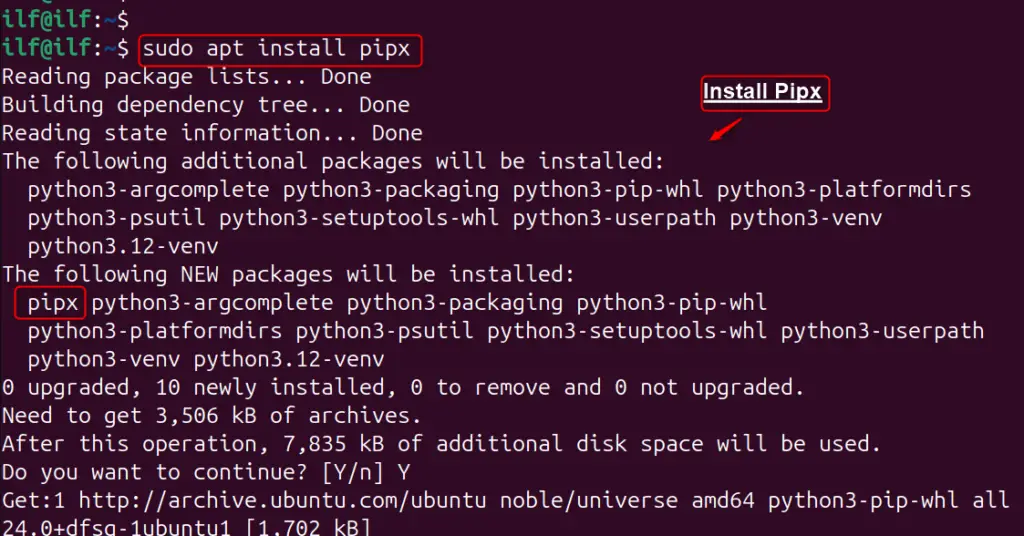
Step 2: Installing Pipx
For Ubuntu 24.04, you can use the “apt” command by mentioning the “pipx” package:
sudo apt install pipx
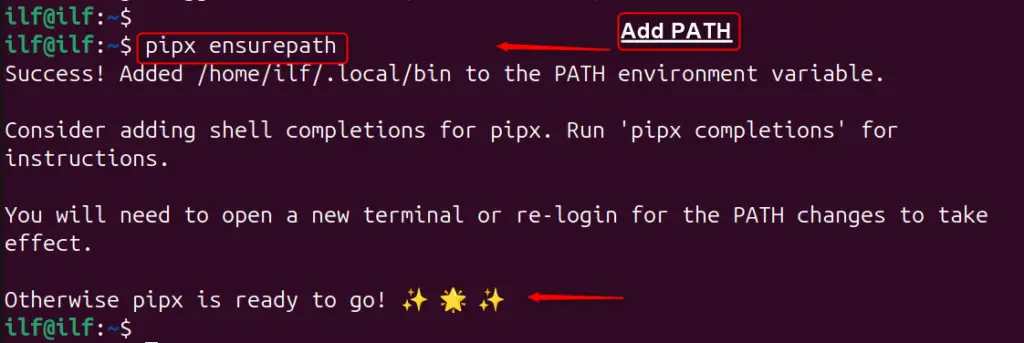
Now, update PATH for accessing globally access, via the “esurepath” option with the “pipx” command:
pipx ensurepath
Note: For other distributions, you can use Pip with the command “python3 -m pip install –user pipx” followed by “python3 -m pipx ensurepath”.
Step 3: Using Pipx to Install Pip
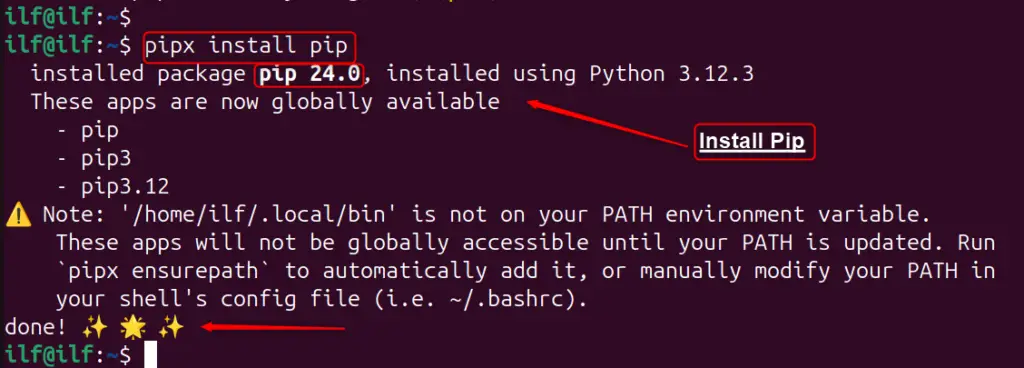
Once installed, you can use Pipx to install packages globally. For instance, install a package named “pip” through the pipx as below:
pipx install pip
Step 4: Managing Packages
Pipx also provides commands to upgrade, list, and uninstall packages. For instance, to upgrade a package, you would use “pipx upgrade package-name”:
pipx upgrade pip

Step 5: Global Installation
Optionally, you can allow Pipx actions in the global scope by running the “pipx ensurepath” command:
pipx ensurepath
Step 6: Verify Installed Pip
For the verification of pip installed, use the “pip3” command with the “–version” utility:
pip --versionpip3 --version
By considering these steps, you can install Pip using Pipx and enjoy the benefits of isolated environments for your Python applications.
How to Uninstall Pip on Ubuntu 24.04
For uninstalling pip on Ubuntu 24.04, users need to specify the procedure through which the installation is performed.
Using Default Ubuntu Repository
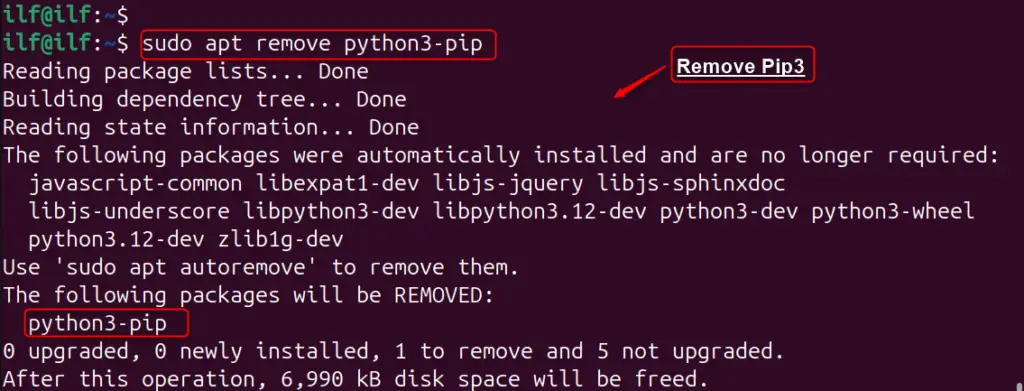
To uninstall pip or pip3 on Ubuntu 24.04 via the Ubuntu Repository, use the below command:
sudo apt remove python3-pip
Important: Users must avoid the use of the “autoremove” utility for the uninstallation of pip. It removes all dependent packages including GNOME that corrupt the Ubuntu system.
Remove the pip Directory
To remove the pip directory, use the “rm” command by mentioning the path below:
sudo rm -r ~/.local/bin/pip
Clean Up the pip Cache
For cleaning all temporary files and cache, utilize the below command:
sudo rm -rf /root/.cache/pip
sudo rm -rf ~/.cache/pip
That is all from the installation of pip on Ubuntu 24.04.
Conclusion
For installing pip on Ubuntu 24.04, open a terminal window, and update the package lists with “sudo apt update”. Finally, install pip for Python 3 with the “sudo apt install python3-pip” command. With pip, you can easily manage your Python packages and dependencies, streamlining your development workflow.
Alternatively, users can use the virtual environment, python script, and pipx installer to install pip on Ubuntu 24.04. It is preferred to utilize virtual environments to keep your projects organized and avoid any potential conflicts between them.
