
RabbitMQ is a messages broker that gives applications a common place to send messages and receive messages from other applications. RabbitMQ is also known as the messages queue software, allowing web servers to respond instantly to their requests. In Linux, this comes in the default repository of Linux distributions, saving the data by storing it temporarily.
This post will demonstrate the possible methods to install RabbitMQ on Ubuntu, and the contents of this blog are:
How to Install RabbitMQ in Ubuntu 22.04?
The RabbitMQ server can be installed on Ubuntu 22.04 using the steps provided below:
Step 1: Install Dependencies of RabbitMQ
To install the RabbitMQ, it is required to install some necessary packages for the smooth working of the RabbitMQ application using the command:
$ sudo apt install socat logrotate init-system-helpers adduser -y

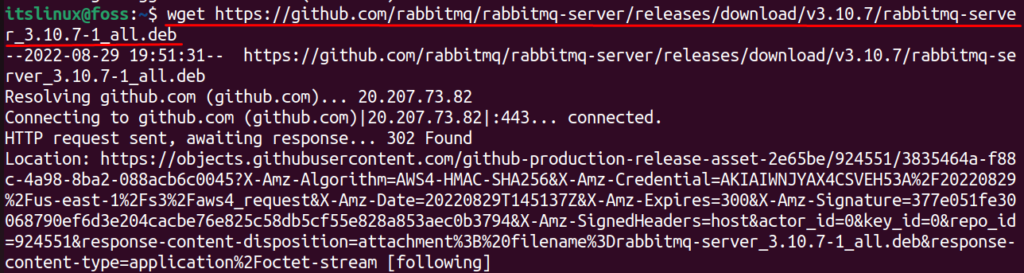
Step 2: Download the Debian Package
Now, download the Debian package of RabbitMQ-server in Ubuntu using the command:
$ wget https://github.com/rabbitmq/rabbitmq-server/releases/download/v3.10.7/rabbitmq-server_3.10.7-1_all.deb
Step 3: Install the RabbitMQ
After downloading the Debian package, install it using the dpkg manager with its option of “i” used for installation:
$ sudo dpkg -i rabbitmq-server_3.10.7-1_all.deb

Note: The installation can also be carried out using the “apt install ./<filename>.deb” command.
Step 4: Fix the Dependency Issues (If Occurs)
The package has been installed. While using the installation command, you might get a dependencies error which can be resolved by running the following command:
$ sudo apt --fix-broken install -y
This command will install the broken dependencies of the RabbitMQ server.
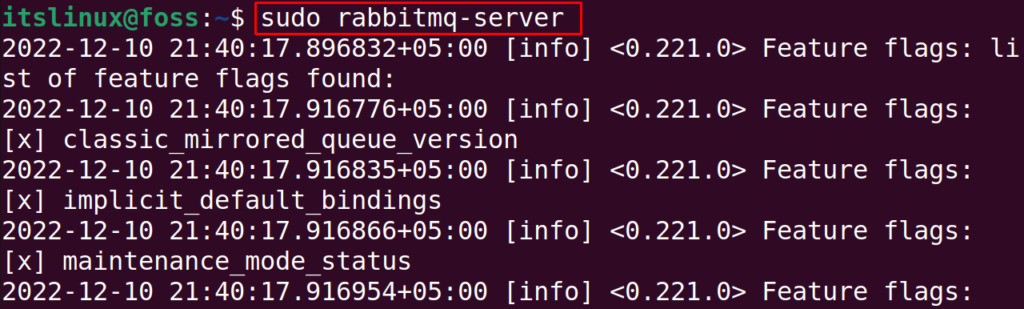
Step 5: Launch the RabbitMQ
After installation, launch the RabbitMQ server:
$ sudo rabbitmq-server
How to Uninstall the RabbitMQ From Ubuntu22.04?
If there is no need for the RabbitMQ, it can be removed with all its associated files using the command:
$ sudo apt purge rabbitmq-server -y
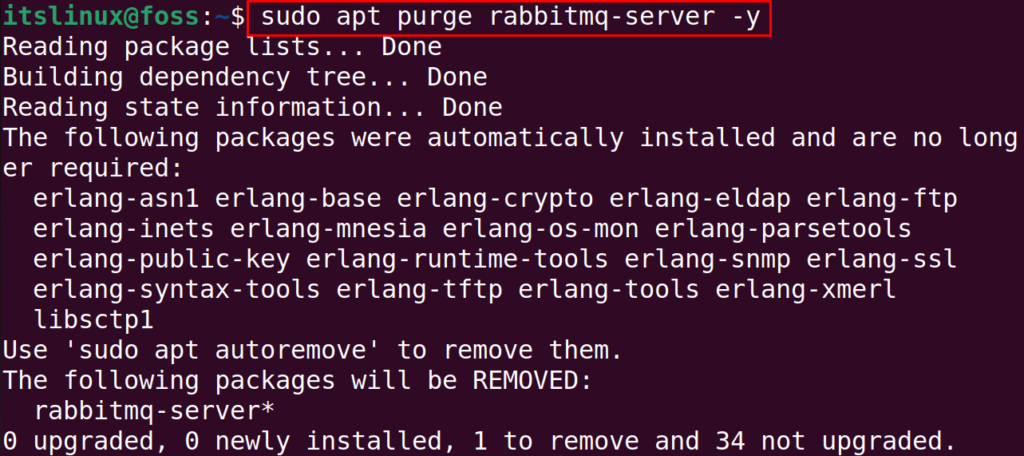
The package of the RabbitMQ server has been removed.
Conclusion
To install the RabbitMQ server in Ubuntu. First, you need to download the Debian package file of the RabbitMQ and then install it using the command “sudo dpkg -i <filename>.deb” or “sudo apt install <filename>.deb”. This write-up has briefly explained the installation method of RabbitMQ on Ubuntu.
