Setting up a website is an important task that involves several steps to ensure the site you created is secure and easily accessible. One of the important components to set up a website is to have a reliable web server to host it. Apache is one of the most reliable and trusted web servers, widely known for its open-source, flexible, versatile, and robust nature. This is the reason it has become a popular choice for many high-profile companies like IBM, Cisco, and Facebook.
With the release of Ubuntu 24.04 LTS, it has become important for users to install Apache on their systems. So that, they will be able to create and manage their websites on the server. This guide will help you to learn:
- How to Install Apache on Ubuntu 24.04
- How to Set Up a Secure Apache Server on Ubuntu 24.04
- Conclusion
How to Install Apache on Ubuntu 24.04
To install Apache on Ubuntu 24.04, go through the following steps:
Step 1: Update Ubuntu Repository
First, update the Ubuntu standard repository so that the preinstalled packages are up-to-date, you can do this using the below-mentioned command:
sudo apt update && sudo apt upgrade -y

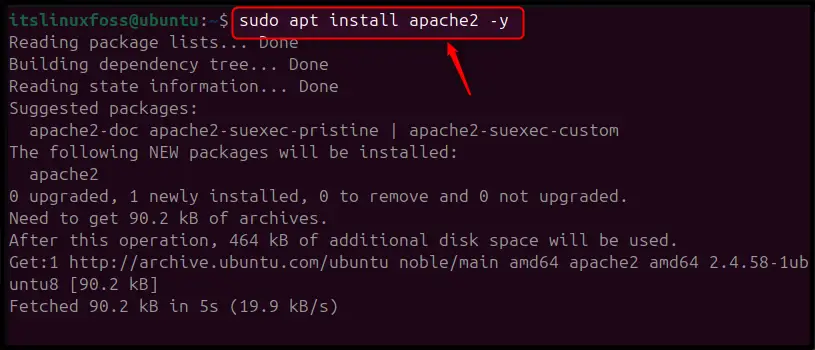
Step 2: Install Apache on Ubuntu
After ensuring an up-to-date Ubuntu repository, it’s time to install Apache from the standard system repository using the below-given command:
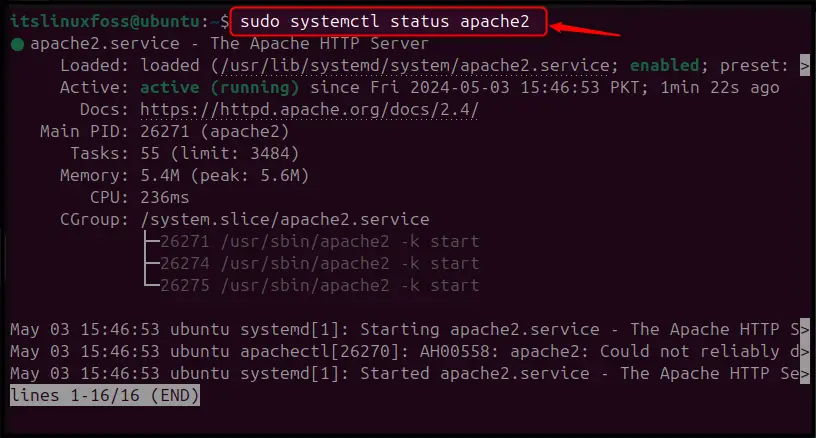
Step 3: Check Apache Status
Next, ensure Apache is running on Ubuntu, you can confirm this by executing the following command:
sudo systemctl status apache2
Note: Sometimes, you may experience issues running Apache on Ubuntu, in that case, look for the application that is using the default Apache port 80 using the following command:
sudo netstat -tulnp | grep :80

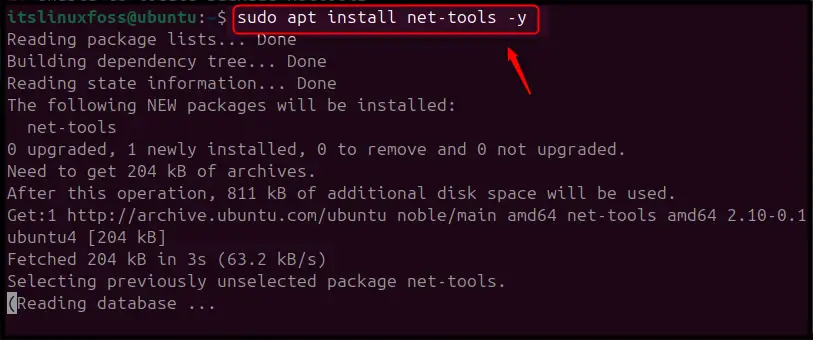
To use netstat command, install net-tools on Ubuntu using the following command:
sudo apt install net-tools -y
Step 4: Enable Apache at Startup
Once the Apache installation is successful, you can enable the Apache service to run at system startup using the below-given command:
sudo systemctl enable apache2

Step 5: Test Apache
To test whether the Apache service is successfully working on Ubuntu, open the default Apache page using your Ubuntu server’s IP address.
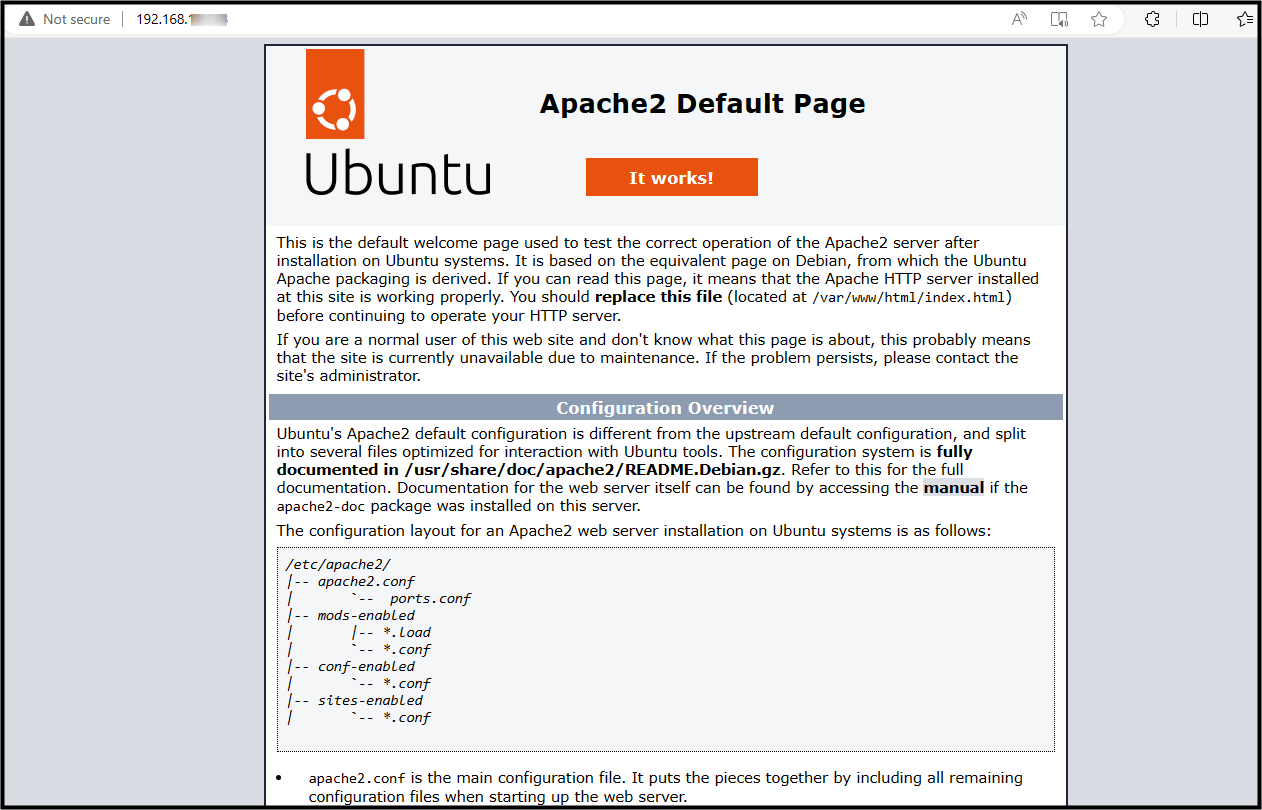
The successful loading of the Apache default page on the browser ensures that the Apache service runs perfectly on your system. At this stage, Apache is successfully installed on Ubuntu 24.04.
How to Set Up a Secure Apache Server on Ubuntu 24.04
With Apache, you can set up a secure web server for any business or individual with an online presence. A safe web server will help safeguard against online threats, provide better visibility at the Google search engine, and ensure more user engagement to the website. You can host multiple websites on a single web server with Apache, it can be done using the following steps:
Step 1: Setup Firewall on Ubuntu
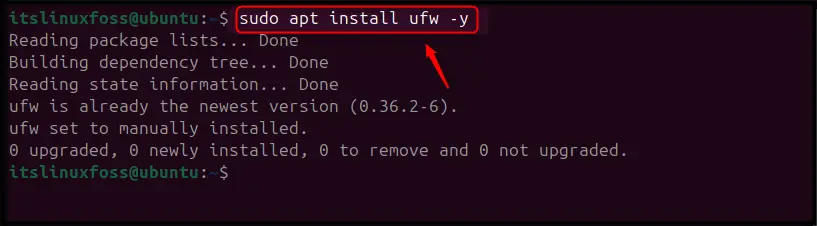
First, install a Firewall on Ubuntu to secure your Apache server, as it will help you allow HTTP and HTTPS traffic on port 80 and port 443, respectively. The Firewall can be installed on Ubuntu 24.04 from the following command:
sudo apt install ufw -y
After the Firewall installation, you can enable it to run at system startup using the following command:
sudo ufw enable
Then allow the HTTP and HTTPS traffic for Apache using the below-given command:
sudo ufw allow 'Apache Full'
Step 2: Create a Directory for your Domain
Now, it’s time to create a new directory in /var/www location, as it will serve as a root directory for your domain website. You can create a directory for your domain using the below-given command:
sudo mkdir /var/www/domain
You can replace the domain name according to your choice. Here, we have named our domain as itslinuxfoss:

Step 3: Set Ownership of the Domain Directory
Next, change the ownership of the domain directory to the current users on the system so that you are allowed to make changes to the files in the directory. You can set the ownership of your domain directory using the below-given command:
sudo chown -R $USER:$USER /var/www/domain

Step 4: Create an Index HTML File
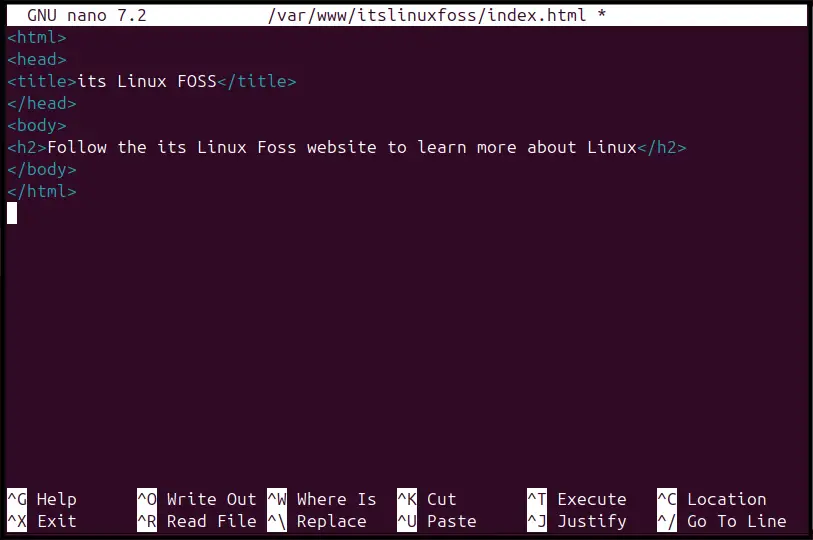
Now, create an index.html file for your domain inside the domain directory to set up a basic HTML website. You can do this using your favorite nano editor through the command mentioned below:
sudo nano /var/www/domain/index.html
Inside the index.html file, add the following HTML code and modify it accordingly:
<html>
<head>
<title>its Linux FOSS</title>
</head>
<body>
<h2>Follow the its Linux Foss website to learn more about Linux</h2>
</body>
</html>
Then save the index.html file using the key combination CTRL+X, Y, and Enter:
Step 5: Create a Virtual Host File for your Domain
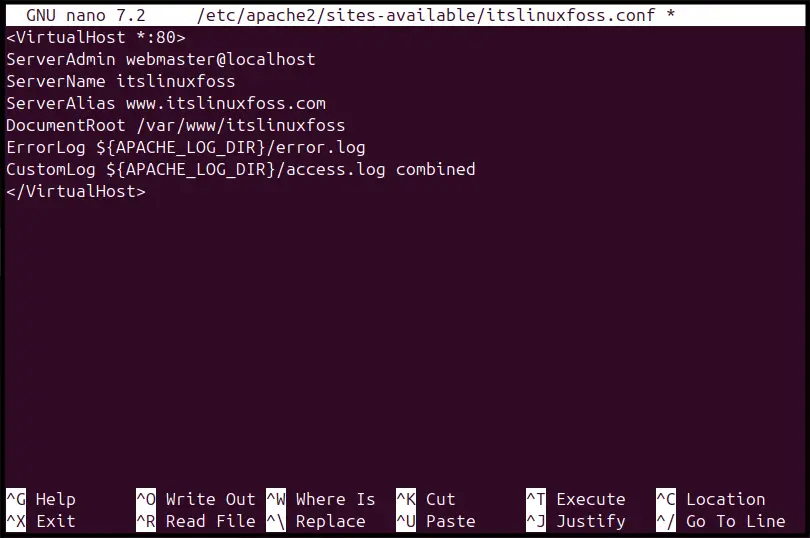
Next, create a virtual host file for your domain using the following command, since it allows Apache to respond to the requests for your domain:
sudo nano /etc/apache2/sites-available/domain.conf
Inside the virtual host file, add the following lines by changing the ServerName, ServerAlias, and DocumentRoot according to your domain settings:
<VirtualHost *:80>
ServerAdmin webmaster@localhost
ServerName itslinuxfoss
ServerAlias www.itslinuxfoss.com
DocumentRoot /var/www/itslinuxfoss
ErrorLog ${APACHE_LOG_DIR}/error.log
CustomLog ${APACHE_LOG_DIR}/access.log combined
</VirtualHost>
Don’t forget to save the file.
Step 5: Enable the New Site
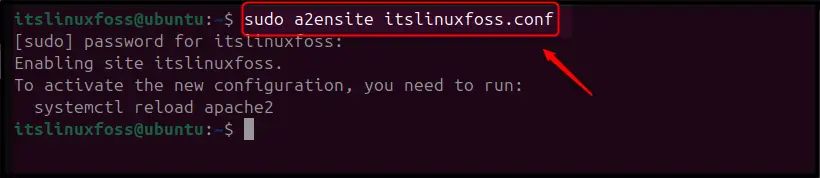
Now, enable the new site configuration on Ubuntu using the following command:
sudo a2ensite domain.conf
Step 6: Disable the Default Site
You can also disable the default Apache site using the following command to prevent Apache from loading the default configurations:
sudo a2dissite 000-default.conf

Step 7: Reload Apache on Ubuntu
After performing all the above steps carefully, reload the Apache to apply the changes on your system:
sudo systemctl reload apache2

Step 8: Access the Apache Web Server
To access the Apache web server of your domain, simply open the browser and enter your Ubuntu server’s IP address in the address bar:
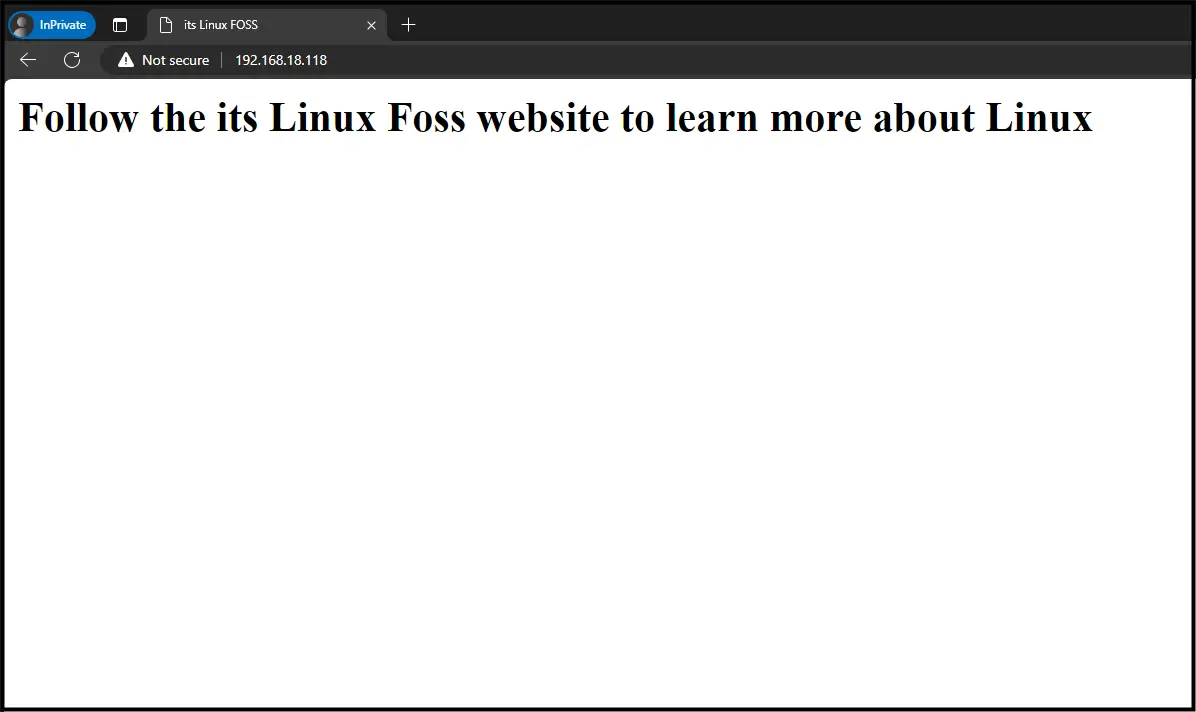
At this point, you have successfully set up an Apache server for your domain.
Additional Settings
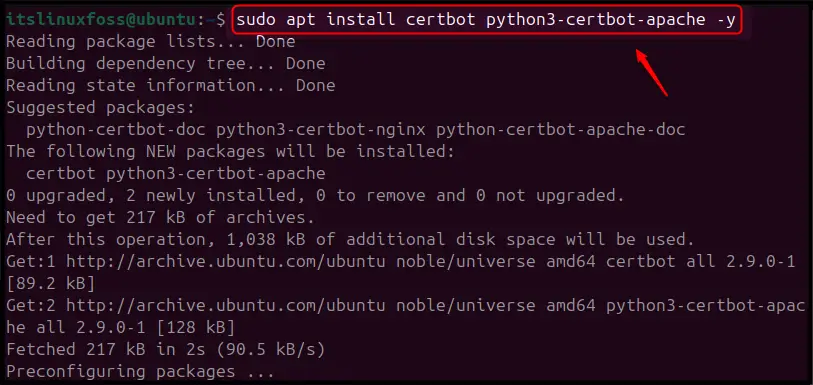
If you want to add more security to your Apache server, you can install certbot, and its Apache plugins on Ubuntu. It secures your site by obtaining the SSL certificates from Lets Encrypt and automatically configures Apache to use these certificates for HTTP traffic.
To install certbot and Apache plugins on Ubuntu, use the following command:
sudo apt install certbot python3-certbot-apache -y
Then obtain the SSL certificates for your Apache web server using the following command:
sudo certbot --apache
Follow the onscreen instructions to complete the setup and secure your Apache web server”.
Conclusion
Apache is a robust and versatile web server that allows you to deploy your websites on the Internet. To install Apache on Ubuntu 24.04, first update your system, then install Apache from the “apt install apache2” command. After that, use the systemctl command to enable the Apache service on Ubuntu. Then enter your Ubuntu server’s IP address in the browser to confirm Apache is successfully running.
You can also create a secure Apache web server for your domain by first setting up a Firewall, then creating a directory and providing ownership to it. After that, create an index.html and virtual host files according to your domain. Then enable your domain site, disable the default Apache website, and reload the Apache configuration. Once done, you can access your domain website using your Ubuntu server’s IP address.
