
SQLite3 is a Database Management System (DBMS) used to manage the data stored on web applications and websites. This DBMS is easy to install and does not need any configuration. SQLite3 is recommended to use in IoT (Internet of Things) projects and for storing cameras, televisions, and cell phone data.
This guide will explore different installation methods of SQLite3 on Ubuntu 22.04.
How to Install SQLite3 on Ubuntu 22.04?
For the installation of SQLite3 on Ubuntu 22.04, you can use:
- Package provided by default repository
- Downloading its installation package from the official website
Let’s check out each method one by one.
Method 1: Install SQLite3 on Ubuntu using Default Repository
To Install SQLite3 on Ubuntu using Default Repository, follow the provided procedure.
Step 1: Check SQLite3 package in Default Repository
First, check the availability of the SQLite3 package in the default repository of Ubuntu:
$ sudo apt show sqlite3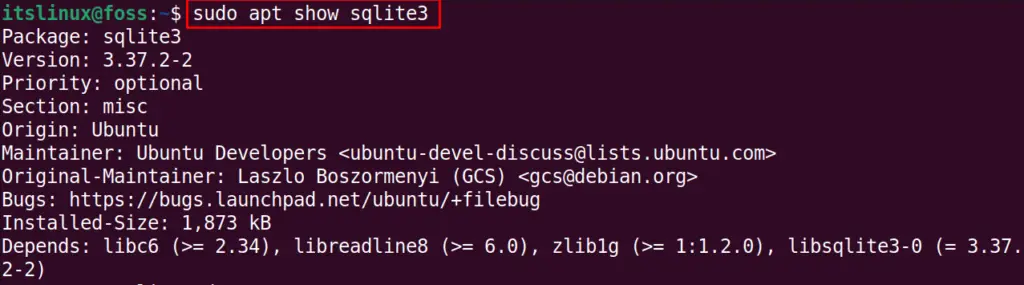
Step 2: Install SQLite3
After verification, use the APT package manager to install the SQLite3 package on your system:
$ sudo apt install sqlite3 -y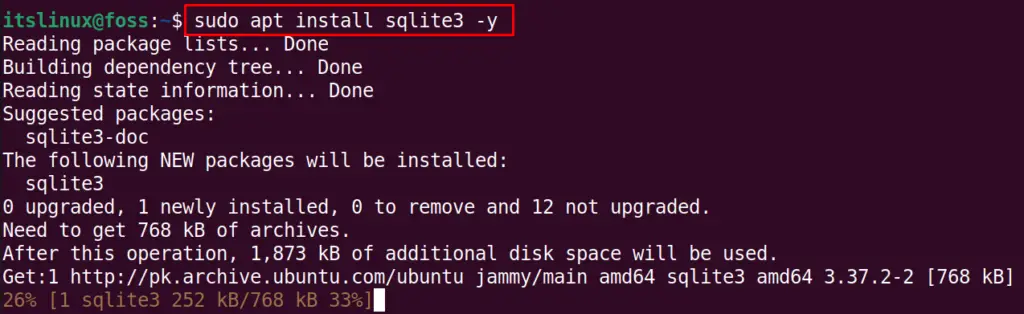
Step 3: Confirm SQLite3 Installation
After SQLite 3 installation, check its version using the command:
$ sqlite3 --versionAs you can see, we have successfully installed SQLite version “3.72.2” on our system:

Method 2: Install SQLite3 on Ubuntu through its website
Another method of installing the SQLite3 on Ubuntu is downloading the installation package from the official website.
Step 1: Download SQLite3 Package
Utilize the given “wget” command to download SQLite 3 package:
$ wget -c https://www.sqlite.org/2022/sqlite-autoconf-3390000.tar.gz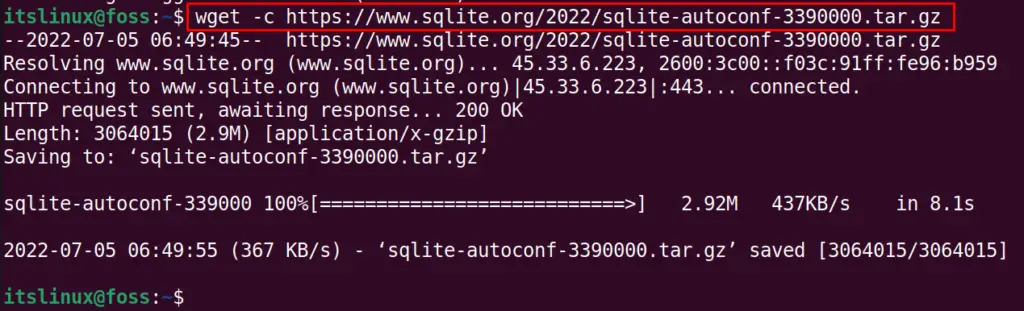
Step 2: Create and Move to SQLite3 Directory
Make a directory named “SQLite3” and navigate to it:
$ mkdir SQLite3 && cd SQLite3
The purpose of making a new directory is to store the SQLite3 configuration file.
Step 3: Extract SQLite3 Package
Now, we will extract the SQLite3 downloaded file in the newly created directory:
$ tar xvfz ../sqlite-autoconf-3390000.tar.gz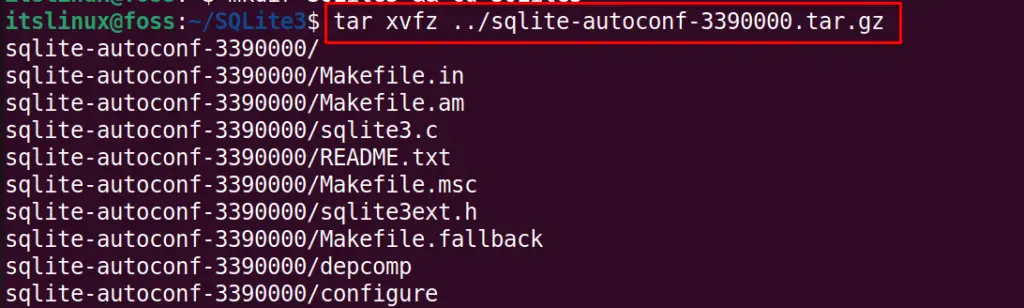
Step 4: Compile SQLite3 Configuration File
Navigate the extracted folder of “sqlite-autoconf-3390000” and compile the configuration file:
$ cd sqlite-autoconf-3390000 && ./configure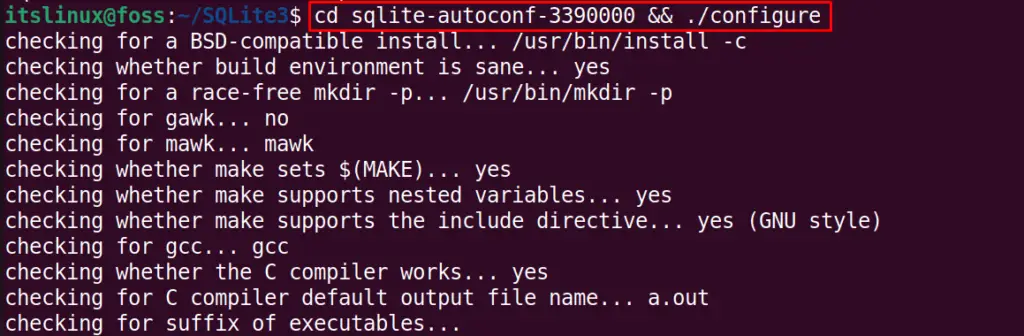
Step 5: Install SQLite3
Now, install SQLite3 using the following command:
$ make && sudo make install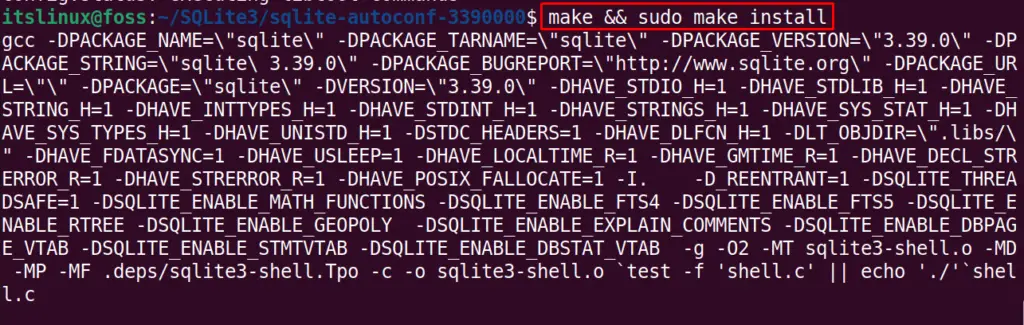
Step 6: Launch SQLite3
Launch SQLite3 on Ubuntu 22.04:
$ sudo sqlite3Or you can use, the database name in which we want to work. For instance, we have specified “itsLinuxFoss” as our database name:
$ sudo sqlite3 itsLinuxFoss.db
Step 7: Exit SQLite3
To exit from the SQLite3 environment, we will simply use the command “.quit”:
> .quit
How to Uninstall SQLite 3 in Ubuntu 22.04?
For the uninstallation of SQLite 2 from Ubuntu 22.04, run the following command:
$ sudo apt purge sqlite3 -y
We have provided the easiest methods related to the installation of SQLite3 in Ubuntu 22.04.
Conclusion
To install SQLite3 in Ubuntu 22.04, you can execute the “sudo apt install sqlite3 -y” command. In the second approach, download the SQLite3 package from the official website using the “wget” command. After doing so, extract it, and install the desired package. This article discussed different methods for installing SQLite3 in Ubuntu 22.04.

Saryia is a technology entrepreneur and digital publisher specializing in Linux, open-source technologies, and developer education.