The Virtualbox is a general-purpose, free, and cross-platform virtualization tool. It is created by Oracle Corporation. The VirtualBox is used to host various operating systems on a machine. With the help of VirtualBox, you can install the four host Operating Systems and handle many guest OS.
This Write-up will provide enhanced knowledge to install Ubuntu 22.04 on VirtualBox.
How to Install Ubuntu 22.04 on VirtualBox?
Ubuntu can be installed as an individual operating system or virtual machine on VirtualBox. Therefore, to install Ubuntu 22.04 on VirtualBox, go along with the step-by-step procedure mentioned below:
Step 0 (Optional): As you are installing Ubuntu on VirtualBox, make sure you have installed it on your machine:
To install VirtualBox on Ubuntu, utilize the following command:
$ sudo apt install virtualbox
Or if you want to get the latest version of VirtualBox for Windows, you can download it from the following link:
https://www.virtualbox.org/wiki/Downloads
Step 1: Download ISO file
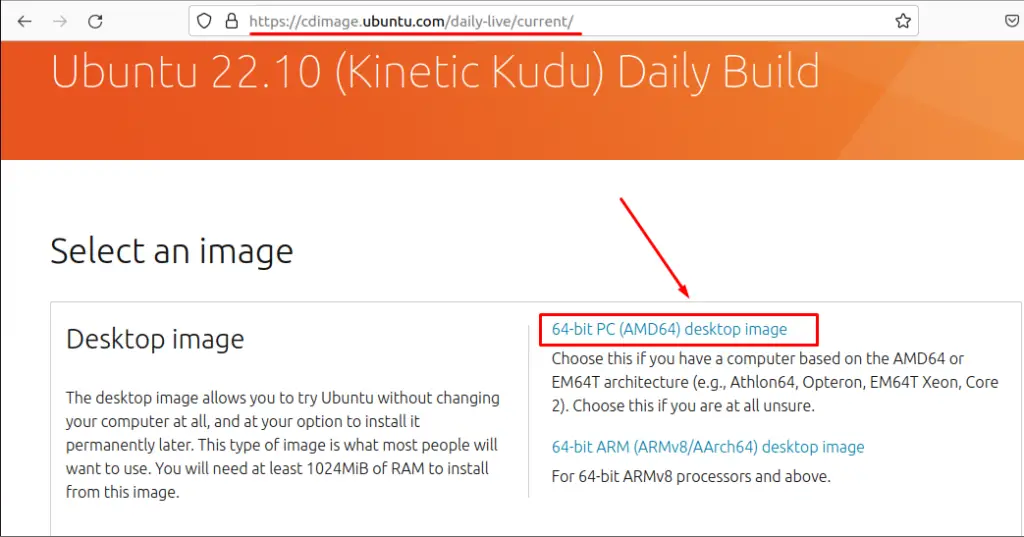
First, download the ISO file of Ubuntu 22.04 from the Ubuntu official page using the following link:
https://cdimage.ubuntu.com/daily-live/current/
It will open the following official page. To download the Ubuntu ISO file, click on the “64-bit PC (AMD64) desktop image”:
It will take some time to download the ISO file.
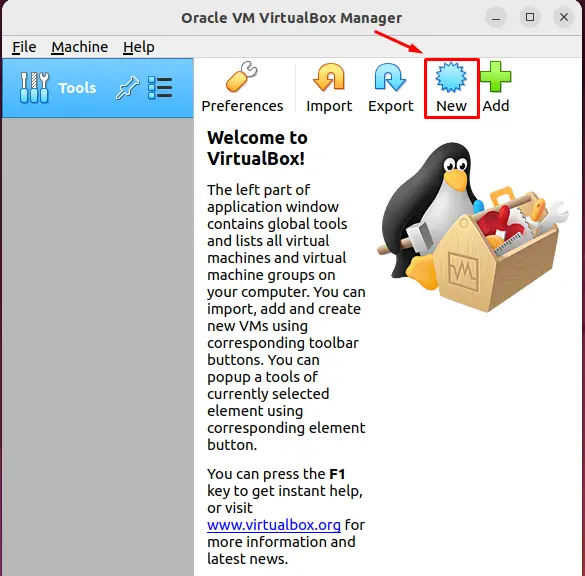
Step 2: Open the VirtualBox and create a Virtual Machine (VM)
Open the VirtualBox on your computer system. Once it is opened, click on the “New”button to create a new virtual machine:
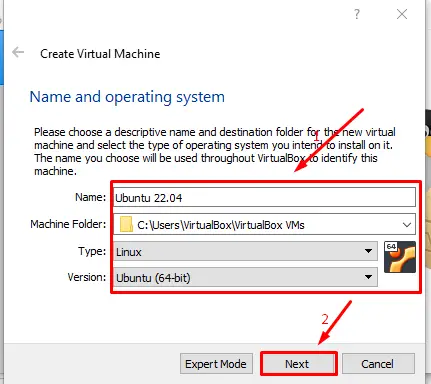
Set the “Name”, “Type” of the operating system, and the “version” of the OS you are going to install. You can also change the path of a virtual machine or go with the default:
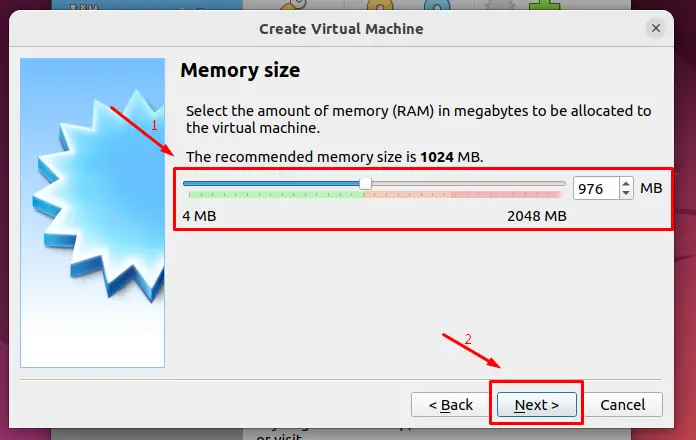
Select the “Memory size”(assign it accordingly as per your main system’s memory) and click on the “Next” button:
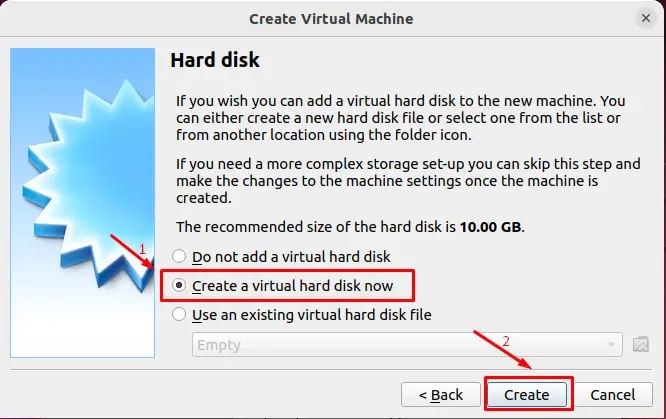
Choose the “Create a virtual hard disk now” option and click on “Next”:
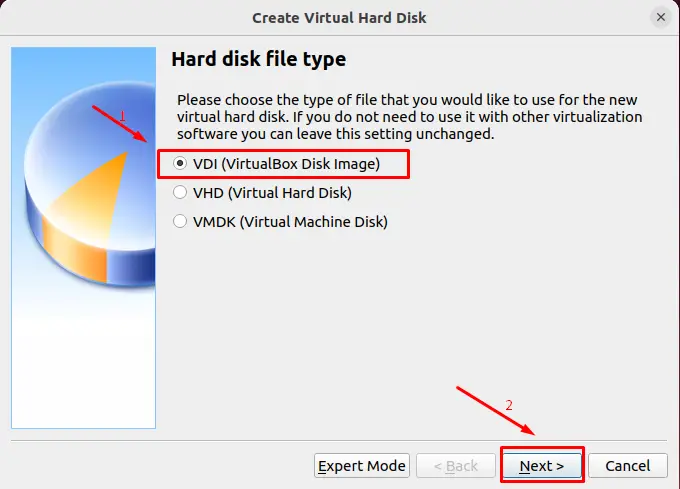
Select the “Hard disk file type” (it is recommended to set it to “VDI” as we did) and click on “Next” button:
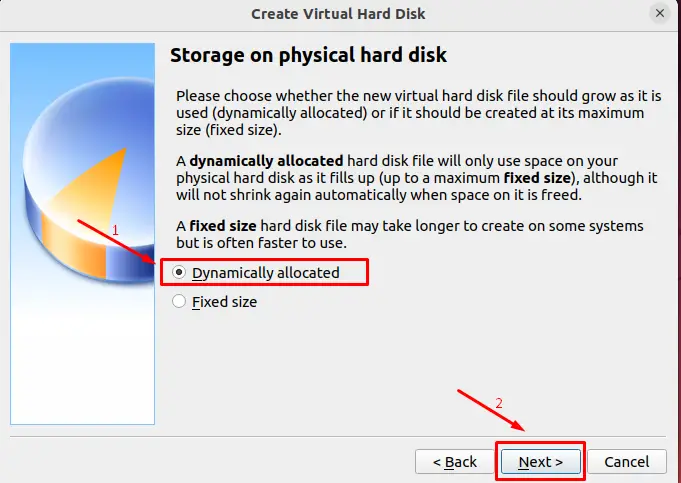
Select the “Dynamically allocated” from the following image and click on “Next”:
Note: The dynamic allocation will allow you to optimize your main hard drive as it will occupy only required space and will further consume it only if required.
Set the“Virtual Hard Disk” size and press on the “Create” option:
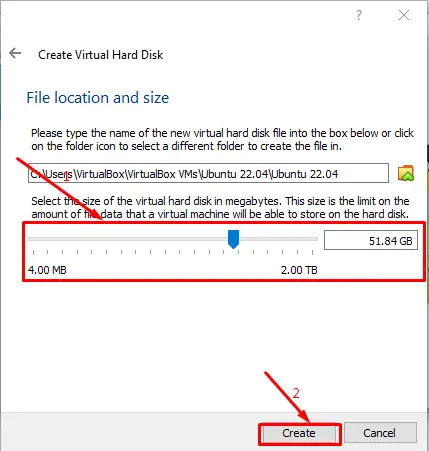
After that, the virtual machine will be successfully created.
Step 4: Add the ISO of Ubuntu 22.04 to the Virtual Machine
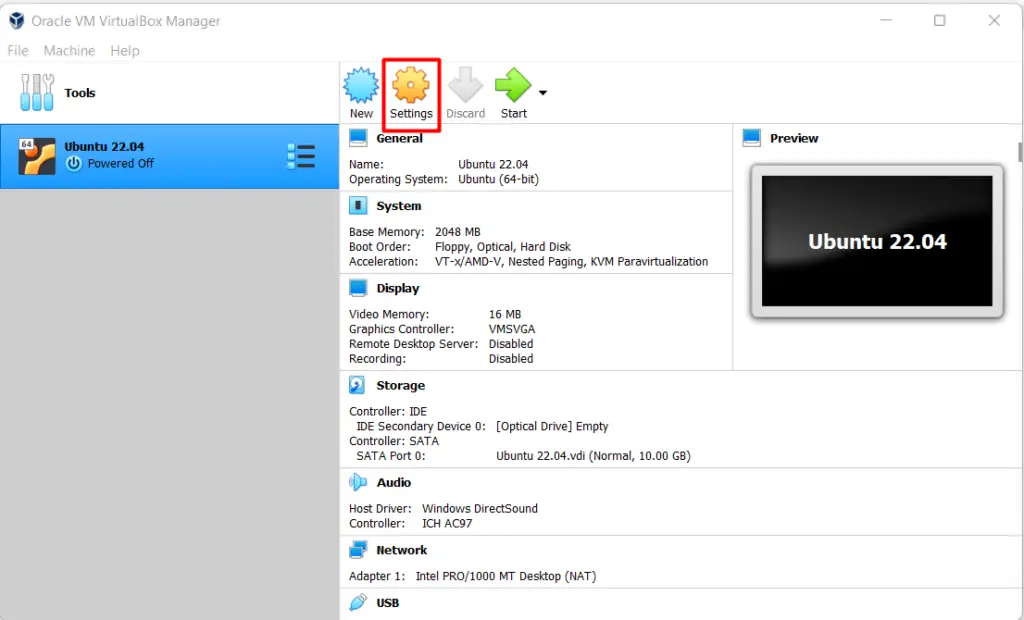
Once the virtual machine is successfully created, you will get the following interface. Click on “Settings” to add the ISO file of Ubuntu 22.04:
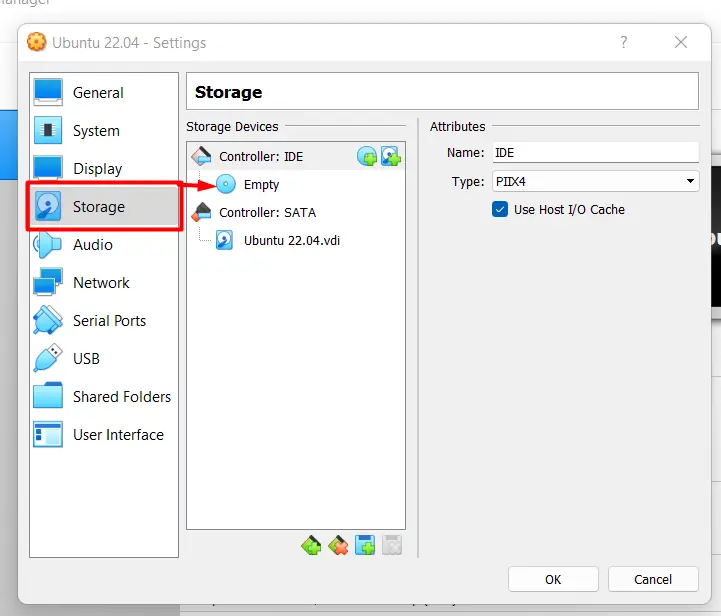
Navigate to the “Storage” option shown on the left pane. It is observed that there is no file attached currently:
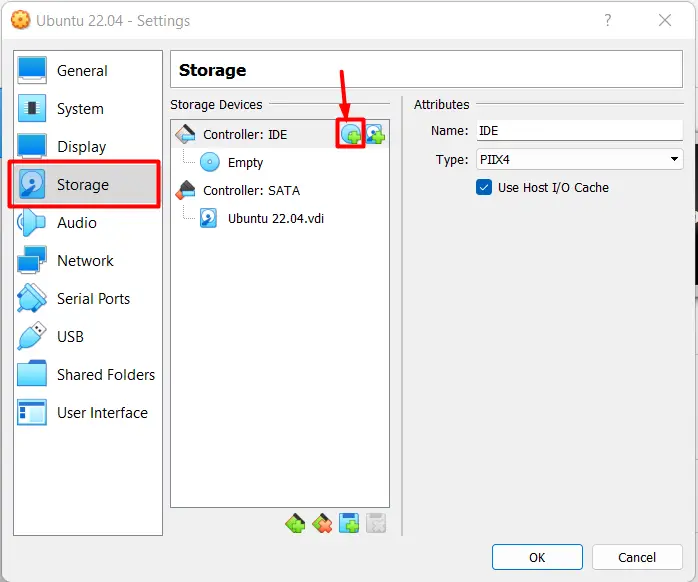
To add the ISO file, click on the add icon as directed in the following image:
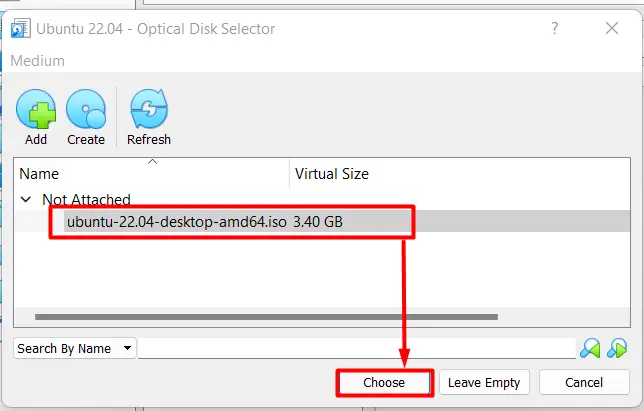
It will lead you to the following interface. Select the Ubuntu 22.04 image file and click on Choose:
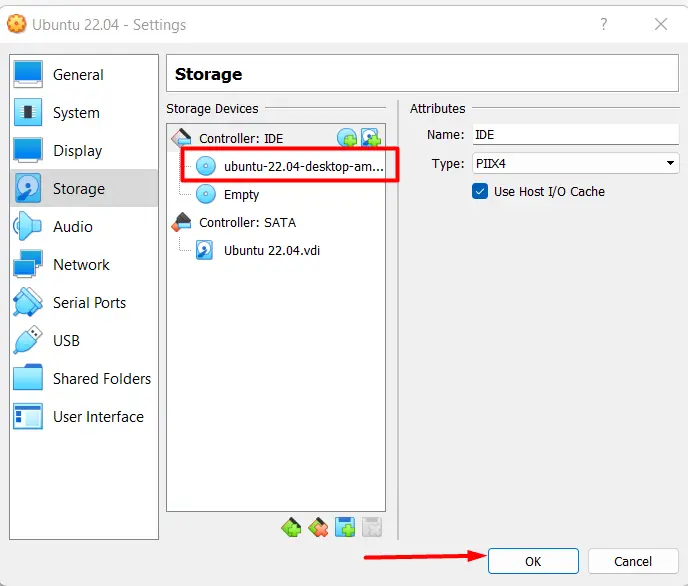
You will observe that the image is now loaded successfully, click on “OK” to fall back to the main menu of the VirtualBox:
Step 5: Start the Virtual Machine
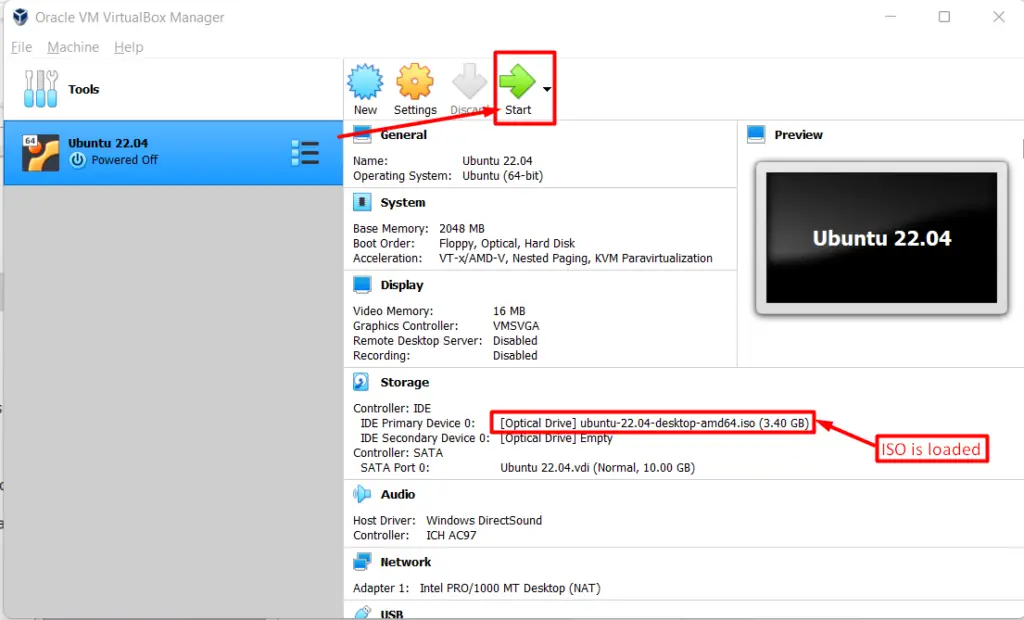
Once you are into the main menu, you can also verify here that the ISO image is loaded. Click on the “Start” button:
Step 6: Install Ubuntu on VirtualBox
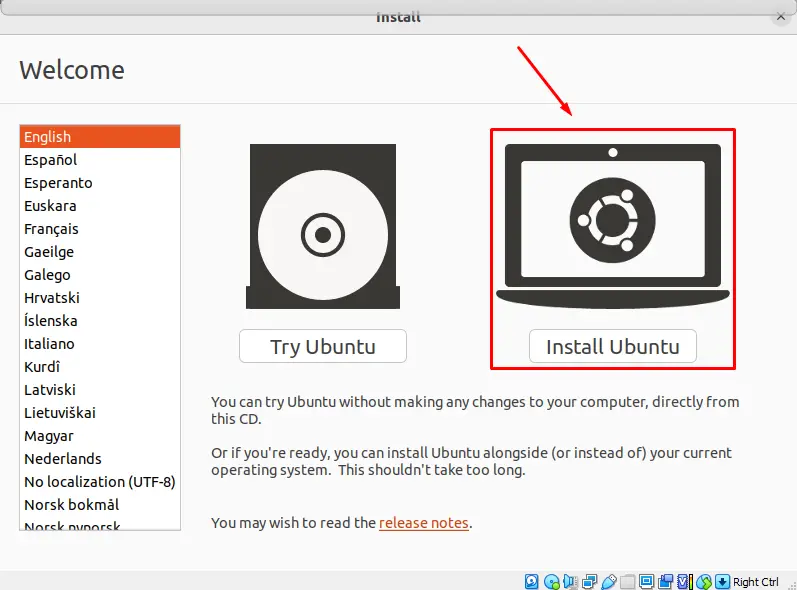
After doing so, the machine will be started and the following interface will be displayed. Click on the “Install Ubuntu” option:
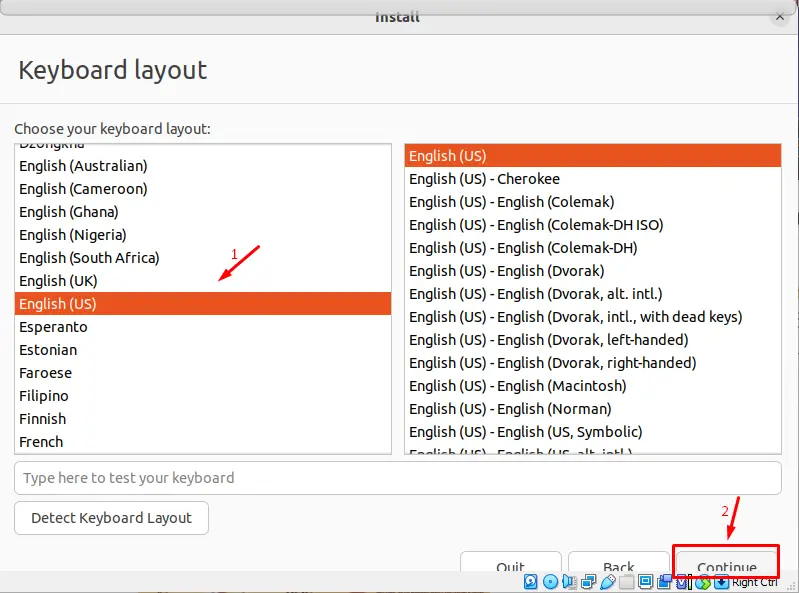
Step 7: Choose the installation option
To pursue the installation of Ubuntu 22.04 on VirtualBox, select the“language” and click on “Continue”:
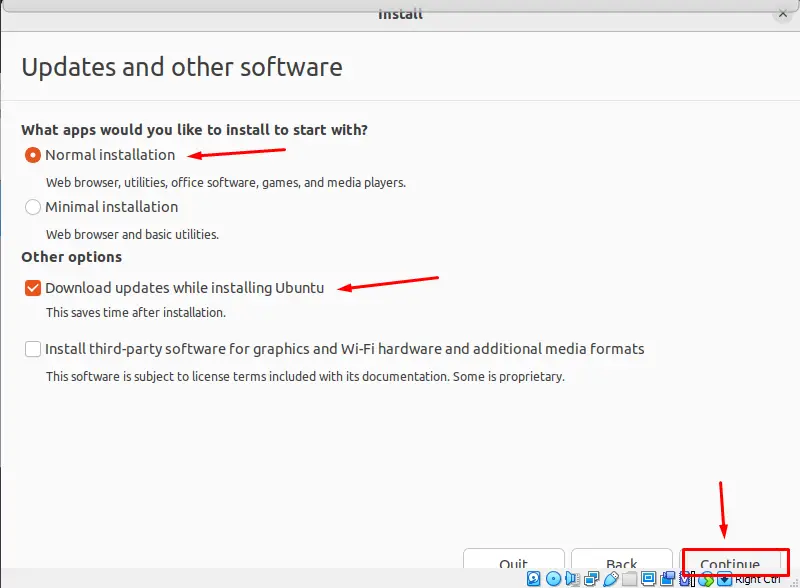
Click on the “Normal installation” and allow for “Download updates while installing Ubuntu” and click on “Continue” as follows:
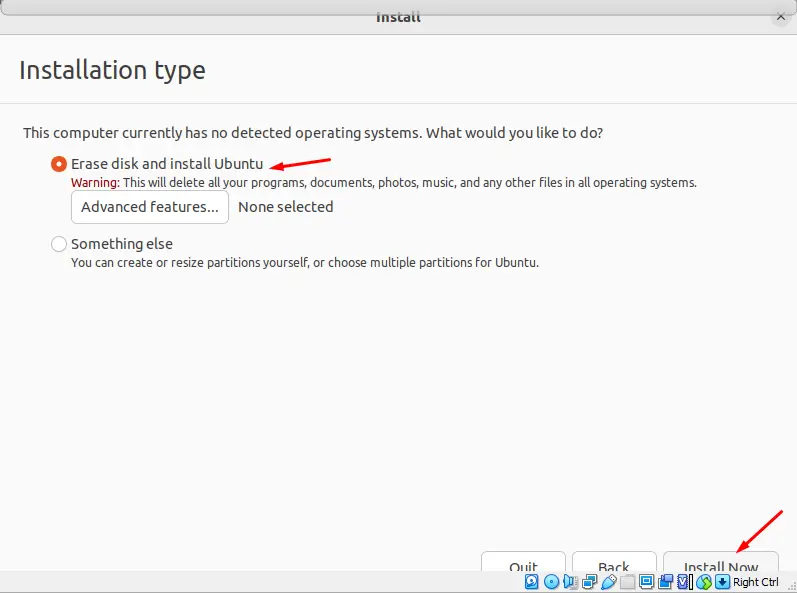
Step 8: Erase the Disk and install Ubuntu
To pursue the installation, choose the option “Erase Disk and Install Ubuntu option” and click on the “Install Now” button:
Note: It will not erase your data from the main system.
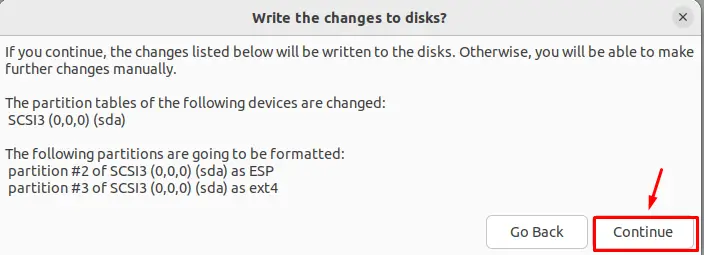
Click on the “Continue” option in the following pop-up:
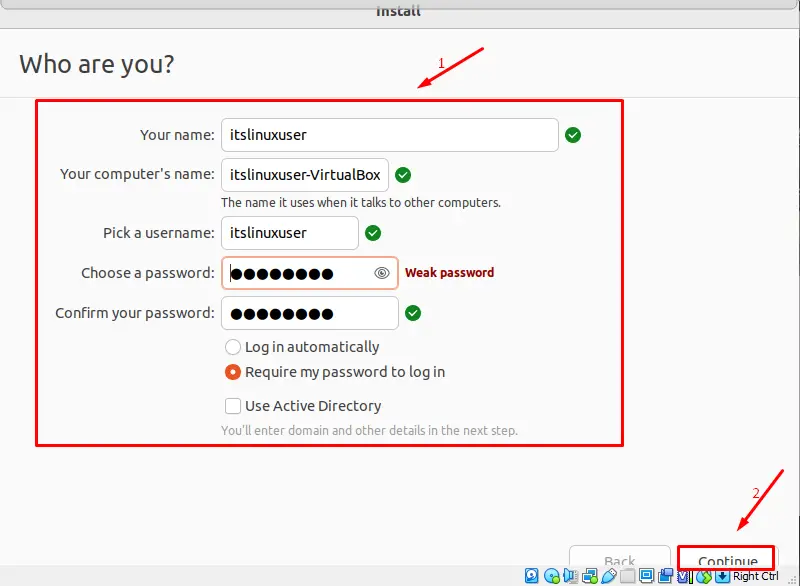
Step 9: Set the user account
To set the user account on Ubuntu, set the“username”, “password” and click on the “Continue” button:
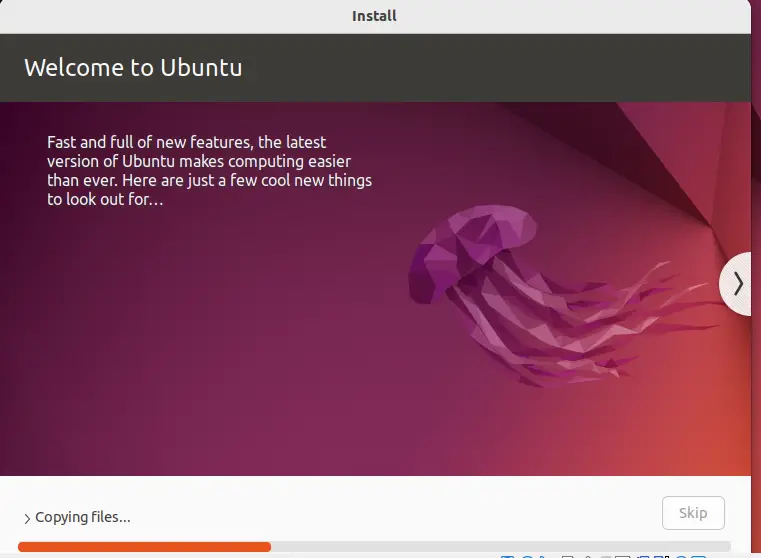
It will take some time to copy the files and install Ubuntu 22.04.
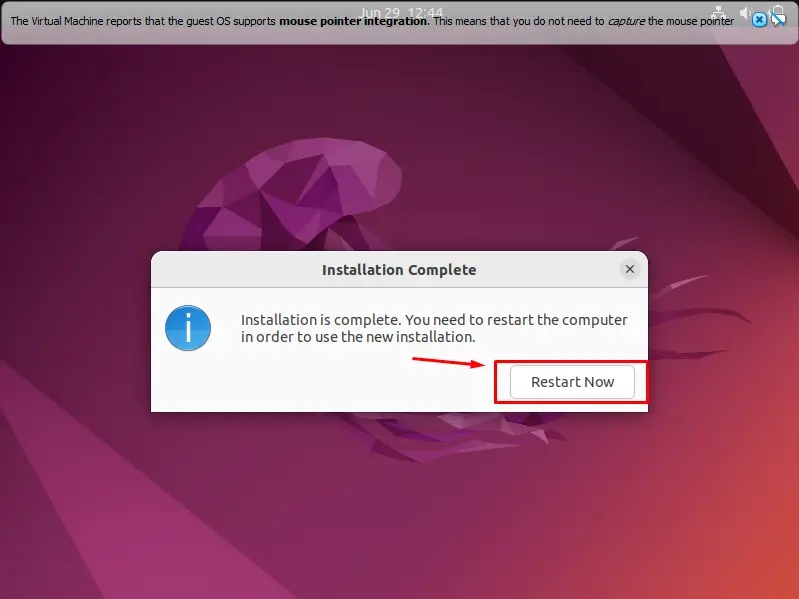
Once the installation is successful, a restart is required instantly and the restart dialogue box will also appear as follows:
After restarting the system, Ubuntu 22.4 will install on the VirtualBox successfully:
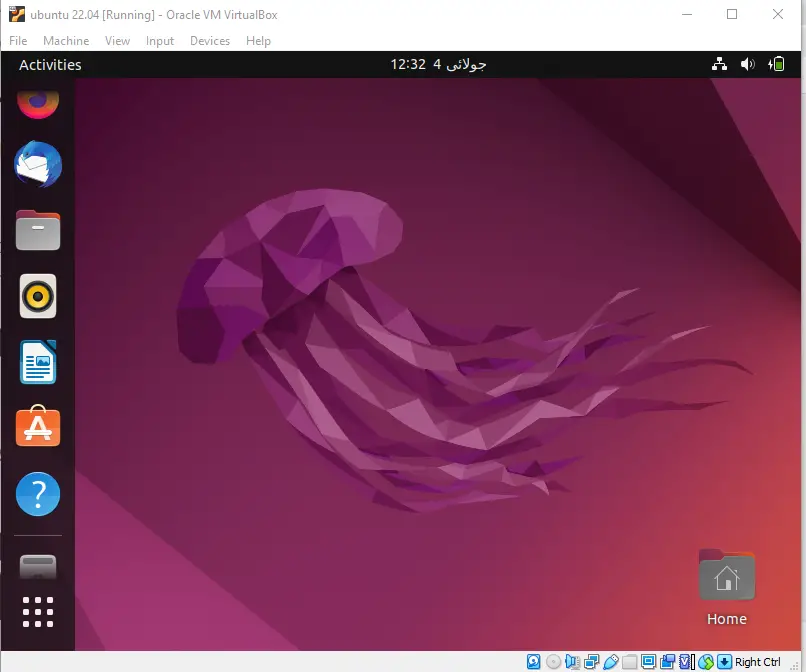
Ubuntu 22.04 has been installed successfully on the VirtualBox.
How to Remove Ubuntu 22.04 From VirtualBox?
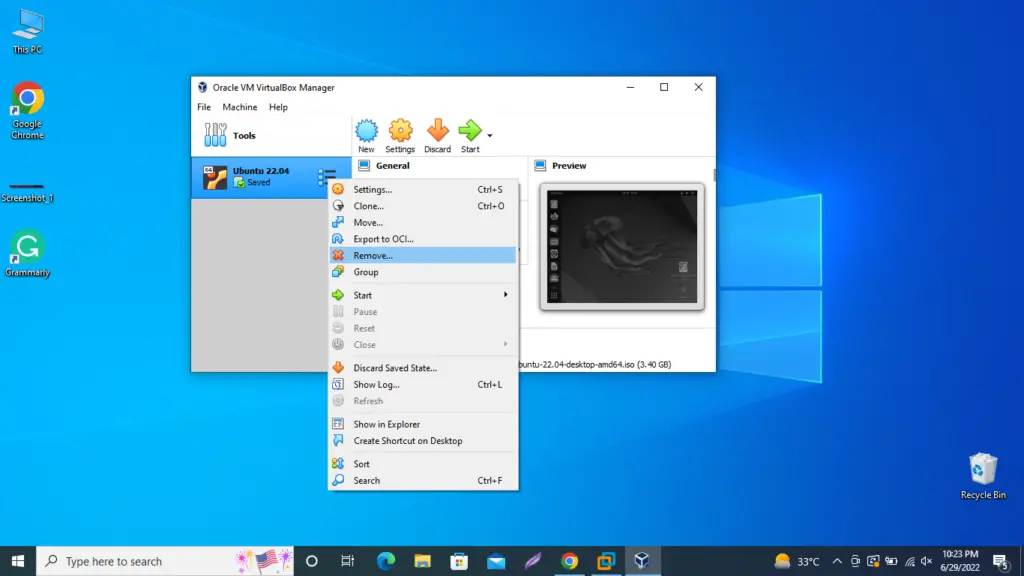
If you want to remove/uninstall Ubuntu 22.04 from VirtualBox, you need to open the “VirtualBox” application and then right-click on “Ubuntu 22.04”.Click on the “Remove” option to proceed further:
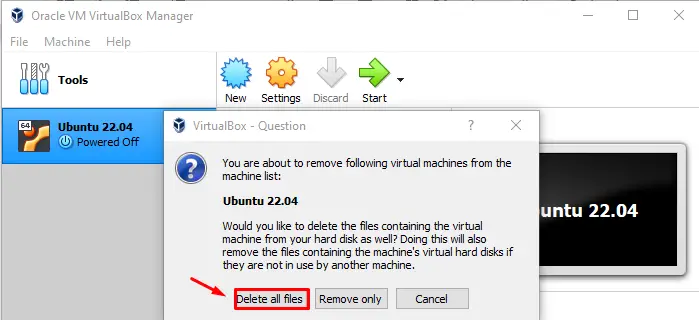
It will appear in the following window. Click on the “Delete all files” button in the following window:
It will delete the virtual machine of Ubuntu 22.04 from VirtualBox as can be seen below:
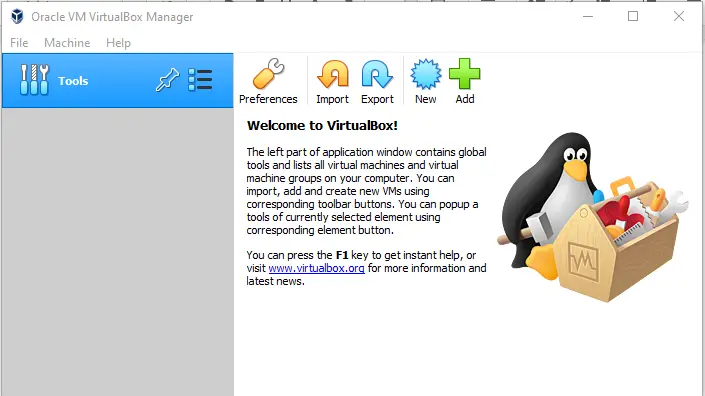
It can be seen that Ubuntu 22.04 has been removed from VirtualBox successfully.
That’s it! You have learned to install Ubuntu 22.04 on VirtualBox.
Conclusion
Ubuntu 22.04 can be installed on VirtualBox using the ISO file of Ubuntu 22.04. Ubuntu is a well-known and widely used operating system that belongs to the Linux category of Operating Systems. This Write-up illustrates a step-by-step process to install Ubuntu 22.04 on the VirtualBox using Ubuntu 22.04 ISO file. We also provided the uninstalled/removal method of Ubuntu 22.04 from VirtualBox.

Saryia is a technology entrepreneur and digital publisher specializing in Linux, open-source technologies, and developer education.