
7-Zip is a compression tool that compresses files and folders. When we send files through email, it mostly generates the error that the file is too large. Then the best way to send files is first to compress them and then send them through email. Also, when files are no longer in our use but can be utilized later. It’s better to compress such files and folders to keep them safe on the computer.
Different tools are used to compress files in Linux, like “tar utility”.
Similarly, another utility known as 7zip can’t compress files and folders in Linux.
In this write-up, first, the installation method of 7-zip will be discussed, then basic utilization is also explored in Linux. The overall content is as follows:
- Method 1: Install 7-zip Using Default Repository
- Method 2: Install 7-zip Using Snapcraft
- How to Use 7-zip on Ubuntu 22.04?
- Use 7-zip Via GUI
- Use 7zip Via Terminal
Let’s start with the first installation method.
Method 1: Install 7-zip Using Default Repository
The best approach to install the 7-zip on Ubuntu is using its package from the default repository. First, update the repository using the command:
$ sudo apt update

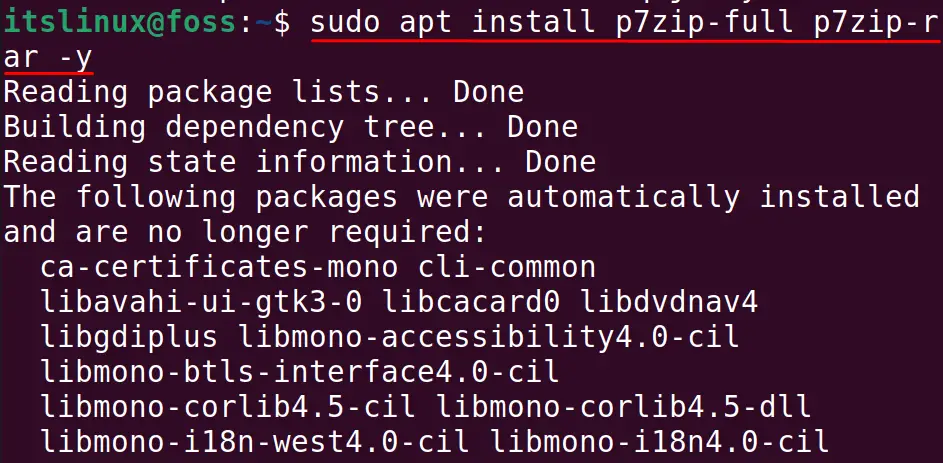
Then, install the package of 7-zip using the command provided below:
$ sudo apt install p7zip-full p7zip-rar -y
When the above command is executed successfully, it ensures that the 7-zip has been installed. However, it can be verified by displaying its version details using the command:
$ 7z

Remove the 7zip From Ubuntu
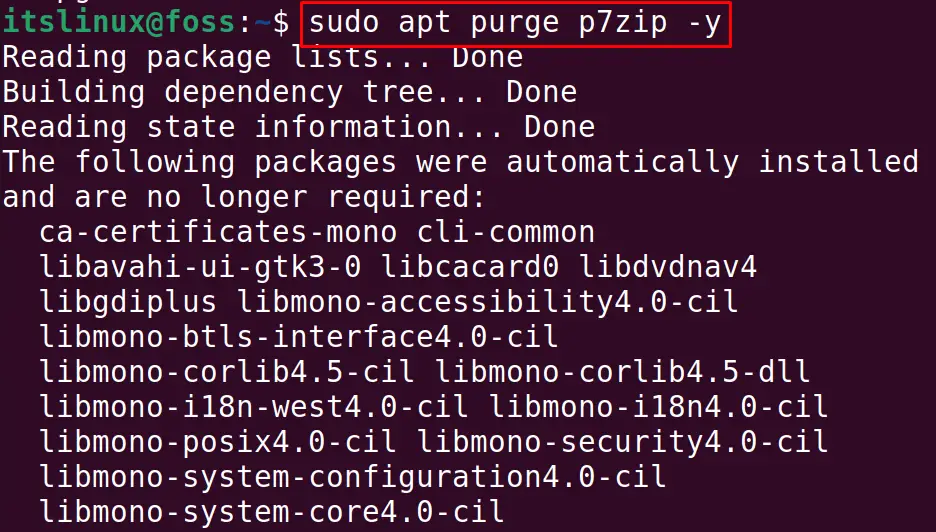
To delete the installed package of 7-zip, use the following command:
$ sudo apt purge p7zip -y
After the successful execution, the 7-zip utility will be removed from your system.
Method 2: Install 7-zip Using Snapcraft
Another approach to installing the 7-zip on ubuntu is downloading its snap from the snapcraft. To download and install the snap of 7-zip on Ubuntu, use the snapd utility. Run the below-mentioned command to download on Ubuntu 22.04:
$ sudo snap install p7zip-desktop

The package has been installed successfully on Ubuntu, as the version is also displayed on the successful execution of the command.
How to Use 7-zip on Ubuntu 22.04?
The “7zip” utility can be used from Ubuntu’s GUI and the CLI. Let’s explore both methods to use “7zip” on Ubuntu.
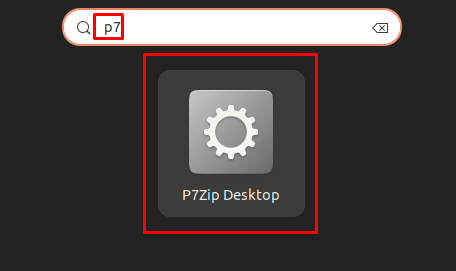
Use 7-zip Via GUI
Type “p7” on the search menu and click on its icon to launch it:
The home interface of the 7-zip is displayed on the screen.
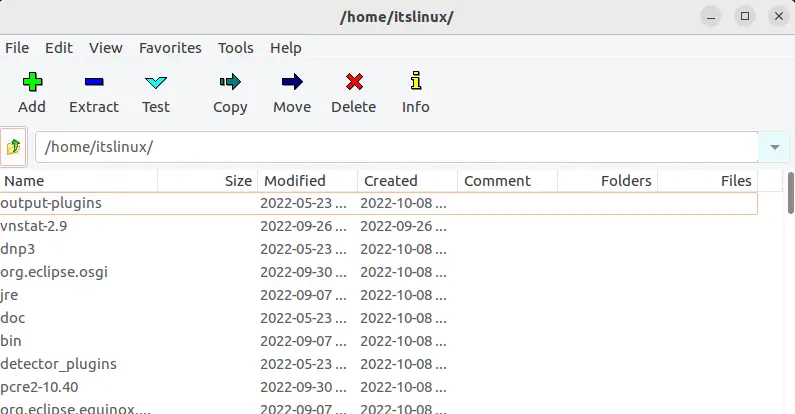
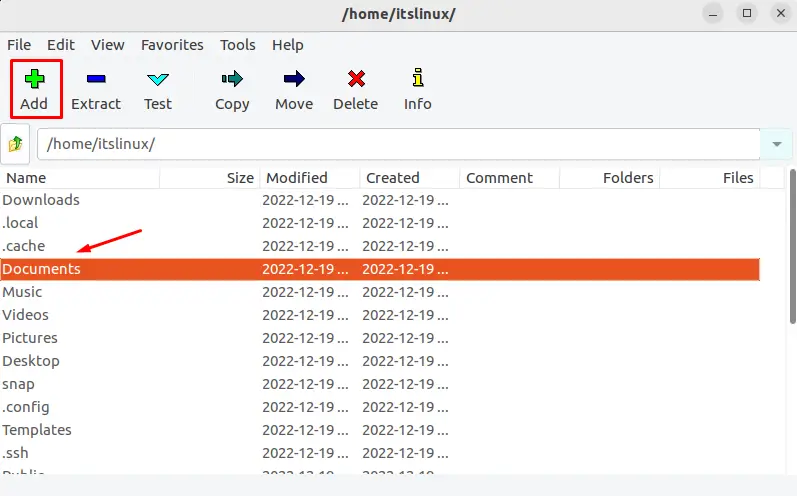
Click on the “Add” button and choose the directory or file which is supposed to be compressed. For example, we will compress the “Documents” directory:
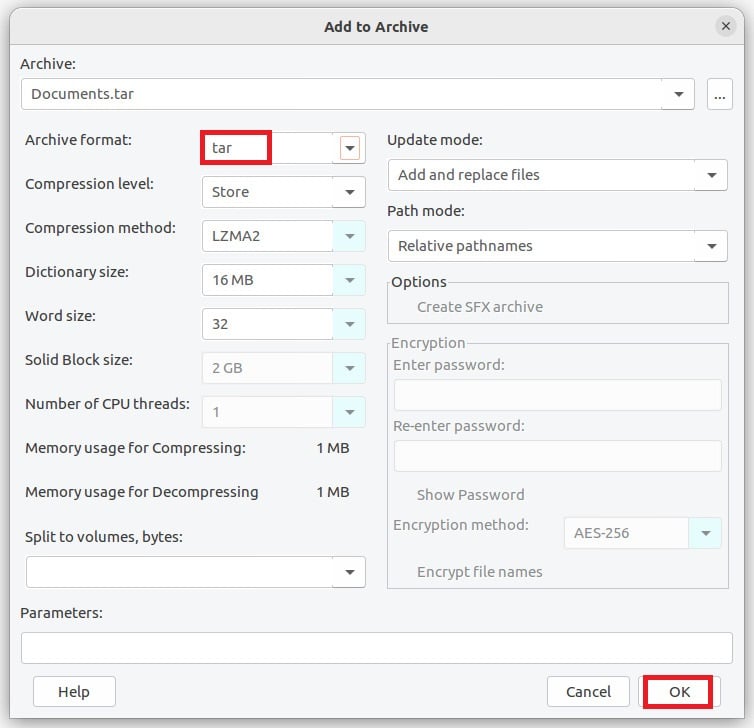
Choose the format in which you want to compress the file as we choose the “tar” and then click on the OK button:
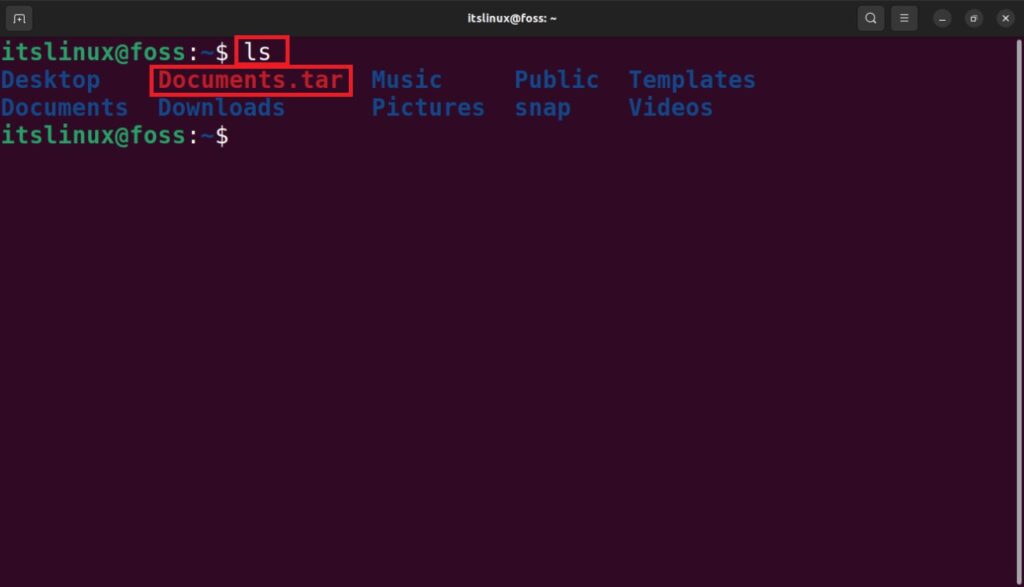
The file has been compressed through the GUI method, which can be confirmed by listing down the contents:
$ ls
Use 7zip Via Terminal
Another method to compress the file is using the command-line interface. The general syntax of using the 7-zip in the terminal:
Syntax
$ 7z a [directory-name.7z] [directory-name to be compressed]
Step 1: Compress a File/Folder
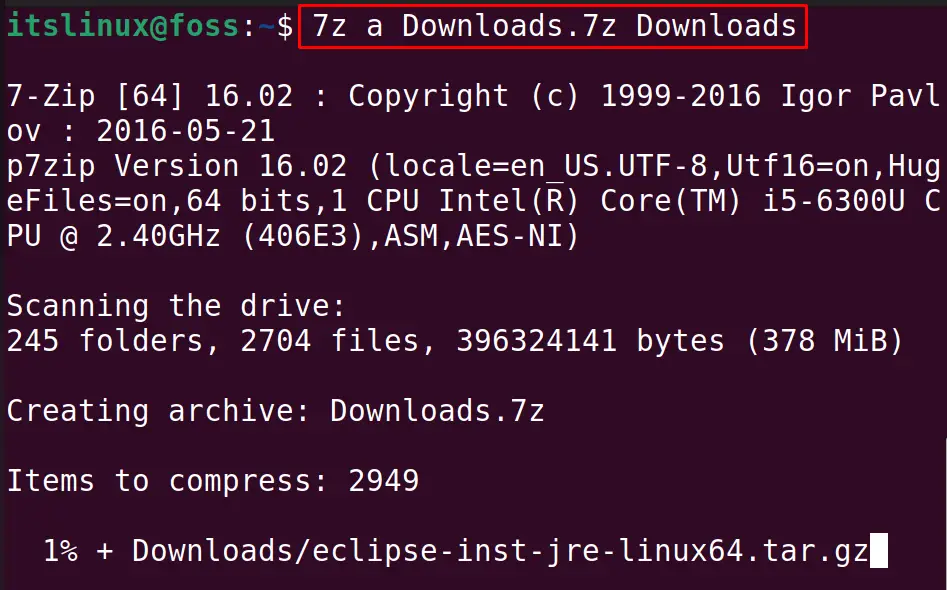
For example, the command provided below will compress the “Downloads” directory using the 7-zip utility:
$ 7z a Downloads.7z Downloads

Step 2: Verify the Compression
To verify, list down the contents using the command to display the compressed file:
$ ls

Step 3: Extract the Compressed File Using &zip
To extract the directory, use the command:
$ 7z e Downloads.7z
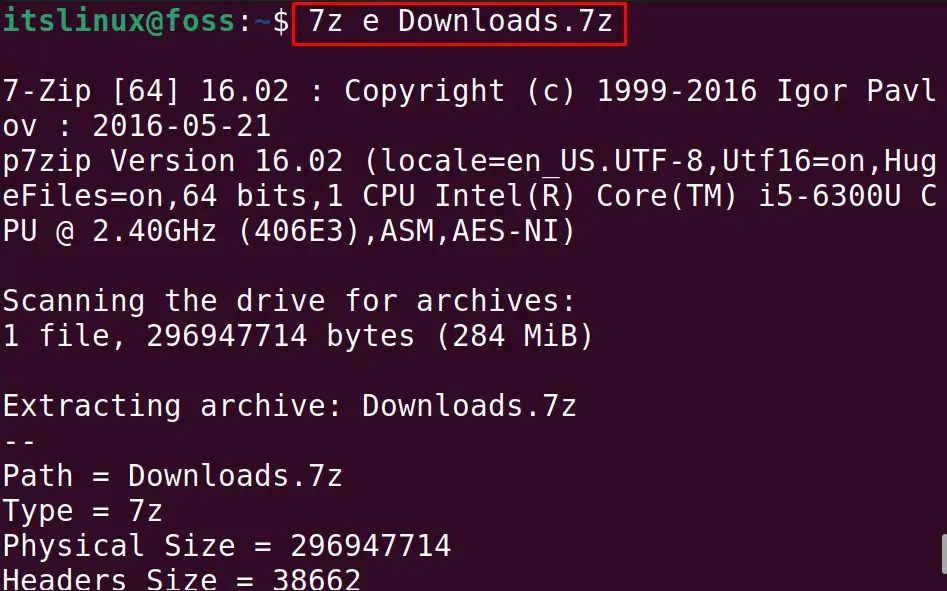
The directory and its contents have been extracted.
That’s all from this detailed guide on the 7 zip utility.
Conclusion
To install 7-zip on Ubuntu, run the commands ”sudo apt install p7zip-full p7zip-rar -y” or “sudo snap install p7zip-desktop”. The 7 zip utility can be used from the terminal and GUI of Ubuntu. This post has demonstrated the methods to install and use 7zip on Ubuntu 22.04.
