
GNOME Disks Utility is the GUI-based disk management tool in Ubuntu. It is used to make different partitions, delete, and monitor the computer’s disk usage. Moreover, the CDs/DVDs can also be managed using this utility.
This blog will demonstrate the installation and usage of the GNOME Disks Utility on Ubuntu:
How to Install GNOME Disks Utility on Ubuntu?
GNOME Disks GUI application is equipped on Ubuntu by default; however, if it is not available in your case, just follow the steps below to install GNOME Disks:
Step 1: Update the Core Libraries
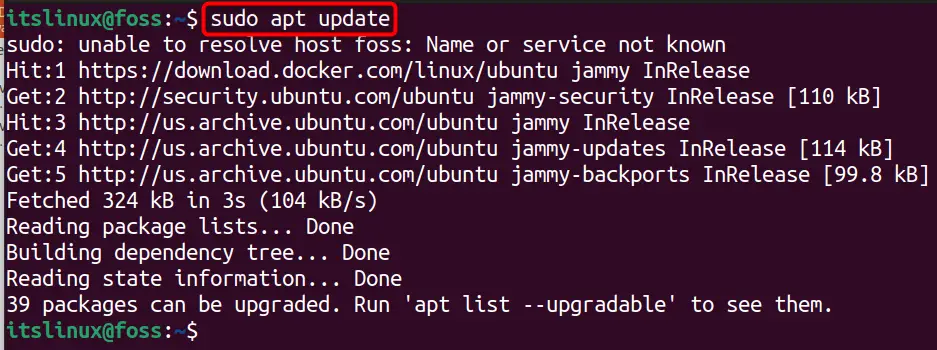
First, update the core of the system to load the latest packages:
$ sudo apt update
Step 2: Install GNOME Disks
When the packages are up to date, install GNOME Disks Utility by executing the command:
$ sudo apt install gnome-disk-utility
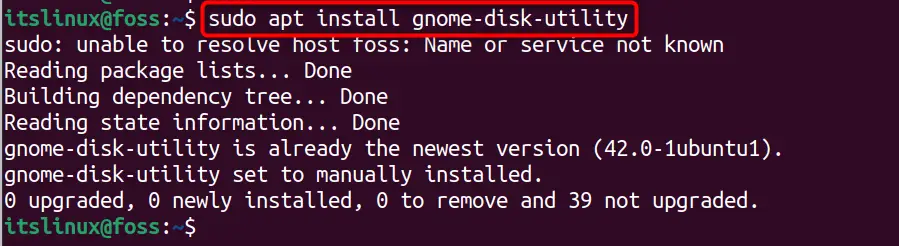
As, it was already installed on our system, thus no result.
How to Use the GNOME Disks Utility on Ubuntu?
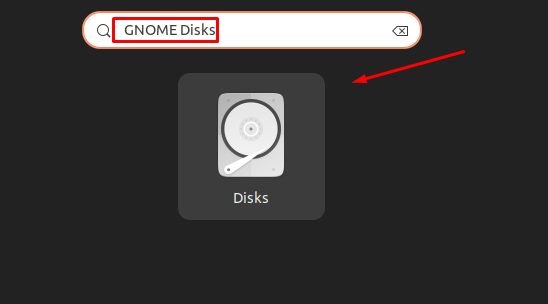
After the successful installation, you need to launch it from the “Applications” menu:
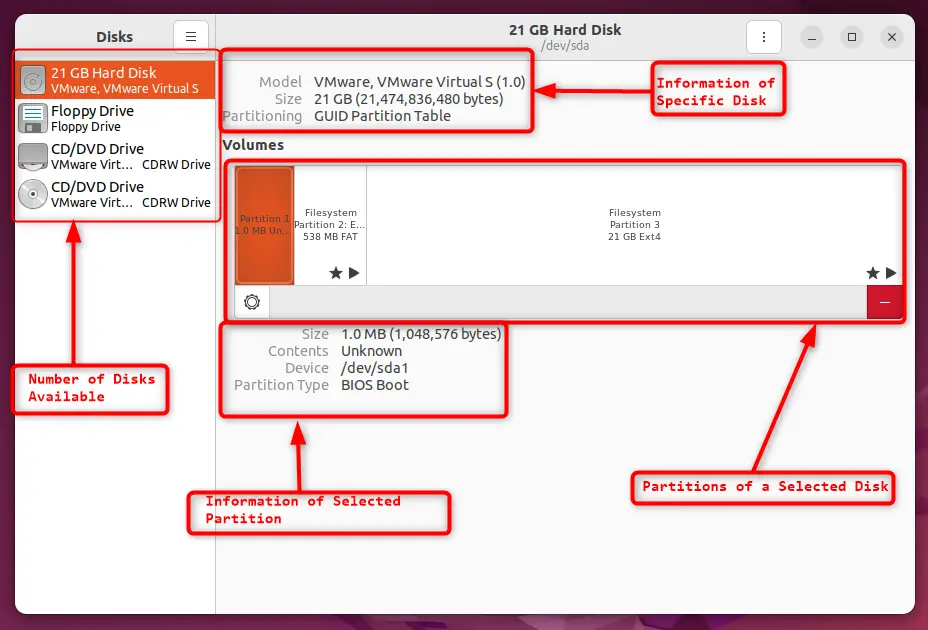
A screen similar to the one below will be displayed on the screen:
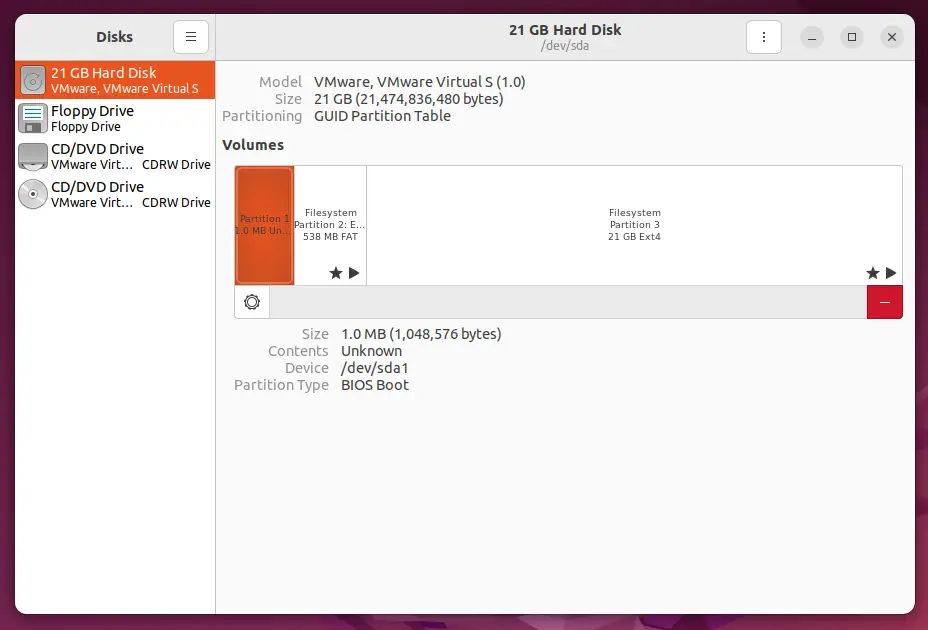
In the above image, multiple panes are providing different sorts of information:
- The left pane shows the number of possible storage devices currently attached (or can be attached) to the system, i.e., 3 in our case.
- If any device is selected, then the three panes on the right side show relevant information about that specific disk (the upper part shows the total storage, while the middle part shows the partitions available on the disk, and the lower part shows the information related to the selected partition of the disk)
Let’s elaborate on how GNOME Disks can be used.
Manage partitions Using GNOME Disks Utility
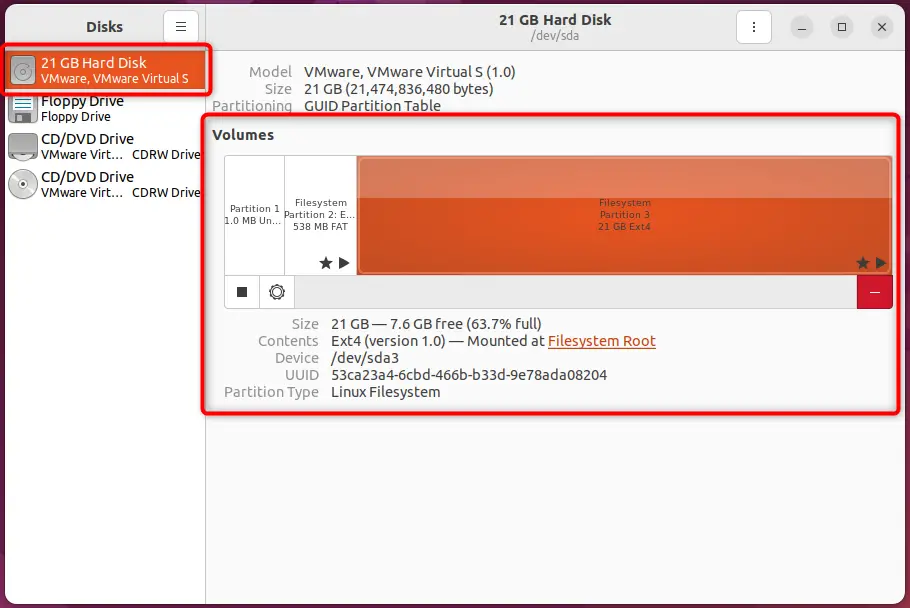
When you click on the specific disk inside the “Disks” utility, the right pane shows the basic information related to partitions.
The total number of partitions are displayed, while clicking on any of the partition will show the details of that specific partition as shown below:
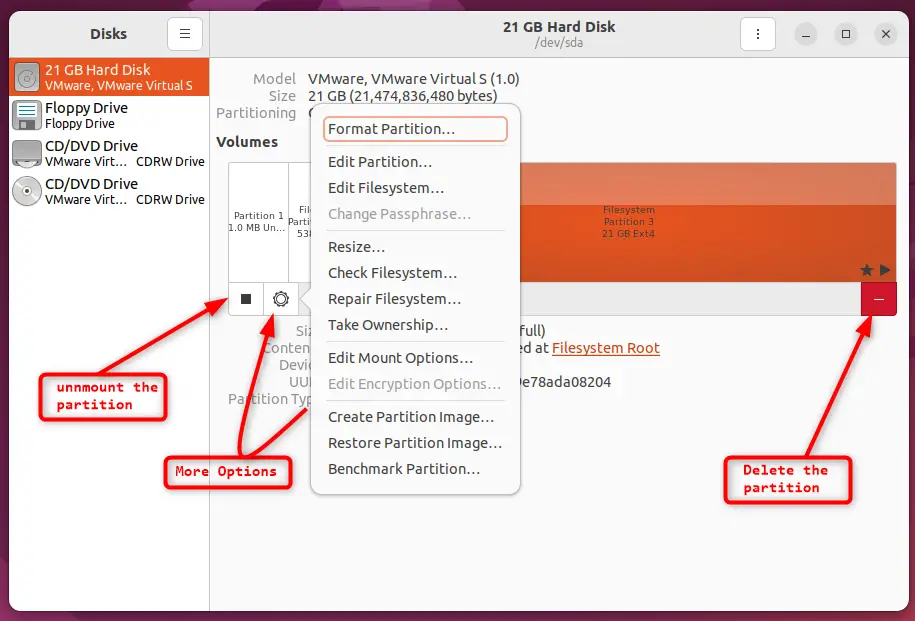
Here you can perform the following operations on a selected partition:
- Unmount the Specific Partition
- More details of the Partition by clicking on the “Gear” icon
- Delete the Selected Partition
Manage Disks Using Disks Utility
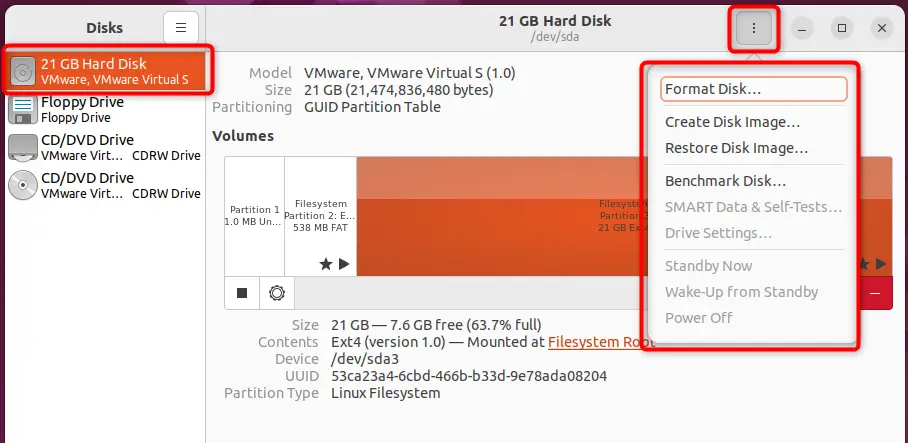
The “Disks” related utility offers to manage the disks as well. For instance, if you click on the “three dots” after selecting a specific disk, then you can perform the following operations on disks:
- Format Disk
- Create Disk Image
- Restore Disk Image
- Benchmark Disk
That’s how you can use Disks utility to manage the disks on the system.
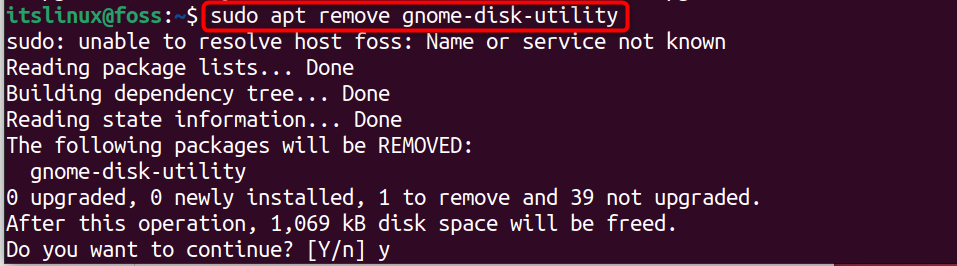
How to Remove GNOME Disks Utility From Ubuntu?
The GNOME Disks utility is the default utility and is quite a helpful tool for managing Disks and partitions. Suppose you want to remove this useful utility from the system. In that case, you can remove it using the following command:
| $ sudo apt remove gnome-disk-utility |
Conclusion
To install the GNOME disks utility on Ubuntu, use the command “sudo apt install gnome-disk-utility” on your system. The GNOME Disks utility can perform specific operations related to the disks and the concerned partitions. This post has briefly demonstrated the installation and usage of the Disks utility on Ubuntu.
