Nemo is a file manager for the Linux operating system, which is a fork of the Nautilus (file manager). It is designed to be more feature-rich and user-friendly than Nautilus, with additional functionality. It includes better integration with the Cinnamon desktop environment, bulk file renaming, and moving support.
This tutorial explains the step-by-step procedure to install and configure the Nemo file manager in Linux. The content of this article is given below:
How to Install Nemo File Manager on Linux?
In Linux, Nemo File Manager’s installation procedure differs depending on the particular distribution. Here are some general instructions for installing Nemo on Ubuntu-based distributions:
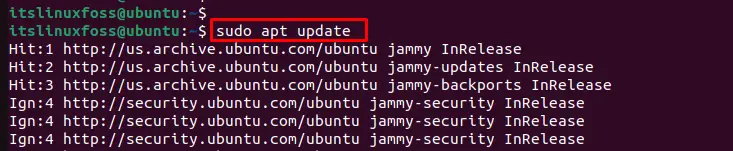
Step 1: Update Repository
To update the package list in the current repository of the system, execute the below script:
$ sudo apt update  # Ubuntu, Debian, LinuxMint
$ sudo yum update  # RHEL/CentOS/Red Hat/Fedora
$ sudo pacman -Syu # Arch Linux
It is a good practice to update the repository before installing any package in the system through the terminal.
Step 2: Install Nemo File Manager
To install the Nemo file manager, the “nemo” command is utilized with the “sudo” privilege. Here are commands for different linux distributions:
$ sudo apt install nemo #Debian/Ubuntu-based
$ sudo dnf install nemo #Fedora-based
$ sudo pacman -S nemo # Arch-based
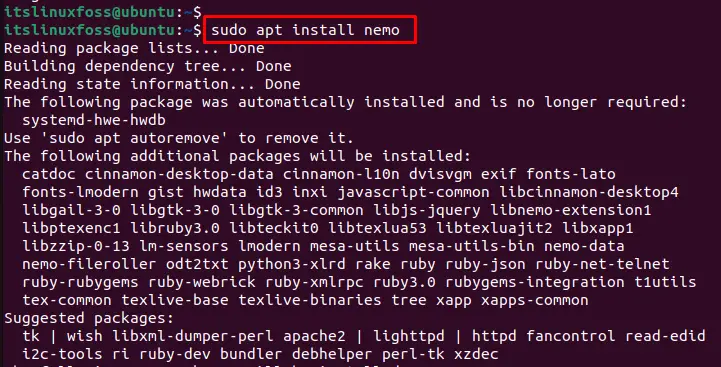
The output shows that all the dependencies with Nemo have been installed in the system.
Step 3: Verify the Nemo Version
To check the installed version of the Nemo file manager, the “version” utility is executed as below:
$ nemo --version

The output shows the current version of the Nemo file manager is “5.2.4”.
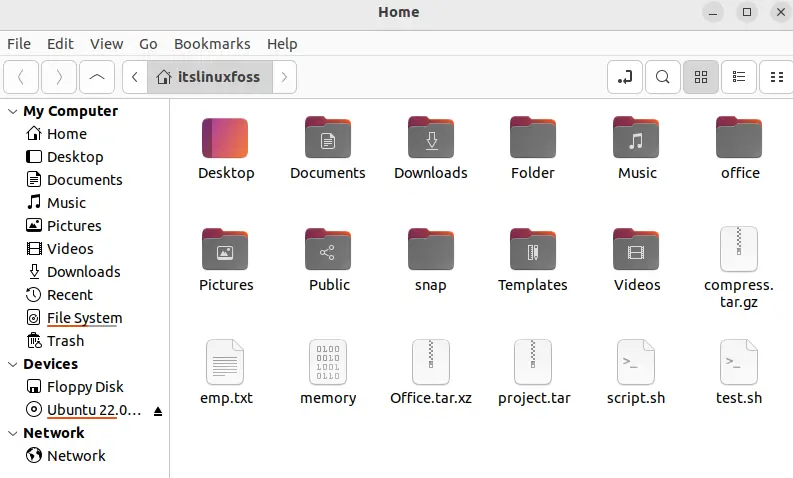
Step 4: Launch the Nemo File Manager
To launch the Nemo File Manager through the terminal window, execute the “nemo” command without any argument as below:
$ nemo

It navigates to the Nemo File Manager as seen in the below display:
How to Configure Nemo File Manager in Linux?
There are several ways to configure the Nemo File Manager in Linux. Here are a few examples:
Change the Default File Manager
You can set Nemo as the default file manager by executing the “xdg-mime” command that queries about the file type. In our case, configure the “inode/directory” file by selecting Nemo as the default file manager:
$ xdg-mime query default inode/directory

The outcome shows that Nemo File Manager has been configured as the default.
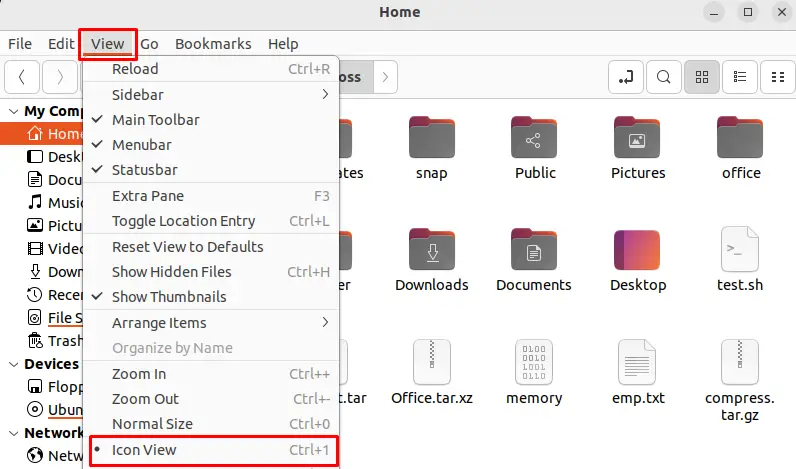
Change the Icon Size
Open the icon size in Nemo by going to the “View” menu and selecting “Icon View“. Then, use the “Ctrl + +” and “Ctrl – –” shortcuts to increase or decrease the icon size:
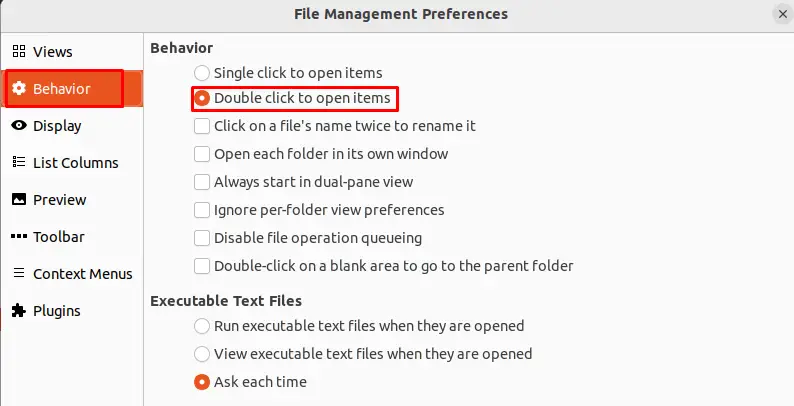
Change the Default Action for Double-Clicking:
We can change the default action for double-clicking on a file or folder in Nemo by going to the “Edit” menu, selecting “Preferences“, and then going to the “Behavior” tab.
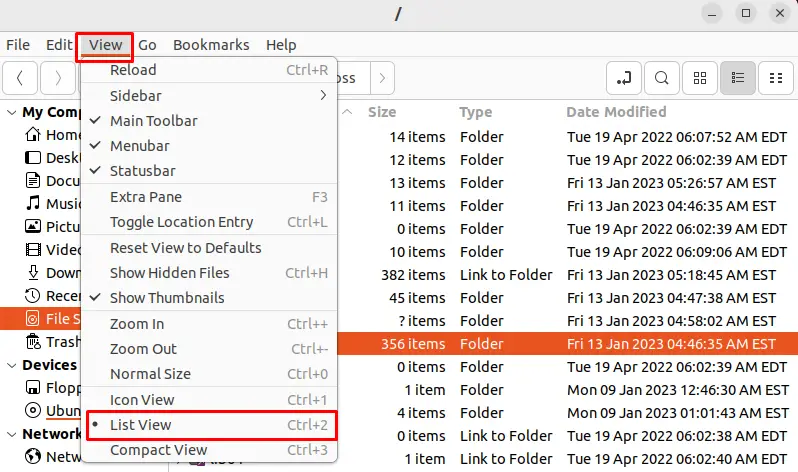
Add/Remove Columns in List View
To add or remove columns in List View in Nemo, open the “View” menu, select “List View“, and then right-clicking on the column headers, and select “Add/Remove Columns“:
This way, users can perform various functions on the Nemo File manager.
Bonus Tip: How to Uninstall the Nemo File Manager on Linux?
To uninstall the Nemo file manager, the “remove” command is utilized with the package name “nemo” via sudo privilege as below:
$ sudo apt remove nemo nemo-*
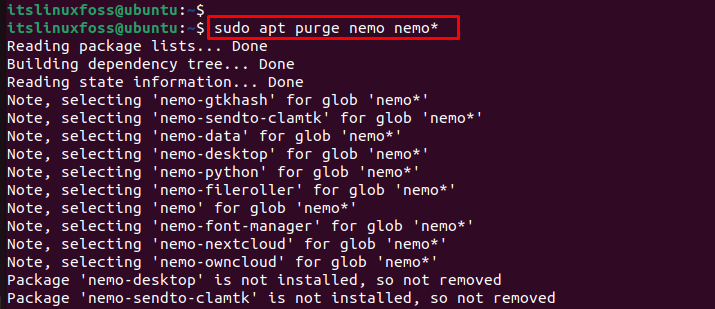
The output shows that the Nemo file manager has been removed from the system.
Conclusion
Linux offers the “nemo” command to install the Nemo file manager in the operating system. We can set it as the default file manager in this file manager, add or remove columns, change the opening file or directory actions, and many more. This article has explained step-by-step procedures to install and configure the Nemo file manager in Linux.
