
XAMPP is an open-source software package that provides a distribution of Apache comprising MySQL, PHP, and Perl. It is utilized for testing, building, and deploying web applications without hosting requirements. XAMPP supports multiple operating systems, including Windows and Ubuntu/Linux, with various functionalities. As a result of its importance, this guide will demonstrate the step-by-step procedure to install XAMPP on Ubuntu.
The content of this guideline is as follows:
- How to Install XAMPP on Ubuntu System?
- How to Use XAMPP on Ubuntu System?
- Bonus Tip: How to Uninstall XAMPP on Ubuntu System?
Let’s start this guide.
How to Install XAMPP on Ubuntu System?
In Ubuntu, an installer file is required to install the XAMPP we can download it from the official website XAMPP at https://www.apachefriends.org/download.html. After that, install it through the terminal by following the below steps:
Step 1: Download XAMPP for Linux System
The following command will download the installer of XAMPP on Ubuntu:
$ wget https://sourceforge.net/projects/xampp/files/XAMPP%20Linux/8.1.10/xampp-linux-x64-8.1.10-0-installer.run/download
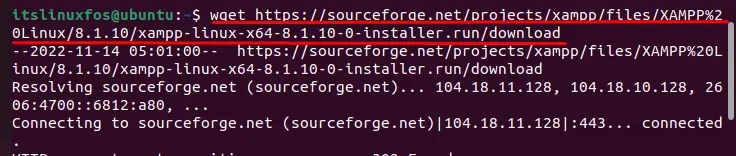
Note: The latest XAMPP 8.1.10 is available at this writeup. To get the latest installer version, you must visit the XAMPP official website.
Step 2: Run XAMPP Installer
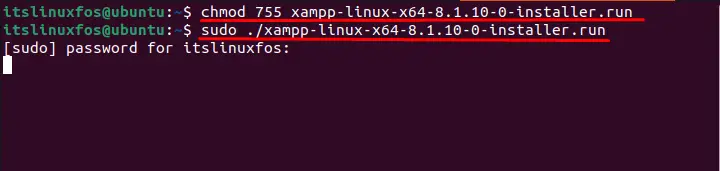
Now. make the XAMPP file executable, and then run the installer. The first command will make the installer executable, and the second command will execute the installer:
$ chmod 755 xampp-linux-x64-8.1.10.0-installer.run
$ sudo ./xampp-linux-x64-8.1.10.0-installer.run
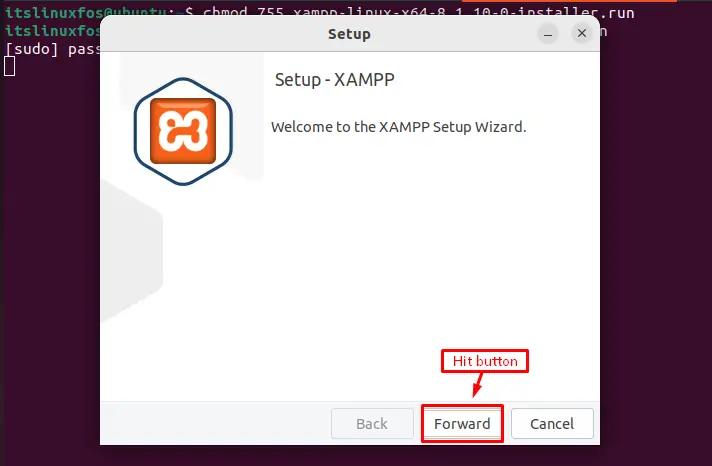
Step 3: Install XAMPP
It navigates to the XAMPP window, where you hit the “Forward” button to start the installation process:
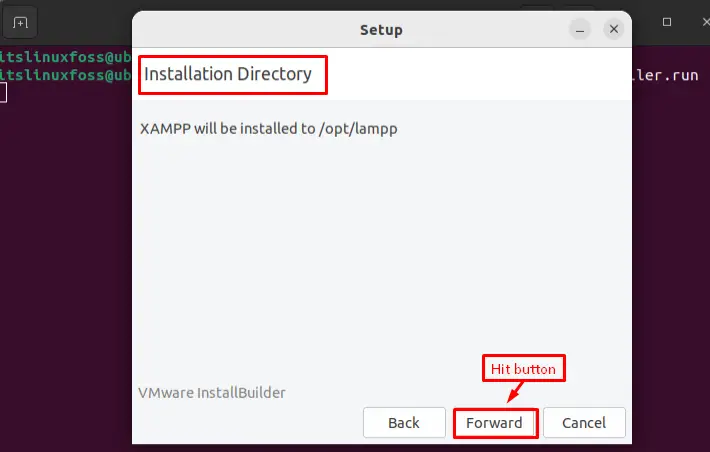
After the installation directory is confirmed, hit the “Forward” button to proceed further:
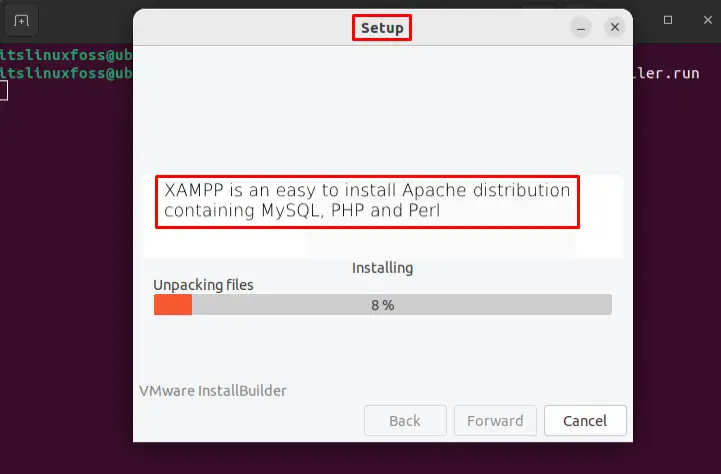
Finally, the installation of XAMPP has been started, as can be confirmed from the below figure:
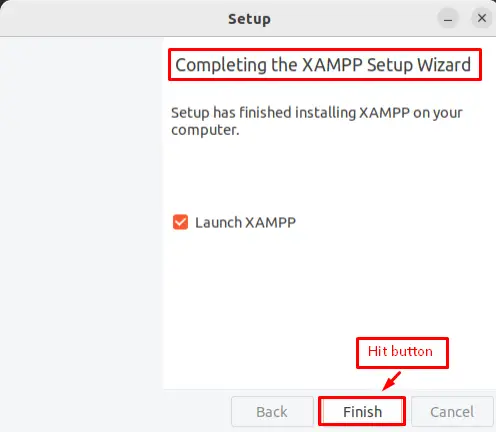
After completing the installation process of XAMPP on Ubuntu, you can launch it by marking the checkbox and hitting the “Finish” button:
Finally, XAMPP has been successfully installed on Ubuntu.
Let’s explore XAMPP after it launches.
How to Use XAMPP on Ubuntu?
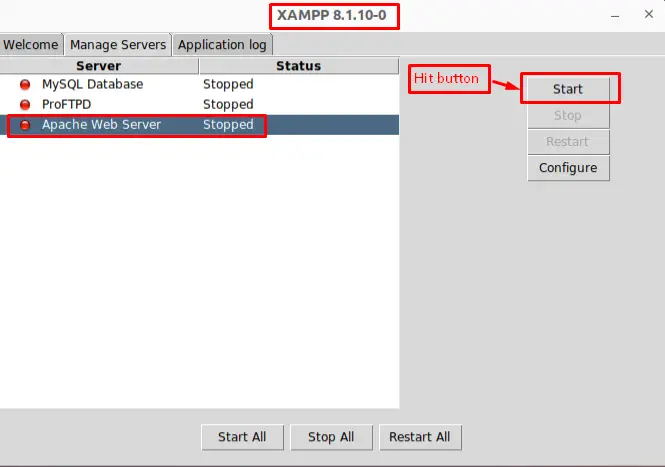
After completing the installation process, open the XAMPP application to perform some operations. To initialize the services of Apache Web Server, hit the “Start” button located at the right side of the window:
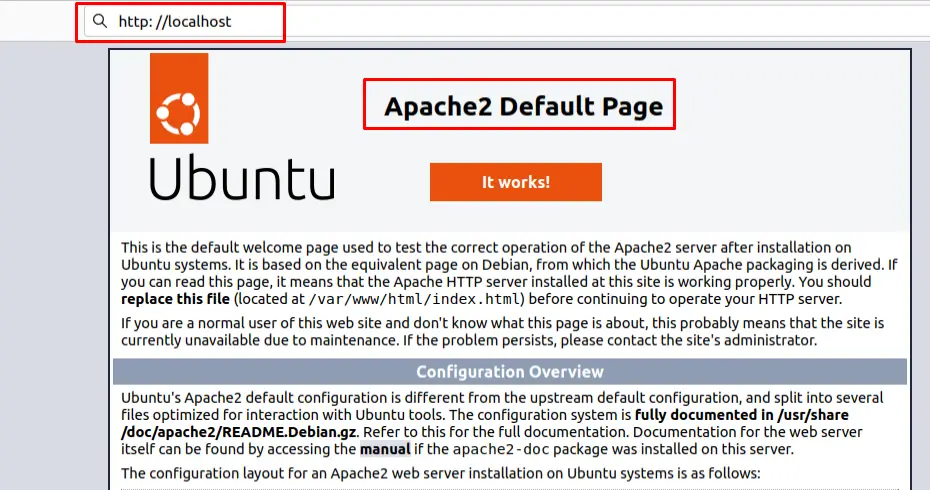
After starting the services, it is time to check them in the browser. For this, open the Firefox browser and type “http://localhost” in the search bar, and hit the “Enter” key. The default page of Apache 2 can be confirmed in the below figure:
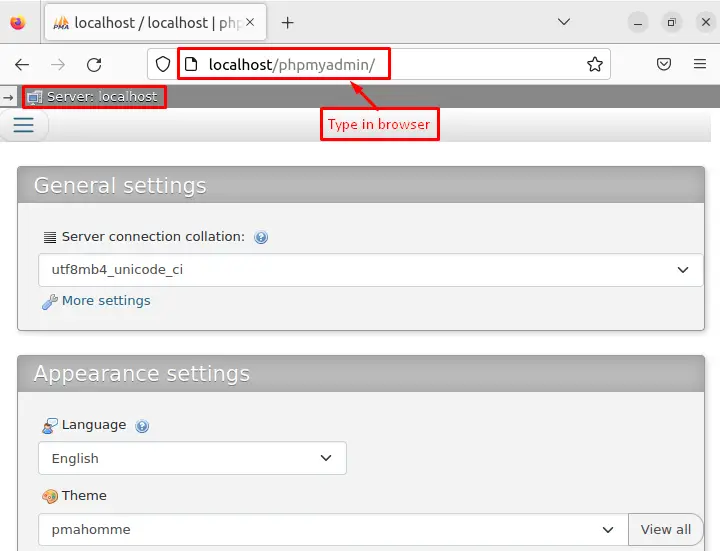
Additionally, users can perform various operations in the server by accessing through the “localhost/phpmyadmin” in the search bar of the browser as below:
Let’s uninstall XAMPP.
Bonus Tip: How to Uninstall XAMPP on Ubuntu System?
The XAMPP and all components have been installed in a particular directory. You can execute the uninstall file available where the XAMPP was installed. In our case, the command provided below will remove the XAMPP:
$ sudo /opt/lampp/uninstall

It navigates to the new pop-up window that requires permission to uninstall XAMPP and all its modules. Hit the “Yes” button for the uninstallation process:
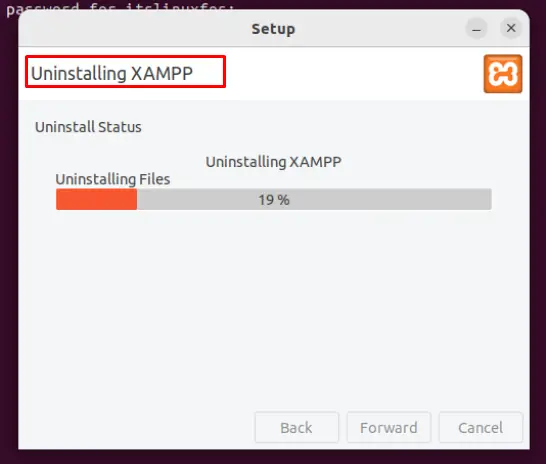
Now, you can verify that the uninstallation of “XAMPP” is proceeding here.
That’s all from the guide.
Conclusion
In Ubuntu, the XAMPP installer is downloaded from their official website. After downloading, the installer is granted the executable permissions. Lastly, the installer is executed to install XAMPP on Ubuntu. This guide has explained a step-by-step guide to install XAMPP on Ubuntu. Additionally, the uninstallation method of XAMPP is also elaborated.
