
Gitea is a simplistic, open-source self-hosted Git cross-platform that is recognized as a community-driven model. It can be operated on many other platforms, including ARM, Linux, and Windows. Gitea is a lightweight and easy-to-install application as it requires few setup options. Additionally, it offers wikis, bug tracking, and other collaborative capabilities.
This article will elaborate the method to install, use, and remove Gitea on Ubuntu 22.04.
Gitea installation on Ubuntu 22.04
To install Gitea on Ubuntu 22.04, follow the below-listed steps.
Step 1: Update system repository
Firstly, press “CTRL+ALT+T” to open the terminal and update the Ubuntu 22.04 system repository:
$ sudo apt update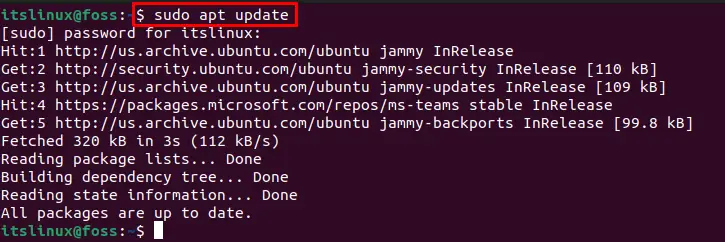
Step 2: Installing Git
In the next step, use the below-given command to install git:
$ sudo apt install git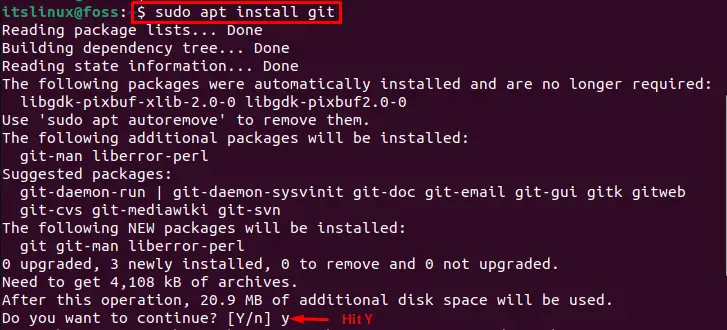
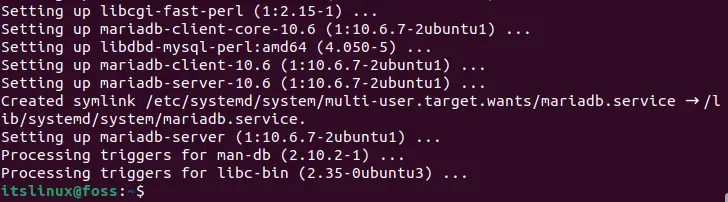
Step 3: Install MariaDB
For the backend support, we will install MariaDB on our Ubuntu 22.04 system, however, you can use any database as per your preference:
$ sudo apt install mariadb-server
Step 4: Log in to MySQL
Now login to the MySQL:
$ sudo mysql -u root -p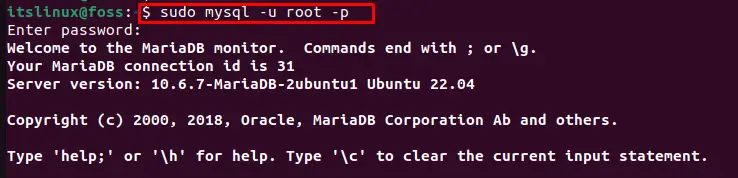
Step 5: Create database
Create the new database with name “gitea”:
> CREATE DATABASE gitea;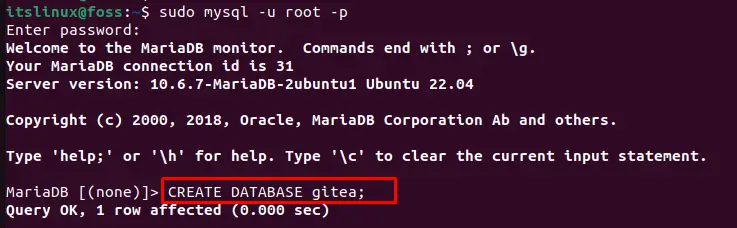
Step 6: Grant Privileges
Specify the username and password to grant privileges:
> GRANT ALL PRIVILEGES ON gitea.* TO 'gitea'@'localhost' IDENTIFIED BY "Root";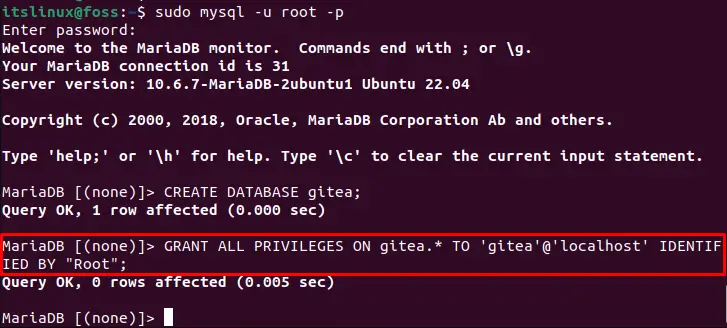
Step 7: Flush Privileges
Now use “FLUSH PRIVILEGES” to set up the database and exit the MariaDB server:
> FLUSH PRIVILEGES;
> QUIT;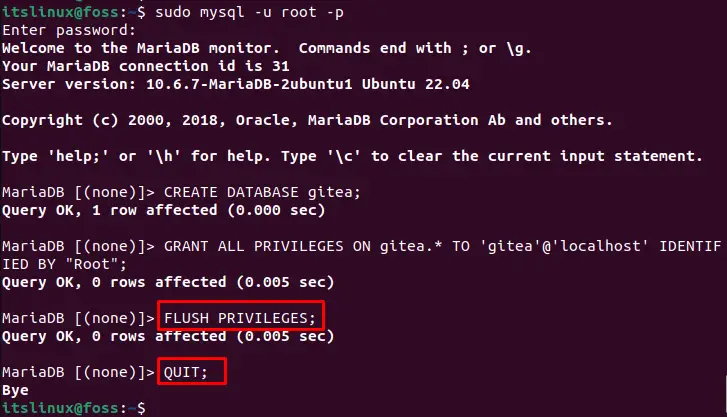
Step 8: Install Gitea
Use the “wget” command along with the provided path to download the Gitea setup file:
$ sudo wget -O /usr/local/bin/gitea https://dl.gitea.io/gitea/1.16.7/gitea-1.16.7-linux-amd64 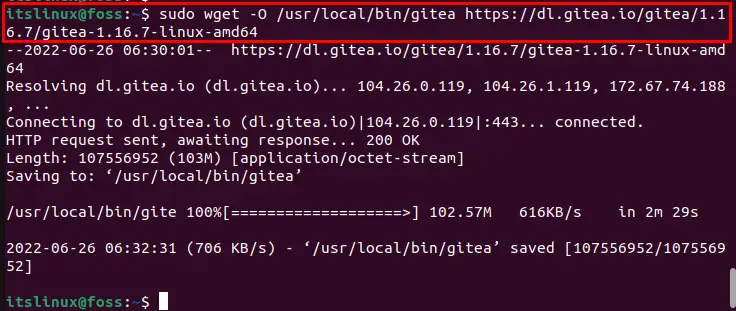
Make the Gitea setup file executable using “chmod” command and install it:
$ sudo chmod +x /usr/local/bin/gitea
Step 9: Check Gitea version
Check the version of Gitea to verify the installation:
$ gitea --versionThe given output indicates that we have successfully installed Gitea version “1.16.7”:

Step 10: Create new User
To create and add a new git user, utilize the supplied command:
$ sudo adduser --system --shell /bin/bash --gecos 'Git Version Control' --group --disabled-password --home /home/git git
Step 11: Create required directories
In the next step, create the “gitea” directory and its sub-directories such as “custom”, “data”, “log”:
$ sudo mkdir -pv /var/lib/gitea/{custom,data,log}
Then change ownership status of above-created directories:
$ sudo chown -Rv git:git /var/lib/gitea
Execute and allow changes as mentioned in above step via provided command.:
$ sudo chmod -Rv 750 /var/lib/gitea
Step 12: Create configuration directory
Let’s create configuration directory in which all the setup configuration will be saved:
$ sudo mkdir -v /etc/gitea
Now change ownership of the configuration directory:
$ sudo chown -Rv root:git /etc/gitea
Set file permissions of the configuration directory:
$ sudo chmod -Rv 770 /etc/gitea
Step 13: Setting Up system services
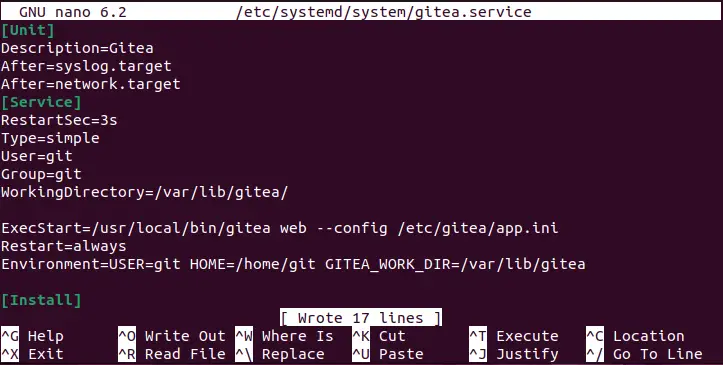
Open the “gitea.service” file in the “nano” editor to add basic “systemd” configuration settings:
$ sudo nano /etc/systemd/system/gitea.service
Put the following code into the “gitea.service” file by copying and pasting it:
[Unit]
Description=Gitea
After=syslog.target
After=network.target
[Service]
RestartSec=3s
Type=simple
User=git
Group=git
WorkingDirectory=/var/lib/gitea/

ExecStart=/usr/local/bin/gitea web --config /etc/gitea/app.ini
Restart=always
Environment=USER=git HOME=/home/git GITEA_WORK_DIR=/var/lib/gitea
[Install]
WantedBy=multi-user.target
Press “CTRL+O” to save the added code and switch back to the terminal by pressing “CTRL+X”:
Step 14: Start and run Gitea services
Start the Gitea service:
$ sudo systemctl start gitea
Checkout the status of Gitea Service:
$ sudo systemctl status gitea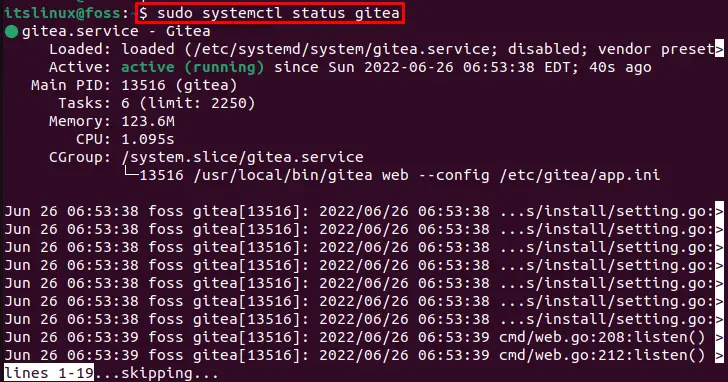
Use the following command if you want to enable Gitea services:
$ sudo systemctl enable gitea
Now, let’s move towards the method to use Gitea on Ubuntu 22.04.
Gitea usage on Ubuntu 22.04
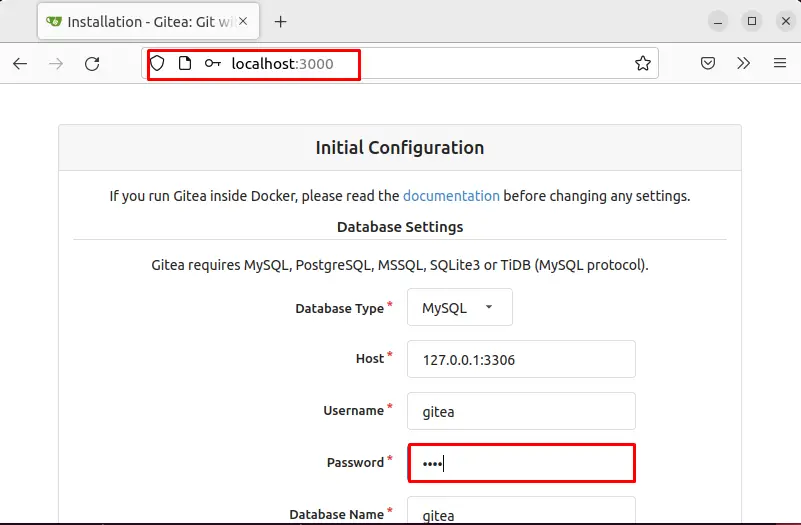
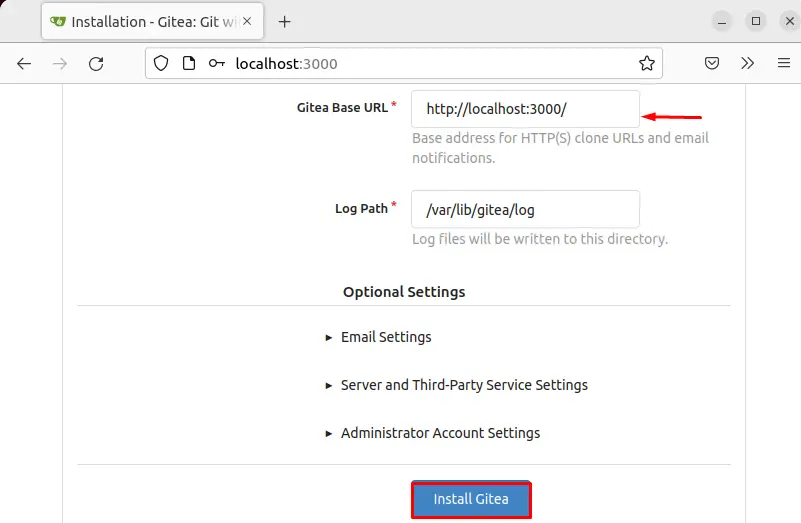
On Ubuntu 22.04, in order to use Gitea, first navigate to the “localhost:3000” URL on your favorite browser. Then specify the asked information according to the added settings:
Click on the “Install Gitea” button to access your Gitea account:
As you can see, Gitea is successfully launched on our system:

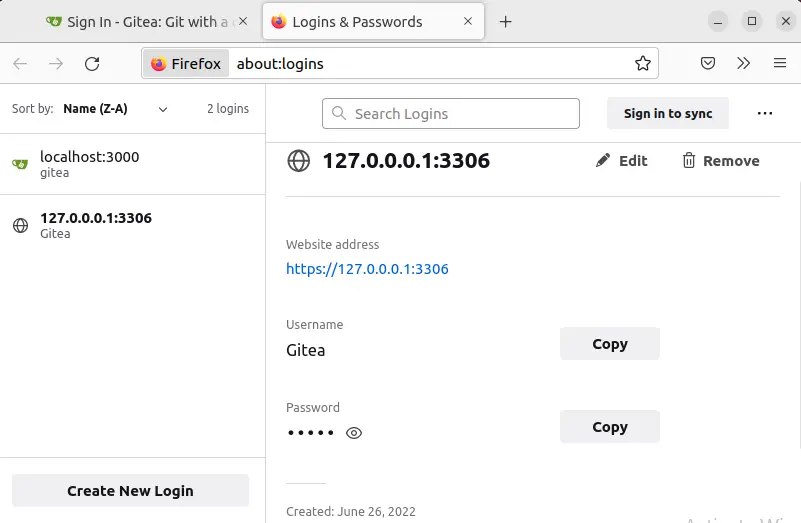
You can also access Gitea using “Host” address as we have utilized “127.0.0.1:3000”:

Below given output shows that “localhost:3000” and “127.0.0.0.1:3306” two users are currently logged in on Gitea:
How to remove Gitea from Ubuntu 22.04
To remove Gitea from Ubuntu 22.04, follow the below-provided command:

We have effectively explained the procedure to install, use and remove Gitea from Ubuntu 22.04.
Conclusion
On Ubuntu 22.04, to install Gitea, it is required to install Git first. After doing so, install the MariaDB server and create the new database for Gitea. Then download and install Gitea set up on the system. In order to configure Gitea, first, create the new user and “gitea.service” file, then enable and start the service of Gitea. We have efficiently demonstrated the instructions for Gitea installation, usage, and the procedure to remove it from Ubuntu 22.04.

Saryia is a technology entrepreneur and digital publisher specializing in Linux, open-source technologies, and developer education.