
Zsh (Z shell) is an alternative shell to the more commonly used Bash shell in Linux-based operating systems like Ubuntu. It is designed to be more user-friendly and customizable than Bash. It offers many features that make working in the command-line interface easier and more efficient, such as plugins and themes, a customizable prompt, command history, improved scripting capabilities, better interactive features, tab completion, etc.
This article will illustrate various methods to make the Zsh the default shell in Ubuntu.
- Method 1: Using the “chsh” Command
- Method 2: Editing the /etc/passwd File
- Method 3: Using the usermod Command
Prerequisites: Install ZSH on Ubuntu
To make the Zsh the default shell, make sure that it is installed on the system. To install the ZSH shell in Ubuntu, follow the step-by-step instructions in our guide, i.e., “Install Zsh on Ubuntu”.
Method 1: Using the “chsh” Command
The easiest way to change the default shell to Zsh is possible via the “chsh” command. The “chsh” command changes the default login shell for a user. The “s” option specifies the new shell that should be used as the default login shell:
With the “chsh -s” command, provide the path of the shell which is possible through the “$(which zsh)” or “/usr/bin/zsh”:
$ chsh -s $(which zsh)

After entering the password, close the terminal window and reopen it.
Verify: Zsh Default Shell
The output shows the Z shell has been set as the default shell.
Method 2: Editing the /etc/passwd File
The “/etc/passwd” file contains the user’s related information, and it can be edited to change the default shell of the specific user. Let’s see how it works:
Open the file via any text editor, i.e., nano:
$ sudo nano /etc/passwd
It navigates to the specified mentioned file. In this file, find the line that starts with the user name.
In our case, the username is “itslinuxfoss”, Navigate to the particular line and change “/bin/bash” to “/usr/bin/zsh”:

Press “Ctrl + X”, then press Y to save the changes, and then press “Enter” to exit the editor.
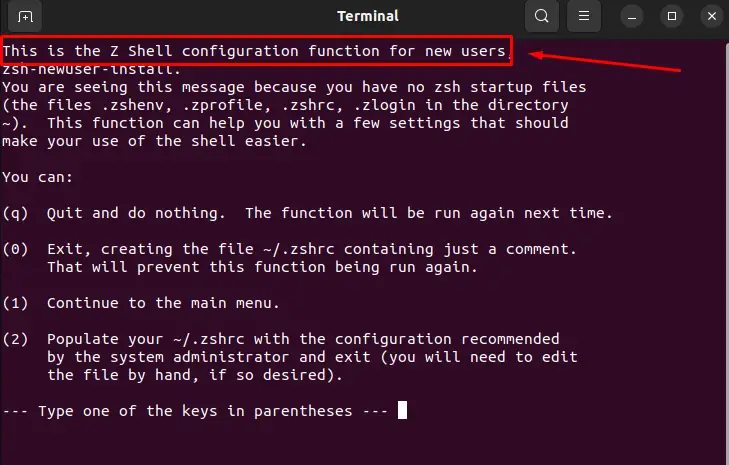
Now, every time when the user opens a terminal window, Zsh will be the default shell. To perform any configuration, press “2” as seen in the below figure:
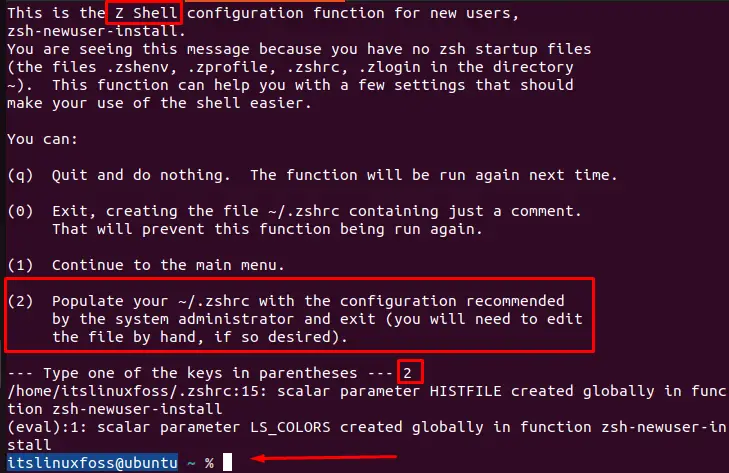
The output shows the Z shell has been set as the default shell.
Method 3: Using the usermod Command
Users can also change the default shell using the “usermod” command. For this, use the “usermod” command by specifying the current username. For instance, the current username is “itslinuxfoss”:
$ sudo usermod -s /usr/bin/zsh itslinuxfoss

After executing the above command, close the terminal window and reopen it.
Verify: Zsh Default Shell
Close the terminal and reopen it. Users can observe that the Zsh is set as the default shell. Now, execute any command such as echo “Hello World”:
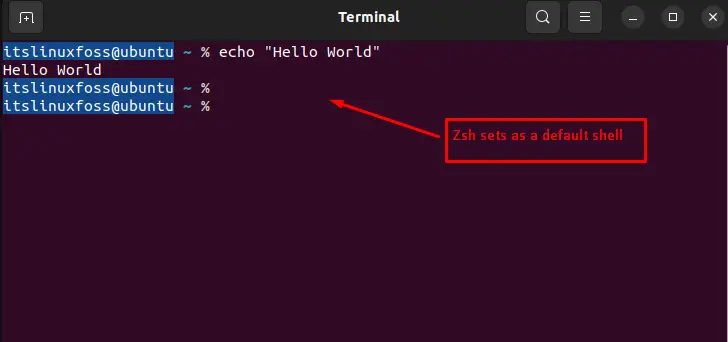
The output shows the Z shell has been set as the default shell and execute the input command like Bash.
Conclusion
To make Zsh the default shell in Ubuntu, execute the “chsh -s $(which zsh)” or “sudo usermod -s /usr/bin/zsh <username>” commands. Additionally, users can edit the “/etc/passwd” file by changing the phrase “/bin/bash” to “/usr/bin/zsh” in the text editor. This guide has illustrated different methods to make the ZSH the default shell in Ubuntu.
