
Pip is the package manager tool for the Python packages on Linux, MacOS, and Windows. On the other hand, the virtual environment is the container or directory in Python that is used for keeping the specific package and its configuration files.
Pip and other packages of Python can be installed globally on the computer or inside a specific virtual environment. This article will focus on the methods of updating/upgrading the Pip inside the virtual environment.
Prerequisites
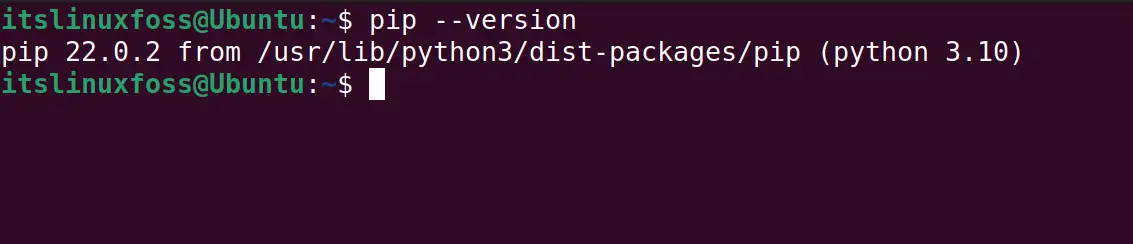
The Pip package should be installed on the computer and once the package Pip is installed, verify this by displaying the version of Pip with the command:
$ pip --version
What is Pip?
Pip is the package management tool for Python packages an it is integrated with the Python Package Index(PyPI) repository that contains thousands of Python packages, Python libraries, and Python dependencies.
Pip downloads the packages from the PyPI and manages them on the computer regardless of the operating system installed. It is an important tool for the developers to manage the Python packages with some simple commands.
What is the Virtual Environment?
Now regarding Python, the Virtual environment is like a directory or a folder on the computer. The virtual environment is created for the separate Python projects. It helps the developers to manage the Python packages and their dependencies within the virtual environment.
This ensures that each Python project is isolated from one another and contains its configuration files.
What is the Method of Upgrading a Pip Itself from Inside the Virtual Environment?
The method to update/upgrade Pip itself from inside the virtual environment has been explained in the step-by-step guide.
Step 1: Create the Virtual Environment
First step is the creation of a virtual environment with a unique name, for example, we are creating the project with the “itslinuxfoss” by using the commands:
For Linux and MacOS:
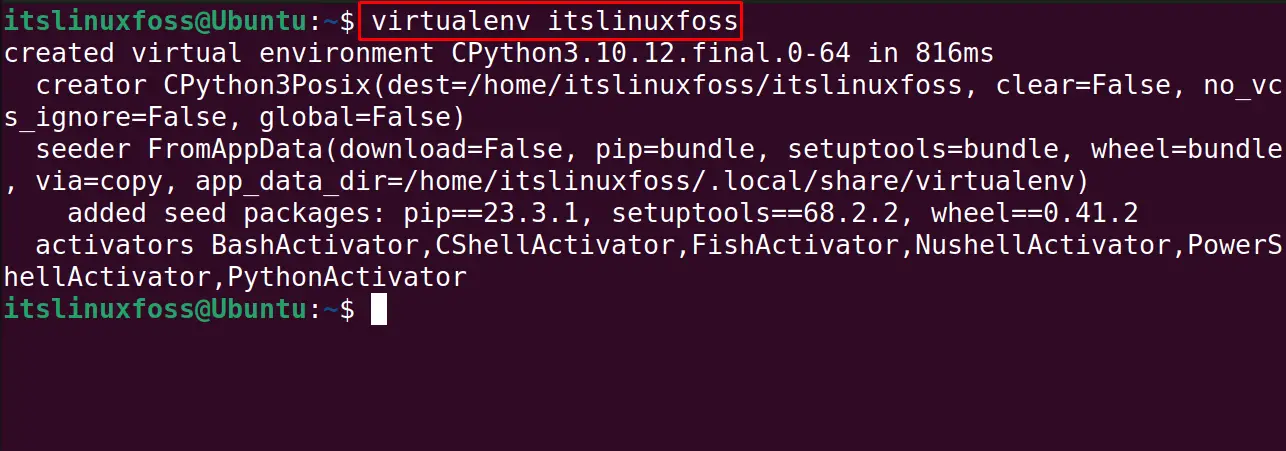
For UNIX-based operating systems, use the “virtualenv” command to create a virtual environment with the “itslinuxfoss”:
$ virtualenv itslinuxfoss
For Windows:
Use the “venv” command for the creation of “itslinuxfoss” virtual environment:
> python -m venv itslinuxfoss

Step 2: Activation of the Virtual Environment
After the successful creation of the virtual environment on the computer, activate it by running the commands:
For Linux and MacOS:
In Linux and MacOS, it will be activated using the “source” command from the “bin” directory:
$ source itslinuxfoss/bin/activate

For Windows:
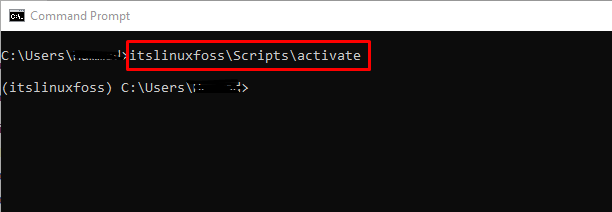
In Windows, it can be activated directly from the “Scripts” directory:
> itslinuxfoss\Scripts\activate
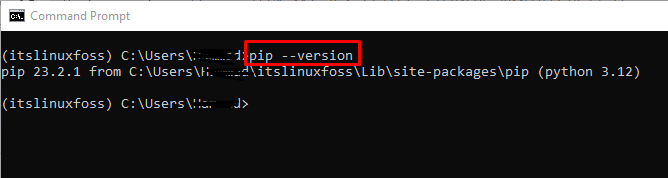
Step 3: Display the Version of the Installed Pip
Now display the version of the installed pip with the execution of the command regardless of the installed operating system:

Step 4: Update/Upgrade the Pip
To update/upgrade the pip, use the pip package with the “upgrade” option as shown below:
For Linux and MacOS:
In Linux and MacOS, use the pip command with the “upgrade” option:
$ pip install --upgrade pip

For Windows:
Use the “py -m” with the pip package manager:
> py -m pip install --upgrade pip
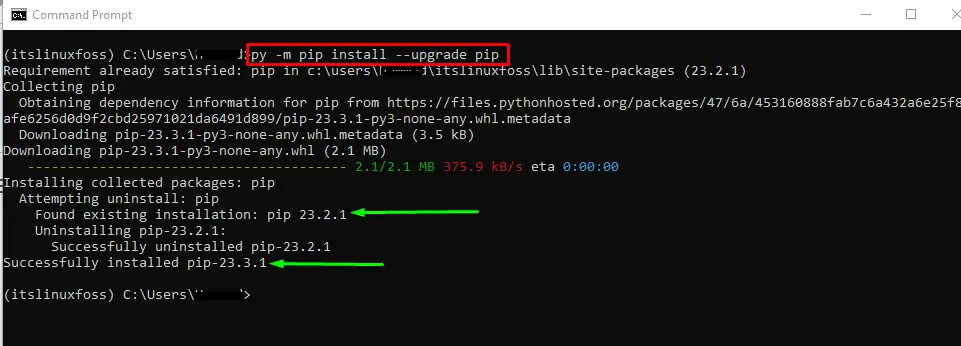
It can be seen from the above figure that the installed version of Pip has been deleted and an updated version has been installed.
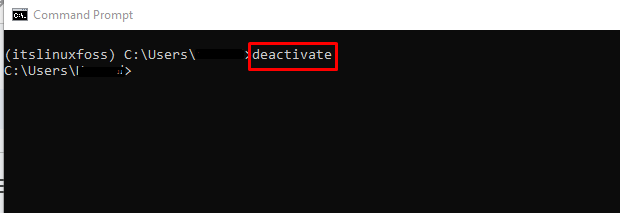
Step 5: Deactivate the Virtual Environment
Once the upgradation of the Pip has been completed, deactivate the virtual environment:
deactivate
These are the simplest steps for upgrading the Pip inside the virtual environment.
Conclusion
To update/upgrade the pip inside the virtual environment, use the commands “pip install –upgrade pip” for Unix and “py -m pip install –upgrade pip” for Windows. In this blog, all the steps involved in the upgradation of pip inside the virtual environment have been demonstrated with the commands and their execution.
