Before moving towards the Installation process of Minecraft as a server on Ubuntu 20.04, let’s have a look at the reasons behind its popularity and what makes people play Minecraft for long hours and day after day.
Two words explain the whole scenario: infinite possibilities. Every time you start a new “game,” a randomly-generated world is already there, scaled up to 8 times larger than the surface of Earth.
It provides a lot of space for exploring the ground and deep below it. The Game Player begins with absolutely nothing. No shelter, no tools, not even a sense of course or direction. Anything you are doing or anyplace you go is completely based on your choice (on the off chance that you will survive the night. Isn’t it cool?
Minecraft is packed with surprises. Lakes, rivers, valleys, mountains, deserts, waterfalls, forests, lava flowers are much more out there waiting to be discovered and explored. Minecraft is developed by a small team that is heavily invested in continued development. As of this writing, the game is in beta with new features being added regularly by a staff that is plugged into the player community.
Now let’s have a look at some of its specialties that would make up your mind to enjoy the MineCraft experience.
- PvP and multiplayer servers allow you to feel the heat of battle with no harm to yourself.
- Dimensions and NPCs.
- Constantly evolving: thousands of mods, maps, texture packs, skins, and command block creations added every month.
- Creativity is where things get exciting. Time flies and nothing is beyond your capabilities. The only limiters are your imagination and the time you have on your hands.
- Active communities.
- One-time cost.
Now, let’s step in towards the Minecraft Server installation process on Ubuntu 20.04. Before following the installation guide, make sure that you are working as a ‘superuser’.
Installing and setting Minecraft Server on Ubuntu 20.04
Step 1: Open the terminal by pressing ‘CTRL+ALT+T’ or search it in the activities. The package list needs to be updated.
$ sudo apt-get update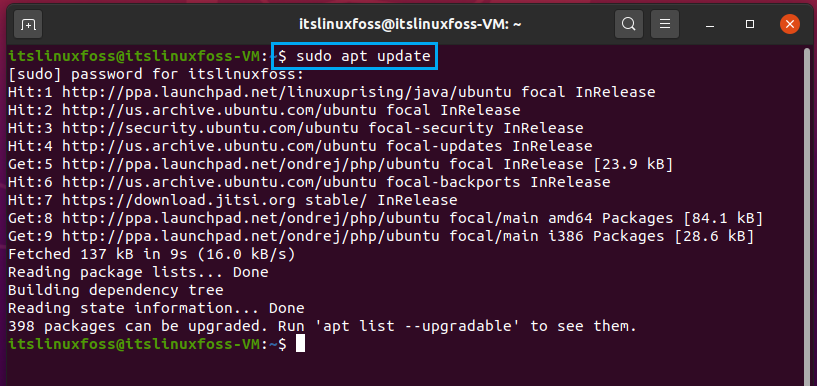
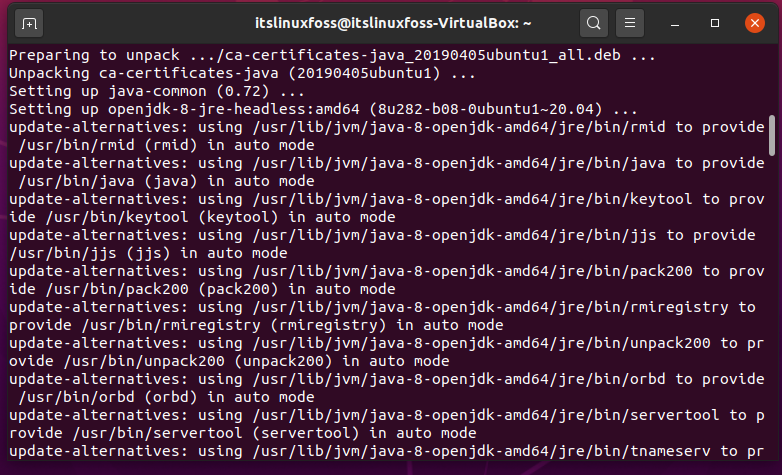
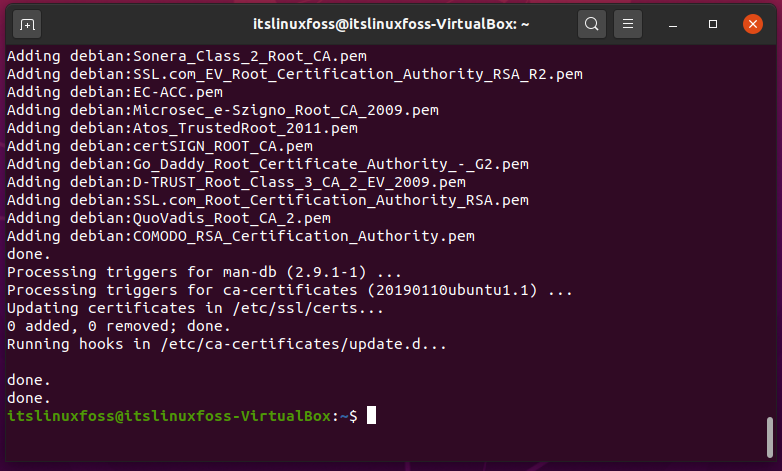
Step 2: You should have Jdk installed on your system.
$ sudo apt install openjdk-8-jre-headless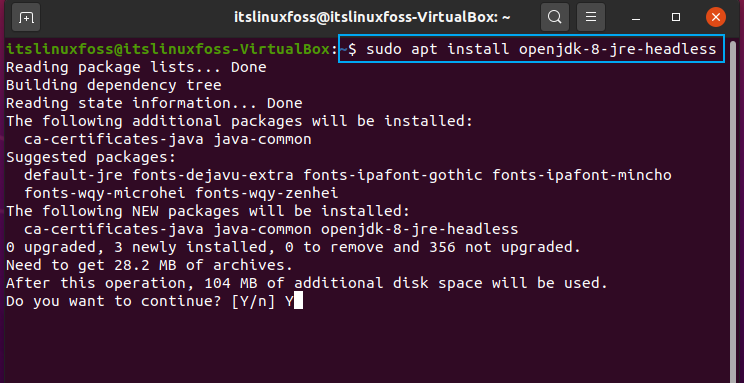
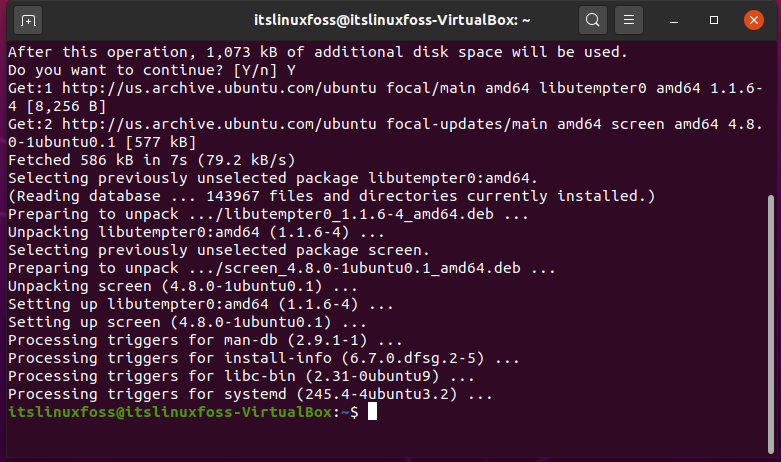
Step 3: For creating a detached session, utilize the following command to install the screen.
$ sudo apt install screen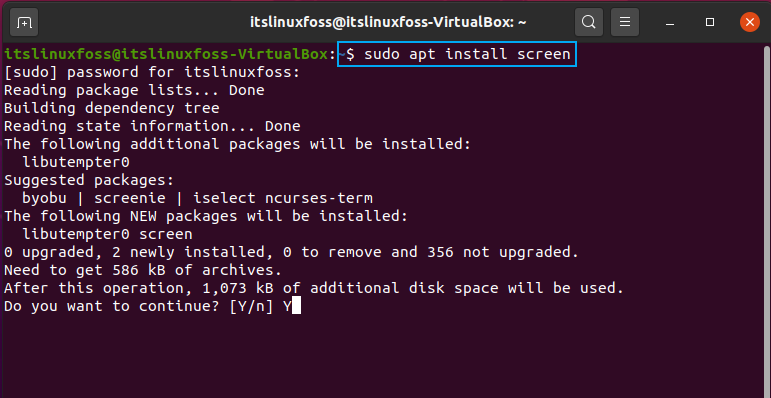
Step 4: Allow the traffic from port 25565.
$ sudo ufw allow 25565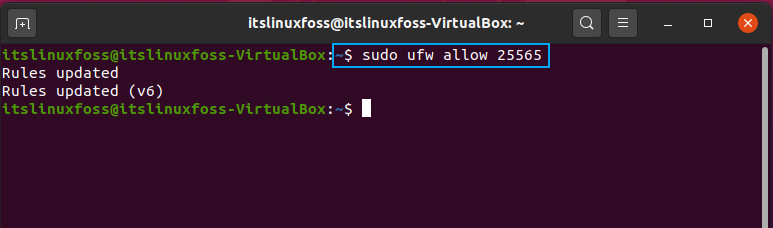
Step 5: Use the wget command to install the Minecraft latest version.
$ sudo wgethttps://launcher.mojang.com/v1/objects/1b557e7b033b583cd9f66746b7a9ab1ec1673ced/server.jar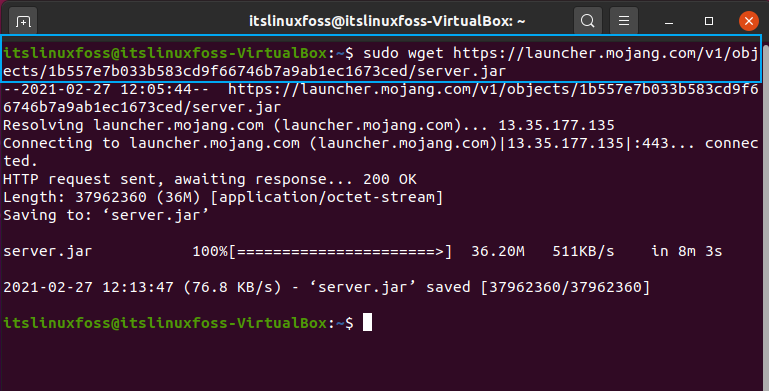
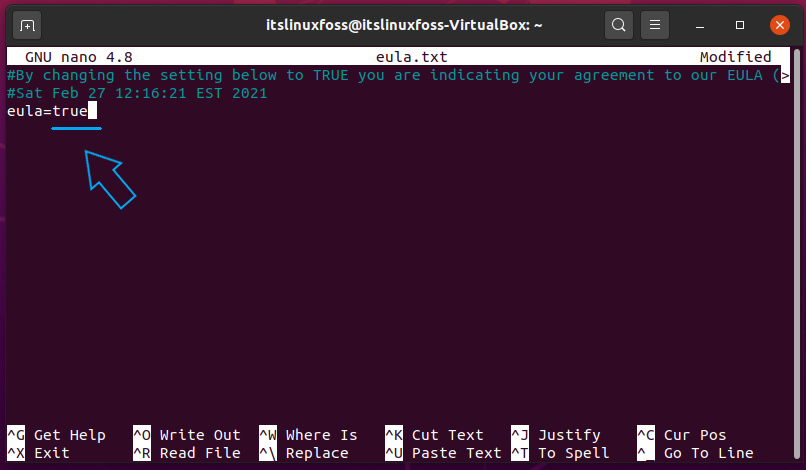
Step 6: Open up the end-user license agreement file, Link the link, read, and then change its value to ‘true’.
$ nano eula.txt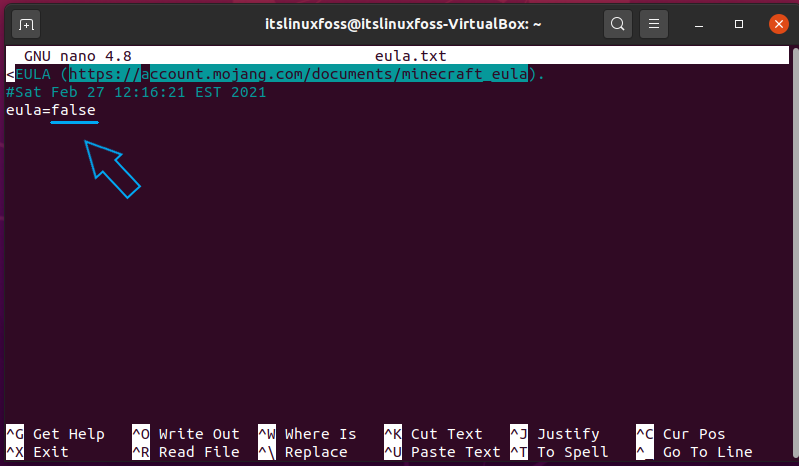
Step 7: Utilize the following command to run your mine craft server with 1024M RAM.
$ java -Xms1024M -Xmx4G -jar server.jar nogui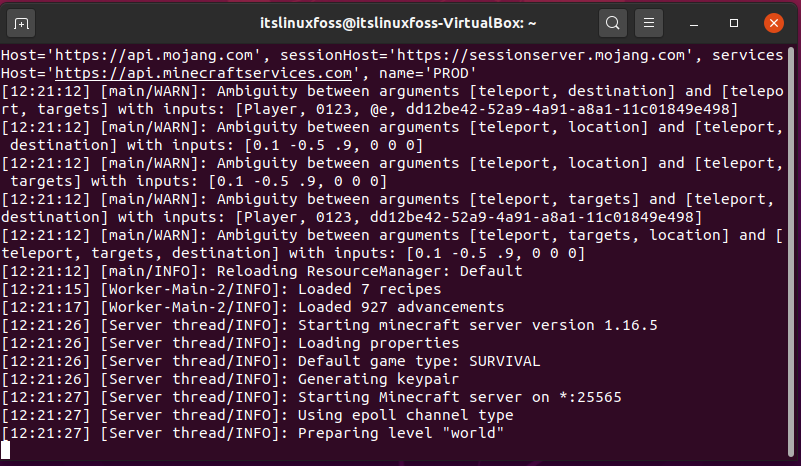

Step 8: Press ‘CTRL+A+D’ to get detached from this session.

Step 9: You can also view the screen information.
$ screen -list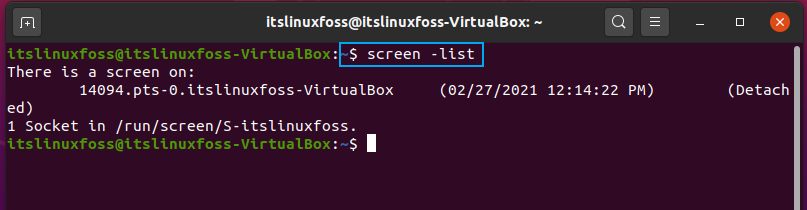
Step 10: Now it’s time to connect to the Minecraft Client. Open your Minecraft Client launcher. In the multiplayer gaming section. Click on ‘add server’.
After adding the credentials of the installed Minecraft server. That’s all about the connection between Minecraft server and client.
Conclusion:
In this article, We have discussed Minecraft and its features. Furthermore, we have also provided you with a step-by-step guide to setup Minecraft Server on your Ubuntu 20.04 and connect it with the Minecraft client.

Saryia is a technology entrepreneur and digital publisher specializing in Linux, open-source technologies, and developer education.