
The modern peer-to-peer tunnel implementation is WireGuard. Depending on the configurations, it can use a client-server setup. This protocol is young and, like OpenVPN, it doesn’t have several thousands of lines of legacy code. It uses modern algorithms for cryptography. At the end of 2019, WireGuard was accepted into the Linux kernel upstream. A broad range of implementations of all known VPN protocols can be supported by Linux. But by default, WireGuard will become normal since it defaults to the Linux kernel. So, without extra installation, all users would be able to use it. If both peers are running Linux, WireGuard is up to four times faster than other VPN implementations.
Benefits of WireGuard VPN
- Performance improvements
- Cross-platform ease of use
- The minimal and simple codebase
- Merged into the Linux kernel and released from the beta kernel
- Modified encryption
Now, let’s step in towards the WireGuard VPN Installation process on Ubuntu 20.04. Before following the installation guide, make sure that you are working as a ‘superuser’.
Installing WireGuard VPN on Ubuntu 20.04
Step 1: Open the terminal by pressing ‘CTRL+ALT+T’ or search it in the activities and update the list.
$ sudo apt-get update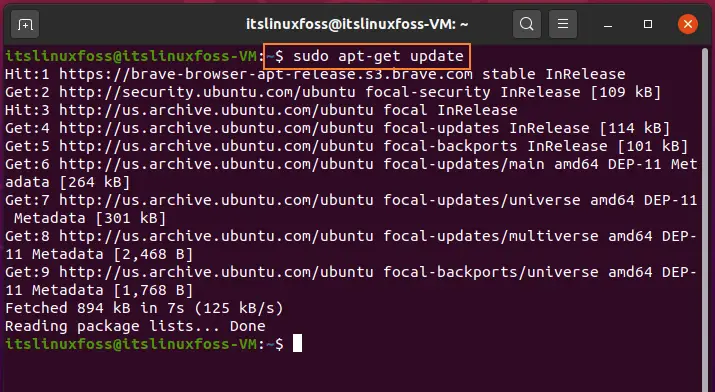
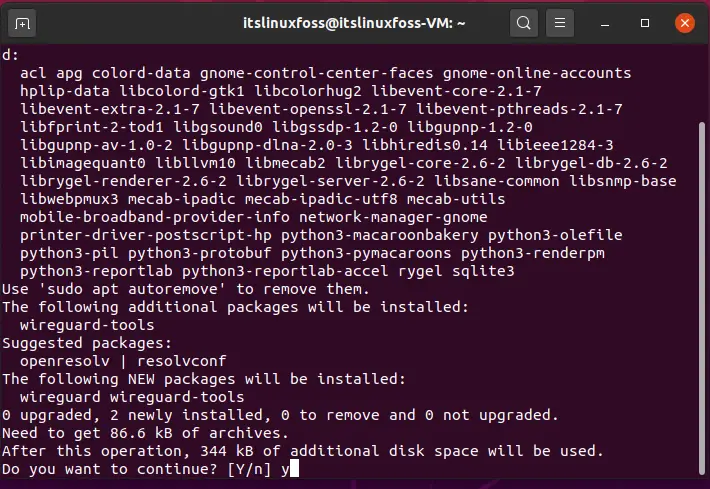
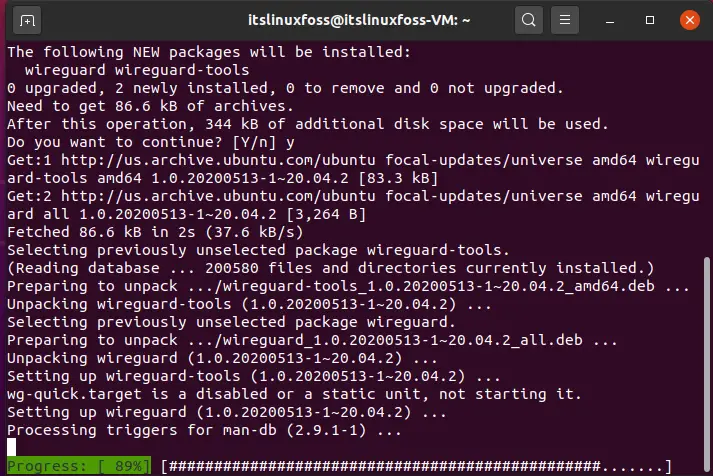
Step 2: Install WireGuard on your system.
$ sudo apt install wireguard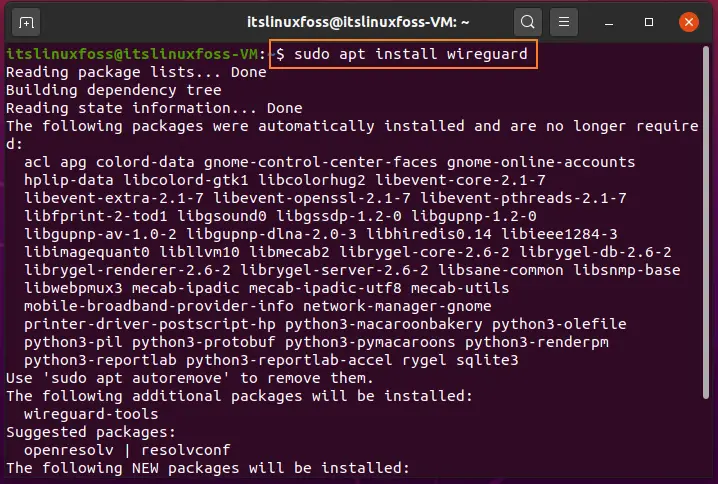

Step 3: Utilize the given command for generating keys.
$ wg genkey | sudo tee /etc/wireguard/privatekey | wg pubkey | sudo tee /etc/wireguard/publickey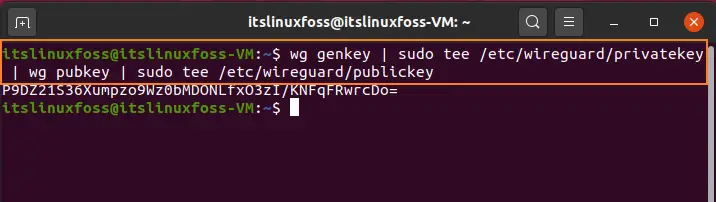
Step 4: Add the following content in the WireGuard configuration file and set the default route.
$ sudo nano /etc/wireguard/wg0.conf
Address = 10.0.0.1/24
SaveConfig = true
ListenPort = 51820
PrivateKey = SERVER_PRIVATE_KEY
PostUp = iptables -A FORWARD -i %i -j ACCEPT; iptables -t nat -A POSTROUTING >
<ROUTING -o ens3 -j MASQUERADE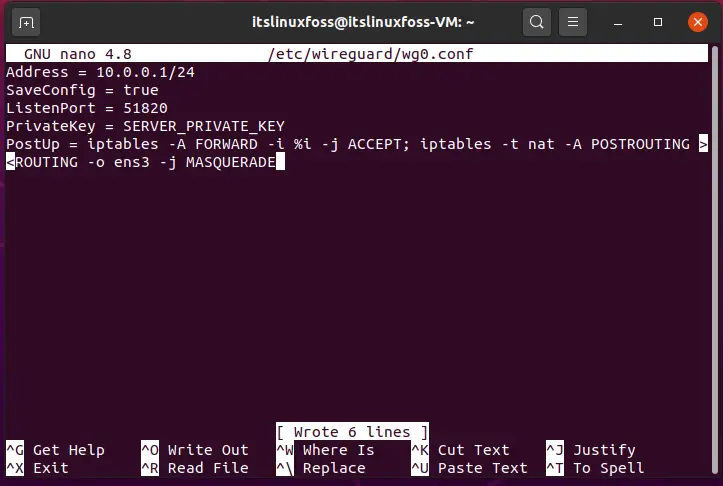
$ ip -o -4 route show to default | awk '{print $5}'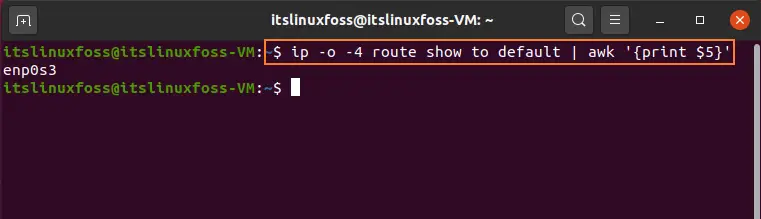
Step 5: Change the private key permission to be accessible to only root users.
$ sudo chmod 600 /etc/wireguard/{privatekey,wg0.conf}
$ sudo wg-quick up wg0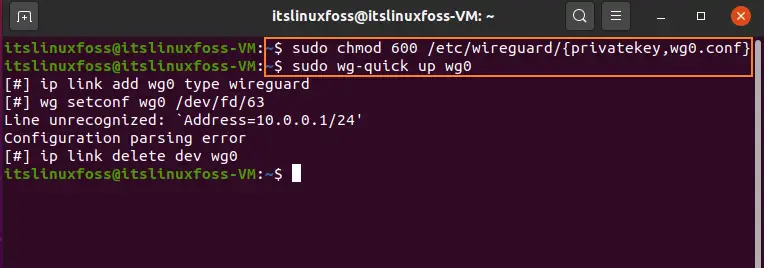
$ sudo ufw allow 61951/udp
Step 6: At the server-side, add the following script in the configuration file of WireGuard.
 # Server configuration [Interface]
 Privatekey = OCH7Z0g+ieQ99KkkR1E5E022Evs 5975F+E54040093E= # The server private.kpl Address = 10.5.5.1/24 # Internal IP address of the VPN server.
 ListenPort = 61951 # Previously, we opened this port to listen for incoming conn
# Change "enpos5" to the name of your network interface in the following two sets
Postup = iptables -A FORWARD -i wg -j ACCEPT; iptables -t nat -A POSTROUTING -OP PostDown = iptables -D FORWARD -1 wgo -j ACCEPT; iptables -t nat -D POSTROUTING
# Configurations for the clients. You need to add a [Peer] section for each VPN
[Peer]
Publickey = gsgfB29uYjpuFTC)C1+VHr9M7++MHICG6Egertutu34= # client_public.key val AllowedIPs = 10.5.5.2/32 # Internal IP address of the VPN client.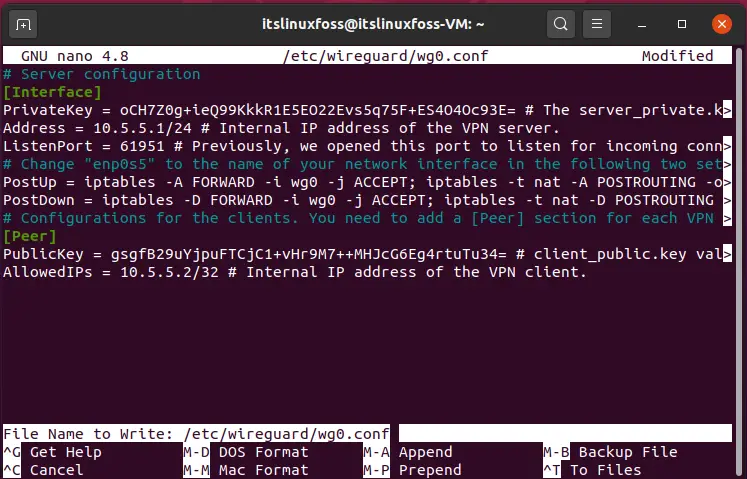
Step 7: Write-out the following command to establish a VPN connection.
$ sudo systemctl start wg-quick@wg0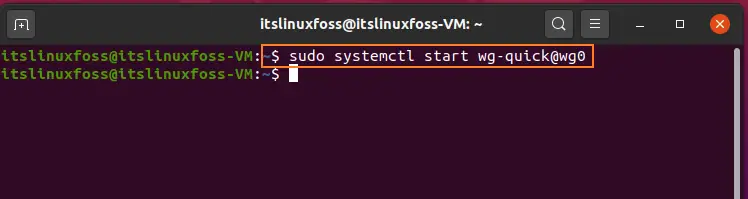
$ sudo systemctl enable wg-quick@wg0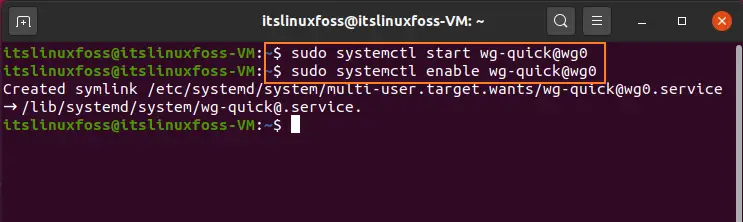
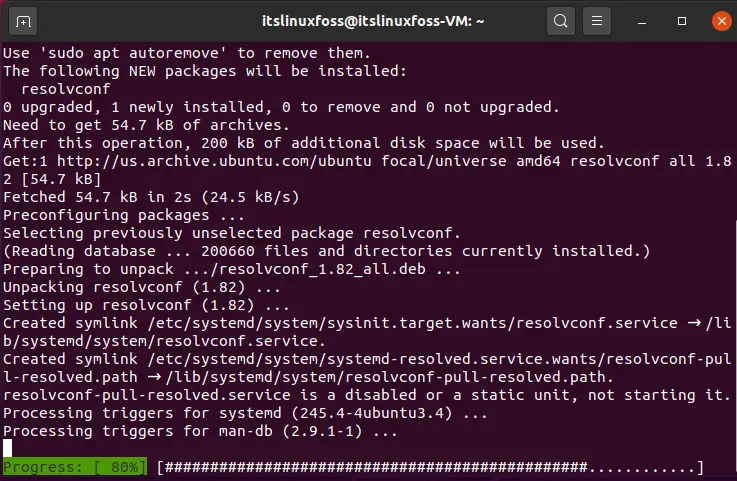
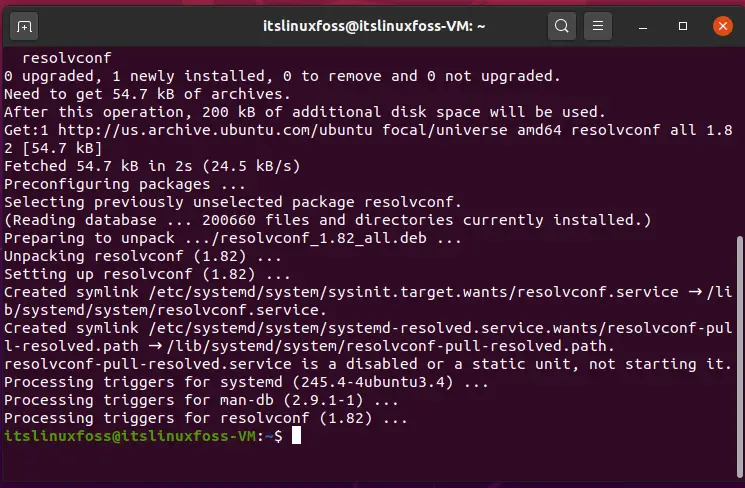
$ sudo apt install resolvconf
Step 8: At the Client-side configuration add the following script.
$ sudo nano /etc/wireguard/wg0.conf 
 # client configuration
 [Interface]
 PrivateKey = ELI6PoQf3xhLHu+wlIIME5ullpxxP8U+SYMKHGCV2VI= # The client private.k> Address = 10.5.5.2/24 # IP address of the client's wg0 interface.
DNS = 8.8.8.8
# Server connection configuration
[Peer]
PublicKey = tsGQ8spwoQhpJb4BbhZtunLZEJCCP XUBIaQupniQ+Z4= # The server public.key AllowedIP = 0.0.0.0/0 # Traffic for these addresses will be routed through the Endpoint = 82.213.236.27:61951 # Public IP address of our VPN server and port number PersistentKeepalive = 25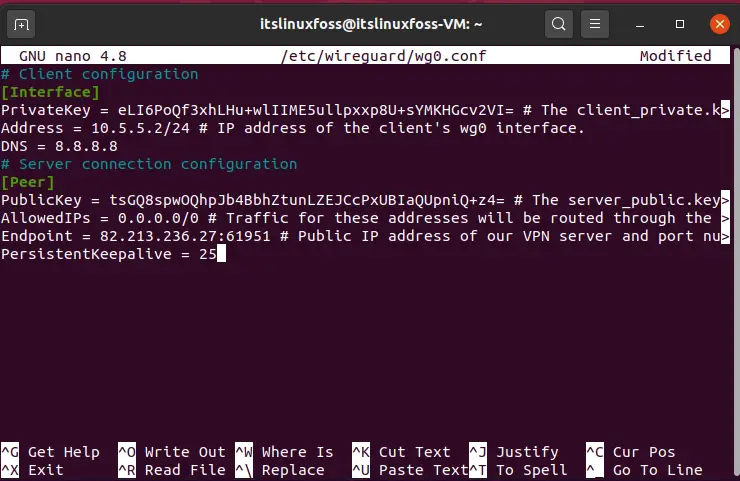
Step 9: You can also view the information related to the connection by using the ‘wg’ command.
$ sudo wg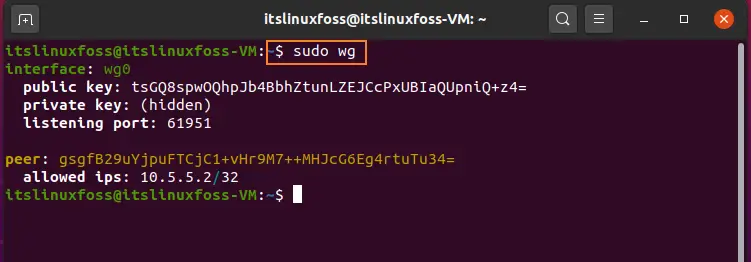
Conclusion:
This article addressed the useful features of WireGuard VPN along with its installation method on Ubuntu 20.04.

Saryia is a technology entrepreneur and digital publisher specializing in Linux, open-source technologies, and developer education.