
The dig command is the abbreviation of the domain information groper command utility that is used to extract information about the domain servers. This command line tool is used by the administrator to look up the DNS using the terminal.
The dig command has replaced the nslookup and the host command on Debian Bookworm and it comes in the default package list of Debian as well.
This post will explain the installation of the dig command on Debian Bookworm with the following outline:
- How to Install dig Command on Debian Bookworm
- Explain the General Usage Syntax of the dig Command on Debian
- Example 1: Find Information on the DNS
- Example 2: Find Information on DNS (Short)
- Example 3: Omit the Comments
- Example 4: Find Information on the ALL DNS
- Example 5: Find MX Information of the DNS
- Example 6: Trace the Path of DNS
- Example 7: Find the Statistics Section
- Which Command is Used to Uninstall the dig Command on Debian
How to Install dig Command on Debian Bookworm?
The dig command utility is included in the dnsutils package in the package list of Debian Bookworm. To install the package of the dnsutils for the usage of the dig command, follow the next steps.
Step 1: Launch the Terminal
To run the command for installing the dnsutils, open the terminal from the application’s menu as shown:
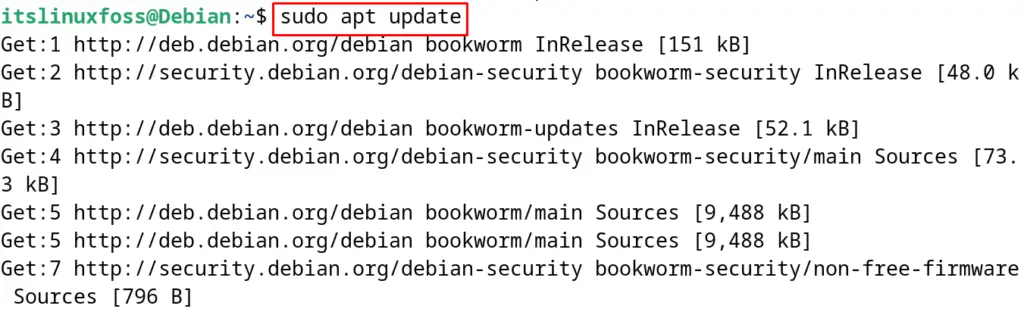
Step 2: Update the Package List
To ensure that the updated package of dnsutils is installed, use the next-mentioned command to find the updates of the package list:
$ sudo apt update
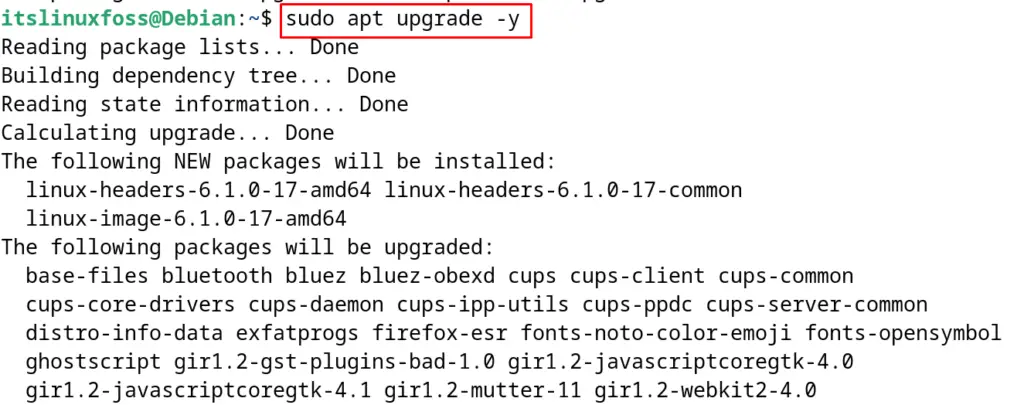
Step 3: Install Updates (Optional)
To install the updates if any are available, use the upgrade option of the apt command:
$ sudo apt upgrade -y
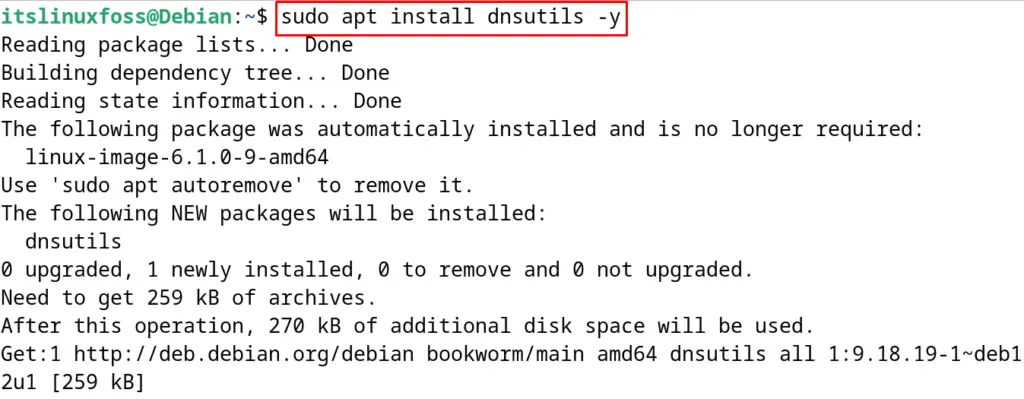
Step 4: Install dnsutils
To install the dnsutils, run the below-mentioned command:
$ sudo apt install dnsutils -y
Step 5: Display the Version of dig Command
To display the version of the installed dig command, execute the command:
$ dig -v

With the successful installation of the dnsutils package, the dig command is installed as well and can be used according to the instructions explained in the next section.
Explain the General Usage Syntax of Using the dig Command on Debian?
To use the dig command on Debian and other Linux distributions, run the command following the next-mentioned general syntax:
$ sudo dig [server] [name] [type]
In the above syntax, the dig command will send the query to the mentioned server. The name is used to specify the name of the DNS and next is to define the type regarding which the information should be retrieved.
To understand the usage of the above-mentioned general syntax, different examples are used to demonstrate its usage.
Example 1: Find Information on the DNS
To explore the information of the DNS, use the website name with the dig command as shown:
$ sudo dig itslinuxfoss.com
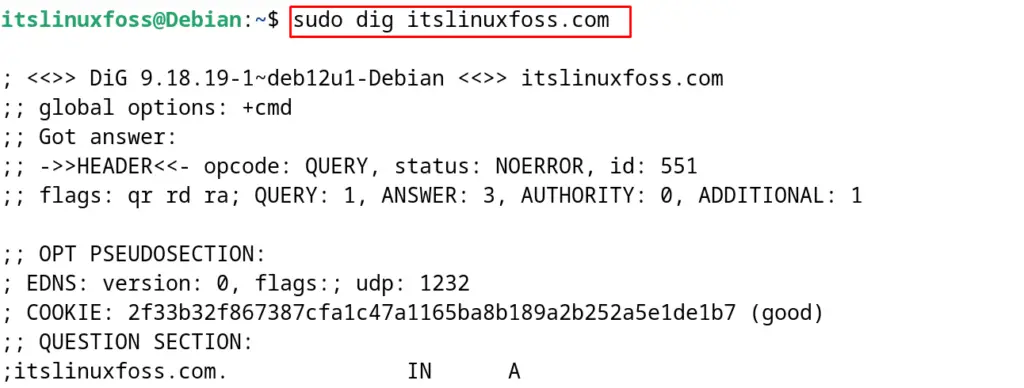

The information on the mentioned domain has been displayed on the screen. The explanation of the “answer” section in the output is:
- The first column will display the DNS whose information is requested
- The next column will display the time for refreshing the information
- The class of the query is explained in the next column
- And the last two columns will display the IP address associated with the DNS and the type of the query
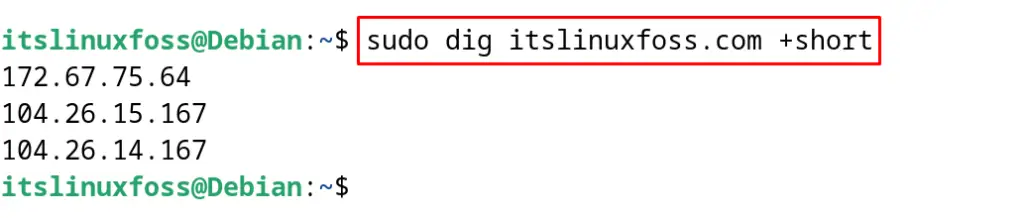
Example 2: Find Information on DNS (Short)
To find the minimum information of the DNS, use the “short” option with the command:
$ sudo dig itslinuxfoss.com +short
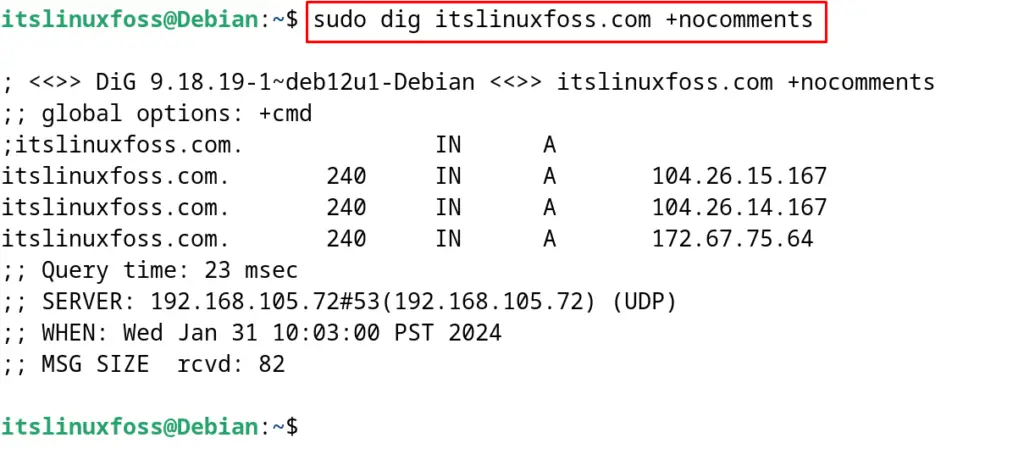
Example 3: Omit the Comments
To omit the comments in the output of the dig command, run the command with the “nocomments” option:
$ sudo dig itslinuxfoss.com +nocomments
Example 4: Find Information on the ALL DNS
To find the information from all the available DNS records, use the command:
$ sudo dig itslinuxfoss.com +ANY

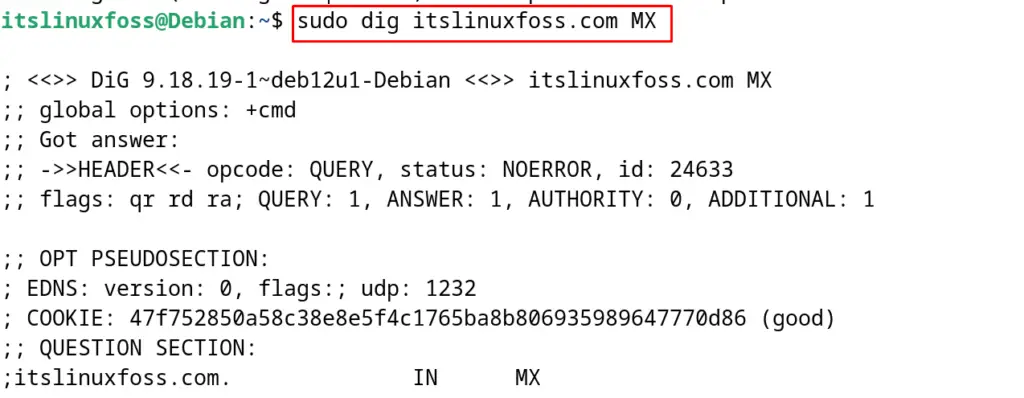
Example 5: Find MX Information of the DNS
To find the Mail Exchange (MX) information of the DNS, run the command with the “MX” option:
$ sudo dig itslinuxfoss.com MX
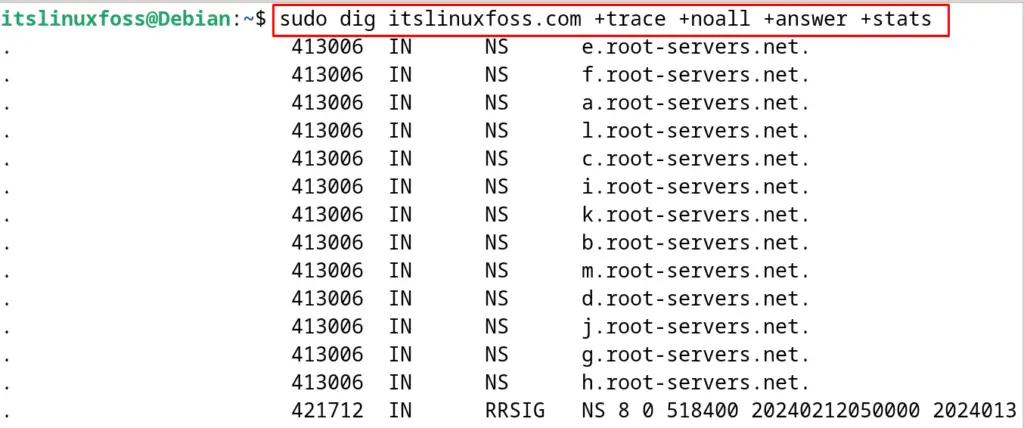
Example 6: Trace the Path of DNS
Use the “trace” option to find out the path of the DNS as shown in the next command:
$ sudo dig itslinuxfoss.com +trace +noall +answer +stats
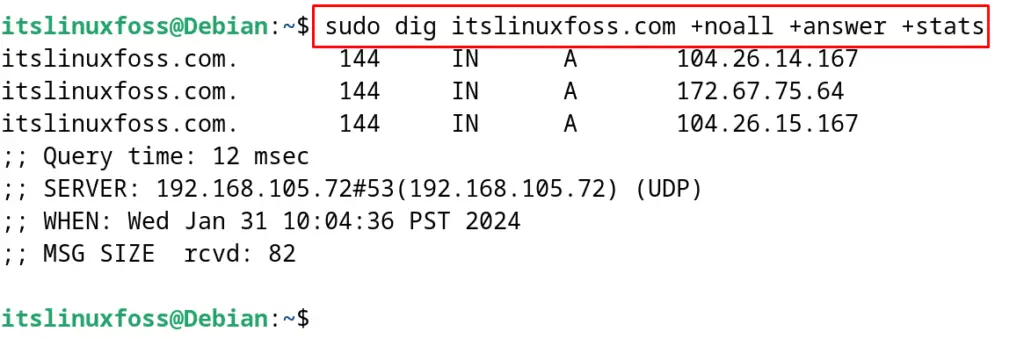
Example 7: Find the Statistics Section
To explore the statistical information of the provided DNS use the “answer” and “stat” options:
$ sudo dig itslinuxfoss.com +noall +answer +stats
This is all about the basic usage of the dig command on Debian.
Which Command is Used to Uninstall the dig Command on Debian?
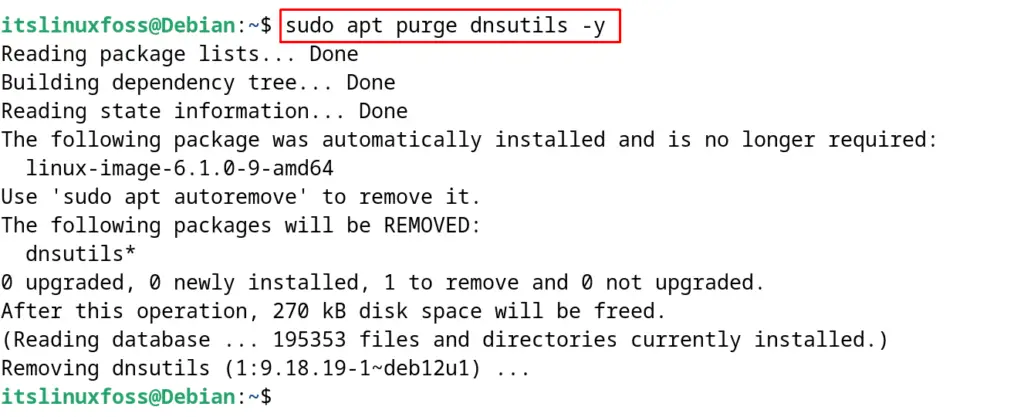
To uninstall the dig command on Debian with all its configuration files, execute the command:
$ sudo apt purge dnsutils -y
This is all about the installation and usage of the dig command on Debian.
Conclusion
To install the dig command on Debian 12, install the dnsutils package. The dnsutils package is included in the package list and installed with the “sudo apt install dnsutils -y” command.
The dig command is used to retrieve the information of the DNS using the command line interface. Different examples are used to explain the usage of the dig command on Debian.
This post explained the installation, uninstallation, and usage with the step by step guide.
