
Docker is a free tool that offers to create, deploy, and run various applications in containers. A container is a standalone, lightweight, executable package holding all the required things for an application to run, including libraries, code, and system tools. Having the updated version of Docker is the key to using the Docker services smoothly.
Considering its importance, this guide will instruct how to upgrade Docker on Ubuntu which ensures the security, stability, and performance of the system.
- Why Need to Upgrade/Update Docker on Ubuntu?
- How to Upgrade/Update Docker on Ubuntu?
- How to Upgrade/Update Docker to a Particular Version on Ubuntu?
- How to Remove/Uninstall Docker on Ubuntu?
- How to Fix the “command not found: docker-compose” Error on Ubuntu?
- How to Fix the “bash: docker command not found” Error on Ubuntu?
Why Need to Upgrade/Update Docker on Ubuntu?
Docker is a well-known tool for creating as well as running containerized applications on various platforms. However, it is not static software and it receives frequent updates that introduce new features, bug fixes, and security concerns. Hence, it is important to upgrade Docker on Ubuntu regularly to ensure that you are using the most stable and latest software version.
Note: To install Docker on the Ubuntu-based Linux operating system, follow our complete guide on Install Docker on Ubuntu.
How to Upgrade/Update Docker on Ubuntu?
Docker provides a manner for developers to build and deploy applications in a stable way. To upgrade Docker on Ubuntu, follow the below steps:
Step 1: Check the Current/Installed Docker Version
Before upgrading Docker, it is good practice to check the current version that is installed on the system. It is possible by running the “docker” command with the “version” option in a terminal:
docker --version

It displays the version number “19.03.0” of the Docker engine that is currently installed on the existing system.
Step 2: Uninstall the Current Version
To upgrade Docker, first uninstall the current version that is installed on the operating system. For this, execute the following command by using the “apt” package manager with the “remove” option:
sudo apt remove docker docker-engine docker.io
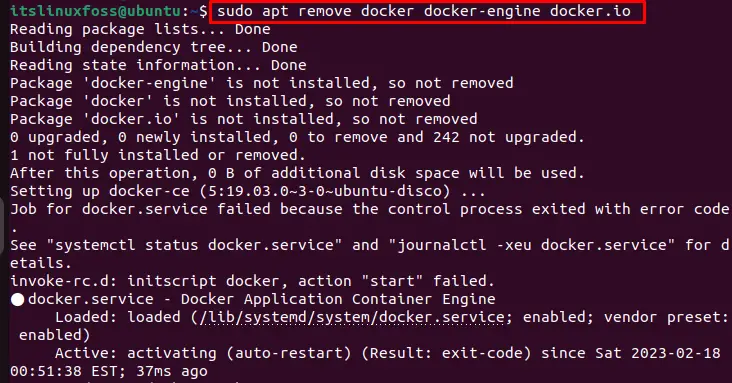
It removes the existing Docker packages from the current system.
Step 3: Verify the Uninstallation
Once the Docker has been removed, verify the removal by running the following command:
docker --version
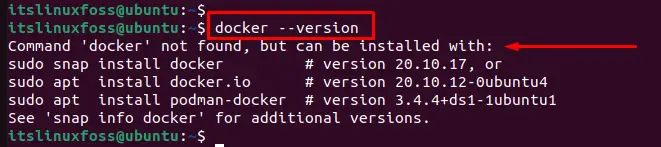
Now, it is time to get the latest Docker.
Step 4: Install Dependencies
Once the old version of Docker has been removed, install the dependent packages by running the following commands:
sudo apt install apt-transport-https ca-certificates curl software-properties-common

The output shows that all dependent packages have been installed.
Step 5: Add Docker GPG Key
To add the docker GPG key, utilize the “curl” command with the “fsSL” options to extract data from a server. For instance, specify the URL of Docker official site where the GPG key of Ubuntu distribution is stored:
curl -fsSL https://download.docker.com/linux/ubuntu/gpg | sudo apt-key add -

The output shows that a Docker GPG key has been added to the Ubuntu-based Linux system.
Step 6: Add Docker Package Repository
To add the Docker package repository to the system’s package sources, utilize the “add-apt-repository” command by specifying the repository URL for the Docker package. The “[arch=amd64]” specifies the package architecture to download (in this case, the 64-bit version):
sudo add-apt-repository "deb [arch=amd64] https://download.docker.com/linux/ubuntu $(lsb_release -cs) stable"
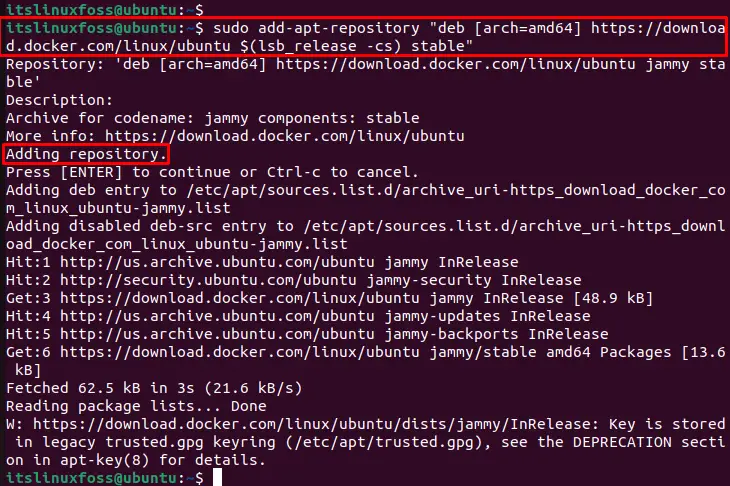
The successful execution of the above command confirms that the Docker package repository has been added.
Step 7: Update the Package Index
To update the local package index with the latest information about available packages from the configured software repositories, execute the below script:
sudo apt update
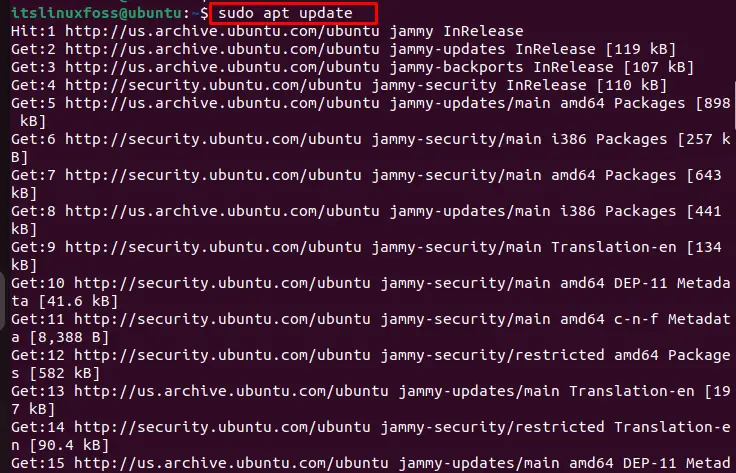
It checks the configured software repositories for updates and downloads the latest package lists.
Step 8: Install the Docker CE Package (Upgrade)
To install the Docker CE (Community Edition) package from the official Docker repository, specify the “docker-ce” package name:
sudo apt install docker-ce
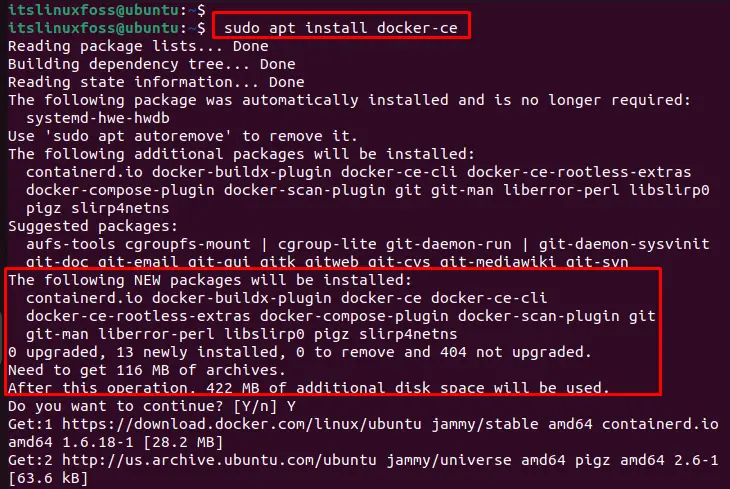
It downloads the latest Docker CE package from the official Docker repository and installs it in the system. It includes the Docker runtime, which offers users the chance to create, manage, and run Docker containers on the system.
Step 9: Verify the Upgradation
Once the latest version of Docker has been installed, verify the installation/upgradation by running the following command:
docker --version

It displays the version number “23.0.1” of the new Docker engine that is now installed on the system.
How to Upgrade/Update Docker to a Particular Version on Ubuntu?
To upgrade Docker to a specific version on Ubuntu, go to the official docker site https://download.docker.com/linux/ubuntu/dists/, then navigate to the “pool/stable/” directory and choose the architecture (arm64, amd64, armhf). Finally, download the .deb file based on the docker latest version. Let us follow the below steps:
Step 1: Download .deb Files
To download the Debian files of Docker based on the latest release or stable version, copy the link address, and paste it into the terminal with the “wget” command. In our case, select the amd64 architecture file according to our system specifications:
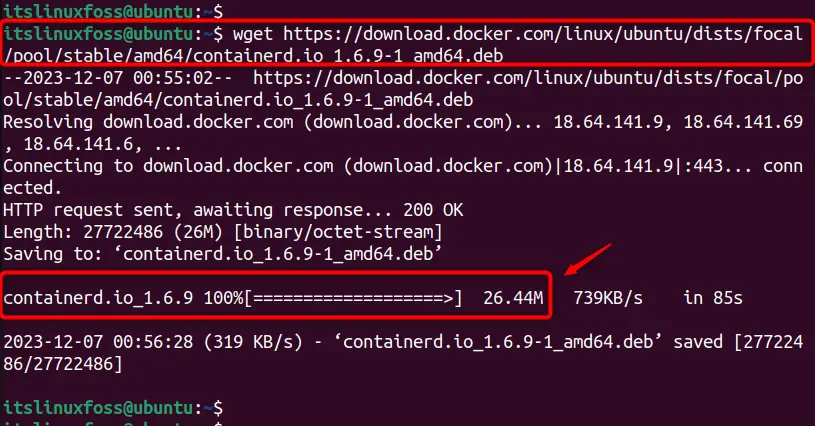
For containerd.io
wget https://download.docker.com/linux/ubuntu/dists/focal/pool/stable/amd64/containerd.io_1.6.9-1_amd64.deb
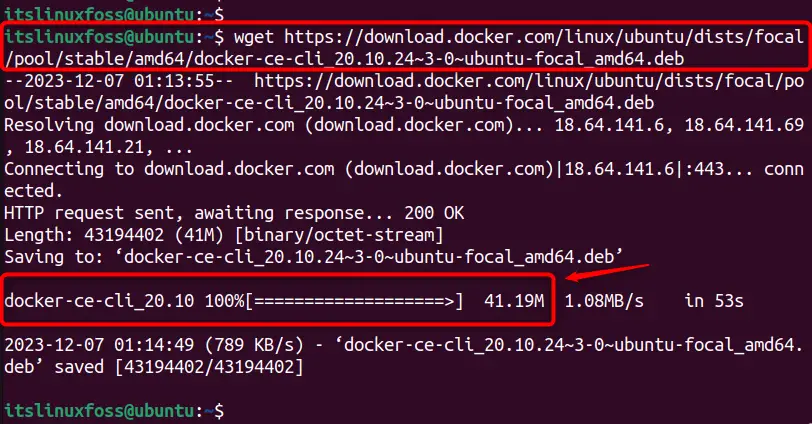
For docker-ce-cli
wget https://download.docker.com/linux/ubuntu/dists/focal/pool/stable/amd64/docker-ce-cli_20.10.24~3-0~ubuntu-focal_amd64.deb
For docker-ce
wget https://download.docker.com/linux/ubuntu/dists/focal/pool/stable/amd64/docker-ce_20.10.24~3-0~ubuntu-focal_amd64.deb
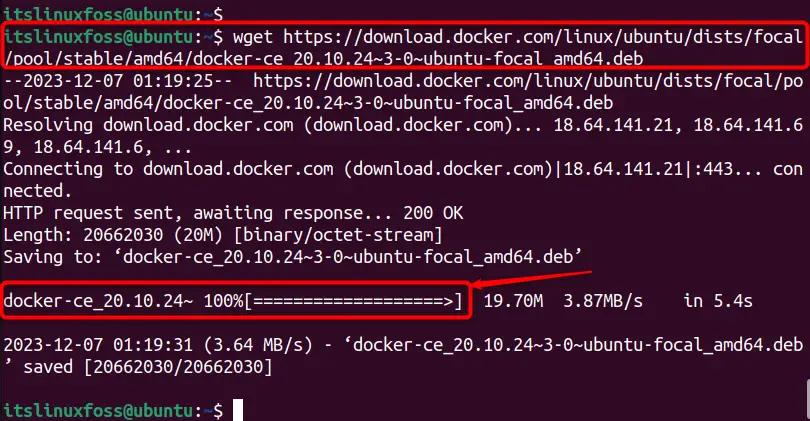
In this way, downloaded files are stored in the current working directory.
Step 2: Install .deb Files
To install downloaded .deb files in the current directory, follow the below script with the sudo privileges:
sudo apt install ./*.deb
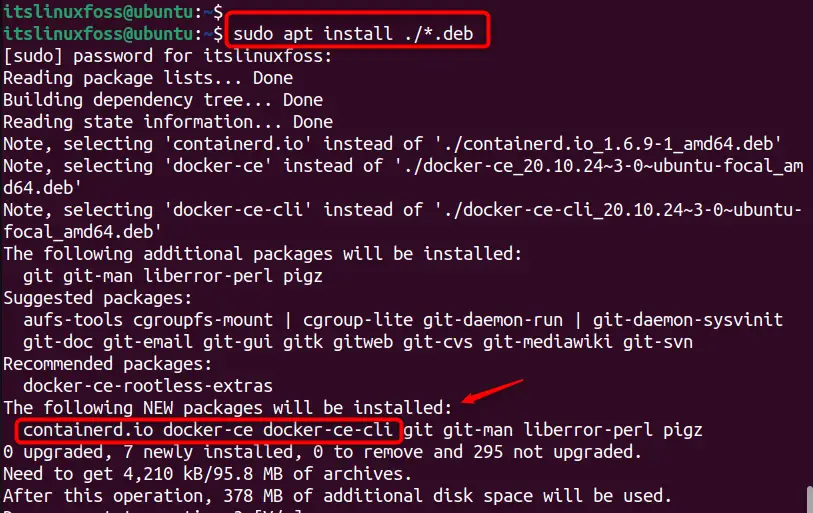
It takes some time to install and configure the docker into the Ubuntu-based Linux operating system.
Step 3: Verify Upgraded Version
Finally, users can check the specific upgraded version of docker via the below command:
sudo docker version
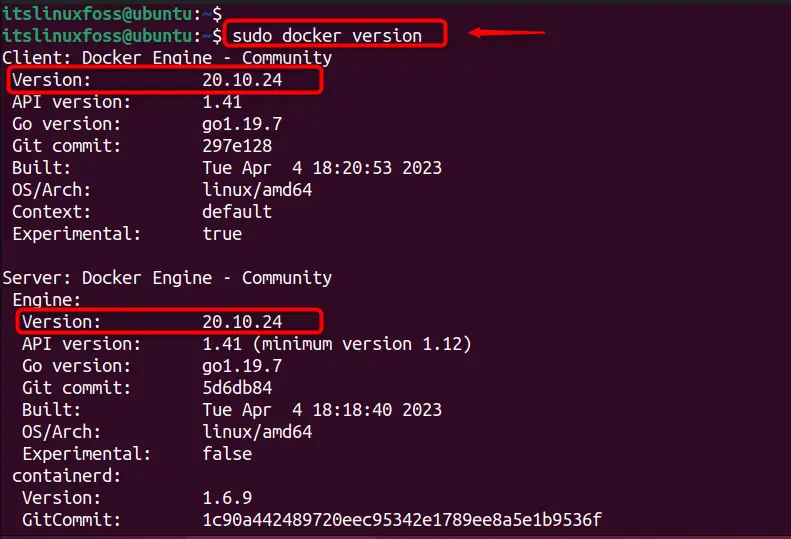
In this way, the specific version “20.10.24” of docker has been upgraded on Ubuntu via downloading .deb files.
Optional: Pull an Image from the Docker Hub
To check the Docker services, pull the image from the official Docker hub via the below script:
sudo docker run hello-world
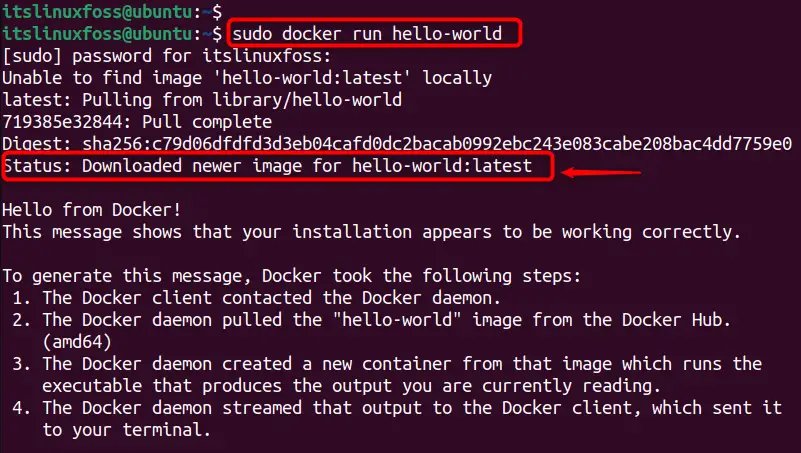
The output confirms that a newer image has been downloaded from the Docker hub.
How to Remove/Uninstall Docker on Ubuntu?
To remove or uninstall the Docker (including docker-ce docker-ce-cli containerd.io) from the operating system, follow the below commands. These commands require the sudo privileges:
sudo apt remove docker-ce docker-ce-cli containerd.io     # Remove/Uninstall Docker
sudo apt autoremove docker-ce docker-ce-cli containerd.io # Remove/Uninstall Docker with Dependencies
sudo apt purge docker-ce docker-ce-cli containerd.io  # Remove/Uninstall Docker with Dependencies and Temporary File
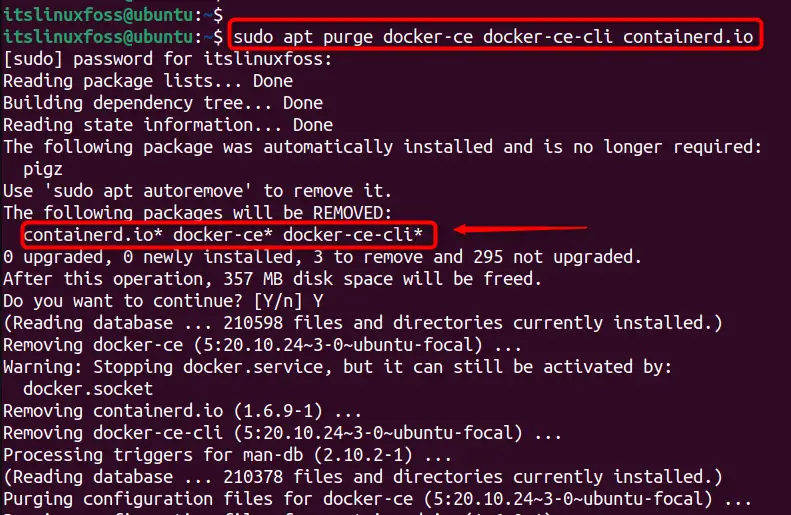
The output confirms that docker has been completely removed with all dependencies.
To explore more about the uninstallation of the Docker on different Linux operating systems, check out this guide.
How to Fix the “command not found: docker-compose” Error on Ubuntu?
This error represents that the operating system does not recognize the “docker-compose” command. The reasons are docker-compose not installed correctly, wrong syntax, outdated version of docker or docker-compose, conflicting alias or environment variable.
To fix it, check that docker-compose is installed by running the “docker-compose –version” command. If not, follow the detailed guide on this error guide.
How to Fix the “bash: docker command not found” Error on Ubuntu?
This error indicates that the docker package is not installed or the docker executable is not in your PATH. To fix this, install docker using the official instructions or add the docker executable to your PATH by running the command “export PATH=$PATH:/usr/bin/docker” in your terminal.
To explore more about this error, follow our guide on “bash: docker command not found”.
Conclusion
To upgrade Docker to the latest version in Ubuntu, first, uninstall Docker’s old version with all dependencies. After that, download the latest Docker CE package from the official Docker repository and install it in the system. It provides the latest features and functionality, while also decreasing the chance of security vulnerabilities and other issues. This article has explained how to upgrade docker in Ubuntu.
