A subnet is a range of IP addresses grouped and used to identify devices on a network. In Linux, scanning a subnet refers to discovering hosts and services on a computer network within a specific subnet range.
This guide provides a step-by-step procedure to scan a subnet using the “Nmap”. The supported content of this guide is mentioned below:
How to Use Nmap to Scan a Subnet?
Nmap is the network security scanner widely utilized to find services and hosts on a computer network and gain information about their properties. To use Nmap to scan a subnet, follow these steps:
Prerequisite: Install the Nmap
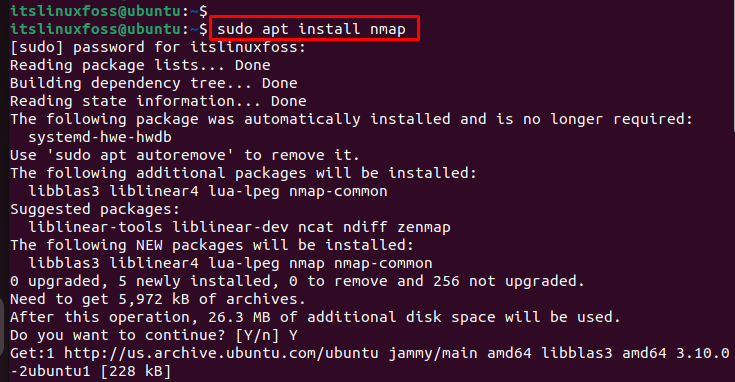
Before scanning the subnet, the user ensures the Nmap scanner is installed in the system. To install the “Nmap”, execute the below script:
$ sudo apt install nmap    # Debian/Ubuntu-based
$ sudo dnf install nmap    # Fedora
$ sudo yum install nmap    # CentOS

The output shows that nmap has been installed in the current operating system.
Step 1: Find the IP Range/Subnet Mask of the Network
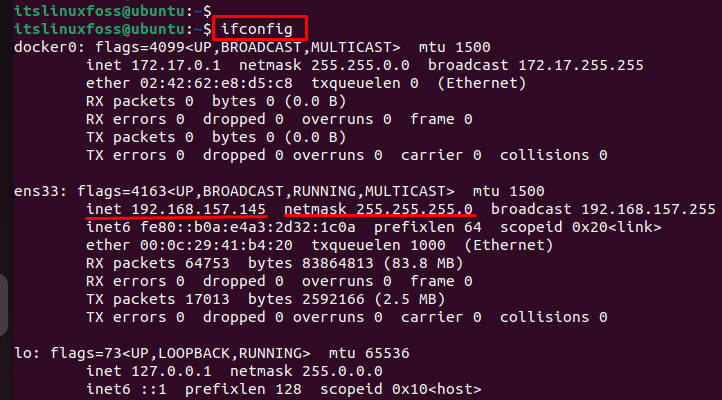
To find the network’s IP range/subnet mask, the “ifconfig” command is utilized as below:
$ ifconfig

The output shows the subnet mask “192.168.157.145” of our system. The network IP range is from “192.168.157.0” to “192.168.157.255”.
Step 2: Scan a Subnet
To scan the subnet, type “nmap” followed by the subnet range you want to scan. For instance, scan the subnet “192.168.1.0/24” by executing the below script:
$ nmap 192.168.1.0/24

The output shows that nmap has successfully scanned 256 IP addresses in the “104.48” seconds.
Step 3: Scan the Network for the Connected Devices
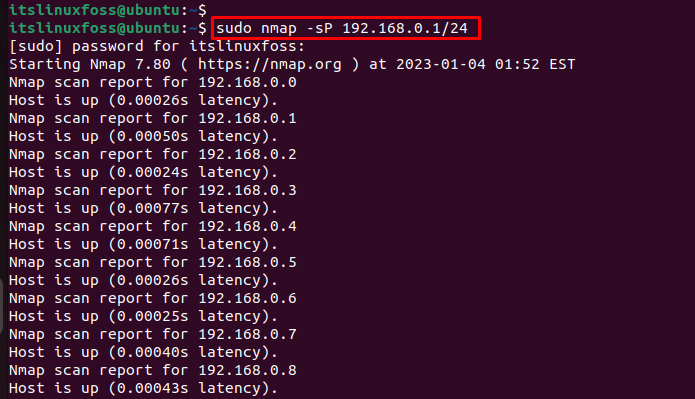
You can also specify additional options to scan the connected devices. For instance, the “-sP” option is used to skip the ports and display only available hosts in the network:
$ sudo nmap -sP 192.168.0.1/24

The output shows available hosts against each IP address.
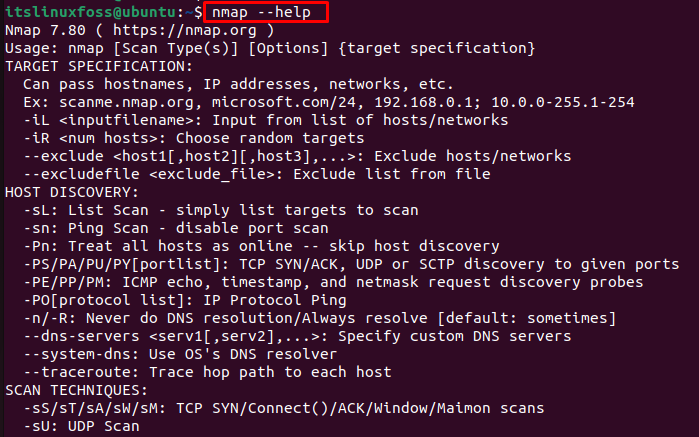
Additionally, a full list of options can be displayed by the “help” utility in the terminal window:

Note: You may need to use sudo to run Nmap with root privileges, depending on your system configuration.
Conclusion
Linux offers the “nmap” command to scan the subnet by displaying the connected device over the IP addresses. Before it, users must ensure that the “nmap” command is installed in the operating system. This article has explained the usage of the “nmap” command to scan a subnet in the network.
