
The WPA_Supplicant is used to connect the wireless connections in Linux. It executes as the background process and manages the wireless connections, including the WPA (Wi-Fi Protected Access). It also includes the management of the WPA2 and WPA3.
This blog will demonstrate the usage of the WPA_Supplicant in Linux to connect the machine to the internet using the WPA_Supplicant. The content of this post is:
- Installation of the WPA_Supplicant
- General Syntax of the WPA_Supplicant
- Scan the Available Wi-Fi Network
- Connect to the WiFi Using the WPA_Supplicant
- Configure the WPA_Supplicant
- Connect With a Hidden Network
- Connect With an Unsecure Network
- Connect With WEP Routers
- Auto Connect on Startup
Prerequisites: Installation of the WPA_Supplicant
The package of the WPA_Supplicantcomes in the default repository of Linux distributions when installed on a computer. To install the WPA_Supplicantusing a terminal, execute the below command according to your Linux distribution:
$ sudo apt install wpasupplicant -y      #Debian/Ubuntu-based
$ sudo yum install wpasupplicant        #RHEL
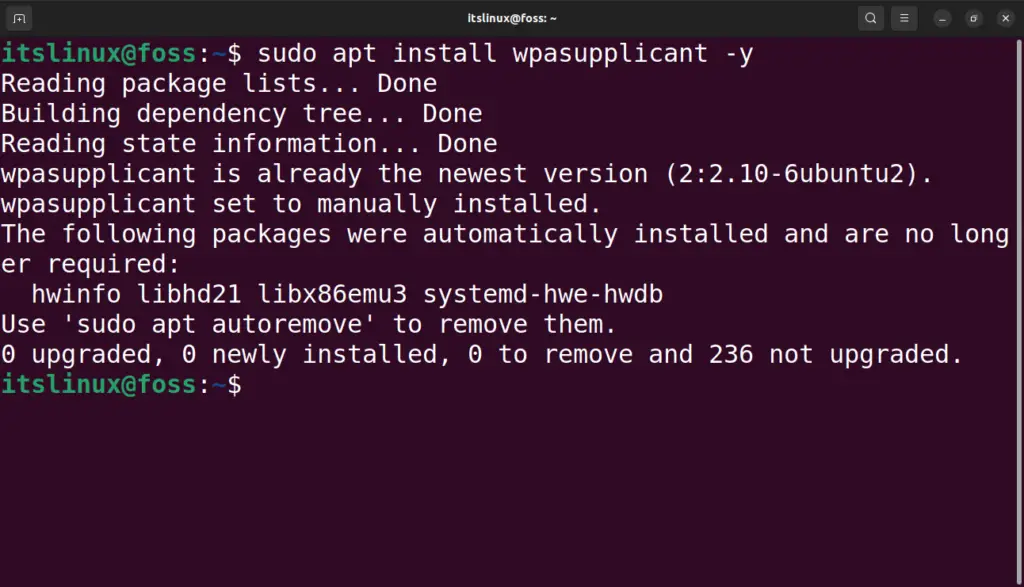
After the execution of the above commands, the package of the wpa_supplicant will be installed.
What is the General Syntax of Using the WPA_Supplicant?
The WPA_Supplicantis used to connect with the Wi-Fi using the terminal in Linux. The general syntax of using the WPA_Supplicant:
$ sudo wpa_supplicant [options]
Different options can be used with the wpa_supplicant and the common options with their usages are:
| B | It runs the process in the background |
| c | It specifies the path of the configuration file |
| h | It displays the help menu of the wpa_supplicant |
| i | It is used to connecting with the Wi-Fi using the interface name |
| v | It is used to display the installed version of the WPA_Supplicant |
How to Scan the Available Wi-Fi Network in Linux?
Use the interface name of your computer with the iwlist command to scan the available networks:
$ sudo iwlist wlp1s0 scan | grep ESSID
In the above-executed command, replace the “wlp1s0” with your interface, and in the above output; we can see the different available Wi-Fi interfaces.
Note: To find out the Wifi interface on your computer, run the command:
$ iwconfig
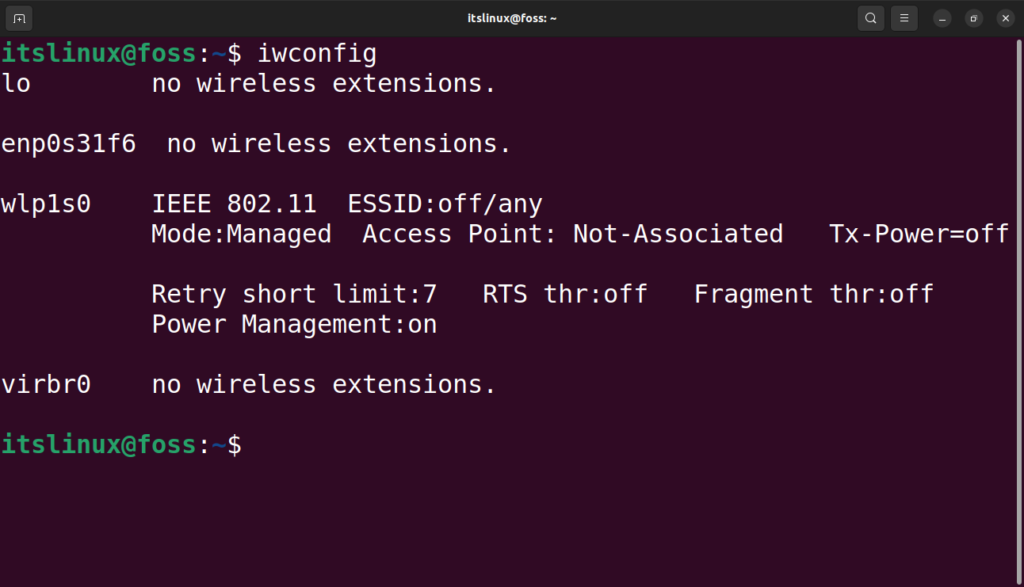
In the output, we can see that the “wlp1s0” is our Wi-Fi interface and is not associated with any internet connection.
How to Connect the WiFi Using the WPA_Supplicant?
The above section shows that the “<Wifi_interface name>” interface is available, with a WiFi key of “12345678”. To connect with the <Wifi_interface name> interface, use the command:
$ wpa_passphrase <Wifi_interface name> 12345678 | sudo tee /etc/wpa_supplicant.conf
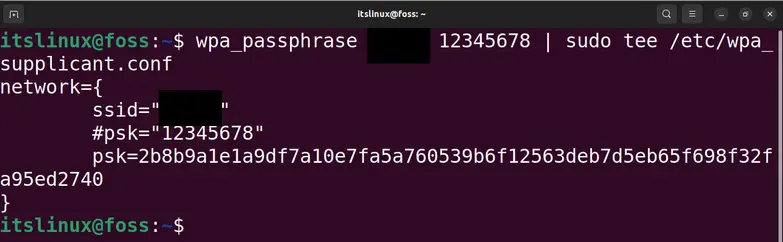
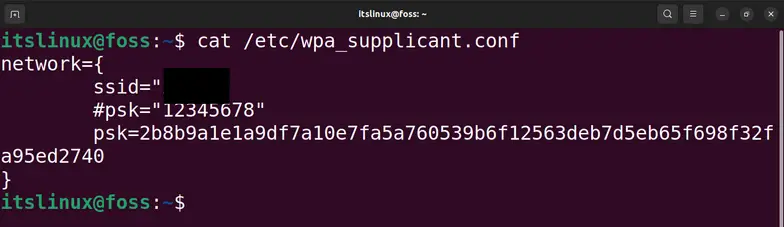
The connection will be made successfully, and the connection information will be saved in the configuration file of WPA_Supplicant. It is found at /etc/wpa_supplicant.conf. To display the information of the WPA_Supplicant, use the command:
$ cat /etc/wpa_supplicant.conf
To confirm the connection of the WPA_Supplicant, use the command:
$ iwconfig

In the output, we can see now that the wlp1s0 is associated with the ESSID:[Wifi_interface name].
How to Configure the WPA_Supplicant?
There are three different methods for configuring the WPA_Supplicant:
- Connecting to a Hidden Network
- Connecting to an Unsecured Network
- Connecting WEP Routers
All these methods are explained separately.
Configuration of WPA_Supplicant to Connect with a Hidden Network
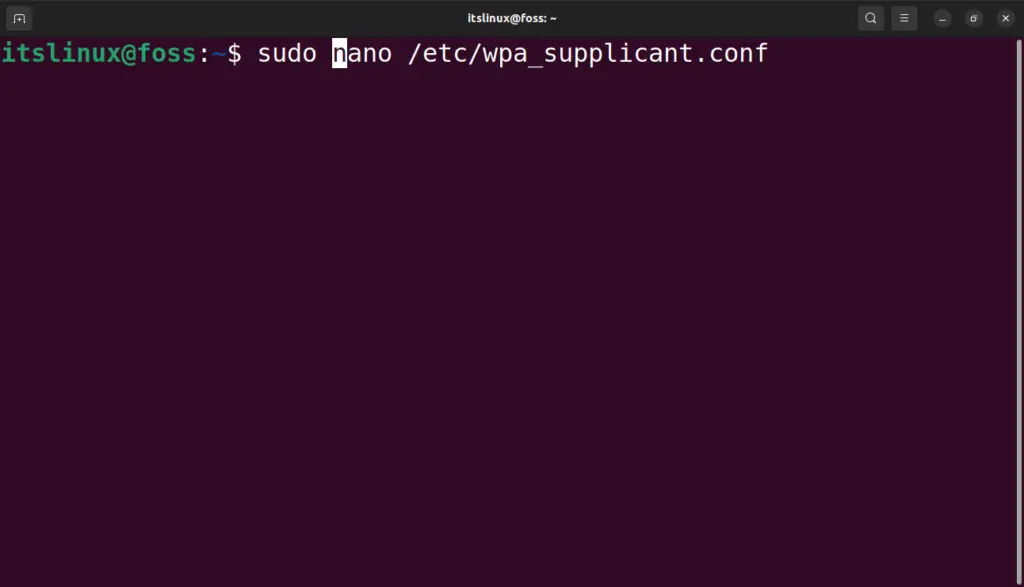
Sometimes, the network interfaces are hidden and are not shown in the scanning. To connect with such a hidden interface, you must make some amendments to the configuration file of the WPA_Supplicant. Open the configuration file of the WPA_Supplicant using the text editor:
$ sudo nano /etc/wpa_supplicant.conf
When the file is opened, copy and paste the script mentioned below:
network={
        ssid="<Essid>"
        #psk=”<Password>”
        psk="<Encrypted_key>"
}
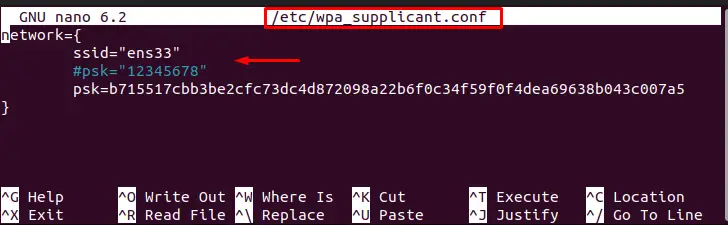
In the above script, the hidden network name and password are provided. In our case, the network interface name is “ens33”, and the password is “12345678”.
Save and exit the editor using the shortcut keys CTRL+S and CTRL+X, respectively.
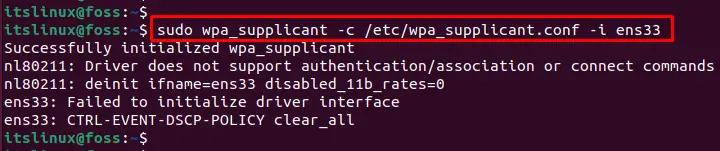
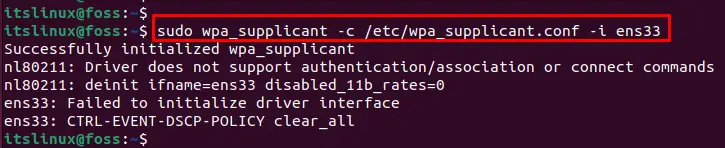
Then connect to the hidden network by using the network provided in the configuration file using the “c” option and the interface name “ens33” with the “i” option:
$ sudo wpa_supplicant -c /etc/wpa_supplicant.conf -i ens33
Configuration of WPA_Supplicant to Connect With an Unsecure Network
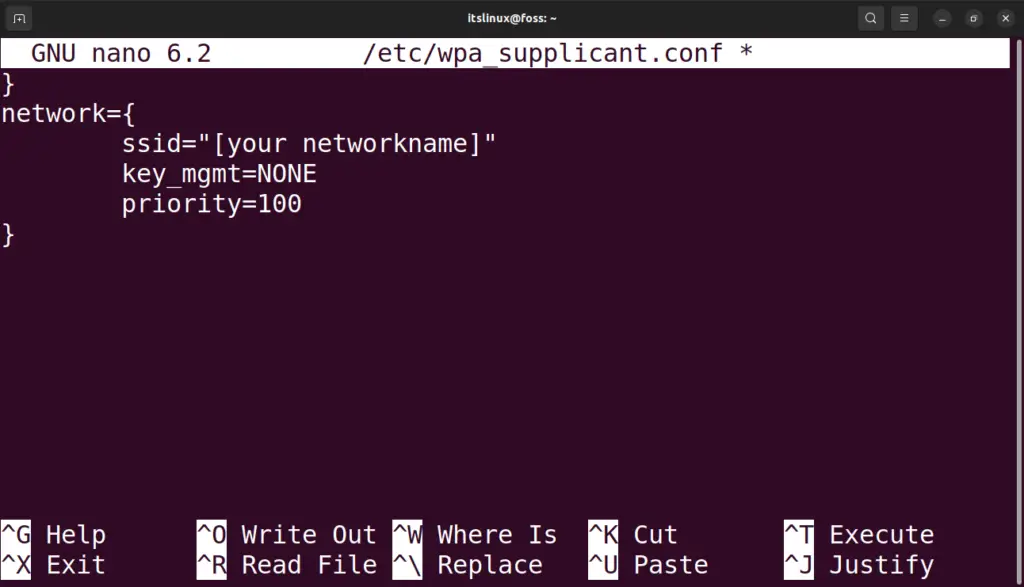
The unsecured networks are those which can be connected without providing any authentication keys. To connect with such networks, copy and paste the script mentioned below in the configuration file of WPA_Supplicant:
}
network={
        ssid="[your networkname]"
        key_mgmt=NONE
        priority=100
}
The “key_mgmt” is a key management protocol whose value is zero because users do not have authenticated key management protocols. We have assigned the 100 value to the “priority” variable in the WPA_Supplicant file, so it will connect to the desired network as soon as possible:
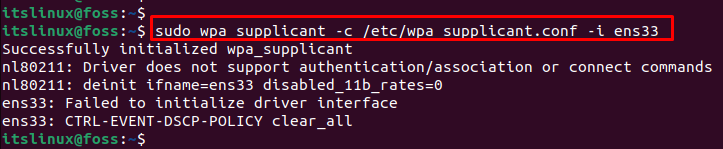
Save the file and reload the connection by running the command:
$ sudo wpa_supplicant -c /etc/wpa_supplicant.conf -i ens33
In our case, the network interface name “ens33”.
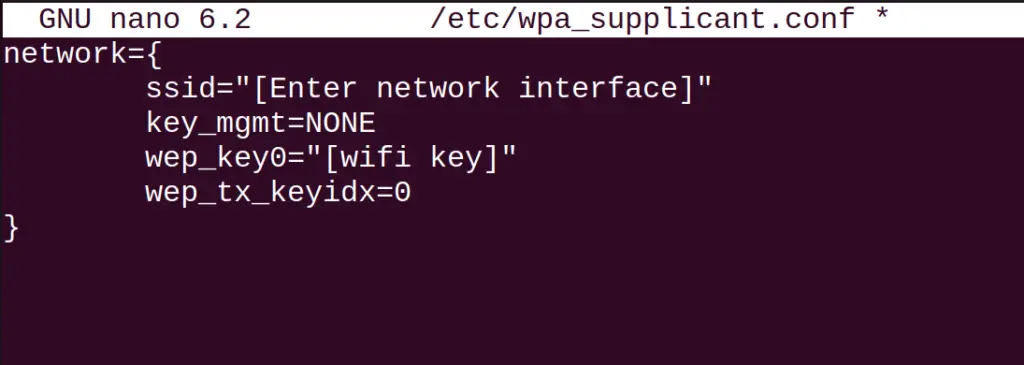
Configuration of WPA_Supplicant to Connect with WEP Routers
One of the oldest Wi-Fi connections is WEP (Wired Encrypted Protocol) which is used to establish a secure private internet connection between the machine and network. To connect with the WEP routers, provide the “SSID” name with the authentication password:
network={
        ssid="[Enter network interface]"
        key_mgmt=NONE
        wep_key0="[wifi key]"
        wep_tx_keyidx=0
}
Again save the file and reload the connection by running the command. In our case, the network interface name “ens33”:
How to Auto Connect on Startup the Machine?
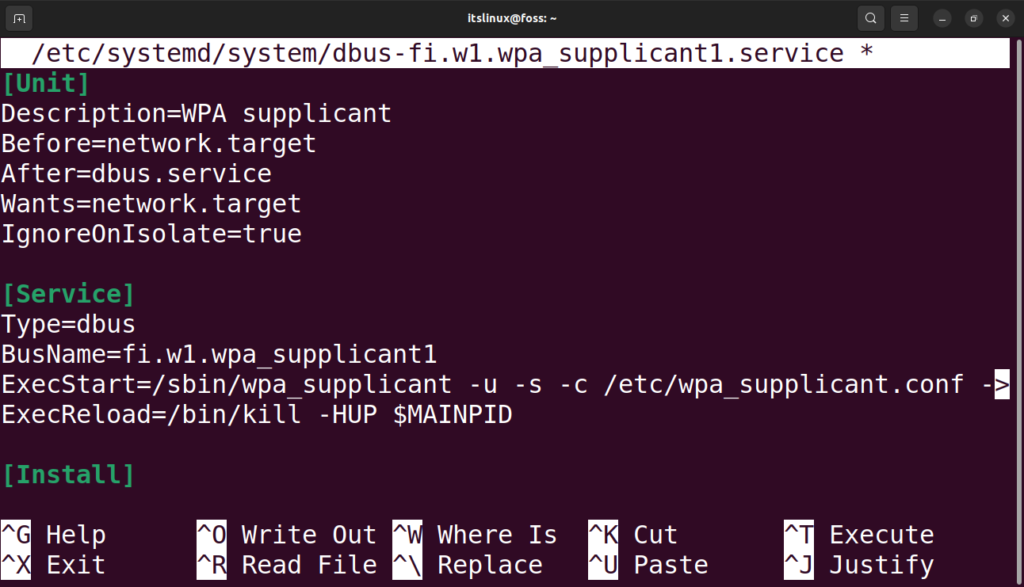
We can make the settings such that the WPA_Supplicant auto connects to the saved network when the machine is turned on. To make such amendments, open the service file of WPA_Supplicant using the command:
$ sudo nano /etc/systemd/system/dbus-fi.w1.wpa_supplicant1.service
When the file is opened, find the “Service” section:
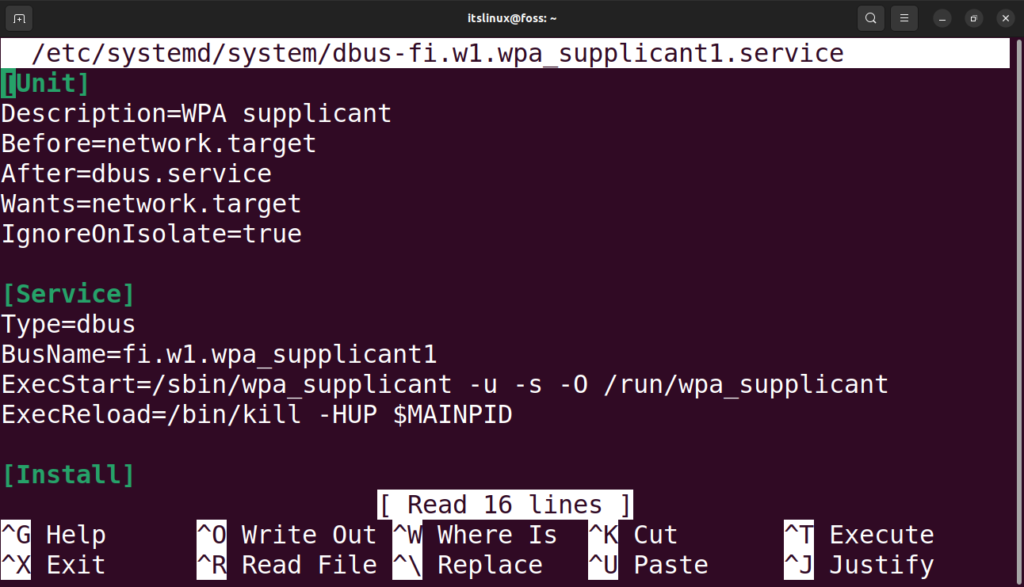
In the service section, find the line:
ExecStart=/sbin/wpa_supplicant -u -s -0 /run/wpa_supplicant
Replace it with the below-mentioned line:
ExecStart=/sbin/wpa_supplicant -u -s -c /etc/wpa_supplicant.conf -i wlp1s0
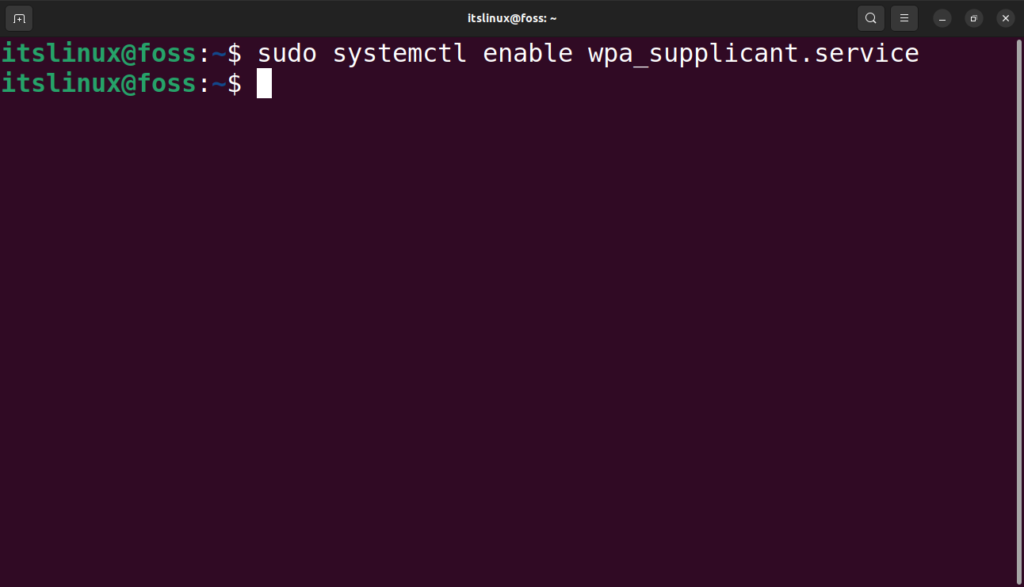
Then restart the service after saving and closing the service configuration file of WPA_Supplicant. Reload the wpa_service file using the command:
$ sudo systemctl enable wpa_supplicant.service
That’s all about the usage of the WPA_Supplicant on Linux.
Conclusion
In Linux, use the “WPA_Supplicant” to connect with the Wi-Fi networks using the terminal. The connection can be established with hidden networks, unsecured networks, and WEP routers as well. In this blog, the usage of the WPA_Supplicant has been explained to connect with different networks. Also, we have explained the configuration of the WPA_Supplicant to connect the network interface on the startup of the machine.
