Apache Tomcat server is a free and cross-platform web-based server. It is used by Java developers and engineers to develop Java-based applications. The features like Server monitoring, function clustering, and replication have made the Apache Tomcat server very famous.
This descriptive write-up will provide you with a deep knowledge to install Apache Tomcat Server on Ubuntu 22.04.
How to install Apache Tomcat Server on Ubuntu 22.04?
Apache Tomcat server is a web-based server, used to create and maintain java based applications. To install Tomcat on Ubuntu 22.04 LTS, use the following procedure one by one.
Step 1: Update system repository
First, update the system’s core repository to obtain the latest packages. For this purpose use the following command in the terminal:
$ sudo apt update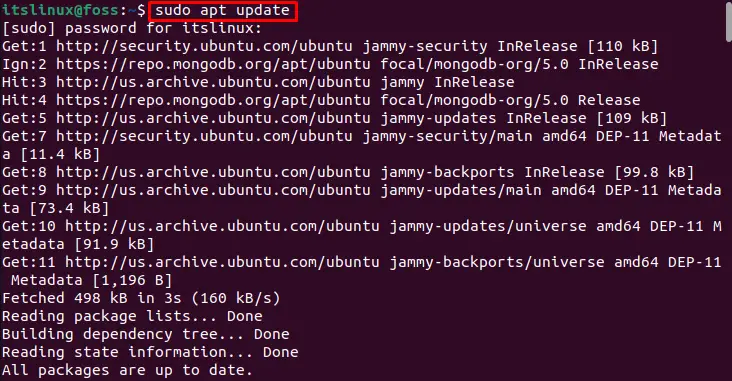
All the packages are up to date.
Step 2: Install java
Tomcat is a Java-based server, therefore before installing Apache Tomcat, you should install Java. To do this, type and run the following command in the terminal:
$ sudo apt install default-jdk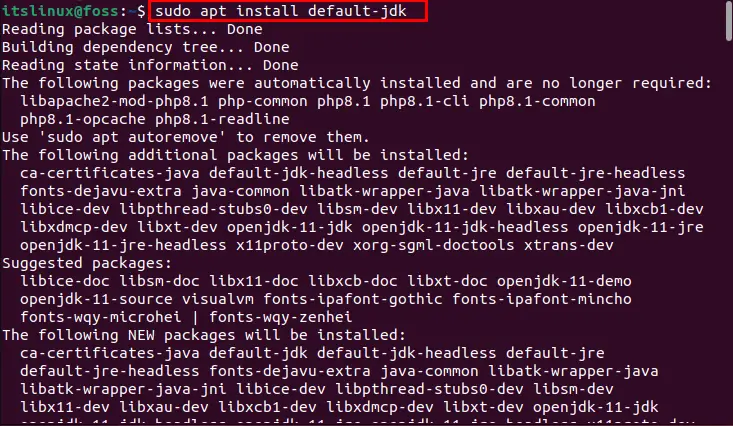
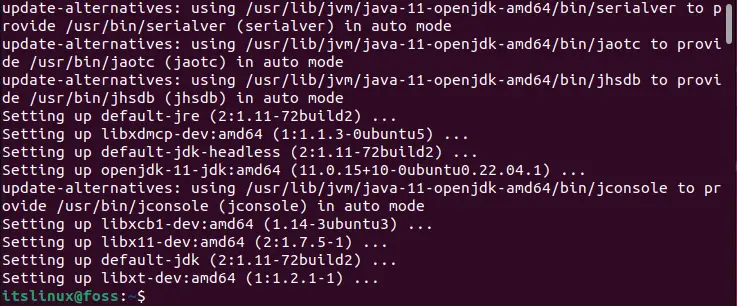
Java has been installed successfully.
Step 3: Download Apache Tomcat
After the prerequisite installation, you can download the Apache Tomcat .tar file from the official website. For this purpose use the following command in terminal:
$ wget https://dlcdn.apache.org/tomcat/tomcat-10/v10.0.22/bin/apache-tomcat-10.0.22.tar.gz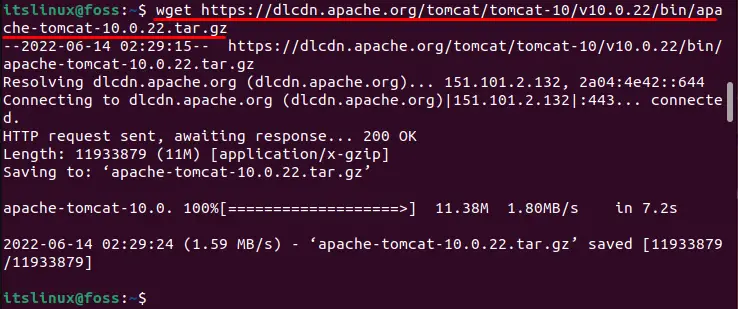
Apache Tomcat is downloaded successfully.
Step 4: Extract the .tar File of Tomcat
To extract the downloaded .tar file, use the following extraction command:
$ sudo tar xzvf apache-tomcat-10*tar.gz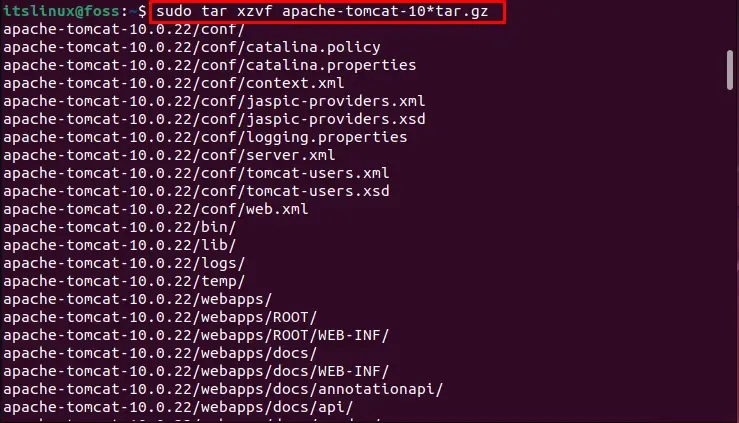
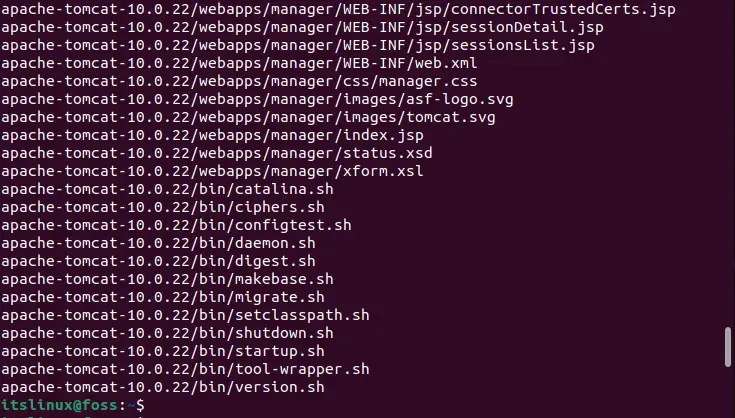
The .tar file of Tomcat is extracted.
The installation of the Tomcat is completed. Let’s head over to its configuration.
How to configure Apache Tomcat Server on Ubuntu 22.04?
Before using the Tomcat, you need to configure the Tomcat service. For this purpose, the step-by-step process is provided as follows:
Step 1: Create User
First, you should create a user into a nano editor. For this purpose, use the following command:
$ sudo nano apache-tomcat-10.0.22/conf/tomcat-users.xmlAnd add the following code,
<role rolename="tomcat"/>
  <role rolename="role1"/>
  <user username="tomcat" password="<must-be-changed>" roles="tomcat"/>
  <user username="both" password="<must-be-changed>" roles="tomcat,role1"/>
  <user username="role1" password="<must-be-changed>" roles="role1"/>
It will show the following interface.
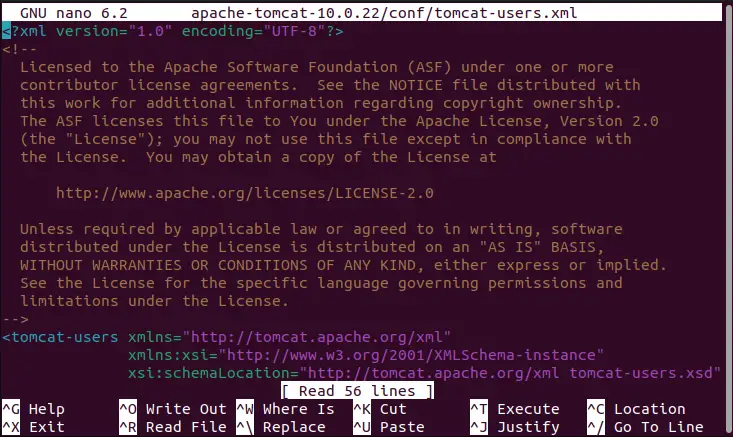
A user is created successfully.
Step 2: Grant the ownership and executable permission
Run the following commands to grant permission for Tomcat files.
$ sudo chown -R tomcat:tomcat /opt/tomcat/
$ sudo chmod -R u+x /opt/tomcat/bin
The ownership and the permission of the Tomcat server is granted.
Step 3: Configure Tomcat Service
To configure the Tomcat service, find the Java location. For this purpose,execute the following command:
$ sudo update-java-alternatives -l
Now, create a systemd file of Tomcat service using the following command:
$ sudo nano /etc/systemd/system/tomcat.serviceAnd add the following code
[Unit]
Description=Tomcat
After=network.target

[Service]
Type=forking

User=tomcat
Group=tomcat

Environment="JAVA_HOME=/usr/lib/jvm/java-1.11.0-openjdk-amd64"
Environment="JAVA_OPTS=-Djava.security.egd=file:///dev/urandom"
Environment="CATALINA_BASE=/opt/tomcat"
Environment="CATALINA_HOME=/opt/tomcat"
Environment="CATALINA_PID=/opt/tomcat/temp/tomcat.pid"
Environment="CATALINA_OPTS=-Xms512M -Xmx1024M -server -XX:+UseParallelGC"

ExecStart=/opt/tomcat/bin/startup.sh
ExecStop=/opt/tomcat/bin/shutdown.sh

RestartSec=10
Restart=always

[Install]
WantedBy=multi-user.target
Once the changes are made, press “CTRL+S” and “CTRL+X” to save the changes and come out of the nano editor.
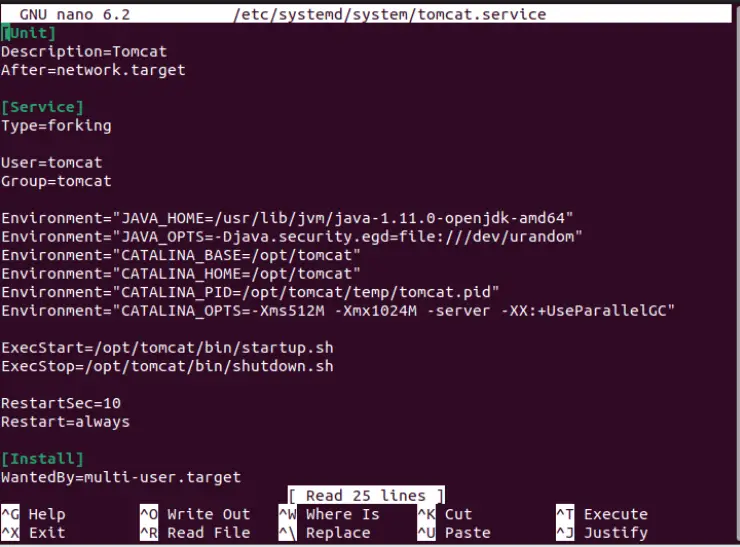
The system file is created.
Note: Make sure you have entered the Java location correctly.
Step 4: Enable Tomcat service
To automatically start the Tomcat Server after a system reboot, you should enable the Tomcat service. To enable it, run the following command:
$ sudo systemctl enable tomcat.service
Tomcat service has been enabled on the system.
Step 5: Check Status of Apache Tomcat services
To check the status of the Apache Tomcat service, run the given command as follows:
$ sudo systemctl status tomcat.service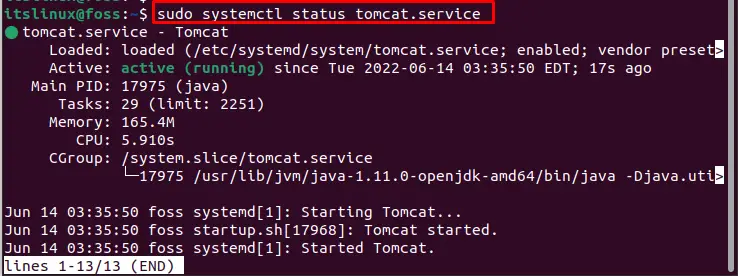
The status showed that the Tomcat server is currently active.
Step 6: Check the default port of the Tomcat server
The 8080 is the default port of the Tomcat server. Type and run the below-mentioned command to ensure that the port 8080 is listening to all the connections:
$ ss -ltn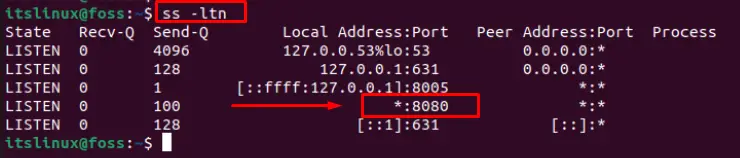
The “*” shows that it listens to all the incoming connections.
Step 7: Configure Firewall for Tomcat
Open the port to receive any outcomes for the Tomcat server related to source port 8080. For this, run the ufw command as follows:
$ sudo ufw allow from any to any port 8080 proto tcp
Rules are added to configure the firewall.
Step 8: Open Apache Tomcat Server
To open the Apache Tomcat Server, use the following URL in the browser. It will open the Apache Tomcat Server’s web interface.
http://127.0.0.1:8080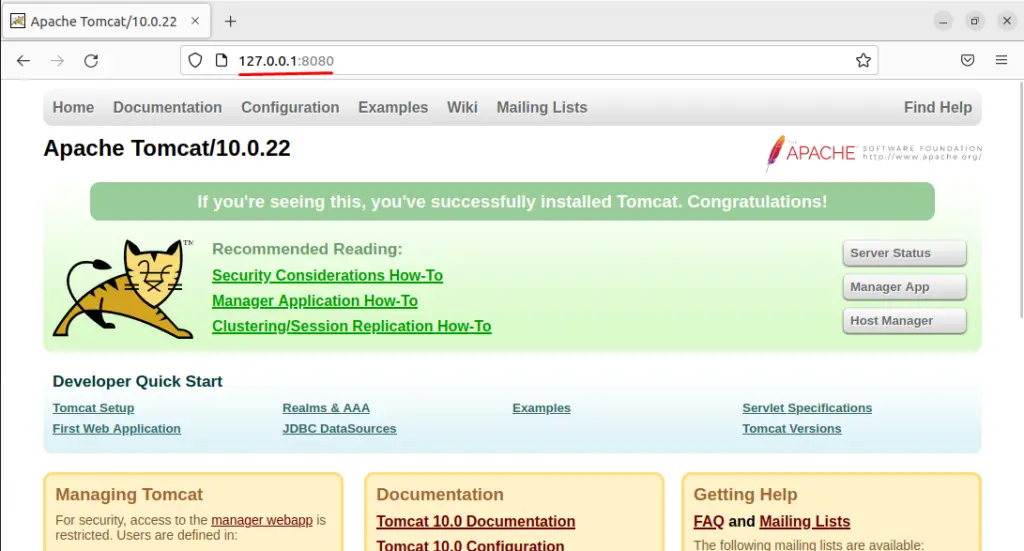
Click on the Manager App to sign in to the Apache Tomcat Server.

The login window will open to add the username and password as follows:
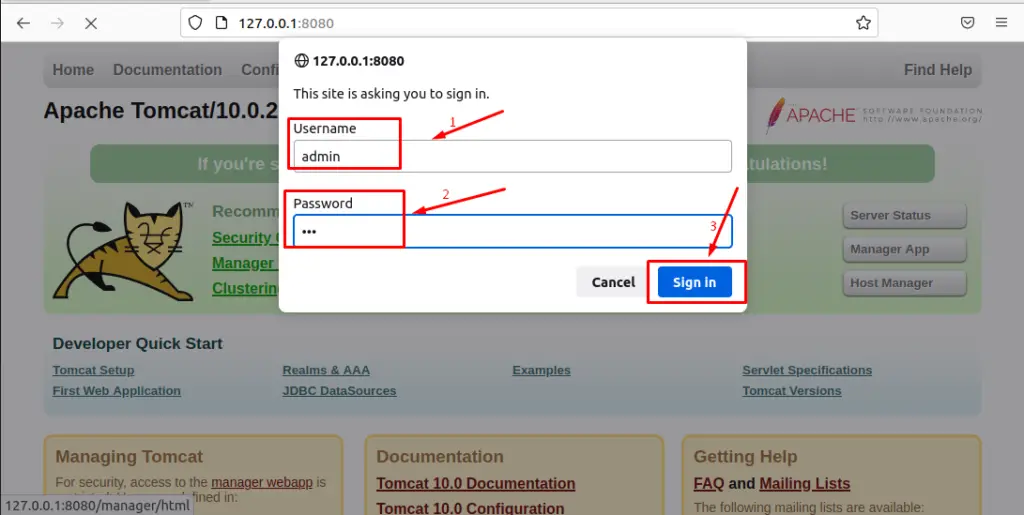
You will successfully login to Apache Tomcat Server.
Congratulations! You have learned to Install Apache Tomcat Server on Ubuntu 22.04.
Conclusion
Apache Tomcat can be installed on Ubuntu 22.04 by downloading the latest version from the official page of Apache Tomcat. Apache Tomcat server is a very popular web server used mostly by Java developers to create and maintain java based applications. This writeup demonstrated the detailed process to install Apache Tomcat Server on Ubuntu 22.04 LTS. Moreover, the configuration process of the Tomcat server is also provided.

TUTORIALS ON LINUX, PROGRAMMING & TECHNOLOGY