
Network Time Protocol keeps the time of your machine synchronized in real-time. Sometimes, the machine’s time drifts out from real-time. This time can be manually or automatically adjusted by connecting the machine to an internet connection. The NTP updates the time on every reboot of the machine with an internet connection.
In this blog, different commands to synchronize the time with the NTP command will be explained, and the blog contents are:
- How to Enable the Synchronization of the NTP in Linux?
- How to Install the NTP in Linux?
- How to Manage the NTP on Linux?
- How to Add New NTP Servers in Other Regions?
- How to Implement NTP on Linux Using Chrony?
- How to Uninstall NTP on Ubuntu?
How to Enable the Synchronization of the NTP in Linux?
In most machines, the NTP synchronization is enabled, but it may be inactive. We can manage the time with the “timedatectl” command in Linux, which displays the status of the time and date.
Check the Status of NTP Time
To find the status of NTP time, use the “timedatectl” command that represents the current status of the NTP service:
$ timedatectl
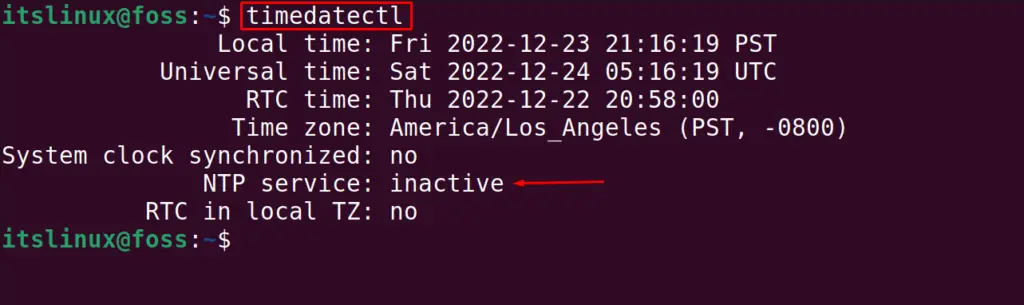
The output shows that the current status of the NTP service is inactive status.
Enable the NTP Service
We can see that the NTP service is inactive, which can be enabled by running the command:
$ sudo timedatectl set-ntp true

In this way, the NTP service has been active.
To confirm the synchronization of the NTP, again use the command:
$ timedatectl
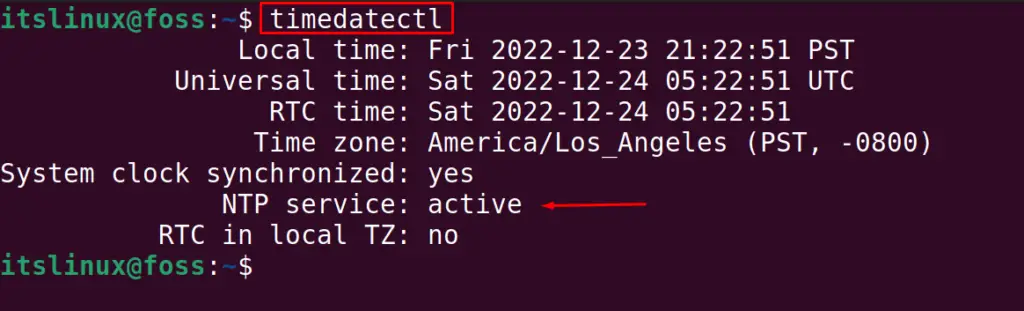
Now, we can see that the timedatectl is “active”. In the above case, we have enabled the NTP using the systemd command, but if the systemd is not installed on the computer, we can enable it with the methods explained in the next section.
How to Install the NTP in Linux?
In Linux, the NTP protocol can be installed by running the commands. In our case, use the “APT” package manager to install in Debian-based Linux distribution:
$ sudo apt install ntp -y    # Ubuntu, LinuxMint and Debian
$ sudo dnf install ntp        # Fedora
$ sudo yum install ntp      # Red-hat/CentOS
$ sudo pacman -S ntp       # Arch
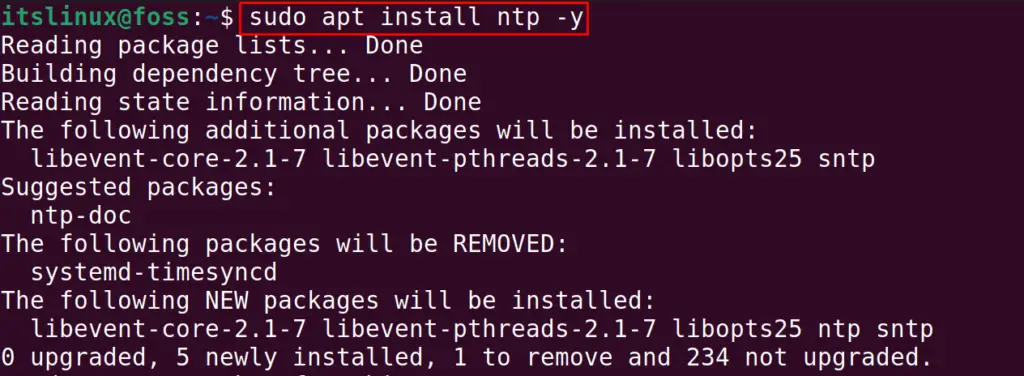
In this way, the NTP protocol has been installed on Ubuntu.
How to Manage the NTP on Linux?
To manage the NTP protocols in Linux, we will use different commands, which are explained in detail.
Start the NTP
To start the NTP protocol, use the “systemctl” command with the “start” option by specifying the “ntp” as below::
$ sudo systemctl start ntp

The output shows that the NTP protocol has been started.
Enable the NTP
To enable the start service of the NTP, run the “systemctl” command with the “enable” option in the terminal:
$ sudo systemctl enable ntp
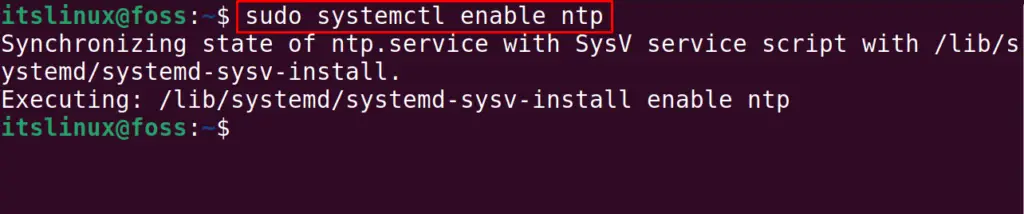
The output shows that the ntp server has been enabled in the system.
Check Status of NTP
After starting and enabling the NTP service; we will find out the status of the NTP via the command:
$ systemctl status ntp
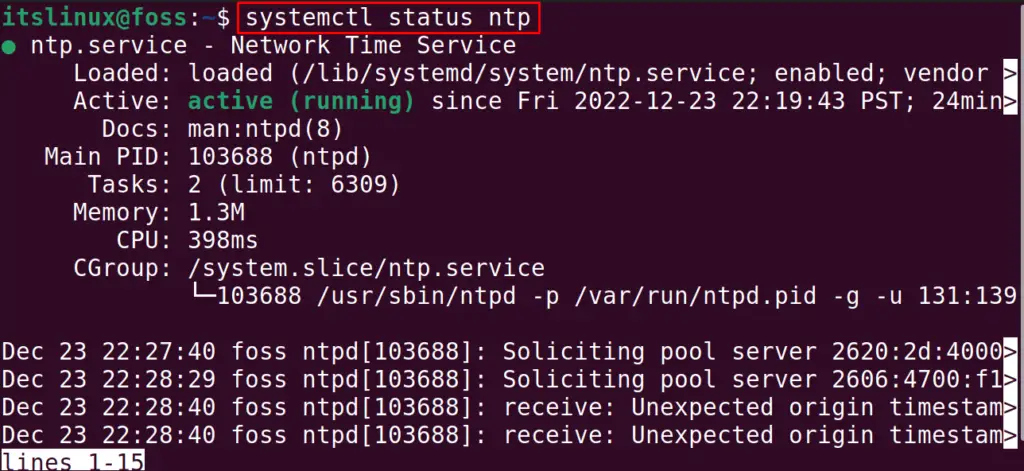
The output confirms that services are in an active state.
Check the NTP Statistics
To find out the time duration before which the time is synchronized, display the stats of the NTP using the “ntpstat” command:
$ ntpstat

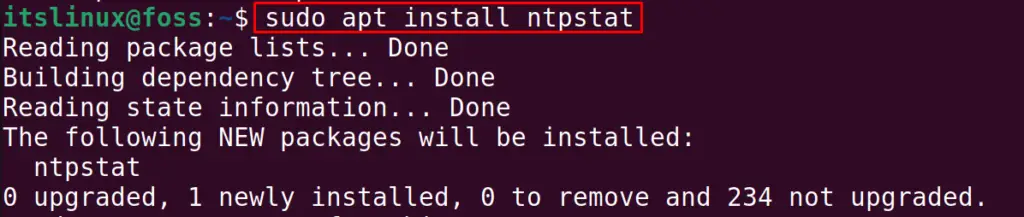
Note: If the “ntpstat” is not installed in the computer, then it can be installed with the execution of the command:
For Debian/Ubuntu:
$ sudo apt install ntp               #Ubuntu, LinuxMint, and Debian
$ sudo yum install ntp             #CentOS
$ sudo dnf install ntp               #Fedora
$ sudo pacman -S ntp              #Arch
$ sudo apt install ntpstat
For CentOS/RHEL:
$ sudo yum install ntp
For Fedora:
$ sudo dnf install ntp
For Arch:
$ sudo pacman -S install ntp
In this way, users can install the ntp in the system.
Monitor the NTP Daemon
To monitor the service of the NTP, use the “ntpq” command with the “p” option:
$ ntpq -p
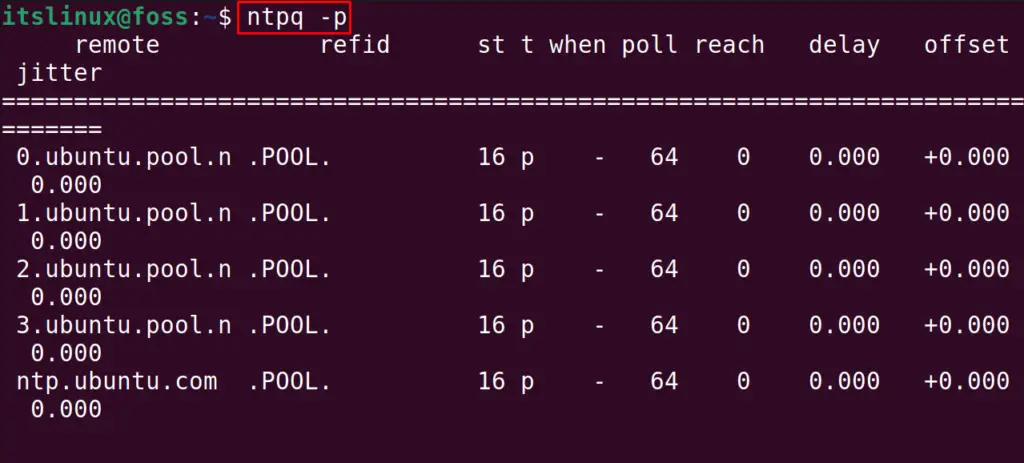
The output shows the available ntp servers in the terminal.
How to Add New NTP Servers in other Regions?
The configuration file of the NTP is located in the /etc/ directory, which can be used to modify the changes in the NTP protocol. To make the changes in the NTP protocol, open the configuration file using the text editor; we are using the nano text editor:
$ sudo nano /etc/ntp.conf

When the file is opened, you will find out different servers which are synchronized with the time:
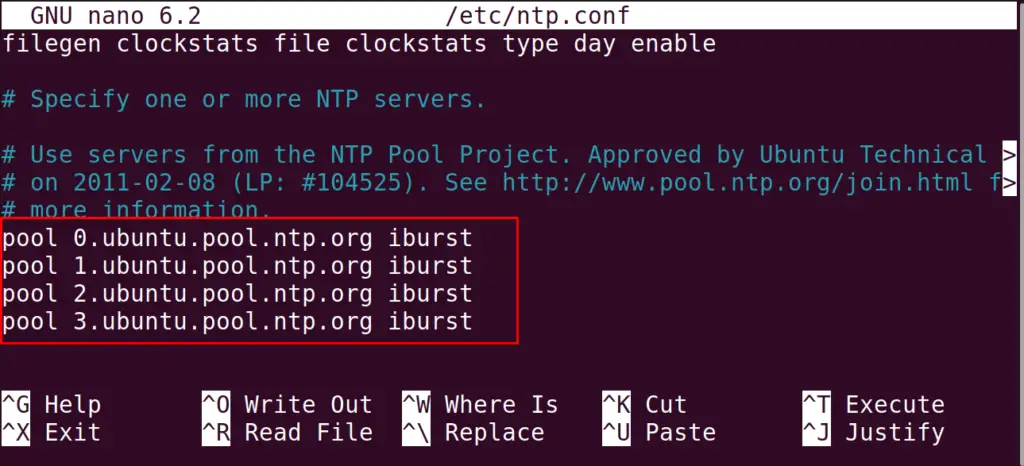
These are the default time with which the time is synchronized, but if you want to add more servers other than the default one, then you have to open the link:
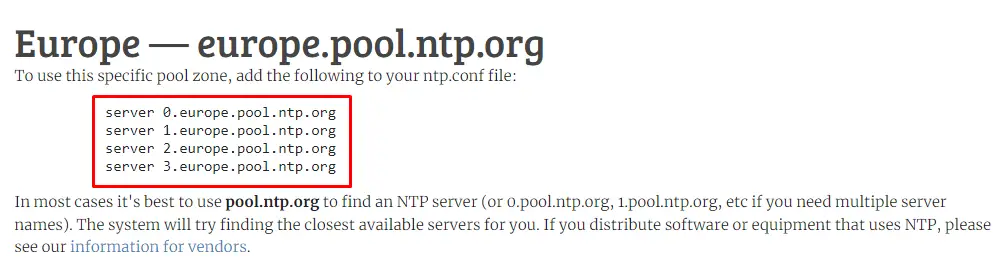
From this, you can add the lines in the configuration file of the NTP server.
How to Implement NTP on Linux Using Chrony?
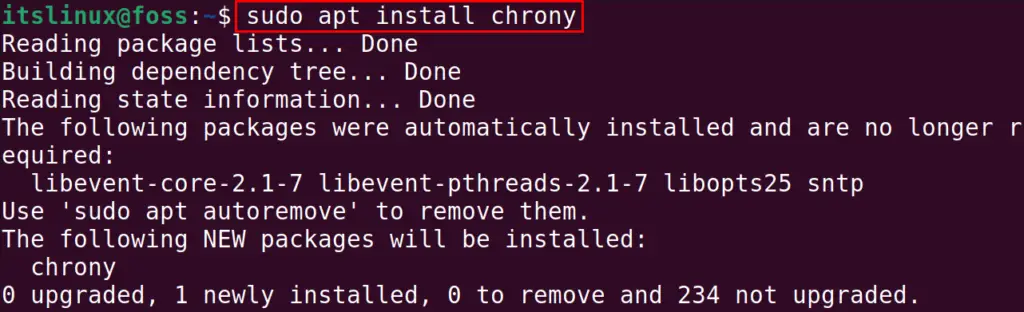
The Chorny is also used to synchronize the time with the NTP server, the GPS, or manually using the wristwatch. To use the “Chrony” package for synchronizing the NTP, we have to install it on Ubuntu:
$ sudo apt install chrony          #Ubuntu, LinuxMint, and Debian
$ sudo yum install chrony        #CentOS
$ sudo dnf install chrony          #Fedora
Enable the “Chrony”
After the installation, enable the “Chrony” with the “systemctl” command with the “enable” option:
$ systemctl enable --now chrony

The output shows that the “Chrony” has been enabled.
Check the Status of NTP Server
When the “Chrony” is enabled, confirm that the service is running and enables using the command:
$ systemctl status chrony

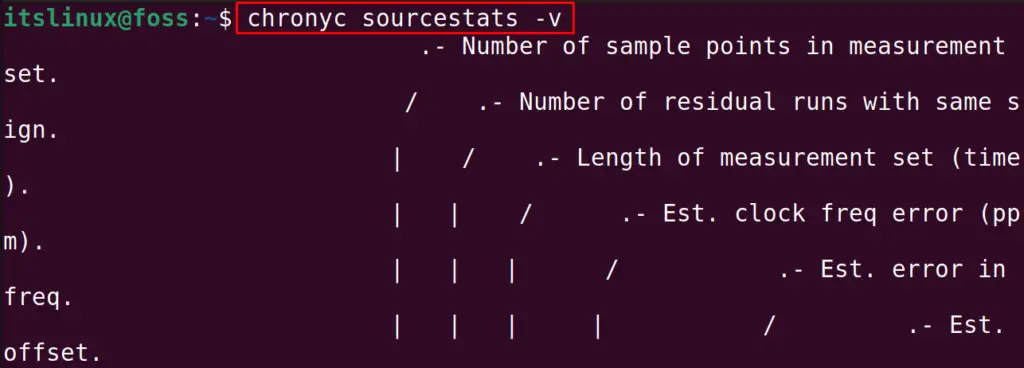
Then run the command to find out the details of the “Chrony” with the command:
$ chronyc sourcestats -v
Similarly, we can find out the computer with the time is synchronized:
$ chronyc tracking
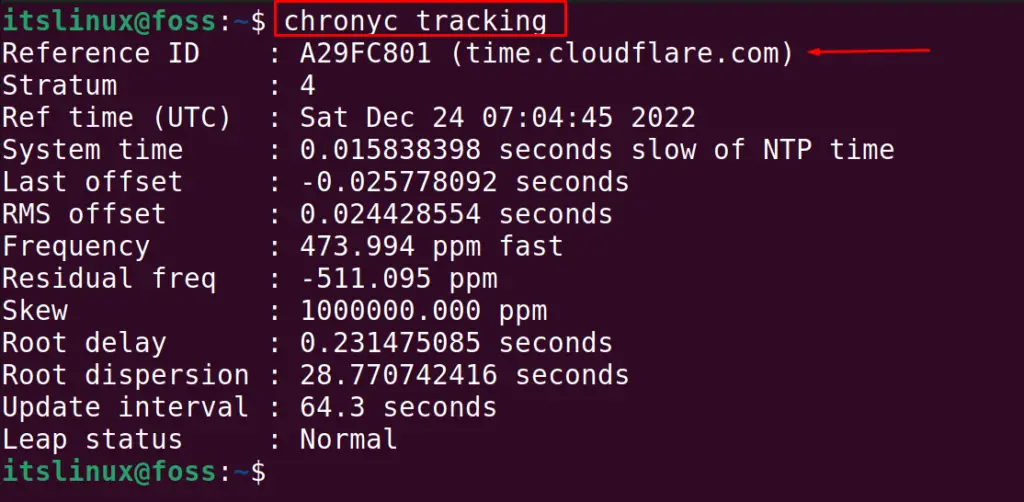
The output shows that the computer is synchronized with the “time.cloudflare.com”.
Conclusion
To sync the time with the NTP server in Linux, use the “ntp” or “chrony” commands. It synchronizes the computer with the NTP server. It is manually or automatically adjusted by connecting the machine to an internet connection.
In this blog, different commands have been explained to use the NTP server for synchronizing the time in Linux.
