In Linux, bootable USBs are created to install or get the Live support the Operating System. The Live USB support of any operating system allows you to run a single session of that operating system. Once you restart your PC, all the changes will be lost that you have made.
This article will demonstrate the method to create the bootable Linux Mint Live USB Drive.
- Prerequisites: Download the ISO File of Linux Mint
- Method 1: Through Startup Disk
- Method 2: Through dd Utility (Command Line)
- Method 3: Through Belena Etcher
- Run the Linux Mint Live
Prerequisites: Download the ISO File of Linux Mint
In all the upcoming methods, the ISO file of the Linux Mint is necessary to follow up the process. For this, just navigate to the Official Website of Mint and get the ISO.
Method 1: Create a Bootable Linux Mint Live USB Drive Through Startup Disk
The first method is the built-in method to create a USB drive bootable through the startup disk. The startup disk is the flash drive through which you can make your USB bootable, and it is available in the Linux operating systems.
Step 1: Launch Startup Disk
Open the applications menu, search for the Startup Disk tool and launch it:

Step 2: Browse the Linux Mint ISO File
Once you launch the startup disk, use the interface and browse your Linux Mint ISO file:
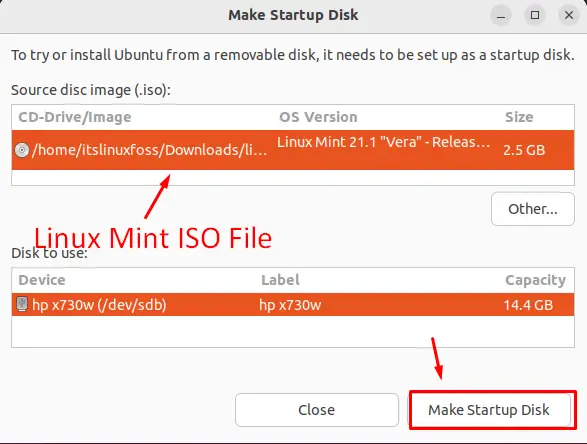
After that, click on the “Make Startup Disk” option.
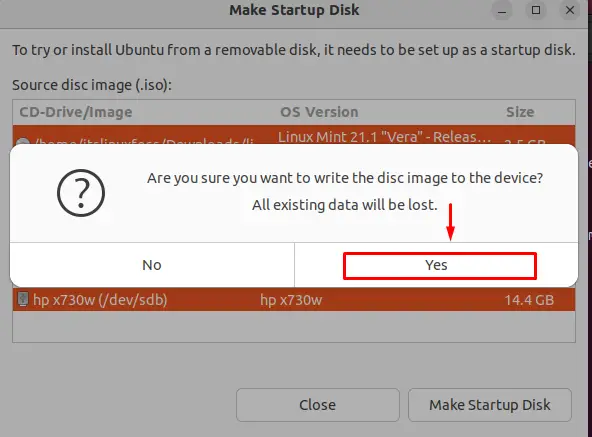
Step 3: Confirm the System Message
The system will display the warning message that all data in the USB will be lost; click on the “yes” option:
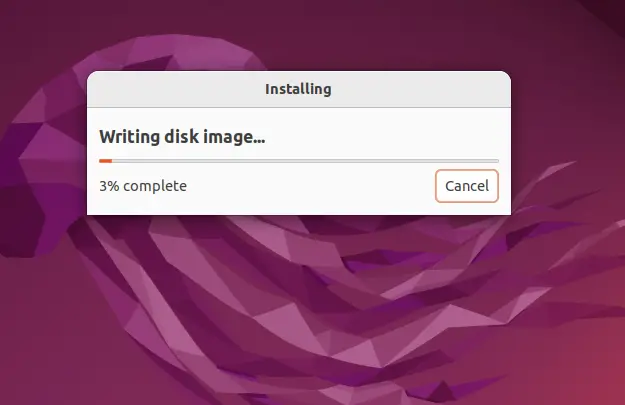
Once you confirm the message, the bootable process will be started:
The above process will take a little time to make the USB bootable. once it is completed, it will display the dialog message that insulation has been completed:
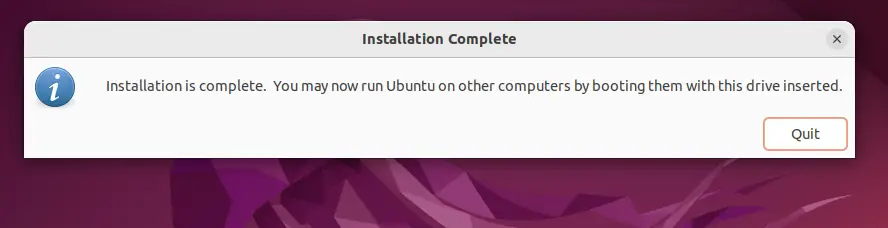
Your USB drive is bootable now with the Linux Mint operating system.
Method 2: Through dd Utility (Command Line)
The second way to make a bootable USB for Linux Mint is by using the utility, which is based on the command line interface. The dd is the utility to copy or convert files in the operating system. To make USB bootable through the dd utility, the following steps are carried out.
Step 1: List All Drives and Select Your USB
The first step is to list drives in the terminal using the “df” command and select the USB Drive as shown below:
$ df -hT
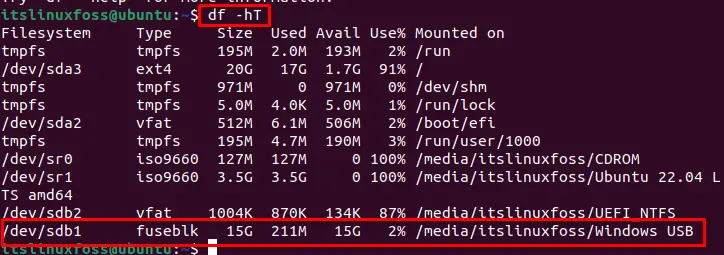
In our case, the USB is “/dev/sdb1”.
Step 2: Unmount the USB Drive
After that, unmount the USB drive using the unmount command:
$ sudo umount /media/itslinuxfoss/'Windows USB'

The selected drive has been unmounted.
Step 3: Boot the USB Drive
Now, using the dd utility, specify the ISO file in the “if” flag and device name (/dev/sdb1) in the “of” flag of the command. Make sure your the file is in the same directory in which you are executing the command:
$ sudo dd if=linuxmint-21.1-xfce-64bit.iso of=/dev/sdb1 bs=1M status=progress

After a little time, the device will be booted with Linux Mint USB drive.
Method 3: Through Belena Etcher
Another method to make USB bootable is using Belena Etcher, a third-party application. It is the most popular and frequently used tool in Linux. To make USB bootable through the Belena Etcher tool, the following steps are performed.
Step 1: Download and Install Belena Etcher
- Go to the Official Website of Belnena Etcher and download its “Appimage” file
- Then, make that “AppImage” executable using the command “sudo chmod +x path/of/appimage/file”, and you will be able to launch “Belena”.
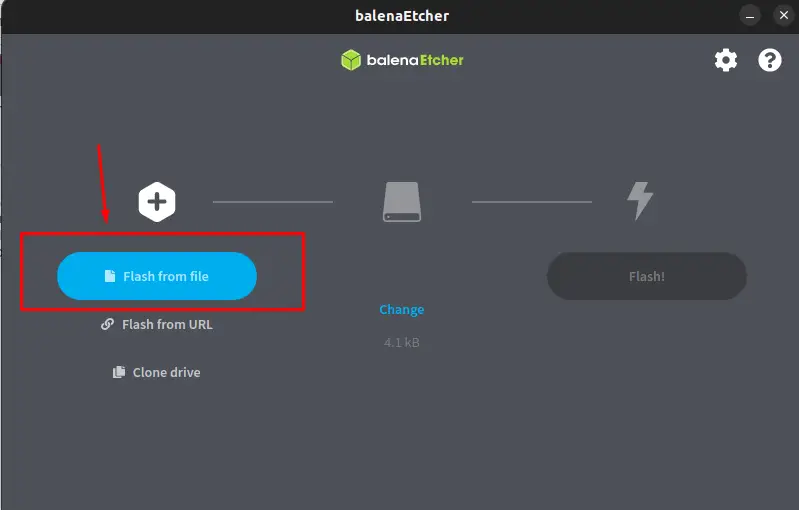
Step 2: Browse the Linux Mint ISO File
Once it is launched, click on the “Flash from file” and load the ISO file of Linux Mint:
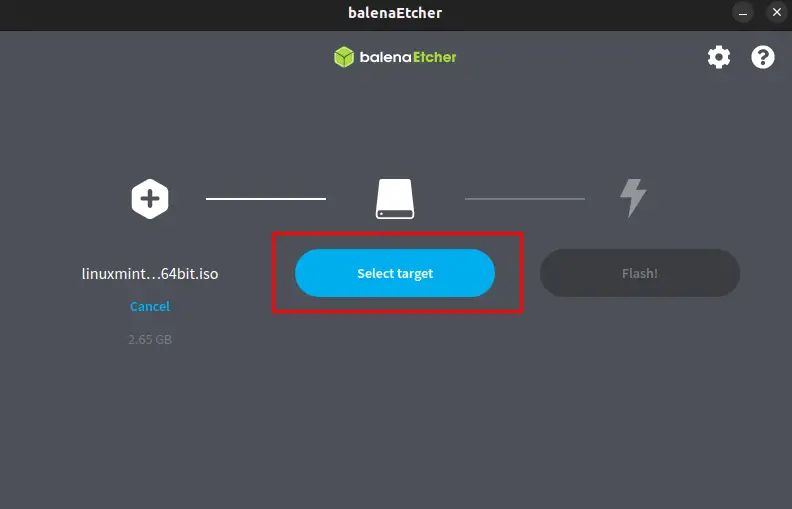
Step 3: Select the Target (USB)
After that, select the target (USB) to boot the Linux Mint in it:
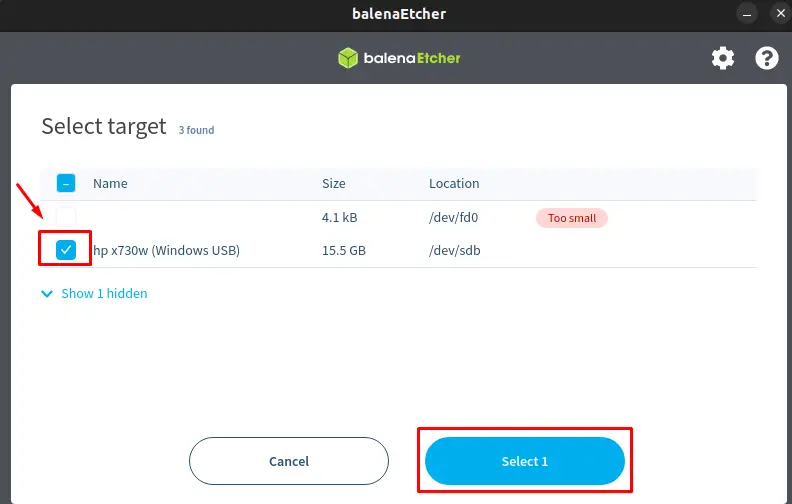
From the given interface, mark the checkbox of your USB and click on the “Select” button:
Step 4: Make USB Bootable
Now, the final step is to hit the “Flash” button and start the boot process:
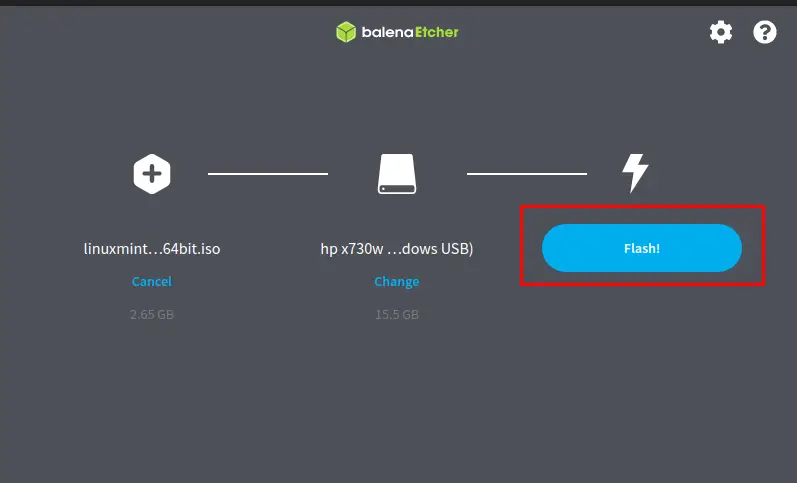
The boot process will begin and will take a little time to complete.
Verify the Result
Once the installation is completed, the following interface will appear in front of the user:
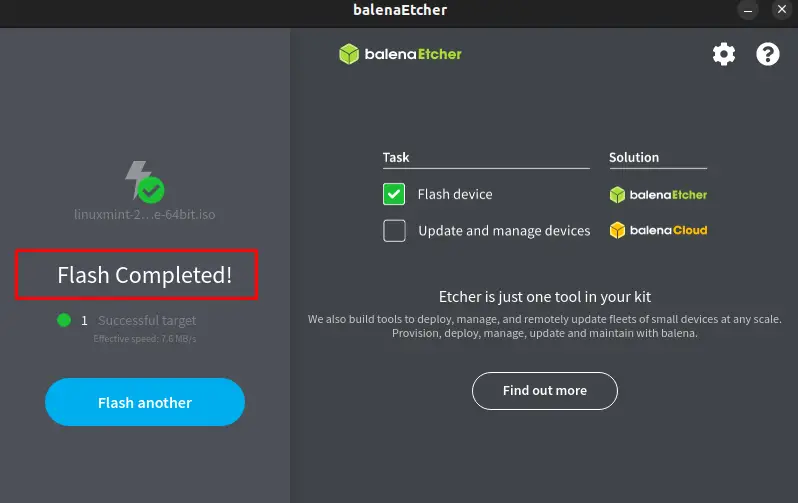
The device has been booted with the Linux Mint operating system.
How to Run the Linux Mint Live?
Once you have created the LinuxMint Live USB. Restart your pc, boot the operating system from the USB drive, and choose the Linux Mint operating system. In our case, the first option is considered as shown:

It will start the Live session of Linux Mint, and soon after the Desktop will appear in from of you as shown below:
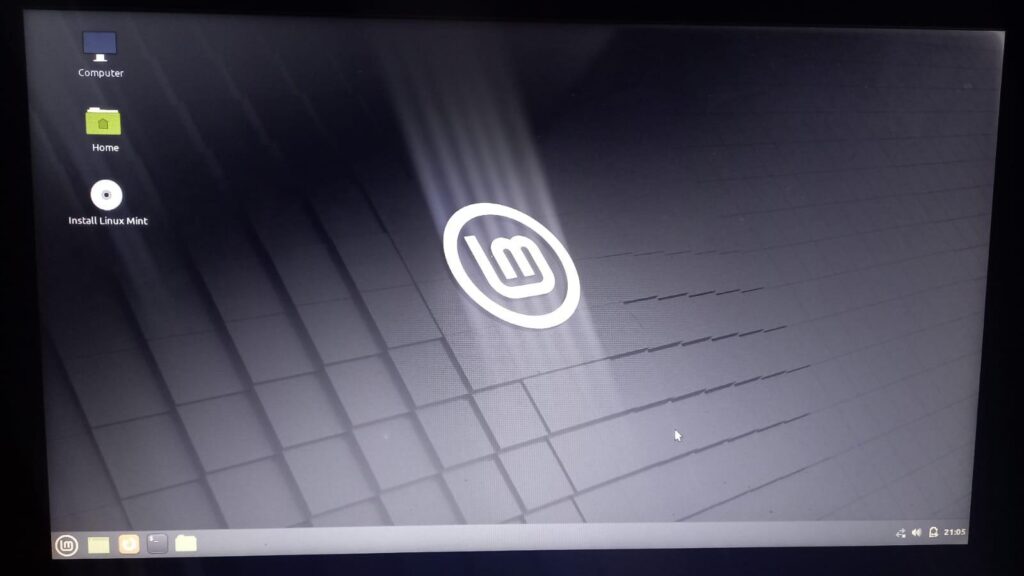
The Linux Mint Live is ready to use, and open the terminal to perform operations:
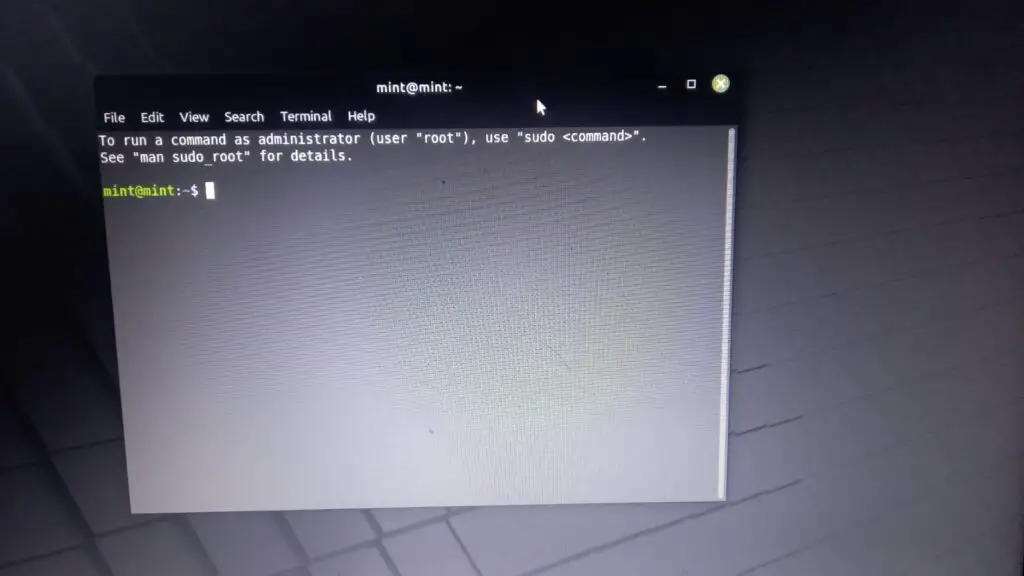
Note: The Live Mint session is temporary and every operation performed during the session will be lost after the reboot.
Conclusion
To create the Linux Mint Live USB drive, the user can utilize the startup disk, dd utility, or the Belena Etcher tool. Once the USB is ready, reboot your system and boot it with the respective USB to load the session. This write-up has illustrated the methods to create the bootable Linux Mint live USB drive.
