Shortcuts of the terminal help Debian users to launch the terminal by either pressing the shortcut keys or clicking on its icon. This will reduce the time of users in searching the terminal and launching it will enhance productivity.
Terminal is the common line interface in Debian and other Linux distributions. It is used to manage the applications by executing different commands. It is much more efficient to manage the computer and its files through the terminal instead of the graphical user interface.
This blog will demonstrate the method for the creation of the shortcut terminal on Debian 12. Also, it will explain different methods for opening the Terminal with the following outline:
- What is the Method to Create a Terminal’s Shortcut on Debian
- How to Create a Taskbar Shortcut for Terminal on Debian 12
- How to Open and Launch the Terminal on Debian
- Method 1: Open the Debian’s Terminal Using the GNOME Launcher
- Method 2: Open the Debian’s Terminal Using the Command
Let’s start the post with an understanding of the method for creating the shortcut of Terminal.
What is the Method to Create a Terminal’s Shortcut on Debian?
To create the shortcut of the terminal on Debian and other releases of it, follow the next-mentioned steps.
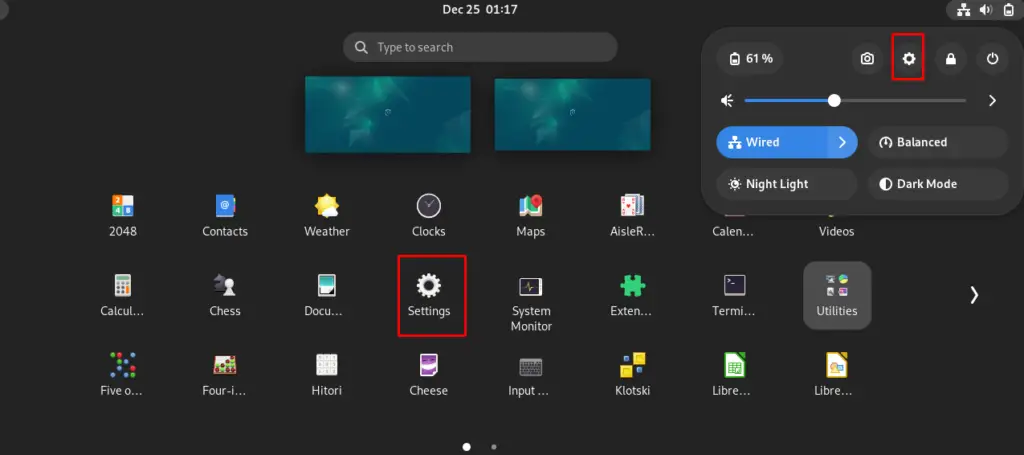
Step 1: Launch the Settings Menu
First launch the “Settings” either from the “Applications menu” or by clicking on the “Gear” icon as shown below:
Step 2: Click on the “View and Customize Shortcuts”
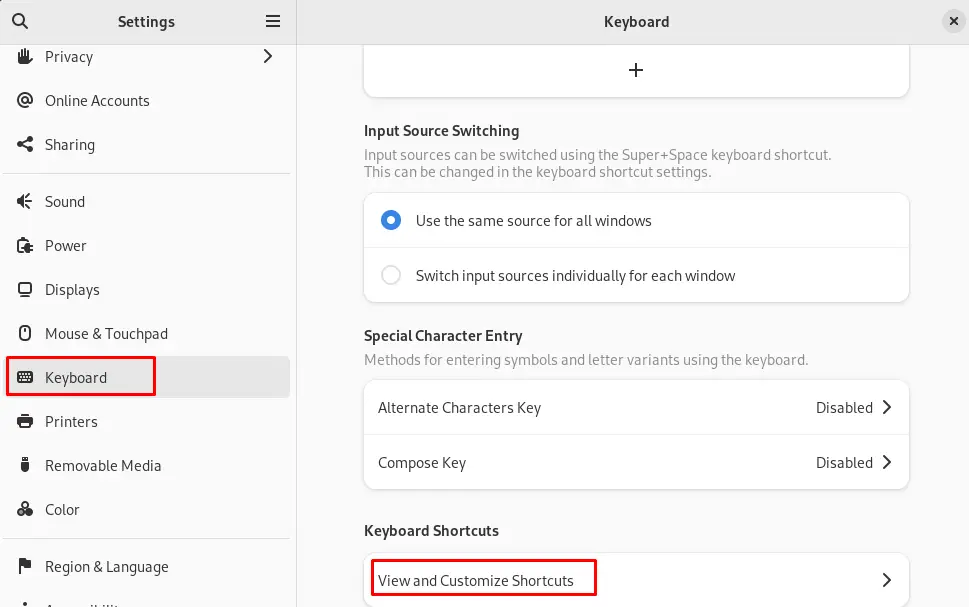
When the Settings menu is displayed, click on the “Keyboard” from the menu displayed on the right side and then click on the “View and Customize Shortcuts” option:
Step 3: Choose the “Custom Shortcuts” Option
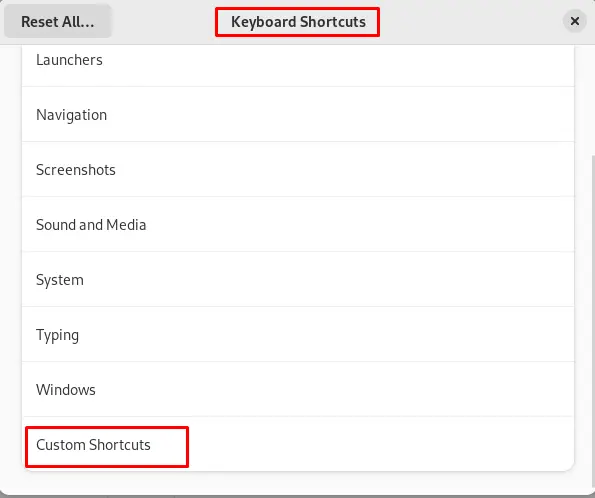
A window of the “Keyboard Shortcuts” will prompt on the screen, choose “Custom Shortcuts” by scrolling down the menu:
Step 4: Add a Custom Terminal Shortcut
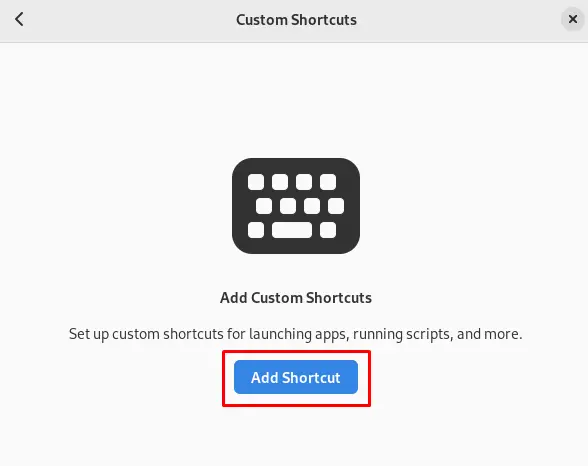
Now click on the “Add Shortcut” option for the creation of the custom terminal shortcut:
Step 5: Set the Shortcut
In this step, assign a new name for the “shortcut” as in our case, we are setting the name “Terminal”. The terminal is the default GNOME application, therefore, choose the “gnome-terminal” in the “Command” option:
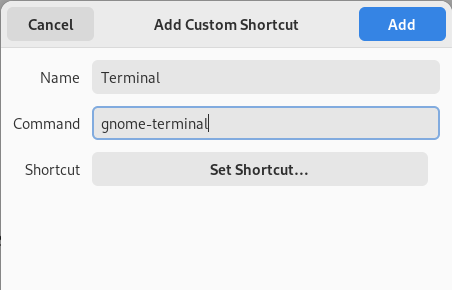
Finally, click on the “Set Shortcut” and press the combination of the keys that are supposed to be set as the shortcut. For instance, the combination of the CTRL+ALT+T keys is being set for the shortcut keys of Terminal:
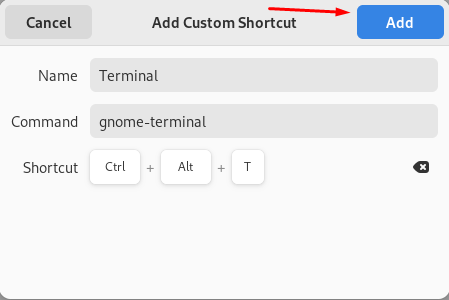
When everything is done, click on “Add” and close the Settings of Debian 12. Press the set shortcut keys to launch the terminal:

This is the validation that the shortcut of the terminal has been set successfully.
How to Create a Taskbar Shortcut for Terminal on Debian 12?
To create a shortcut of the “Terminal” on the taskbar, simply search for the terminal in the “GNOME Application’s menu” and drag it to the taskbar:
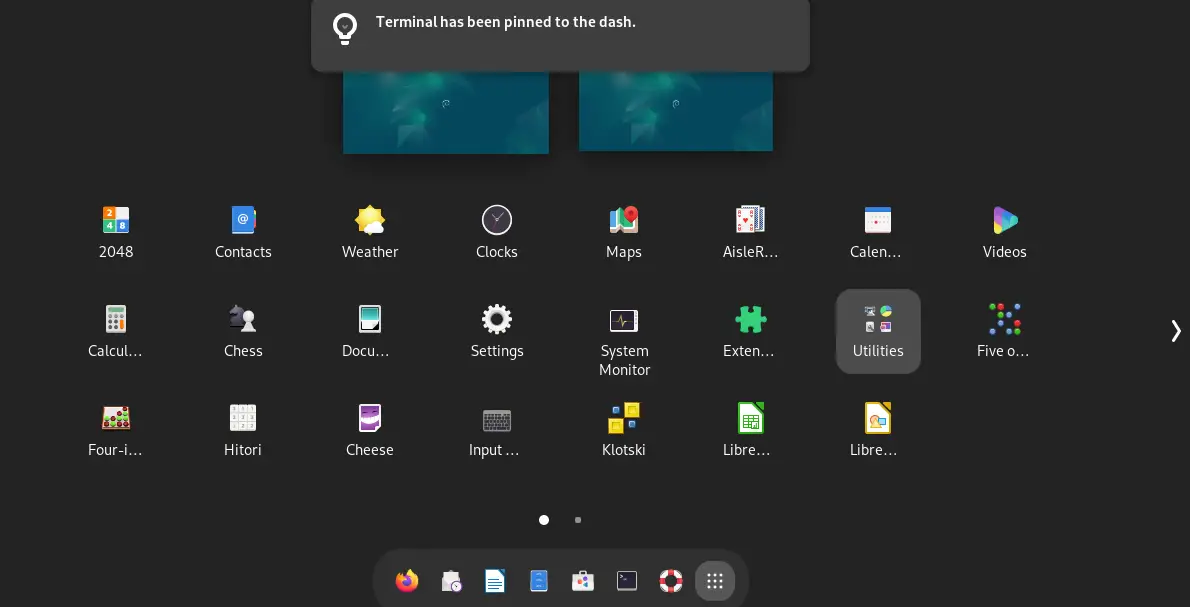
The shortcut of the Terminal has been created in the taskbar on Debian 12.
How to Open and Launch the Terminal on Debian?
There are various other methods to open the terminal on Debian 12. All these methods are explained individually in the next sections.
Method 1: Open the Debian’s Terminal Using the GNOME Launcher
Type the “terminal” in the search bar of the application’s menu of Debian 12:
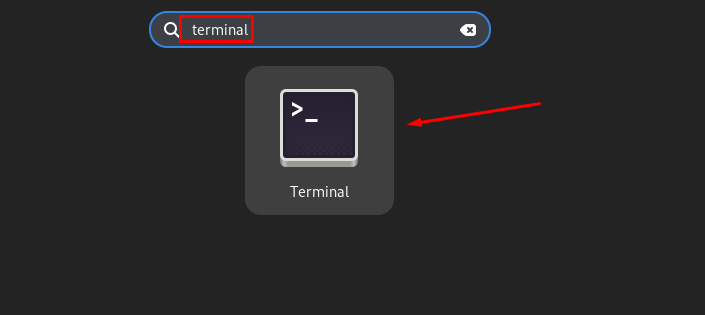
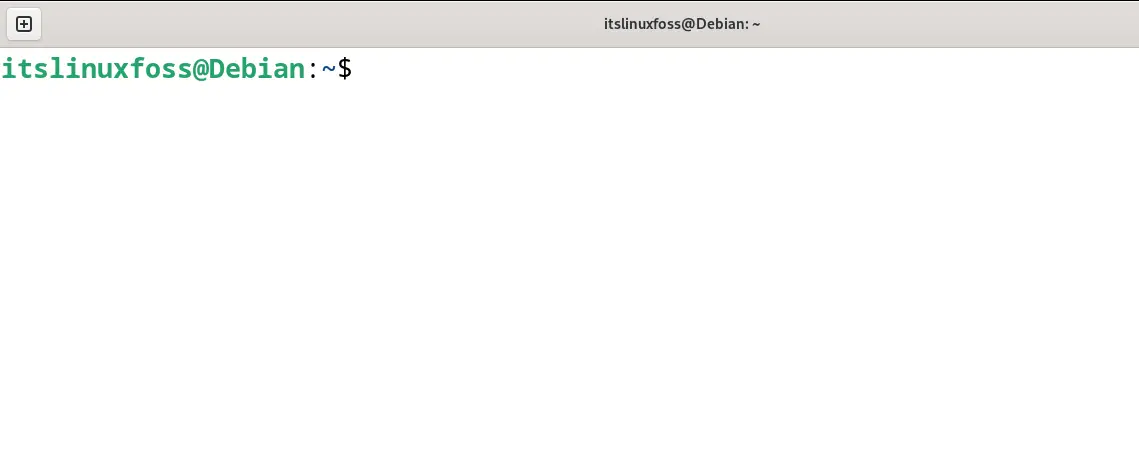
Now click on the terminal icon to launch it:
Method 2: Open the Debian’s Terminal Using the Command
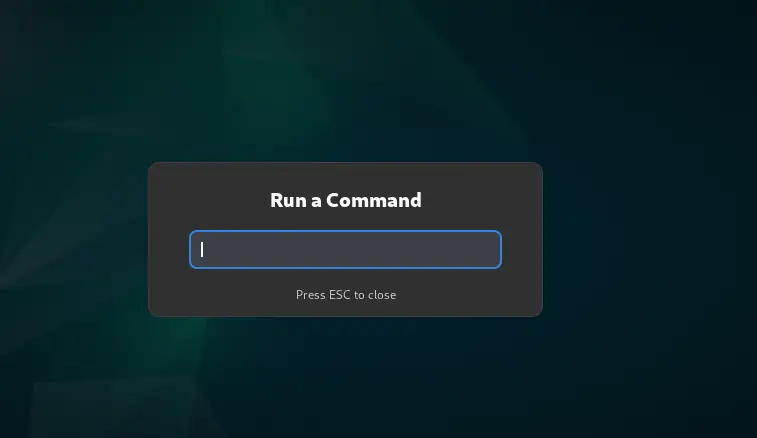
Another method to launch the terminal is by running its command. To do so, press the ALT+F2 to open the command window:
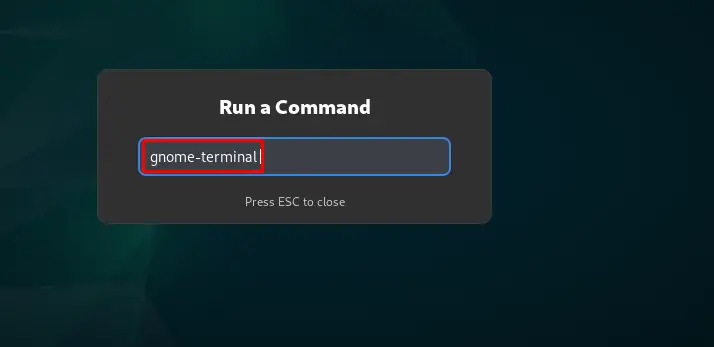
Now type the below-mentioned command and press the ENTER key to launch the terminal:
gnome-terminal
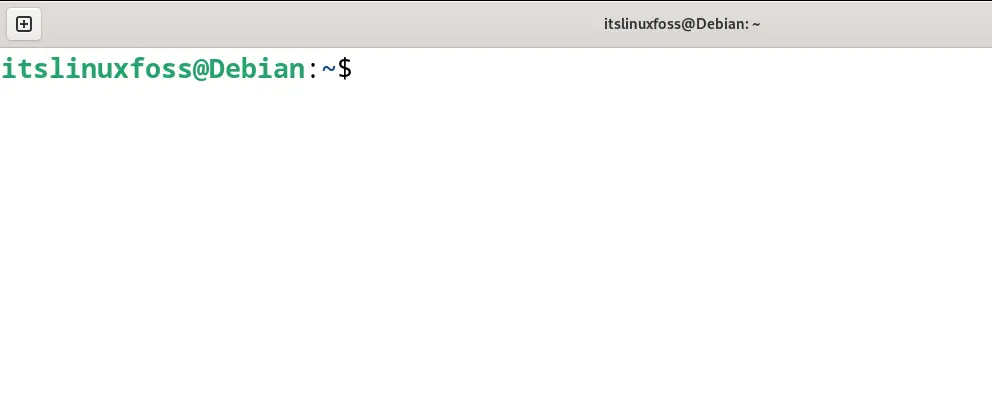
The terminal has been launched successfully on Debian 12:
This is all about the creation of the shortcuts of Terminal on Debian 12.
Conclusion
To create a keyboard shortcut of the Terminal, open the “Settings” and create a new customized shortcut from the “Keyboard” options. Also, to create a taskbar shortcut, drag the terminal icon to the taskbar.
Other than the shortcuts, the terminal can be launched on Debian either by running its command or from the Application’s menu.
All the mentioned methods for the creation of the shortcut of the terminal or opening it in other ways have been explained in this blog.
