
In the modern day and age, the use of cloud storage has rapidly grown. There are many good cloud storages (such as Google Drive and Dropbox) in the market but one of the best and most popular is the OneDrive cloud storage due to its cost efficiency when it comes to storage space. Being created by Microsoft itself, it cooperates extremely well with tools such as Microsoft Word and Microsoft Excel. OneDrive offers you 5 GB of storage for free which can be extended more by buying more storage. Considering the popularity of this OneDrive, this article will elaborate in detail on how OneDrive can be installed on Ubuntu 20.04. The outcomes of this post are as follows:
- Prerequisites
- How to Install OneDrive on Ubuntu 20.04?
- How to Launch OneDrive on Ubuntu 20.04?
- How to Use OneDrive on Ubuntu 20.04?
Prerequisites
Let’s have a look at some of the most important steps which should be completed before the fresh installation of the OneDrive. Let’s check out what these steps are:
Step 1: Remove OneDrive
It is important to make sure that there are no pre-existing files for OneDrive that you may have installed using the PPA repository. These previous installation files need to be removed from the system to avoid any dependency issue or installation hindrance in getting a new One Drive copy. To remove these files, simply execute the following command:
$ sudo apt remove onedrive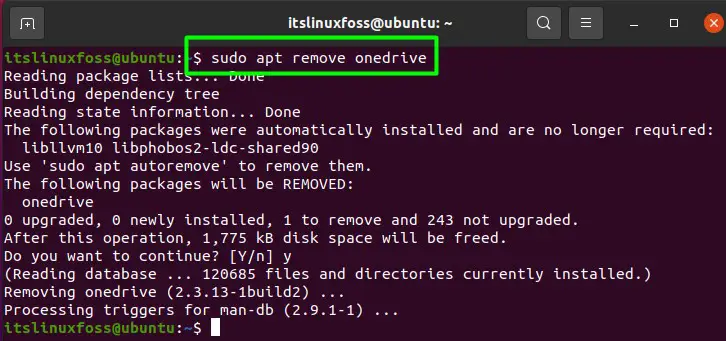
Step 2: Remove PPA Repository
The second step for this is to remove the PPA repository named “yann1ck/onedrive”. To achieve this, execute the command shown below:
$ sudo add-apt-repository --remove ppa:yann1ck/onedrive 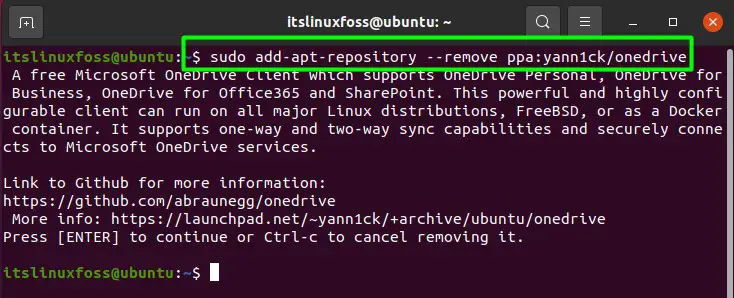
Step 3: Kill dpkg lock file Processes
The third step is to kill all background running processes. This will ensure that these running processes do not interrupt the installation. To accomplish this you can make use of the commands shown below:
$ sudo rm -rf /var/lib/dpkg/lock-frontend
$ sudo rm -rf /var/lib/dpkg/lock
Step 4: Update and Upgrade
The fourth step is to update and upgrade your system by utilizing these simple commands:
$ sudo apt update
$ sudo apt upgrade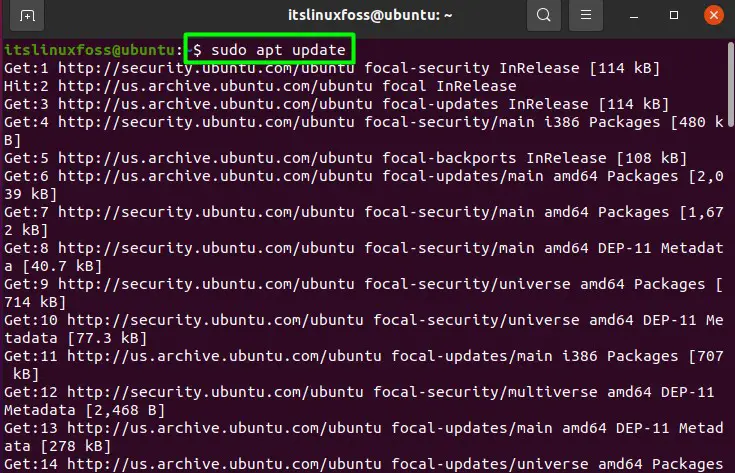

Step 5: Remove Unwanted Dependencies
The next most important step is to remove any unwanted dependencies and clean the system of these files that the system may have. This is achieved using the commands shown below:
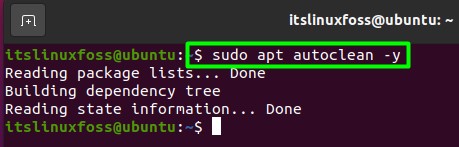
$ sudo apt autoremove -y
$ sudo apt autoclean -y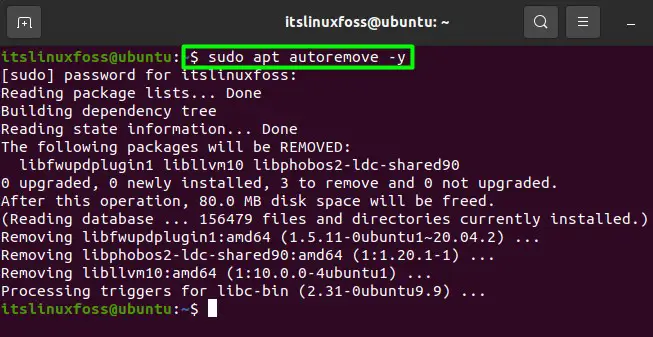
These were all the necessary measures that needed to be taken before doing a clean new installation of the OneDrive on Ubuntu. Once this is all complete, the installation phase can begin for OneDrive.
How to Install OneDrive on Ubuntu 20.04?
Once the prerequisite steps are performed, you can head over to install OneDrive on Ubuntu 20.04. This section will demonstrate all the necessary steps regarding the installation of the OneDrive.
Step 1: Add Release Key
In this step you need to insert the OpenSuSE release key into the system. This key will enable the OpenSuSE repository to be accessed after it is installed. This can be achieved using the command that is shown below:
$ wget -qO - https://download.opensuse.org/repositories/home:/npreining:/debian-ubuntu-onedrive/xUbuntu_20.04/Release.key | sudo apt-key add -
Step 2: Add OpenSuSE Repository
The next crucial step to this installation is the addition of the OpenSuSE Build Service Repository. This repository contains the OneDrive which is to be installed. For Ubuntu 20.04, this can be added using the command shown below:
$ echo 'deb https://download.opensuse.org/repositories/home:/npreining:/debian-ubuntu-onedrive/xUbuntu_20.04/ ./' | sudo tee /etc/apt/sources.list.d/onedrive.list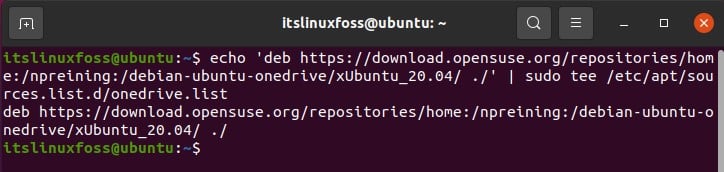
Step 3: Update and Install
The final step is updating the repositories one last time and then install OneDrive on the system. Update the repositories using the code mentioned below:
$ sudo apt update
Now let’s perform the installation of OneDrive, run the following command to install it on your system:
$ sudo apt install onedrive -y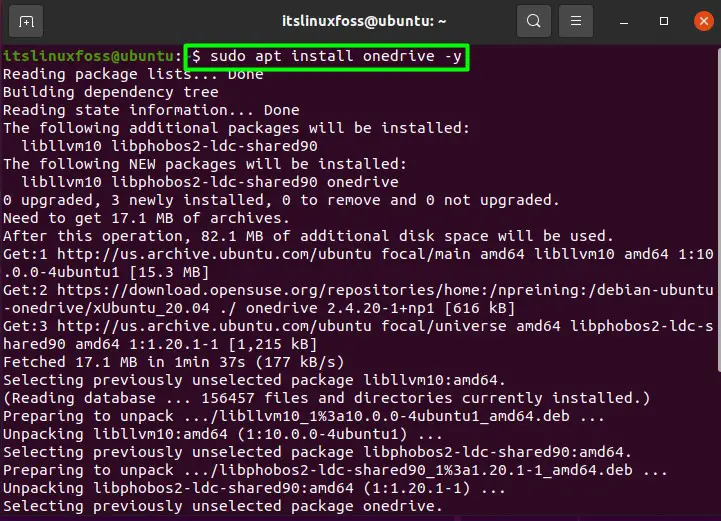
The successful execution of the command shows that the OneDrive has been installed successfully.
How to Launch OneDrive on Ubuntu?
Once OneDrive is installed onto the system, you can launch by just following simple steps that are demonstrated below:
$ onedrive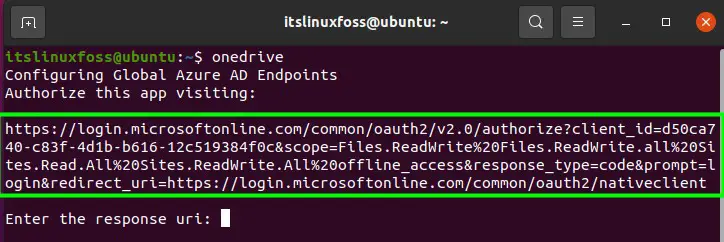
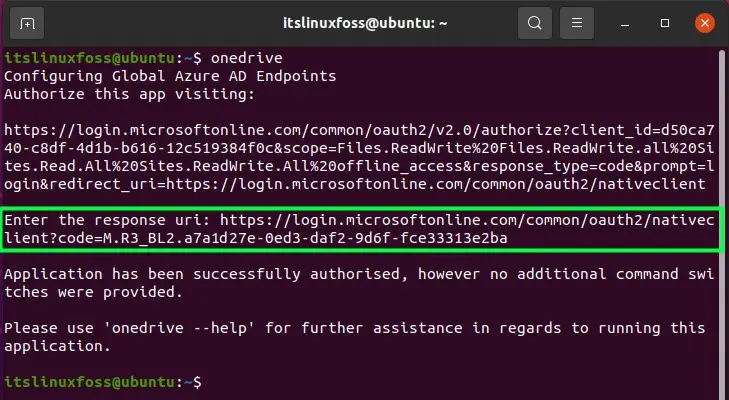
Copy the link highlighted in the snippet above and then paste open that link in a browser of your choice. Log in to a OneDrive account by entering your details. This will redirect you to another page which will request permissions from you. Check the snippet below:
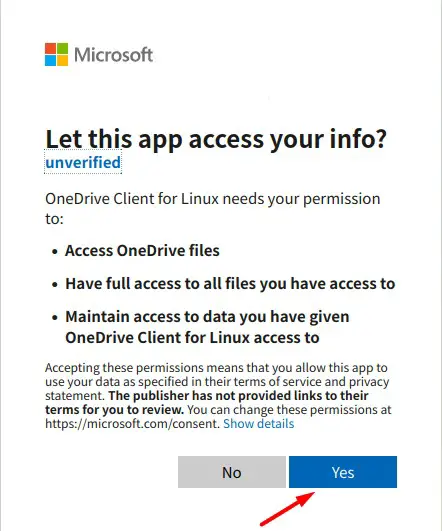
After pressing “Yes”, you will be redirected to another page. Copy the URI of that page and paste it into the terminal as shown below:

Once you receive this message, you can simply sync your drive to the Ubuntu system using the command below:
$ onedrive --synchronize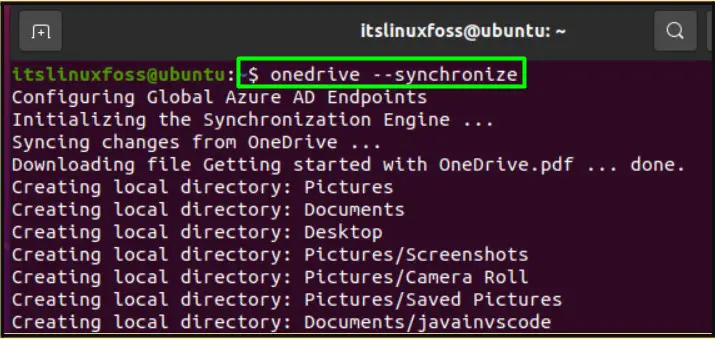
Your OneDrive is now fully set up to be used.
How to Use OneDrive on Ubuntu 20.04?
On Ubuntu 20.04, you need to get an application to make use of various cloud storage such as DropBox, Google Drive, and OneDrive. The “insync” application can be used to serve the purpose. To get the “insync” application, follow the below-mentioned steps:
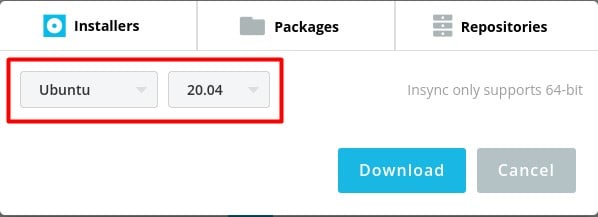
Step 1: Download insync
The insync tool can be installed from its official website as shown below:
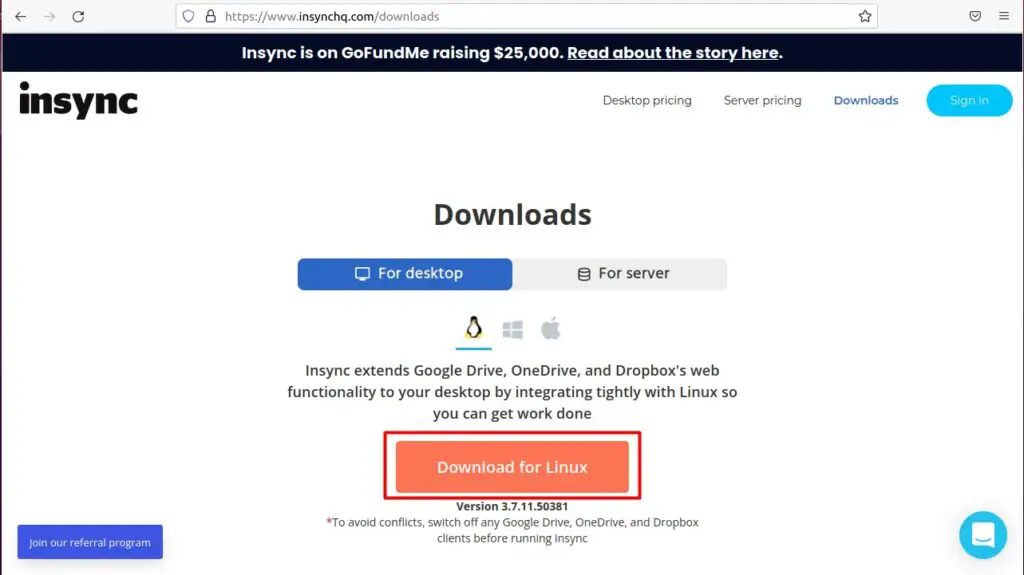
Select the correct operating system and version as demonstrated in the following snippet:
Step 2: Install insync
Once the software is successfully downloaded onto the system. Open the terminal and navigate to the directory where it is downloaded. For this instance, it exists inside the “Downloads” folder. So, the following command will change the directory to the “Downloads” directory:
$ cd DownloadsInside the directory, execute the following command to install the software:
$ sudo apt install ./insync*.deb
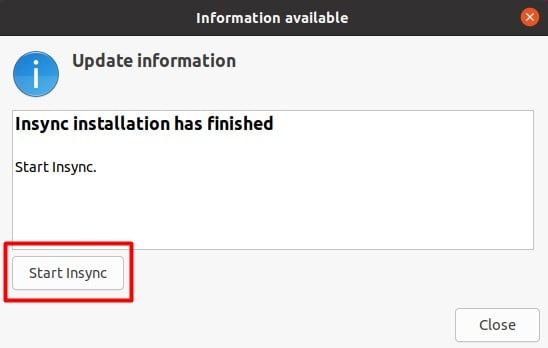
Step 3: Launch and Setup Insync
The following snippet will confirm that the installation of insync is completed on your system. Click on the “Start Insync” button to launch it:
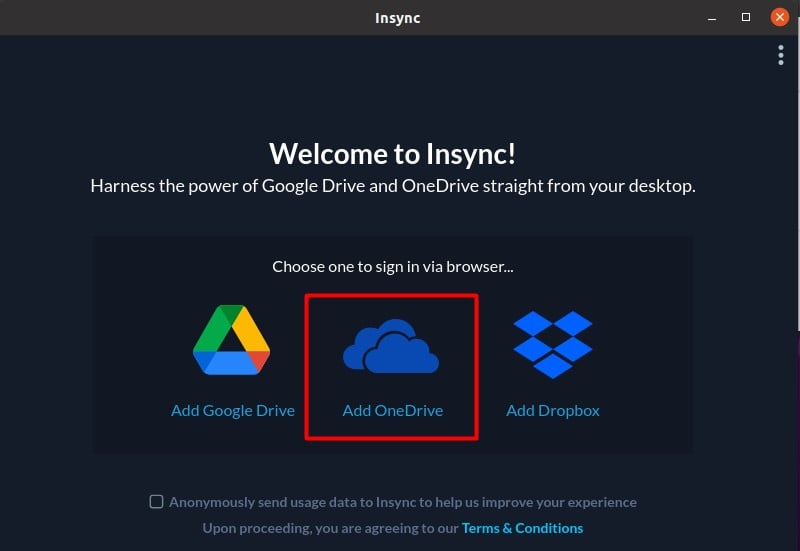
Select the “OneDrive” option from the available options:
As asked, enter the Email and Password of your OneDrive account till you reach the following screen:
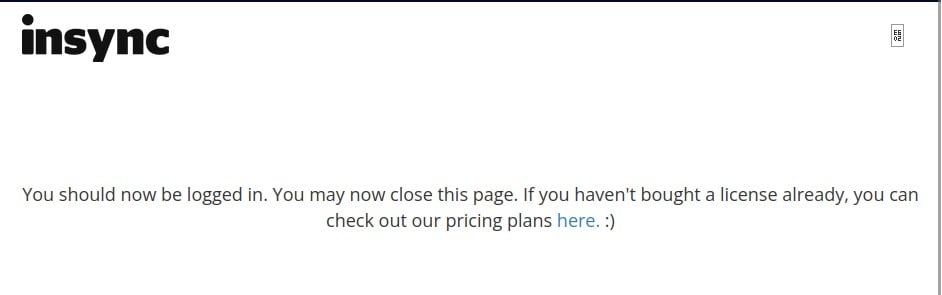
Once this message is prompted, return to the insync application and follow the steps shown in the snippets below.
Start setting up your account:

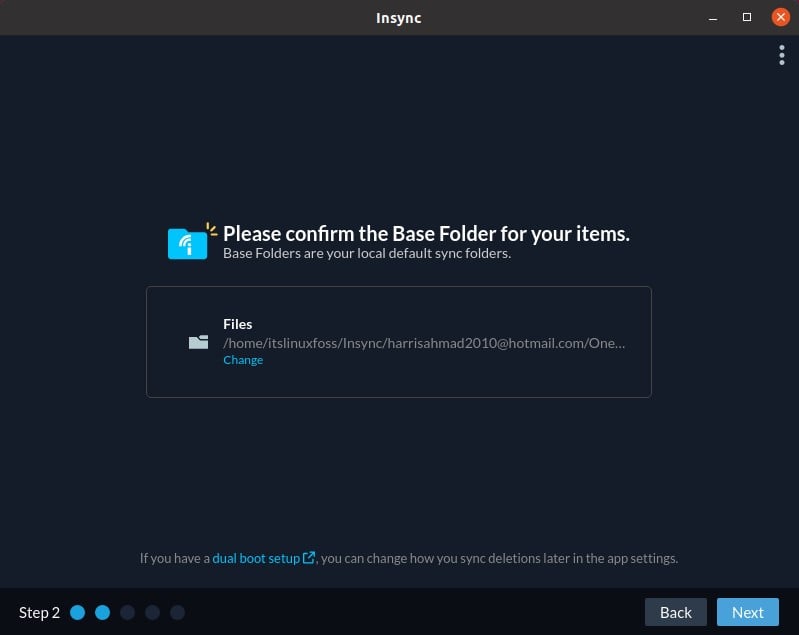
Allocate a folder for OneDrive:
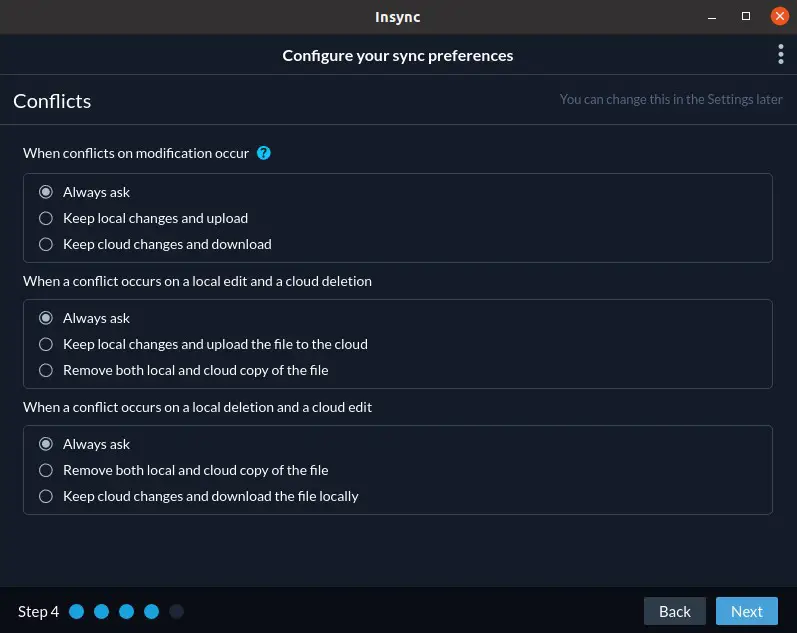
Configure the preferences for sync:
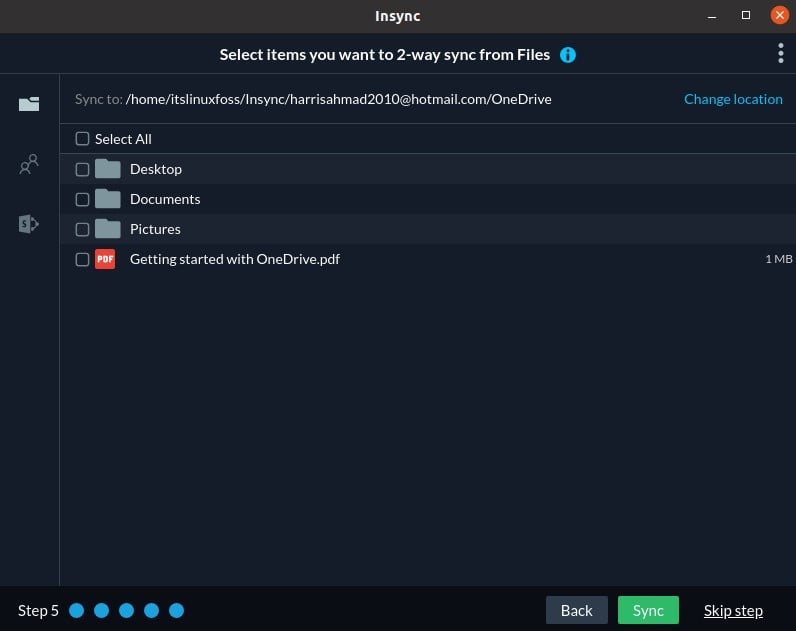
Select all the files that you want to sync up with the system:
Through these simple steps, your OneDrive account is fully set up and synced with the system that you are using.
How to Uninstall OneDrive from Ubuntu 20.04?
We have seen in detail how OneDrive can be installed and set up on an Ubuntu system. To uninstall OneDrive from your system, simply execute the following command in the terminal of your system:
$ sudo apt remove onedrive -y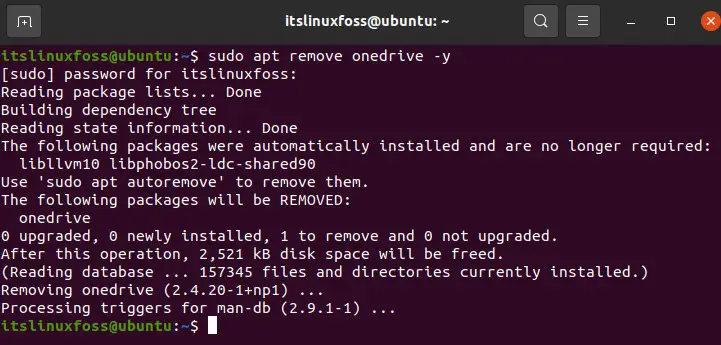
Using this simple command, the OneDrive is removed from the system.
That’s all from this article! You have learned to install and use OneDrive on Ubuntu 20.04.
Conclusion
Firstly, add the OneDrive repository to the system and then use the “sudo apt install onedrive” to install OneDrive on Ubuntu 20.04. Next, you need to install the insync tool to use OneDrive on Ubuntu 20.04. This post has demonstrated the method to install OneDrive on Ubuntu 20.04. Alongside this, you have also learned to install “insync” to run OneDrive. We have also demonstrated the method to set up OneDrive on Ubuntu 20.04. Lastly, the removal method of the OneDrive is also provided.

Saryia is a technology entrepreneur and digital publisher specializing in Linux, open-source technologies, and developer education.