Uploading videos has become a common practice in the modern world we are living in, with YouTube and other social media services that act as the primary means of sighting digital media. FFmpeg has become so prevalent that, within a few decades, editing and making audio and video files are turning into standards. Many expensive tools are available to meet user’s requirements, but what if we can do all of this without any cost? What if you could accomplish almost any video-related task with just a few lines of code?
This question is answered by FFmpeg, It is an open-source and free editing, extraction, and video conversion tool! What is there that FFmpeg can’t do? There’s almost nothing. Audio/video file conversion, Image extraction and conversion from video files, Extracting and creating videos from image files, cropping videos and images, trimming videos, extracting audio from video, resizing videos, increasing volume, and screen recordings are among the tasks that FFmpeg can perform easily.
Now Let’s move forward towards the procedure of installing and using FFmpeg on Linux.
Installing FFmpeg on Ubuntu 20.04
Step 1: Open the terminal by pressing ‘CTRL+ALT+T’ or search it manually in the activities and update the packages list.
$ sudo apt update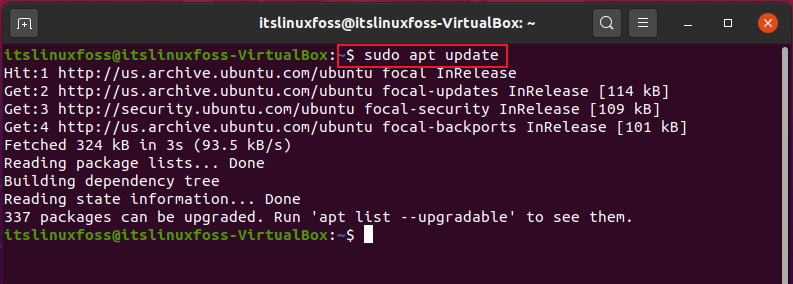
Step 2: Write-out the given command to install FFmpeg on Ubuntu 20.04.
$ sudo apt-get install ffmpeg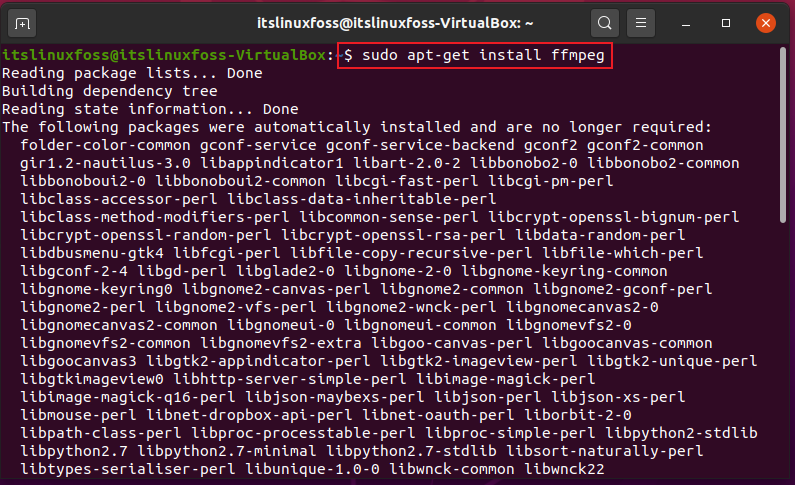
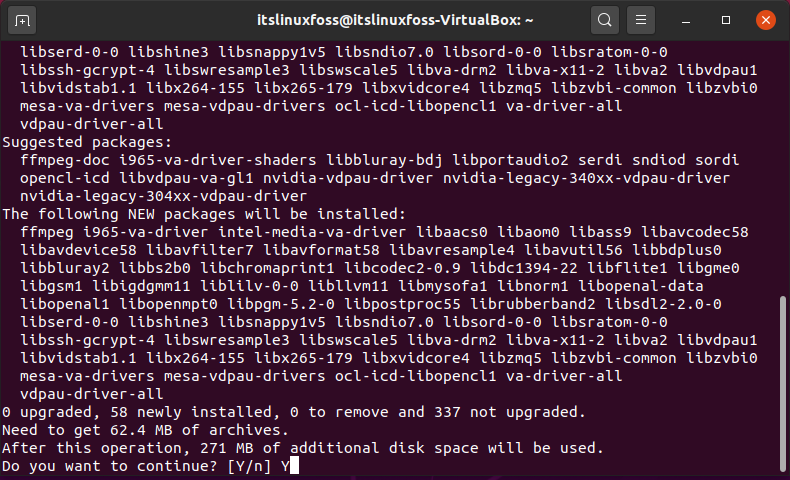
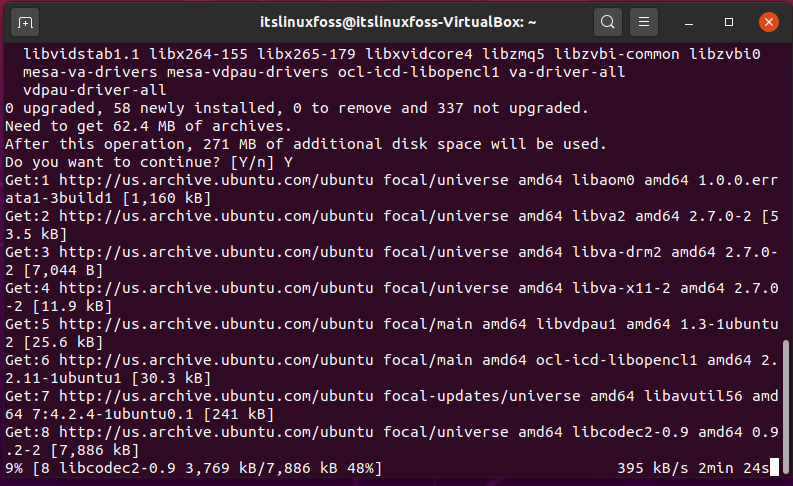
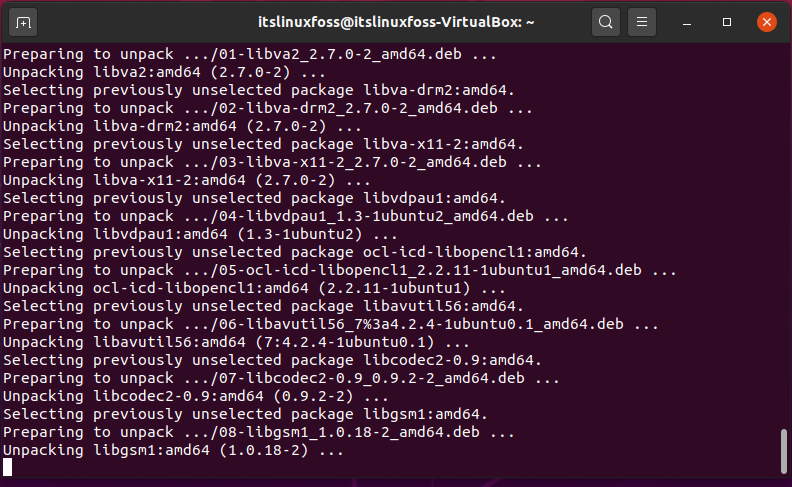
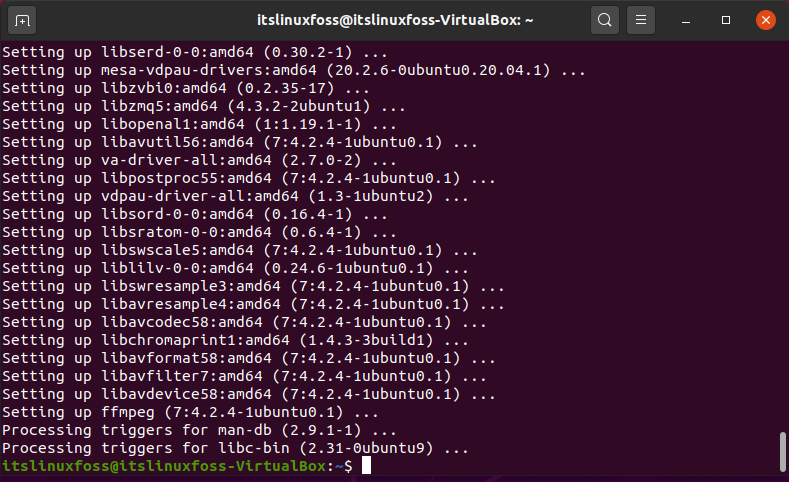
The output declares that now you have FFmpeg on your system.
Using FFmpeg on Ubuntu 20.04:
Converting audio to mp4 format:
To convert audio to mp4, check out the syntax given as follows:
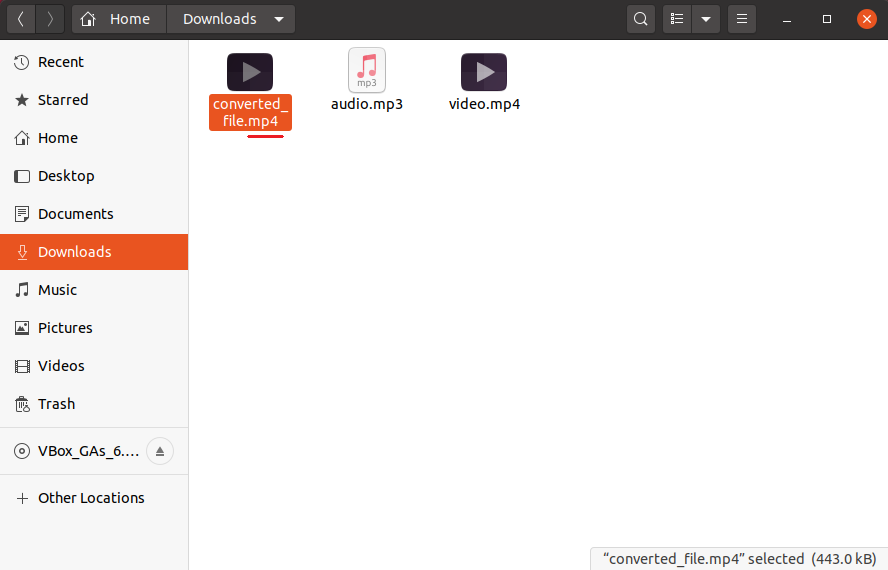
$ ffmpeg -i audio.mp3 converted_file.mp4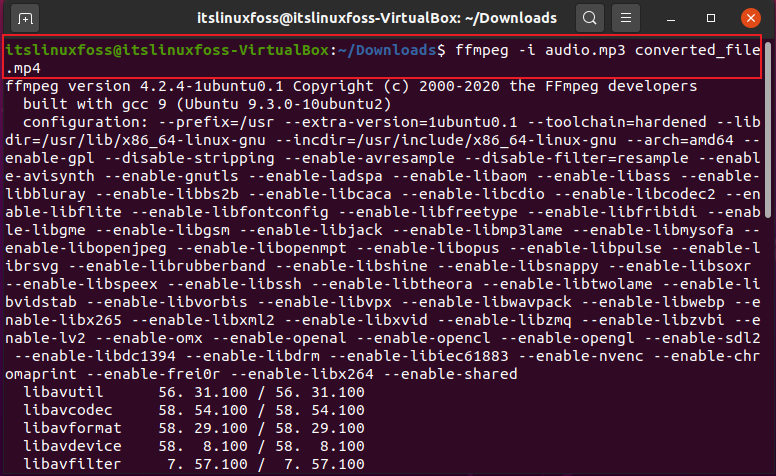
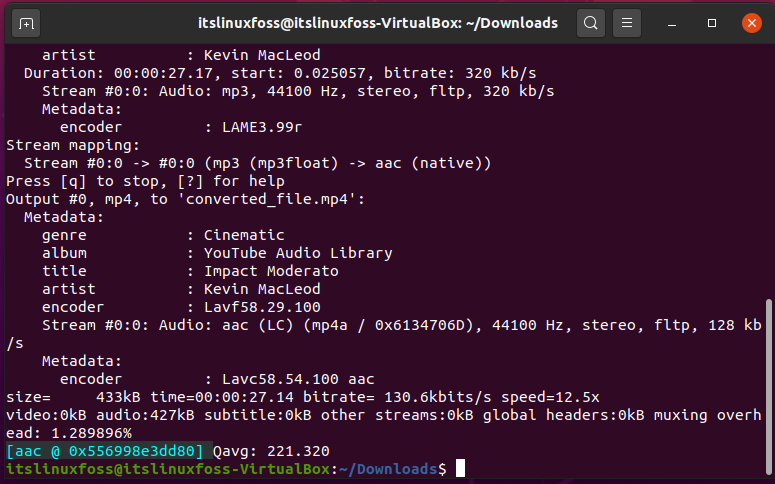
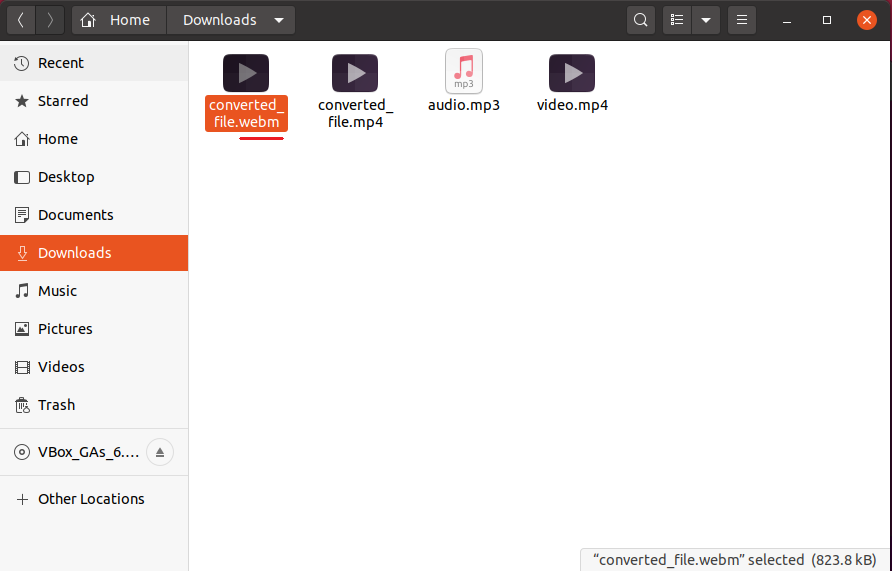
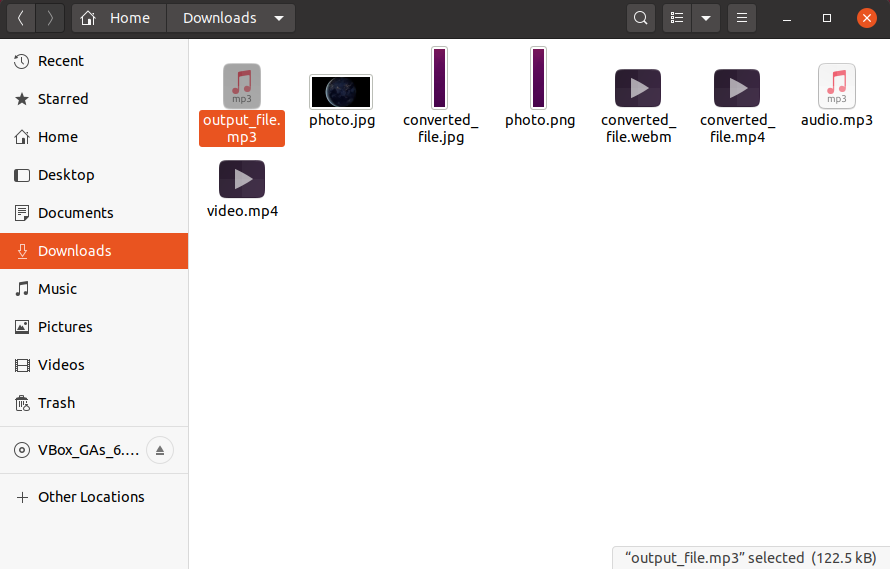
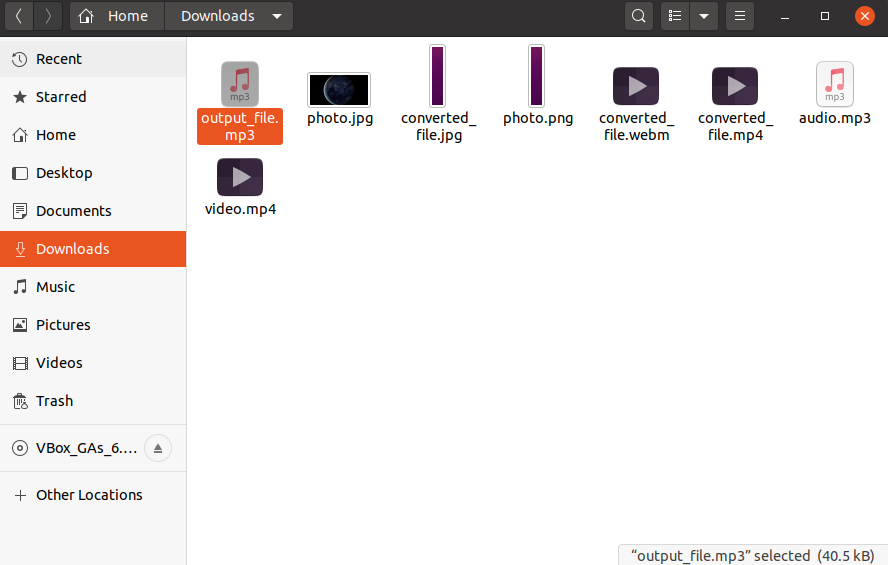
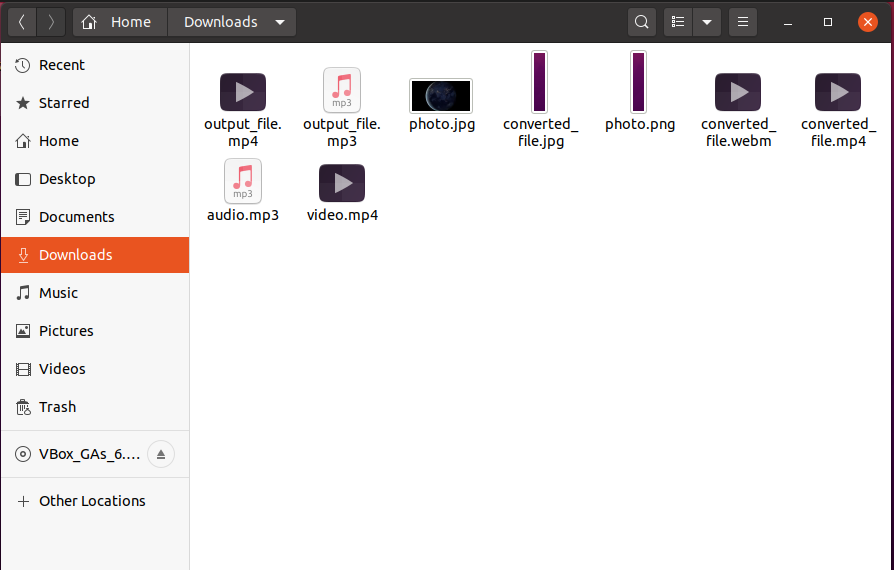
Here, we have the converted mp4 file.
Converting video into different types:
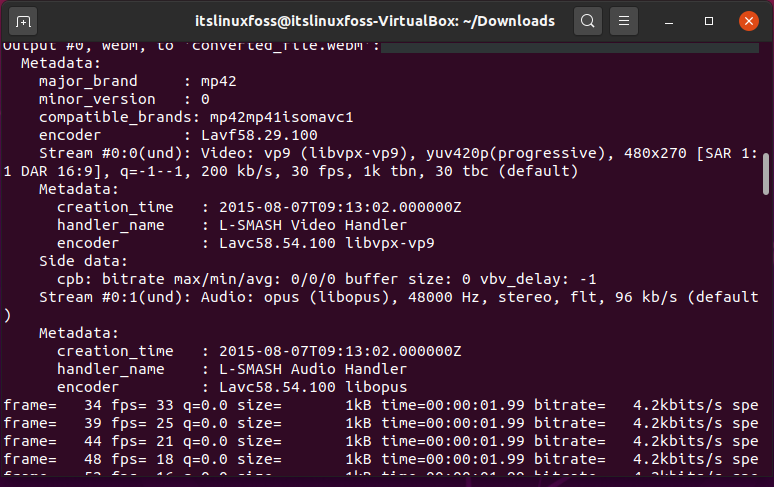
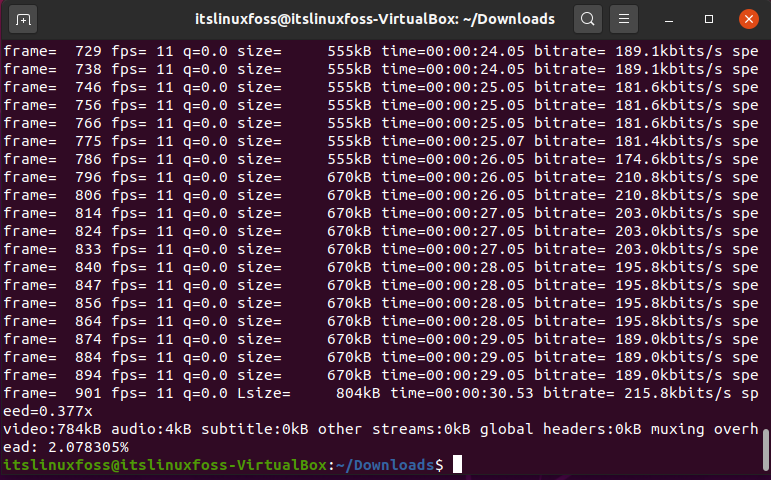
In this example, we will convert a mp4 video format into webm format.
$ ffmpeg -i video.mp4 converted_file.webm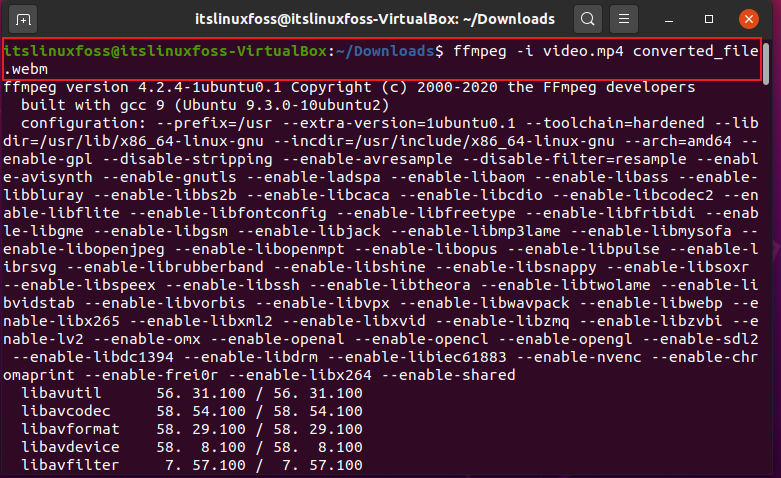
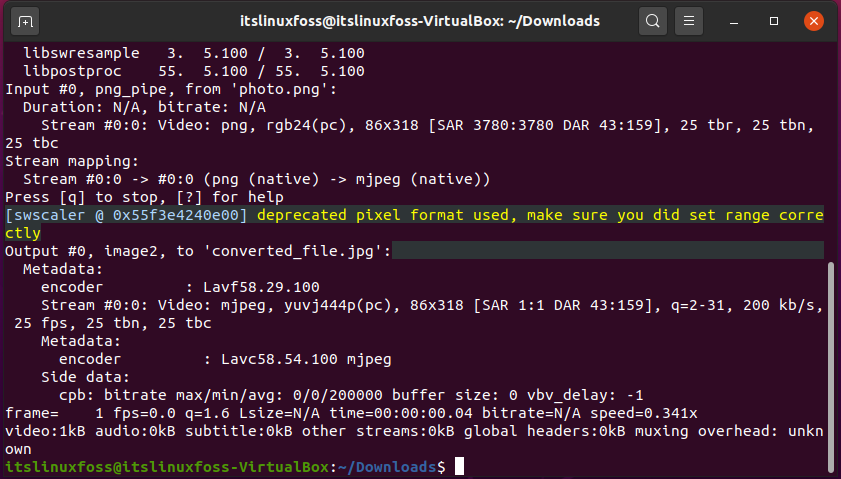
Converting image formats:
The command given below will convert jpg format into png format.
$ ffmpeg -i photo.jpg converted_file.png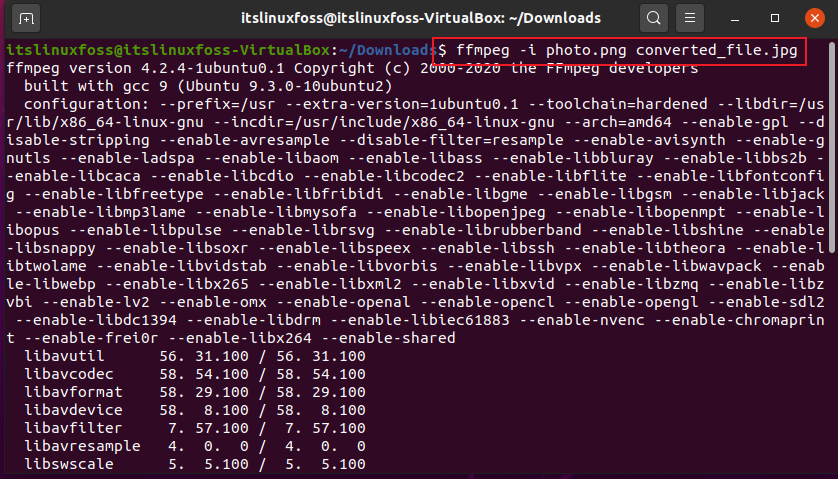
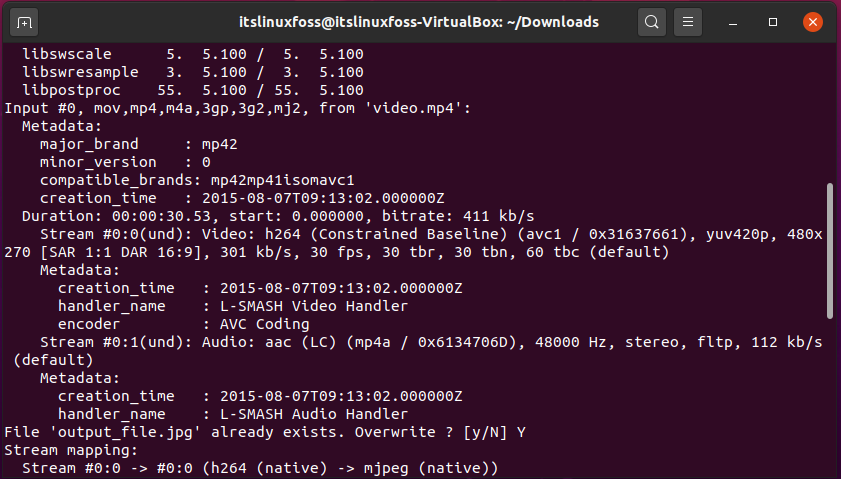
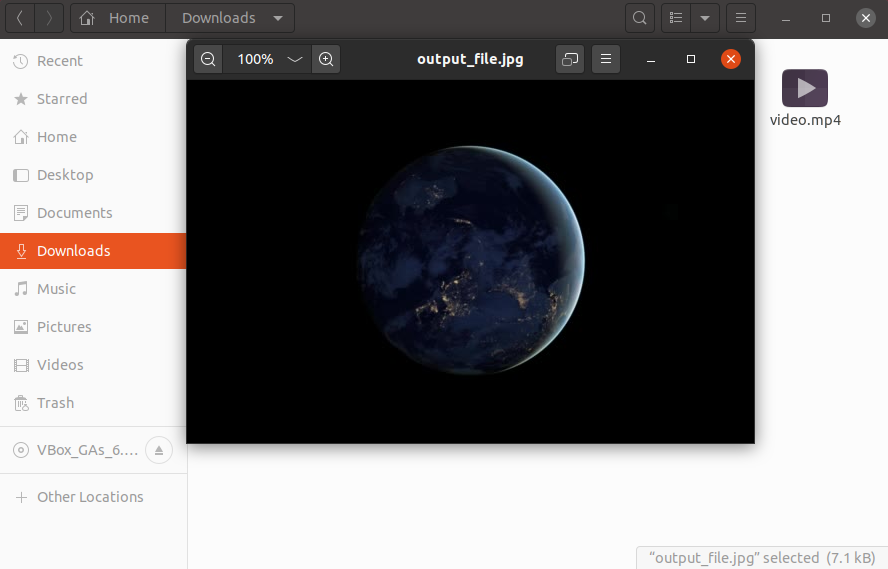
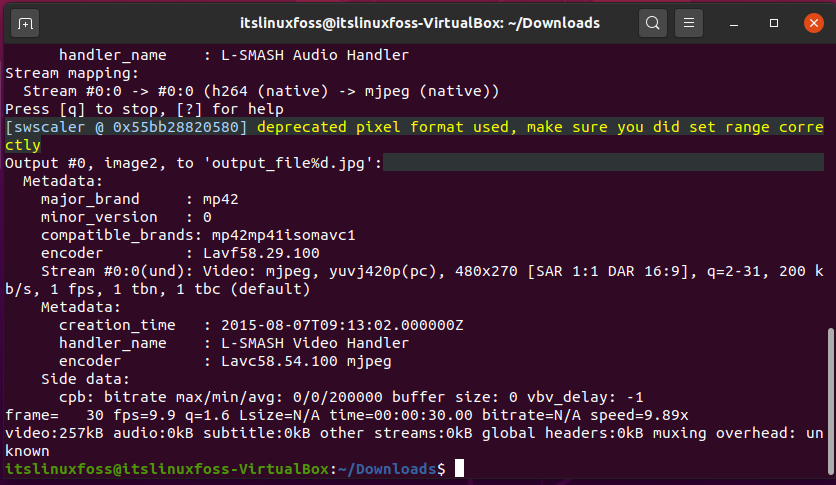
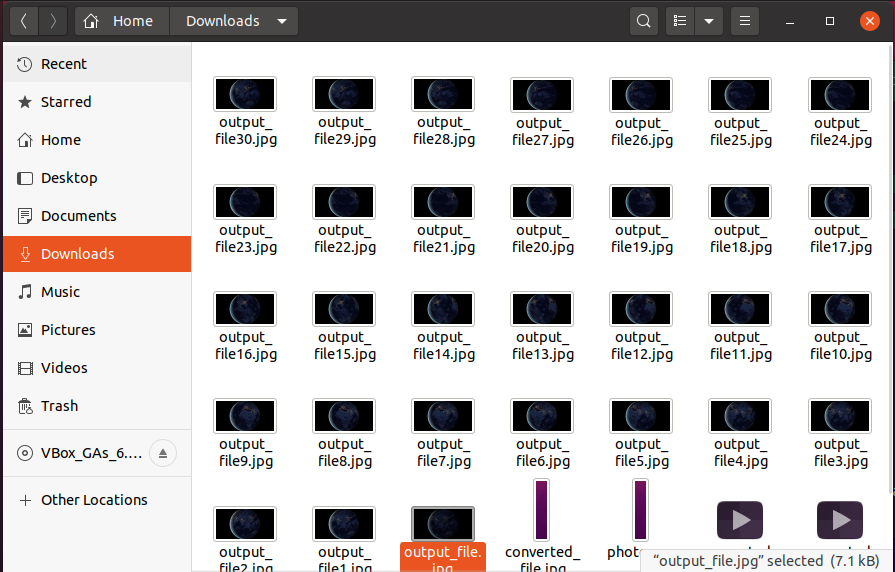
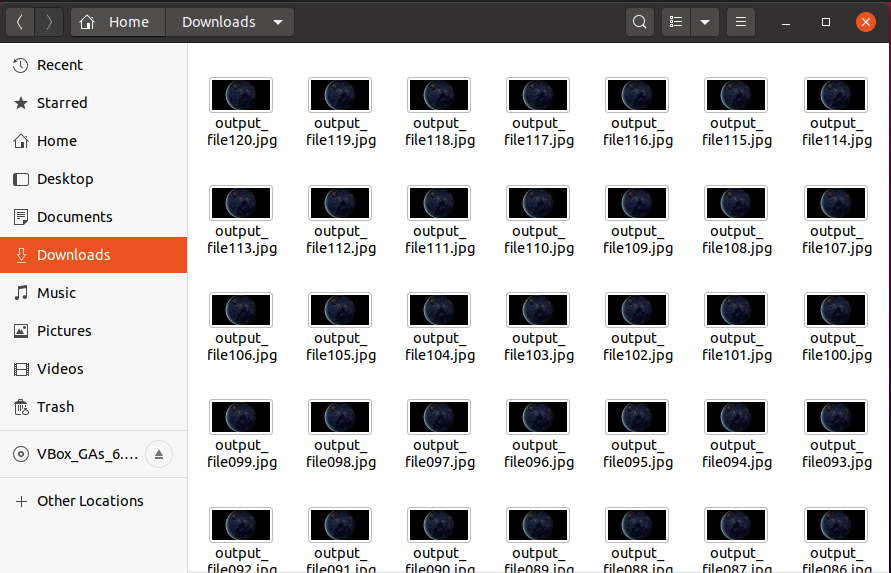
Extracting images from video is as easy as pie. Preceding images will illustrate that to you.
$ ffmpeg -i video.mp4 output_file.jpg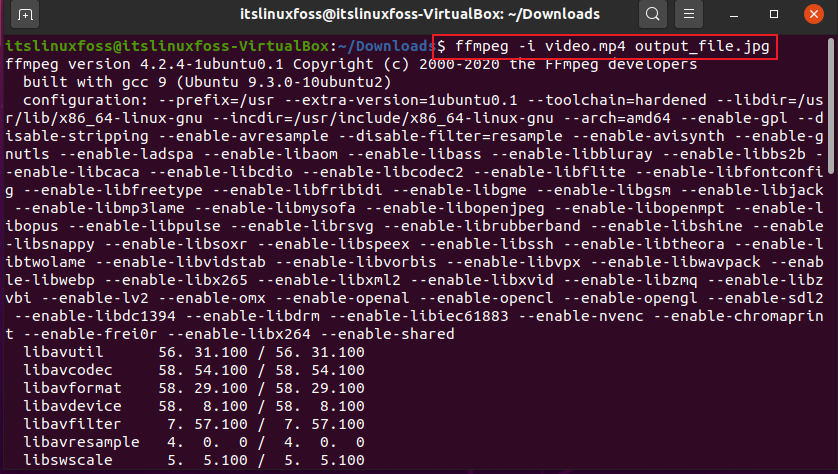
$ ffmpeg -i video.mp4 -vf fps=1 output_file%d.jpg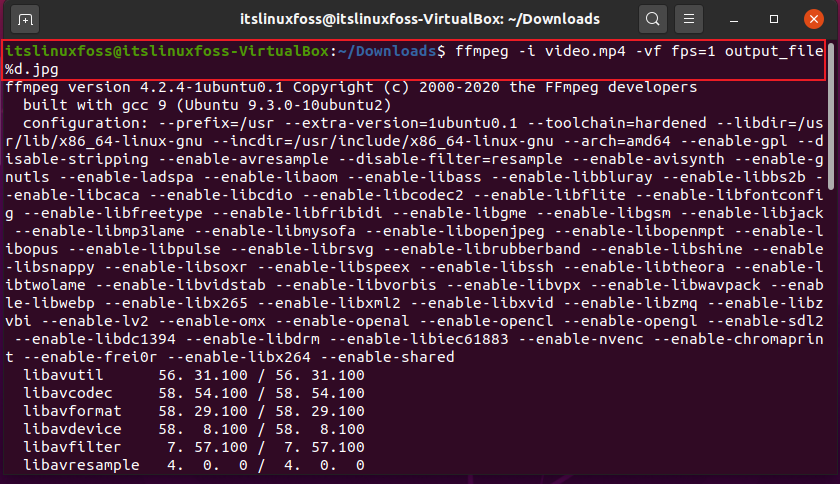
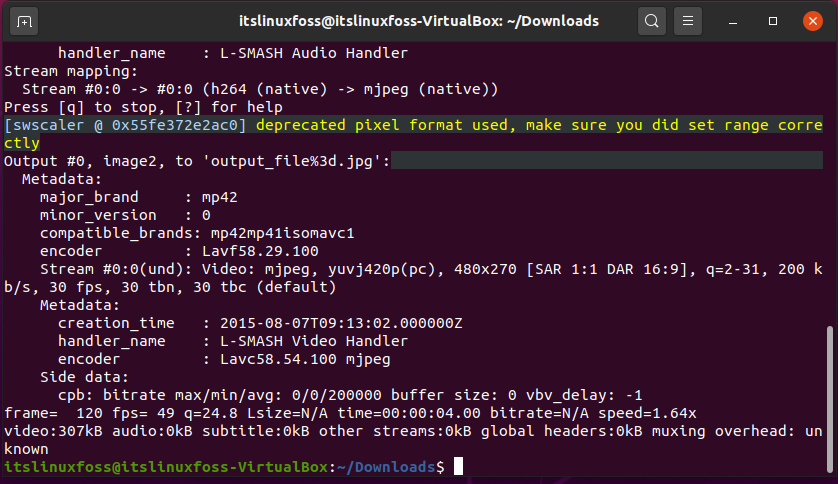
Users can also define the frames from the video needed to be captured.
$ ffmpeg -ss 00:00:01 -t 00:00:04 -I video.mp4 output_file%3d.jpg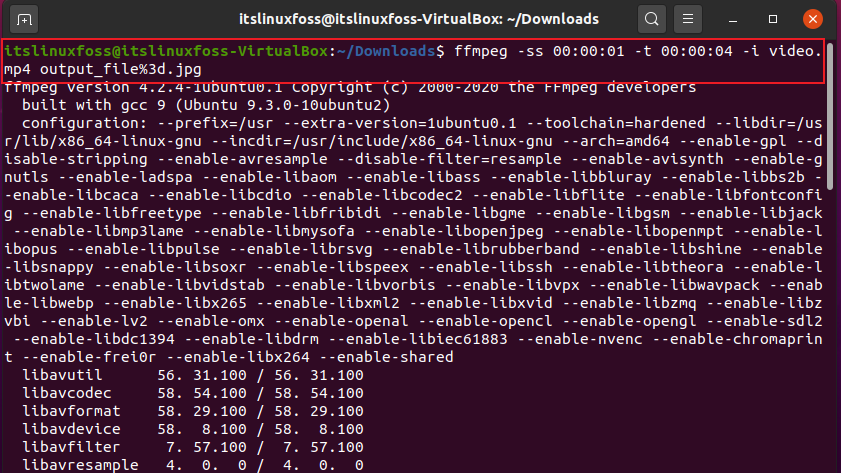
$ ffmpeg -I video.mp4 -c:a libmp3lame -q:a 0 -map a output_file.mp3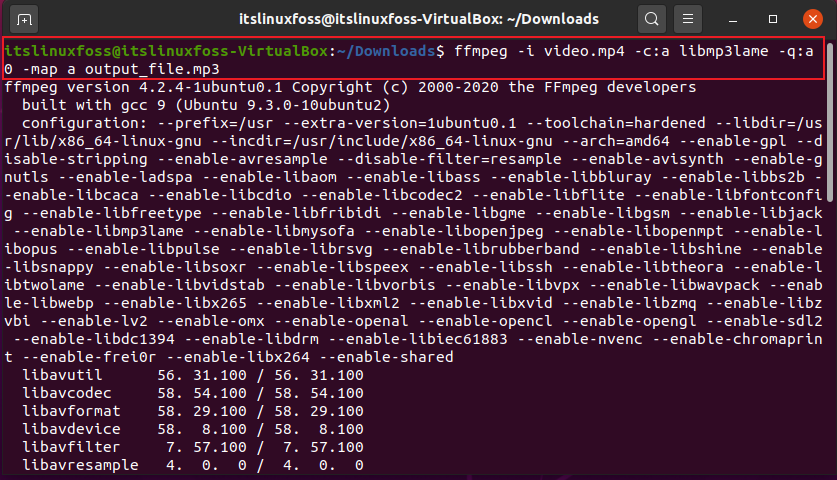
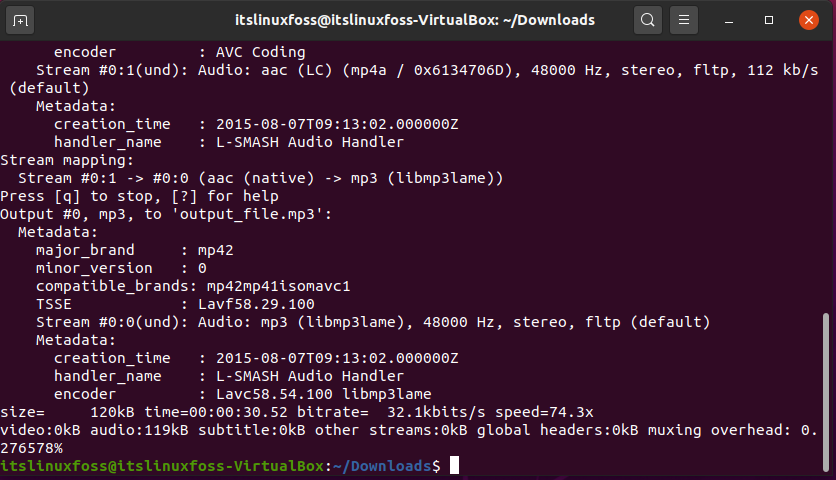
There is also a way to extract specific frames of audio from any video.
$ ffmpeg -I video.mp4 -ss 00:00:08 -t 00:00:10 -q:a 0 -c:a libmp3lame -q:a 0 -map a output_file.mp3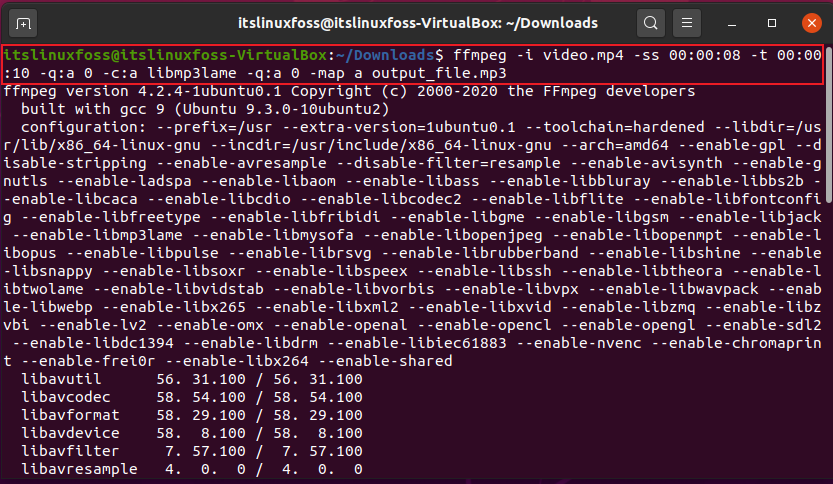

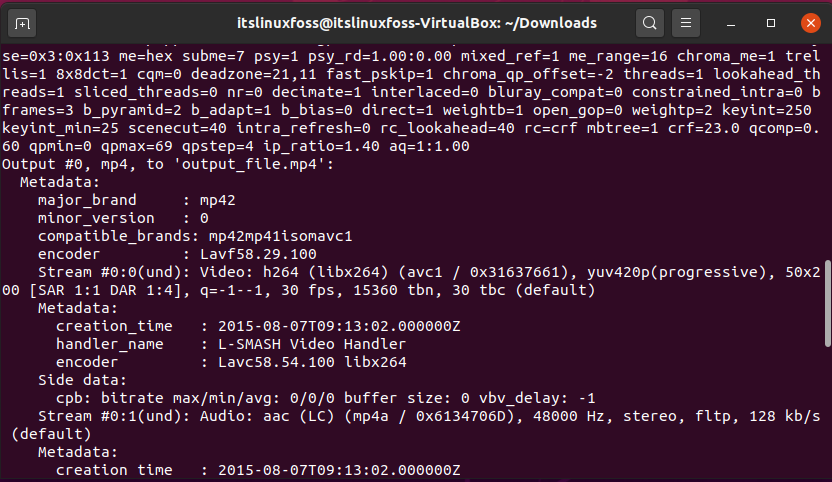
Cropping video is also another functionality supported by FFmpeg.
$ ffmpeg -I video.mp4 -filter:v “crop=w=50:h=200:x=100:y=200” output_file.mp4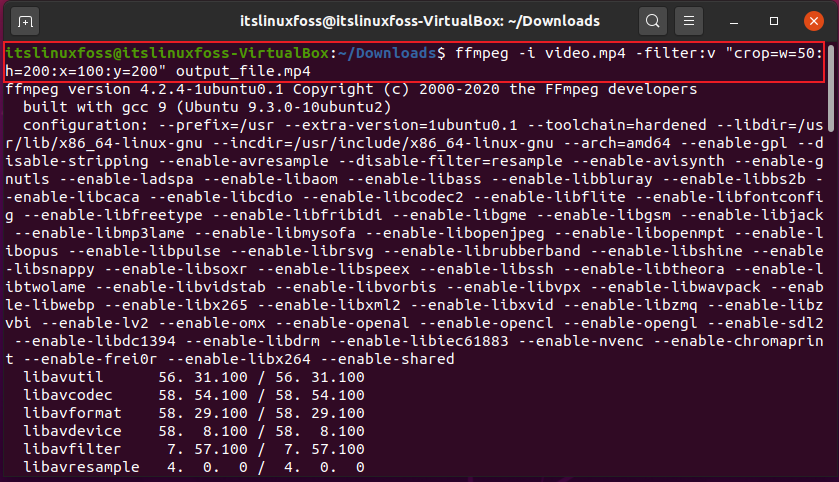

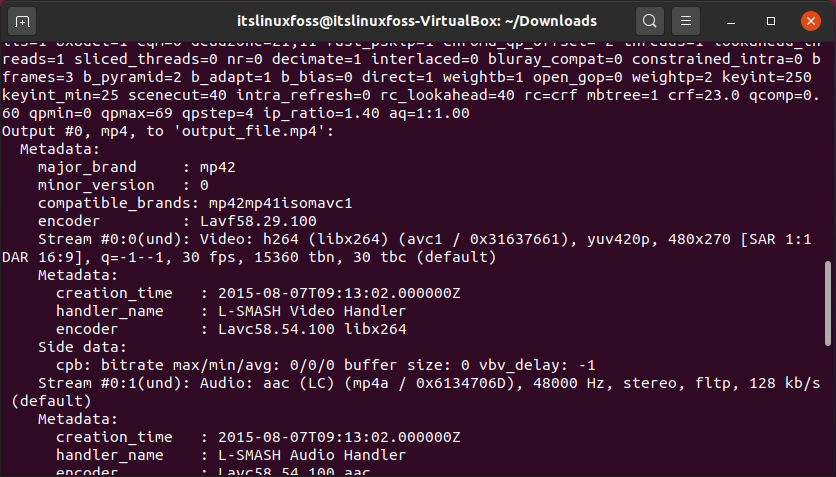
Write-out the following command to trim the video by specifying the starting and ending part.
$ ffmpeg -I video.mp4 -ss 00:00:20 -t 00:00:10 -c:v h264 -c:a aac output_file.mp4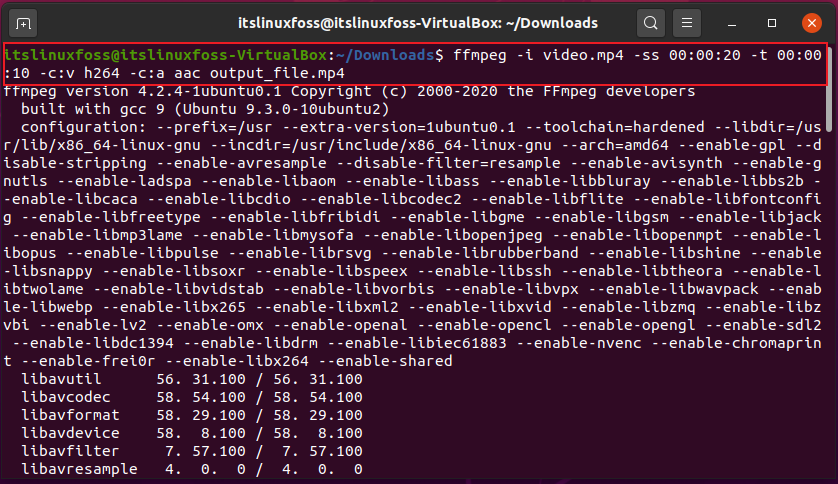
Conclusion:
We have seen the method of installing FFmpeg. Furthermore, we have learned audio to video conversion, converting audio and videos in various formats, cropping images and videos, extracting images from video frame by frame, and lastly extracting video from images.

Saryia is a technology entrepreneur and digital publisher specializing in Linux, open-source technologies, and developer education.