
Here’s everything you should know about the Spotify application, including how to download it on Ubuntu 20.04 and get started.
Spotify:
Spotify is a video streaming, digital music, and podcast service that provides access to millions of songs and huge content from worldwide artists. It gives immediate access to the millions of songs in the range of oldest hits to latest favorites. The only thing you have to do is hit play to listen to any kind of music. This application supports a wide range of devices such as personal computers, TVs, phones, cars, speakers, and tablets.
Spotify was launched publicly in 2008 in Europe. After that, it is expanded to increase its market value. This application is mostly known for its music streaming service that allows you to listen to tunes from well-known labels on the website or by using any official Spotify application. It is a legal way to stream music and listen to various podcasts.
Now let’s talk about some of the features of Spotify that compliments this application among its competitors.
Features of Spotify:
- Download and listen without an Internet connection
The application will support music playing service even when you aren’t connected to the Internet.
- Ad-free, unlimited music
No interruptions, no ads, just music.
- Listen everywhere
Spotify works on your TV, mobile, computers, phones, and Tablets.
- Premium sounds
Get ready for fantastic sound quality.
That’s enough information you should know before Installing and using the ‘Spotify’ application. Now let’s move on to its Installation process on Ubuntu 20.04. In this article, you are going to inspect two methods for Spotify installation.
Note: To follow the installation, make sure that you are a ‘superuser’ or ‘root’ as the superuser provides unrestricted access to all the commands, files, resources, and directories.
Method 1: Installation using Snap
Step 1: First of all, Open up the terminal by searching it manually in activities, or you can also press ‘CTRL+ALT+T’ to view the terminal window.
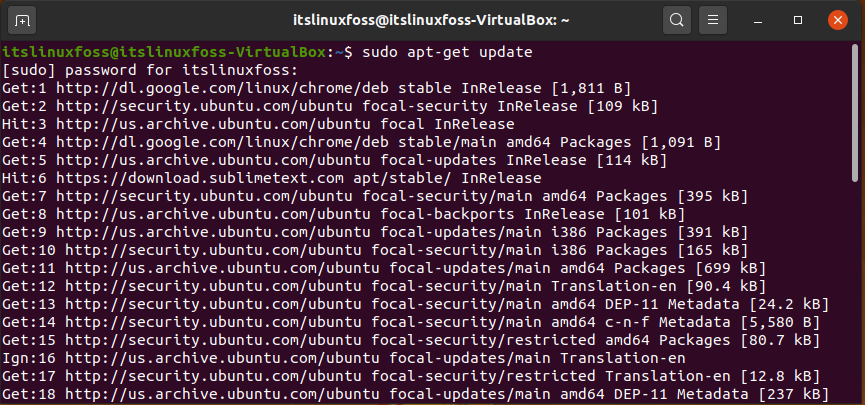
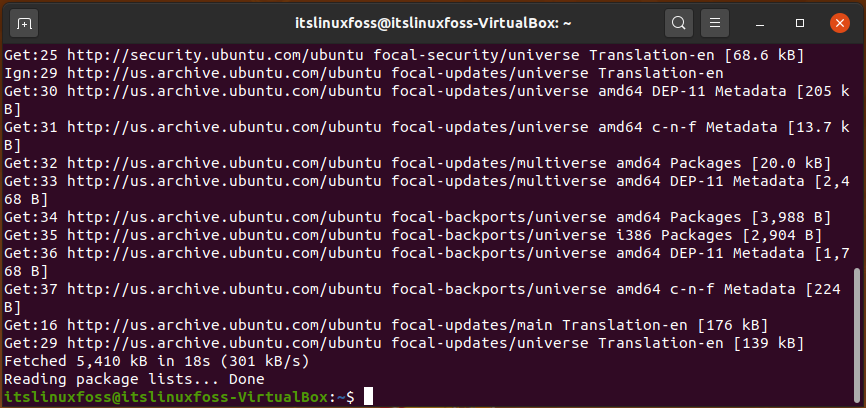
Step 2: Now update the package lists to upgrade the packages.
$ sudo apt-get update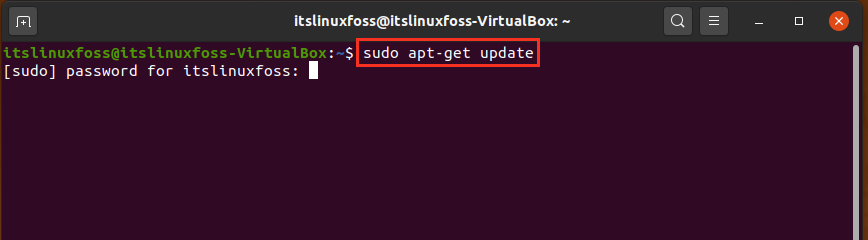
Enter your password to allow the process for packages updates.
Step 3: Use the ‘snap’ command to install Spotify on your Ubuntu 20.04
$ sudo snap install spotify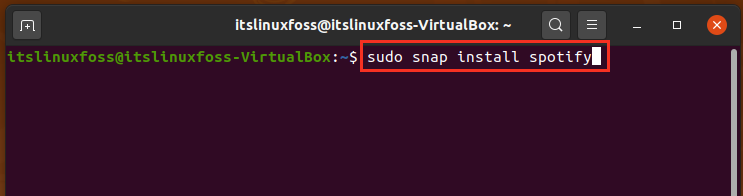
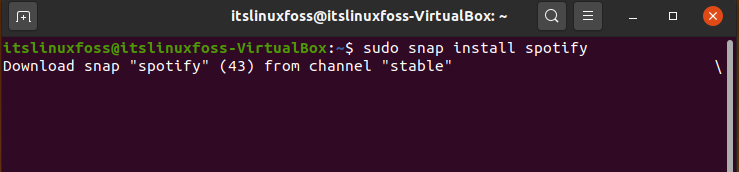

Wait according to the estimated time.
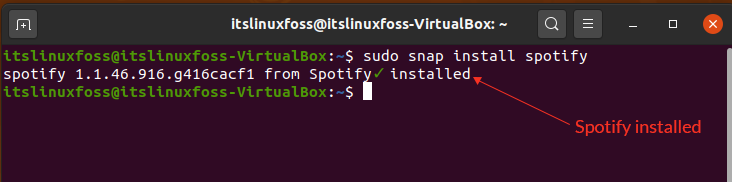
Output refers that Spotify exists on your system now.
Method 2: Installation from Official Repository
Step 1: Use the following command for importing the signing key.
$ wget -O- https://download.spotify.com/debian/pubkey.gpg | sudo apt-key add -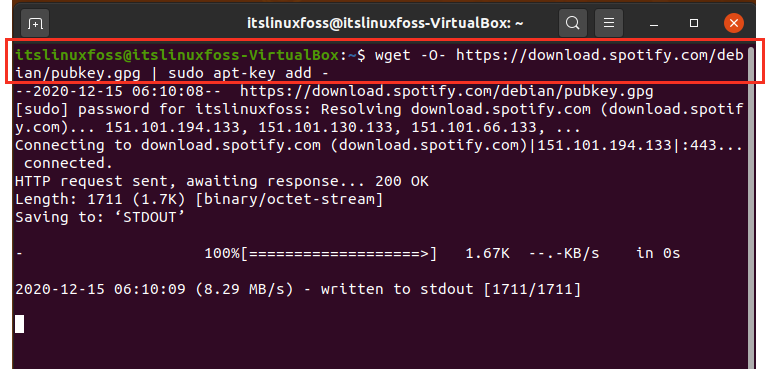

Step 2: Now add the official Spotify repository.
$ sudo add-apt-repository "deb http://repository.spotify.com stable non-free"Step 3: Now, install the Spotify application by writing-out the following command on your terminal.
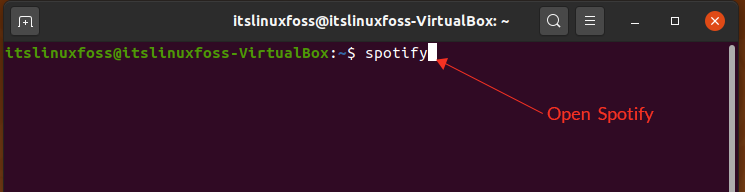
$ sudo apt install spotify-clientStep 4: You can type the application name in order to open it from the terminal
Here we are with the first view of the Spotify application on Ubuntu 20.04.

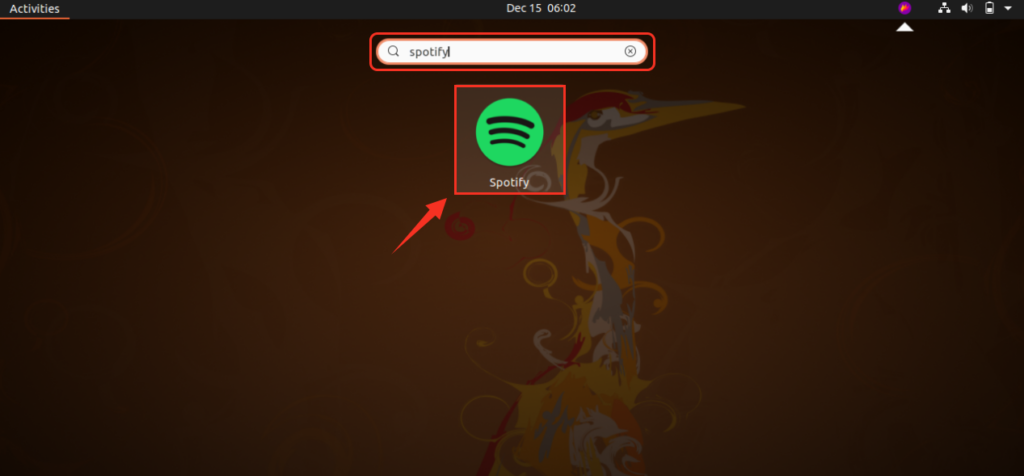
You can also open Spotify by searching it manually in the ‘Activity’ search bar. It will lead you to the same interface of the Spotify application.
Log in using your email ID or Facebook to stream whatever you like to listen to or play.

Conclusion:
This article presented you with a brief overview of the Spotify application, and we suggested it to you by giving some exact reasons according to the music streaming capabilities of any application. We have also shown you a complete procedure to install the Spotify application on your Ubuntu 20.04.

Saryia is a technology entrepreneur and digital publisher specializing in Linux, open-source technologies, and developer education.