TeamViewer:
TeamViewer is a software application that has a worldwide audience. It is an Internet-based application that can be used for teleconferencing, remote access, file sharing, and support. It provides a unique capability to the user for viewing the screen of another computer and he/she can also perform different functions that are embedded in this application. Linux, iOS, Windows, macOS X, Raspberry Pi, and Android are considered compatible working frameworks. It is considered an essential application for the users who use devices issued by their company at their workplace, or for a person that has multiple personal devices. To ensure the proper remote accessibility, this software application must be installed on both devices through which users can access and perform certain actions from a different place. These actions depend on the task type and nature that is going to be executed. TeamViewer is a free download application for individual users. Moreover, you can have its monthly subscription by getting a license from a commercial enterprise.
TeamViewer application is utilized on different systems due to its flexible solutions. Some of them are given below:
- Global Video Collaboration
- Remote Support
- Patch management and Remote monitoring
- Remote Access
- Remote Assistance for IoT
- Mobile Device Support.
That’s the approximate information you should know before Installing and using the ‘TeamViewer’. Now let’s begin its Installation process on Ubuntu 20.04.
Installation of TeamViewer on Ubuntu 20.04:
Note: To follow the installation, make sure that you are a ‘superuser’ or ‘root’ as the superuser provides unrestricted access to all the commands, files, resources, and directories.
Step 1: First of all, Open up the terminal by searching it manually in activities, or you can also press ‘CTRL+ALT+T’ to view the terminal window.
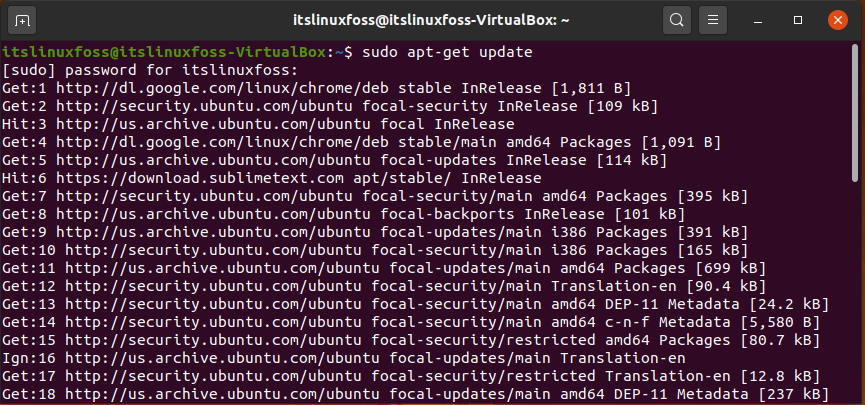
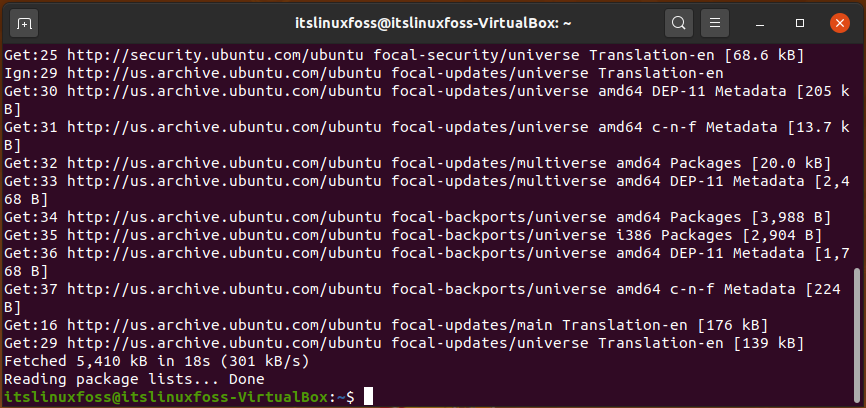
Step 2: Now update the package lists to upgrade the packages.
$ sudo apt-get update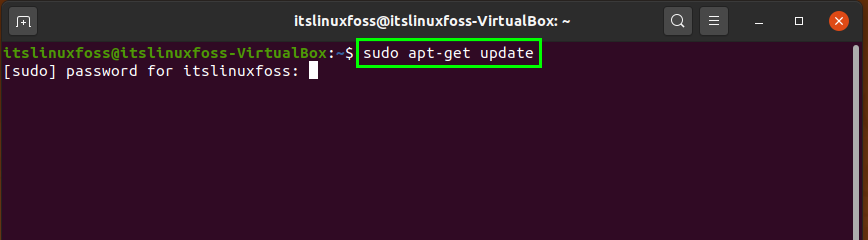
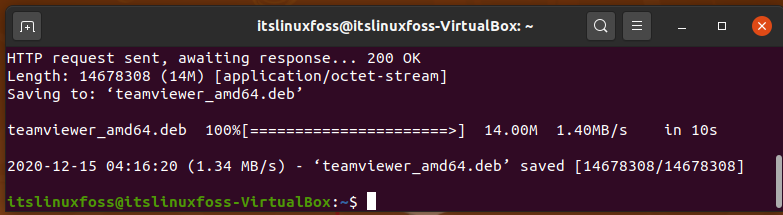
Step 3: After the quick packages update, move forward to download the ‘.deb’ latest package by typing the following command
$ wget https://download.TeamViewer.com/download/linux/TeamViewer_amd64.deb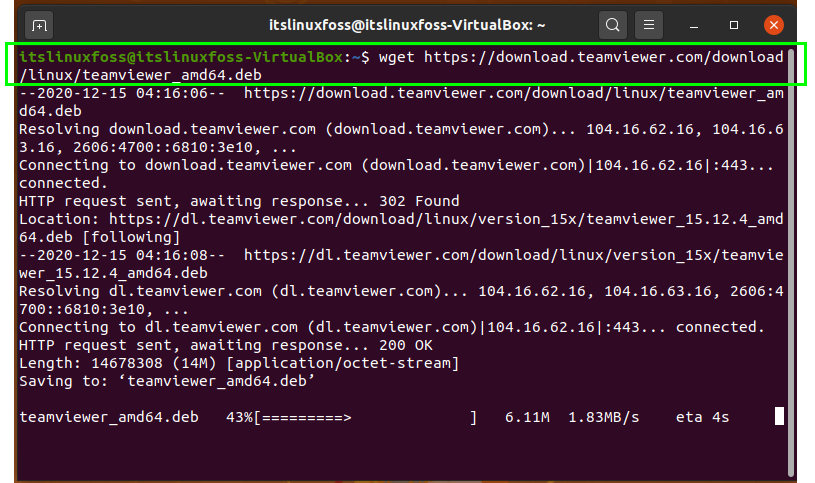
Wait for the download to complete in its estimated time.
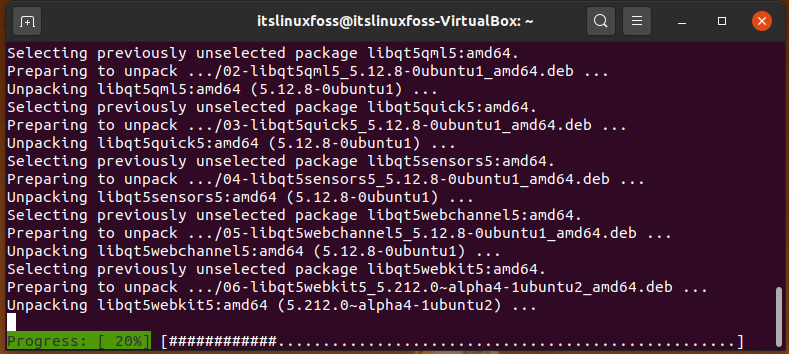
Step 4: As the download is complete, now you can install the TeamViewer by writing-out this command.
$ sudo apt install ./TeamViewer_amd64.deb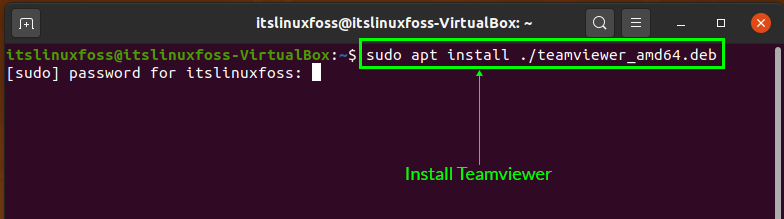
Enter your Password to allow the Installation.
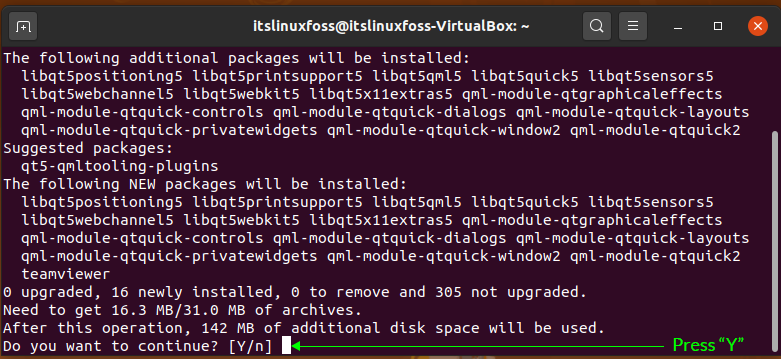
Press ‘y’ to proceed with the installation procedure.
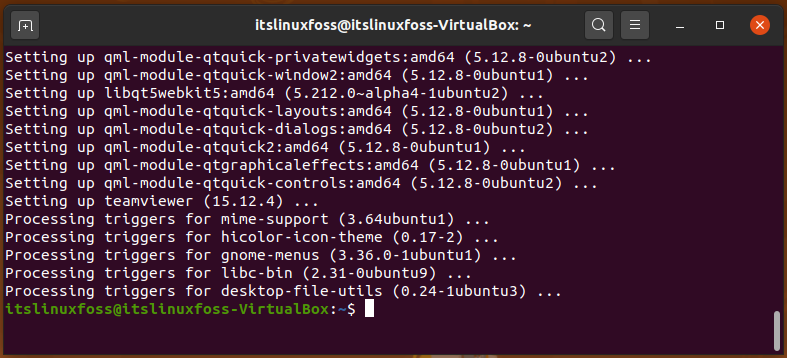
As the method of installation is completed. Now you can open the TeamViewer application by type ‘TeamViewer’ in your terminal.
$ TeamViewer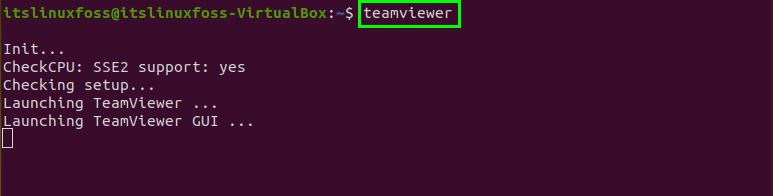
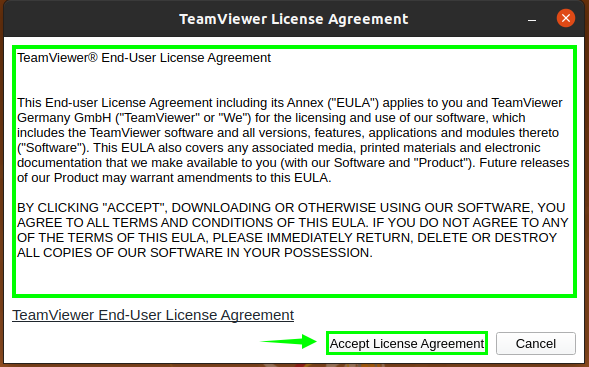
Read the License Agreement and accept it.
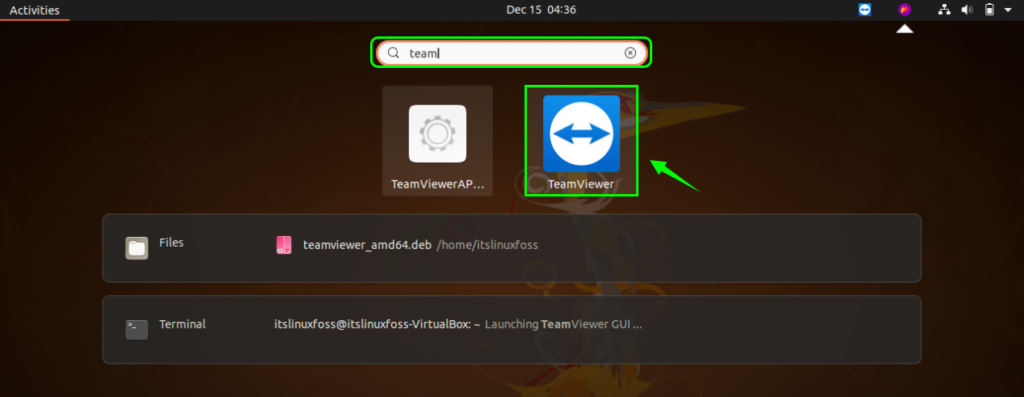
You can also search TeamViewer manually in the search bar of ‘Activities’ to open it.
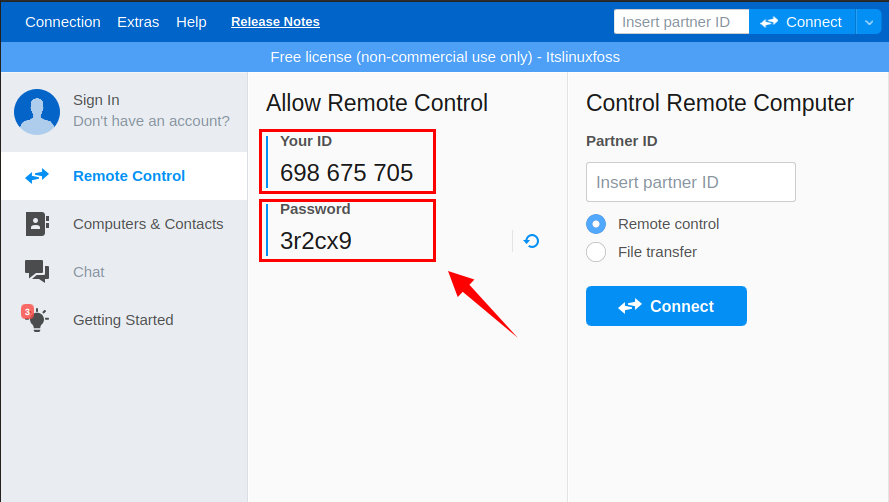
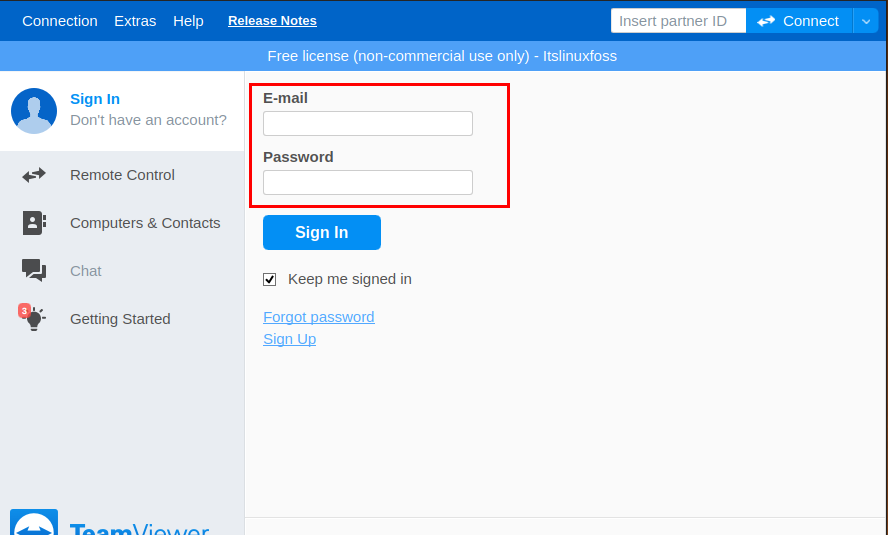
Now you can see the Interface of TeamViewer on your screen where you have the credentials including your ID and password which will be used for further operations.
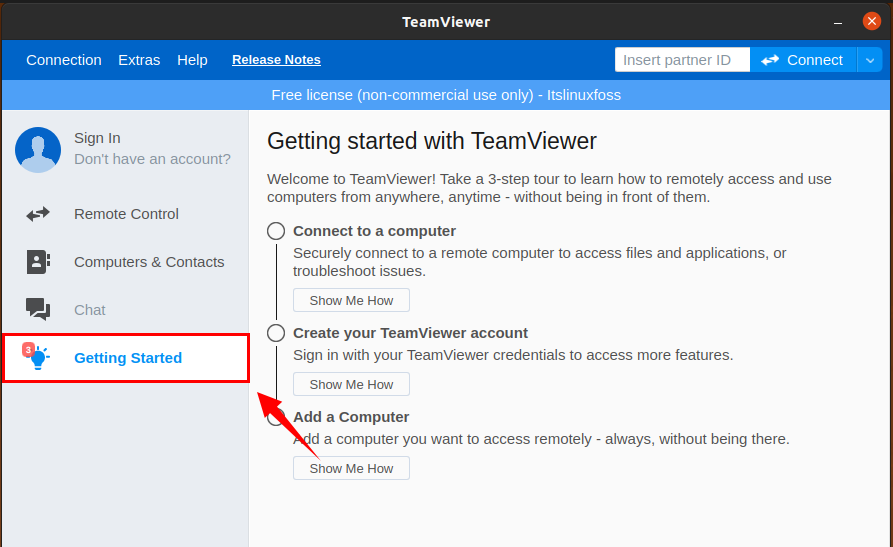
You can also follow the guide related to TeamViewer by selecting the option of ‘Getting Started’ from the left panel.
Sign In for further exploration of its functionalities. In order to remote access a system, you should know the system’s ID and its Password. After that, other actions depend upon your task.
Conclusion:
In this article, we have discussed the TeamViewer application, its features, and its uses. Furthermore, we have also shared the Installation method step by step. You can use this application for remote assistance, and to connect to any of your friend, device, or machine.

Saryia is a technology entrepreneur and digital publisher specializing in Linux, open-source technologies, and developer education.