
ImageMagick is a free and open-source application. It enables you to create, edit, and convert digital images where these images can be read and written in multiple image formats, including JPEG, WEB, SVG, PDF, PNG, and TIFF. ImageMagick is also used to resize, rotate, warp, and transform. ImageMagick performs better due to its multiple computational threads. Additionally, various additional effects and color adjustments can be applied to images using ImageMagick.
In this post, we will elaborate on the installation method of ImageMagick on Ubuntu 22.04:
- using Terminal
- using GUI
Let’s get started!
Method 1: Install ImageMagick on Ubuntu 22.04 using Terminal
To install ImageMagick using Terminal, follow the below-mentioned steps.
Step 1: Update Ubuntu system packages
In the first step, update the system packages:
$ sudo apt update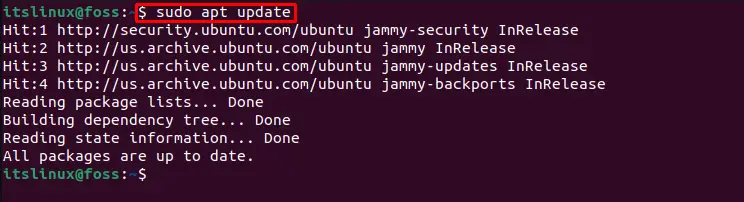
Now let’s move to the next step to install ImageMagick.
Step 2: Installing ImageMagick
In order to install ImageMagick on Ubuntu 22.04 use the below-given command:
$ sudo apt install imagemagick -y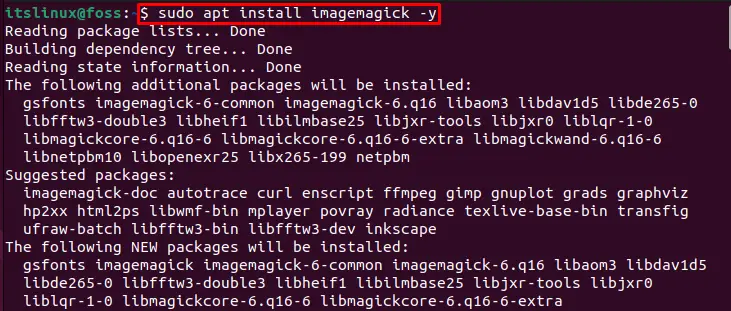
Step 3: Check ImageMagick version
Now, let’s check the version of the installed ImageMagick on Ubuntu 22.04 with the help of the provided command:
$ identify --version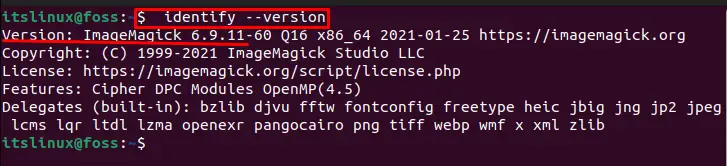
The above-given output indicates that we have successfully installed ImageMagick version “6.9.11” on Ubuntu 22.04.
Method 2: Install ImageMagick on Ubuntu 22.04 using GUI
Go through the following steps in order to install ImageMagick on Ubuntu 22.04 using GUI.
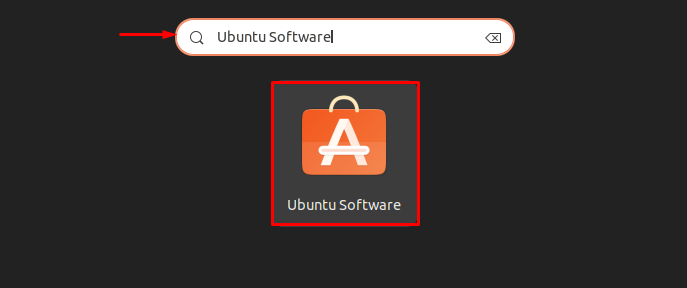
Step 1: Open Ubuntu Software store
In the “Activities” menu, first perform a search for “Ubuntu Software” and open it:
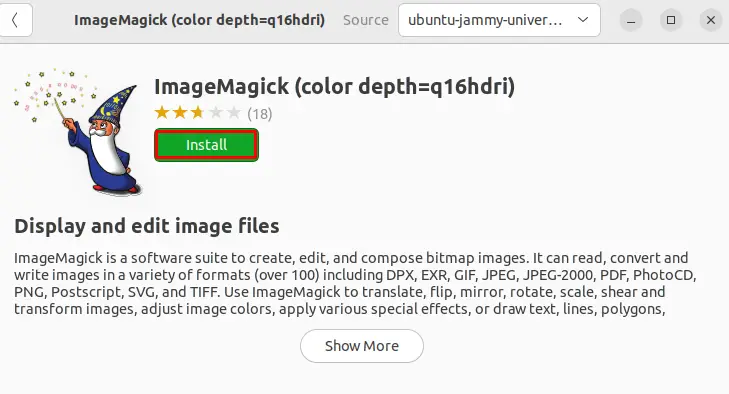
Step 2: Make a search for ImageMagick
Search “ImageMagick” in the search bar and open it from the displayed results:

Step 3: Install ImageMagick
Click on the “Install” button to begin ImageMagick installation on Ubuntu 22.04:
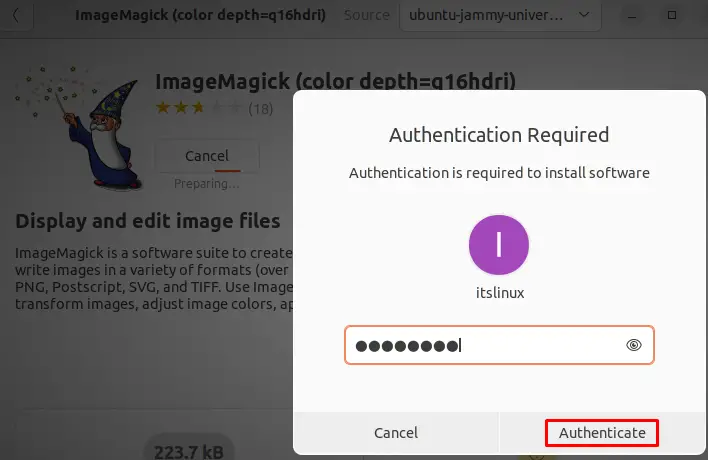
Step 4: Provide Password credential
Before starting the installation, the “Authentication Required” wizard will appear on the screen. Specify system password credentials and click on the “Authenticate” button:
As you can see, we have effectively installed ImageMagick on Ubuntu 22.04:

Let’s head towards the procedure to launch it on Ubuntu 22.04.
How to launch ImageMagick on Ubuntu 22.04
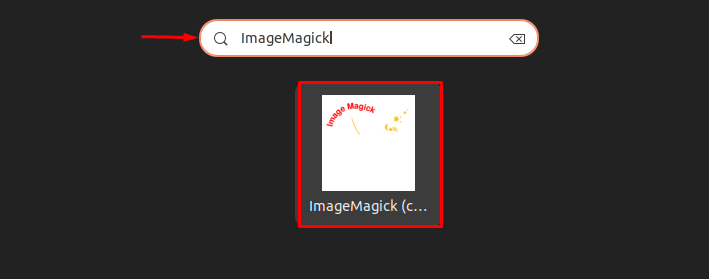
In order to launch ImageMagick on Ubuntu 22.04, first, search for “ImageMagick” in the “Activities” menu and open it:
That’s it! We have successfully launched ImageMagick on Ubuntu 22.04:

Let’s check out the uninstallation method of ImageMagick.
How to uninstall ImageMagick on Ubuntu 22.04
To uninstall ImageMagick from Ubuntu 22.04, utilize the below-mentioned command:
$ sudo apt autoremove imagemagick -y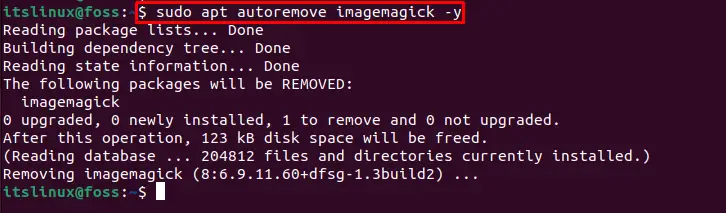
We have covered the necessary methods for ImageMagick installation, launch, and uninstallation on Ubuntu 22.04.
Conclusion
On Ubuntu 22.04, to install ImageMagick, you can either use Ubuntu’s GUI or the command line. The first approach is to use Ubuntu 22.04 terminal and execute the “$ sudo apt install imagemagick -y” command to install ImageMagick. In the GUI method, you can utilize the Ubuntu Software Center for ImageMagick installation. This article effectively elaborated all the essential methods used to install, launch, and uninstall ImageMagick on Ubuntu 22.04.

Saryia is a technology entrepreneur and digital publisher specializing in Linux, open-source technologies, and developer education.