Tomcat is also known as Apache Tomcat which is a container that contains the Jakarta expression, Jakarta servlet, and WebSocket technologies, along with these, it also provides an environment in which Java code can be executed. It is an open-source tool that is lightweight and offers great features like securing by SSL. Debian 11 is the latest release of Debian, in this follow-up we will learn the installation procedure of the Tomcat 9 on Debian 11 in detail.
How to install Tomcat 9 on Debian 11
Before installing the Tomcat 9 on Debian 11, first, we have to initialize port 8080 which is by default assigned to Tomcat using the ufw command:
$ sudo ufw allow 8080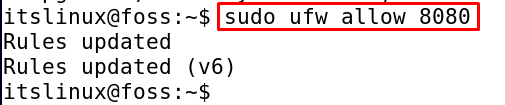
To update the repository of Debian 11 by using the command:
$ sudo apt update
Now some packages needed to be updated, so we can update them using the command:
$ sudo apt upgrade -y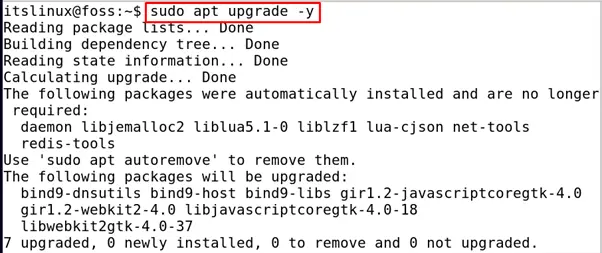
Once the package is upgraded, the packages are up to date, now we will install the package of Java, as we know the Tomcat 9 is written in Java, so Java is a prerequisite of Tomcat 9, so for its installation, execute the command:
$ sudo apt install default-jdk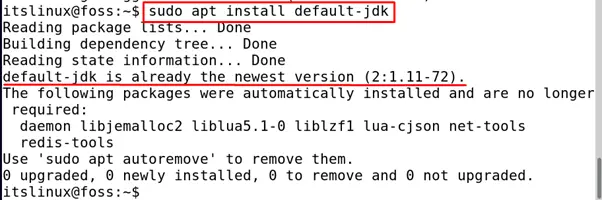
In our case, we can see from the output, the Java package has already been installed, but if it is not then it can be installed using the above command.
Installation of Tomcat9:
To install the Tomcat using the apt command, run the following command:
$ sudo apt install tomcat9 -y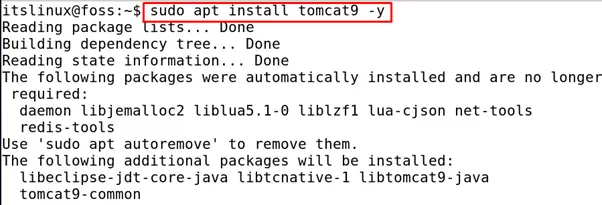
Once the installation is completed, we will add the group by running the command:
$ sudo groupadd tomcat9
Once the group is added, we will add a user to it by running the command:
$ sudo useradd -s /bin/false -g tomcat9 -d /etc/tomcat9 tomcat9
Once the user is added to the group, start the Tomcat 9 service by using the systemctl command:
$ sudo systemctl start tomcat9
To check the status using the systemctl command:
$ sudo systemctl status tomcat9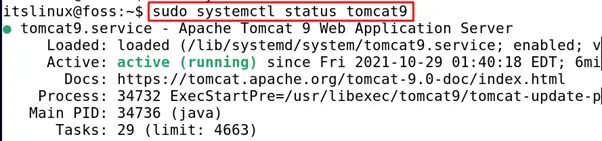
So the system is running, now once the Tomcat 9 is running, we will provide its access to the user by configuring its XML file with the help of nano editor.
$ sudo nano /etc/tomcat9/tomcat-users.xml
Once the file is being opened, copy the text below and paste it at the end of the file above the line “</tomcat-users>” by replacing the “itsfoss” with your user name and “mypassword” with the password you want to set.
<role rolename="admin"/>
<role rolename="admin-gui"/>
<role rolename="manager"/>
<role rolename="manager-gui"/>

<user username="itsfoss" password="mypassword" roles="admin,admin-gui,manager,manager-gui"/>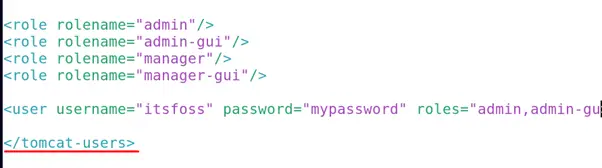
Once it’s done, press CTRL+S to save the file and then CTRL+X to close the editor.
Now restart the service by using the systemctl command:
$ sudo systemctl restart tomcat9 
Now open the browser, and type the link and click on go:
http://localhost:8080/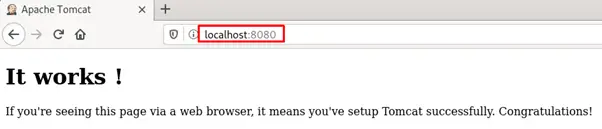
The output shows the tomcat 9 is successfully installed, now to install Tomcat 9 web-manager and host-manager, run the following command:
$ sudo apt install tomcat9-admin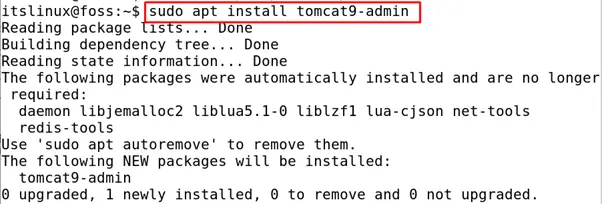
Now to access it, paste this on your browser:
http://localhost:8080/manager/html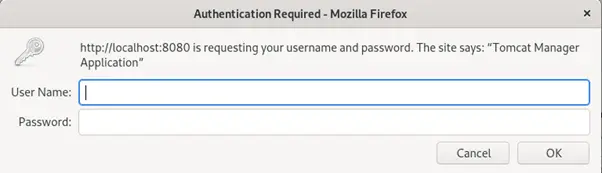
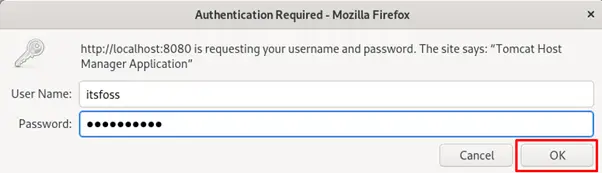
A prompt will be appeared, enter the set user name and password, in our case, the user name is “itsfoss” and the password is “mypassword”:
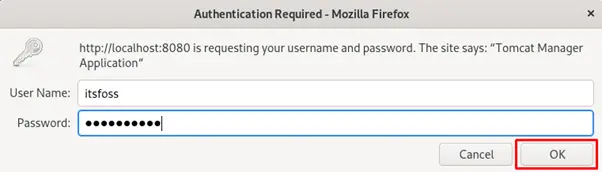
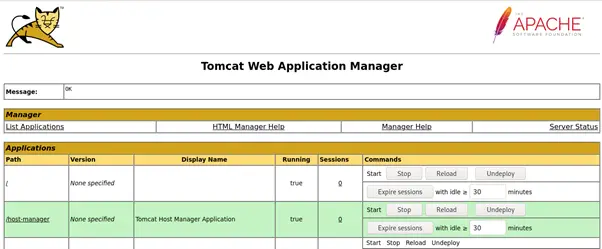
Once you pressed the OK button, the Tomcat web application manager will be displayed.
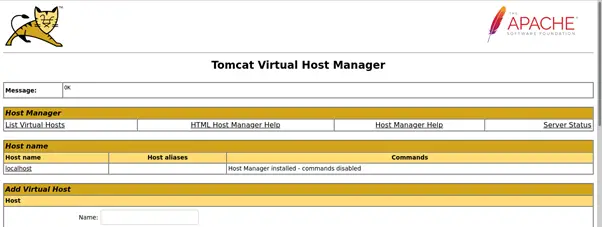
Now if we want to access the virtual host manager of Tomcat, then go to the following URL in the browser:
http://localhost:8080/host-manager/htmlAgain enter the same credentials in the prompt screen that appears on the screen and press the OK button.
The Tomcat virtual host manager will be opened.
How to uninstall Tomcat
To uninstall the tomcat 9, execute the following command:
$ sudo apt remove tomcat9 tomcat9-admin -y
Conclusion
Tomcat 9 is the container that is used for java applications and is compatible with every operating system. In this follow-up, we discussed the installation procedure of Tomcat 9 on Debian 11 with the use of the apt command method which is slightly much easy and also configured the Tomcat 9 by setting a password, so one can access the web application manager and virtual host manager.

Saryia is a technology entrepreneur and digital publisher specializing in Linux, open-source technologies, and developer education.