Network File Share is the Linux protocol used to share files. This is commonly used in a network with multiple users connected to the same server. The NFS server is installed on the main server, where all the users can share and access the shared data.
To use the NFS protocol in Ubuntu, it should be installed on the client machine and the host machine. This write-up will explain the installation of the NFS protocol on the host machine and its configuration.
- Install NFS Server on Ubuntu 22.04
- Configure the NFS Server on Ubuntu 22.04
- Install and Test NFS on Client Machine
- Uninstall NFS Server on Ubuntu 22.04
How to Install NFS Server on Ubuntu 22.04?
To install the NFS server on the client and host machine, perform all the below steps.
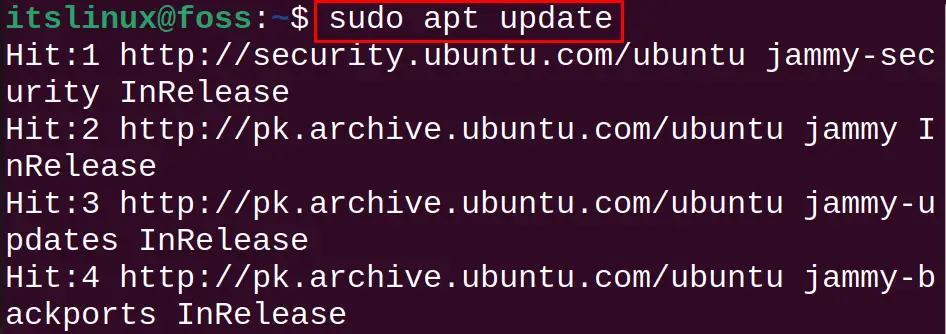
Step 1: Update the Packages
To ensure that the updated package of the NFS protocol is going to install, update all the packages:
$ sudo apt update -y
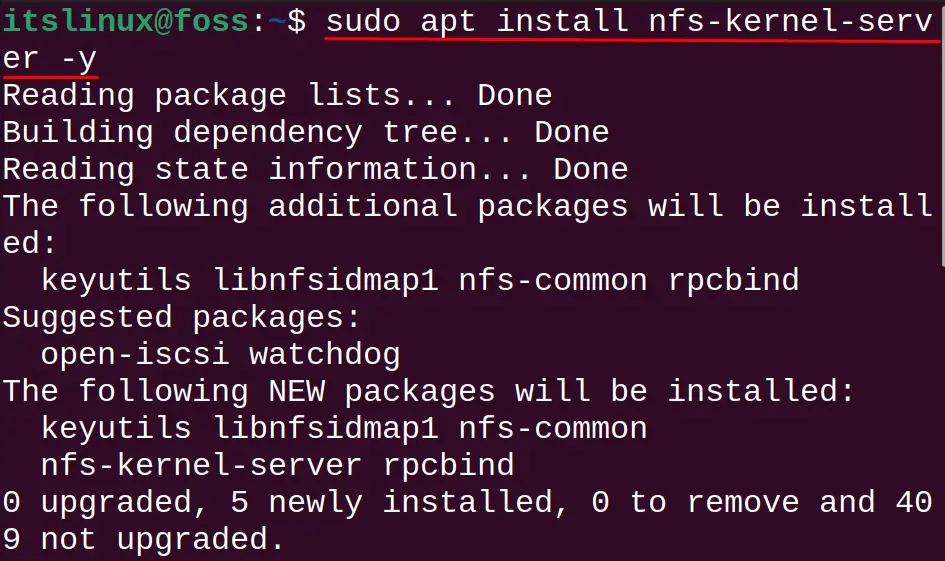
Step 2: Install the NFS Server
After updating the packages, install the NFS server’s package from the default repository of Ubuntu:
$ sudo apt install nfs-kernel-server -y
Step 3: Check Status of NFS Server
After the installation is completed, display the status of the NFS Server:
$ sudo systemctl status nfs-kernel-server
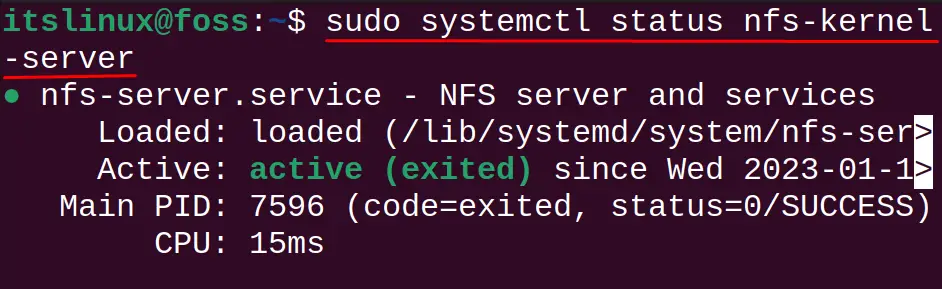
The “active” status of the NFS Server confirms the successful installation of the NFS Server on Ubuntu.
What is the Method to Configure the NFS Server on Ubuntu 22.04?
When the NFS server is installed on Ubuntu, the next procedure is configuring the NFS server.
Perform the steps explained below for the configuration of the NFS Server.
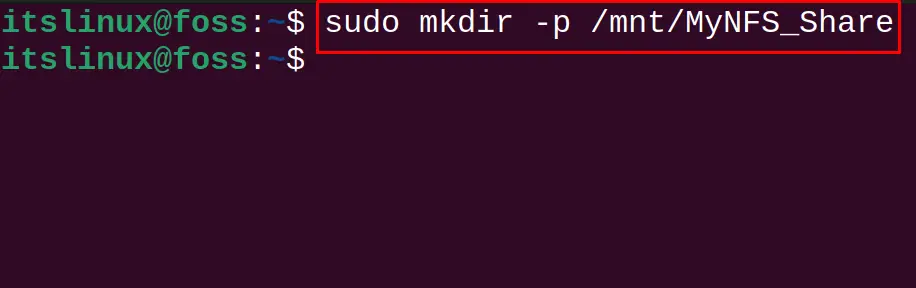
Step 1: Make an NFS Shared Directory
First, create a directory in Ubuntu; we are making it on the /mnt/ directory. Then use the mkdir command to create the MyNFS_Share directory with the “p” option. This option of the mkdir is used to create the parent directory:
$ sudo mkdir -p /mnt/MyNFS_Share
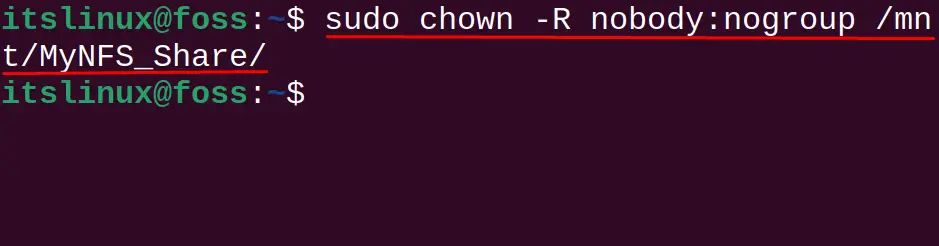
Step 2: Change the Ownership
The ownership of the directory belongs to the user itslinux. It should be changed to the nobody so that it should not be limited to one user only:
$ sudo chown -R nobody:nogroup /mnt/MyNFS_Share/
Step 3: Make the Directory Accessible
The purpose of the directory is to share all the files in it. These files can be accessed by all the users connected to the server. For this, we have to change the access permission of the newly created directory, after which all users can access it:
$ sudo chmod 777 /mnt/MyNFS_Share/

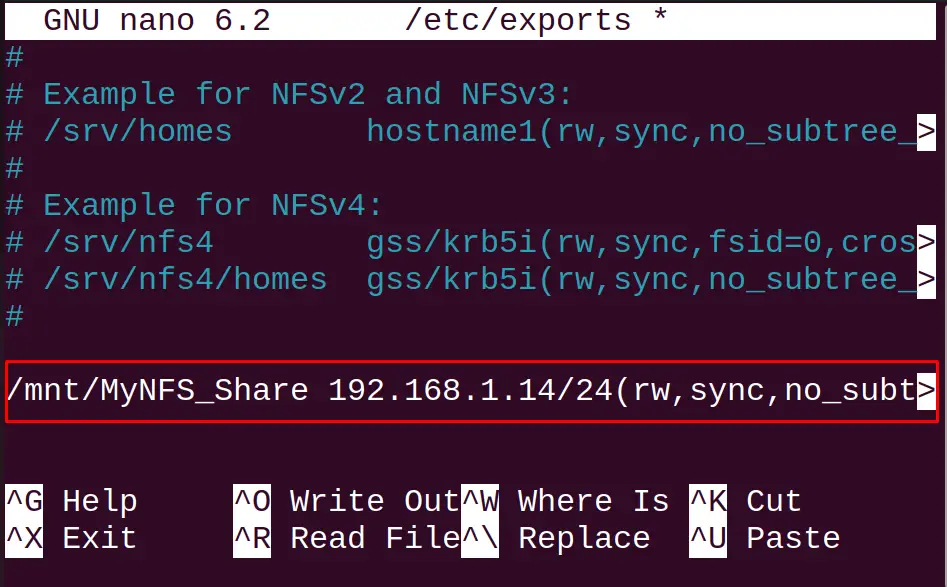
Step 4: Configure the Export File
After performing all the steps above, now we have to tell the NFS Server about the newly created directory. For this, we will open the configuration file of the NFS server using the text editor:
$ sudo nano /etc/exports

At the end of the file, you have to type a line with the following general syntax:
/mnt/MyNFS_Share CLIENT_IP(rw,sync,no_subtree_check)
In the above general syntax, replace the Client IP with the actual IP address of client machine. For example, if you want to mount the entire subnet, then use the command:
/mnt/MyNFS_Share 192.168.1.14/24(rw,sync,no_subtree_check)
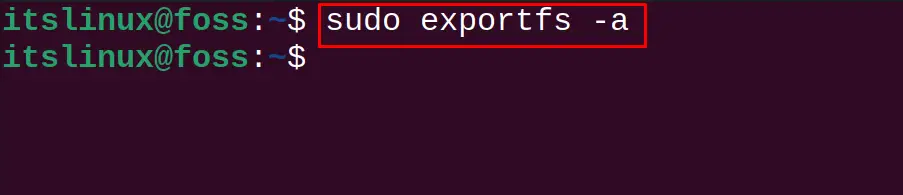
Close the file by saving the change and then applying the new changes:
$ sudo exportfs -a
Step 5: Restart the NFS Server
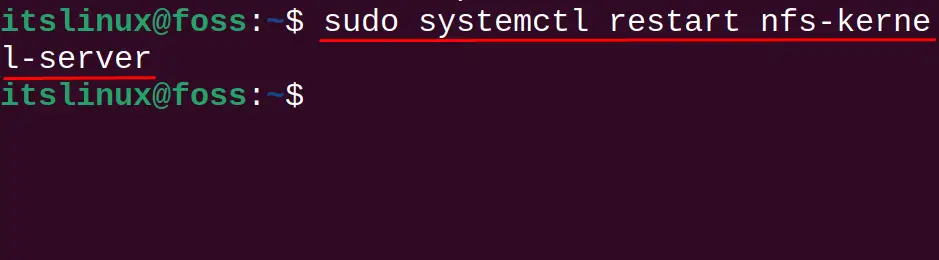
After making the changes in the NFS Server, restart it:
$ sudo systemctl restart nfs-kernel-server
Step 6: Grant Firewall Access
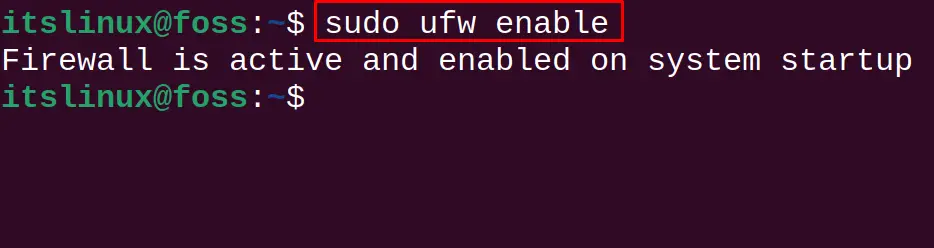
To allow the other machines to access our machine, we have to make the ufw enable using the command:
$ sudo ufw enable
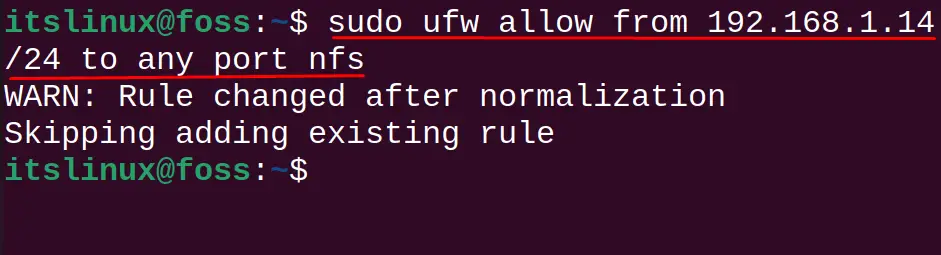
Then, allow the client ip address to access the machine from any port of the machine:
$ sudo ufw allow from 192.168.1.14/24 to any port nfs
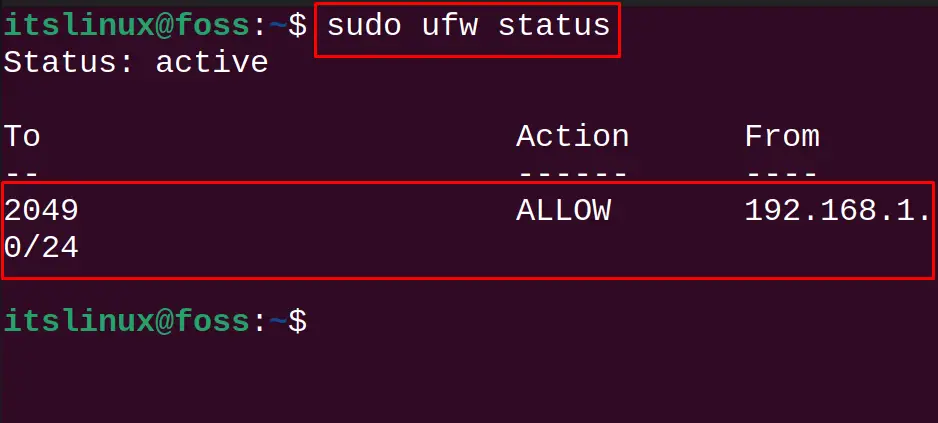
Check the status of the UFW:
$ sudo ufw status
The configuration of the NFS Server has been completed.
How to Install and Test NFS on Client Machine?
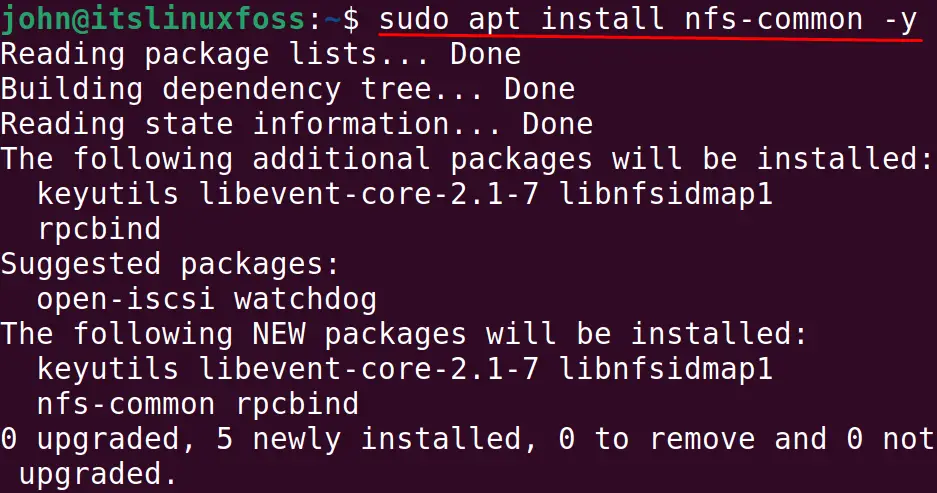
For testing the NFS Server, we will install the NFS on the Client machine:
$ sudo apt install nfs-common -y
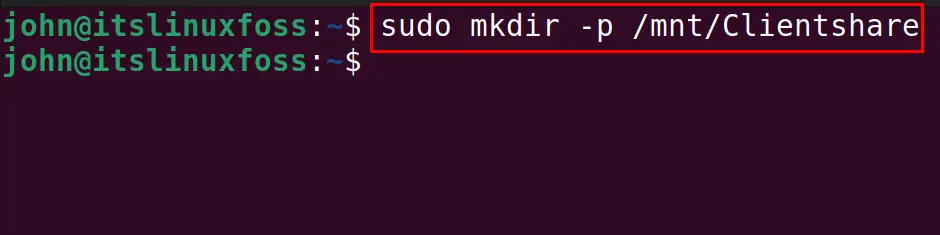
After installing the NFS, we will create a mount directory in the client machine:
$ sudo mkdir -p /mnt/Clientshare
Then use the IP address of the Host machine to mount the client’s directory:
$ sudo mount 192.168.1.13:/mnt/MyNFS_Share /mnt/Clientshare

To test the working of the NFS server, create some files in the “Clientshare” in the server machine. After which, access them from the client machine:
$ ls -l /mnt/Clientshare/
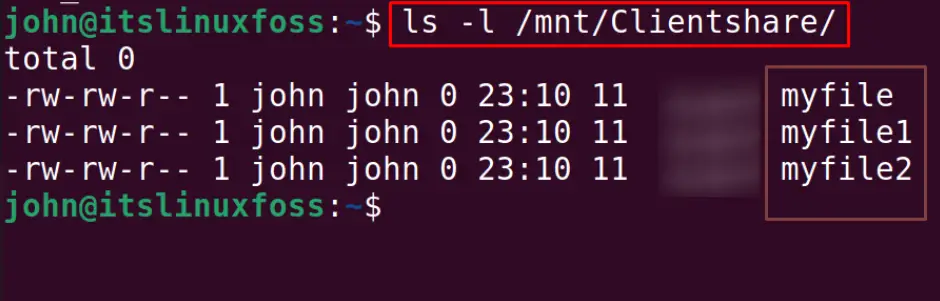
All the files in the /mnt/MyNFS_Share can be accessed.
How to Uninstall NFS Server on Ubuntu 22.04?
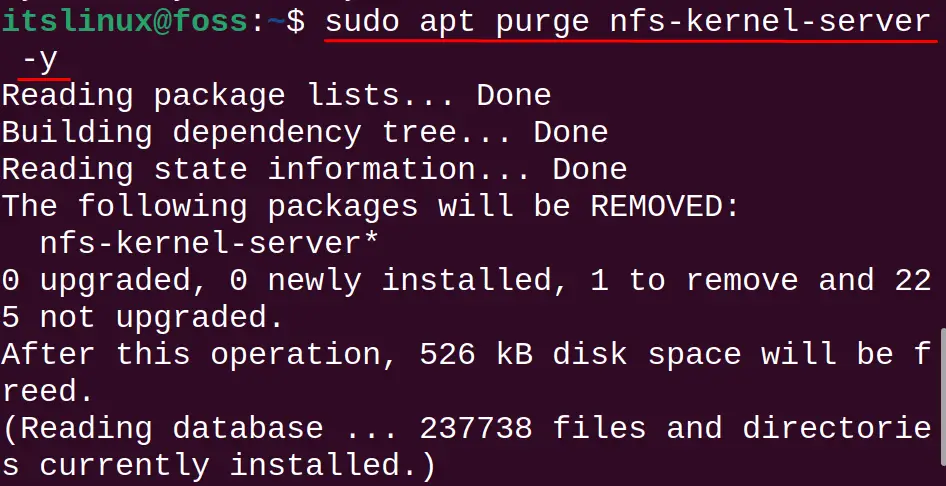
We can uninstall the NFS server with all its configuration files:
$ sudo apt purge nfs-kernel-server -y
Conclusion
To install an NFS Server on Ubuntu, run the command “sudo apt install nfs-kernel-server -y”. For configurations, the users must create an NFS directory and manage its permissions/owner. The installation and configuration of the NFS on Ubuntu have been explained in detail in this blog.
