
If there are different machines based on Linux operating system and Windows, and the users need to share files among these two machines, then the recommended option is Samba. It is the windows interoperability program suite used to implement the Server Block Message applications. It helps Unix users to share the file with Windows users by making a directory in the same network.
In this write-up, the installation method and configuration method of Samba has been discovered for Ubuntu Jammy Jellyfish, and the outline of the blog will be:
How to Install and Configure Samba on Ubuntu 22.04?
Samba can be installed on Ubuntu 22.04 following the steps provided below:
Step 1: Install the Samba
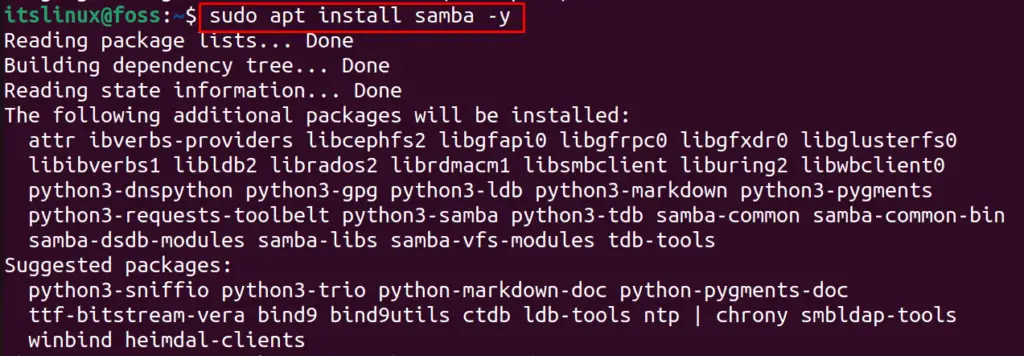
Samba package is included in the repository of Ubuntu, so it can be installed by running the command:
$ sudo apt install samba -y
Step 2: Perform the Necessary Configurations
After the Samba is installed, open the configuration file of Samba using the nano text editor:
$ sudo nano /etc/samba/smb.conf

Add the below-mentioned lines next to the “#Printers”:
[new_share]
        comment = myshare
        path = /home/usr/share
        browseable = yes
        read only = no
        guest ok =no
        valid user = itslinux
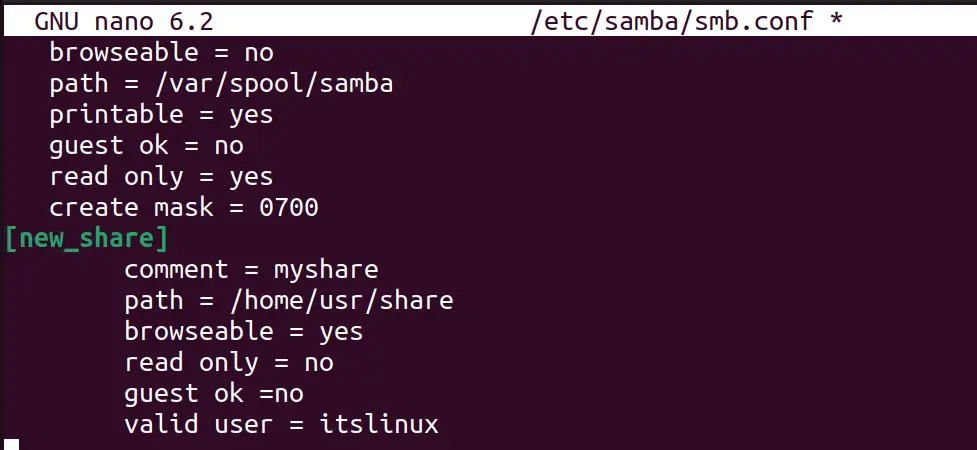
The above lines are the access permissions and the path where the Samba files should be placed. After adding these lines, save and exit the editor using the CTRL+S and CTRL+X. Here, the valid username is set to “itslinux” and the directory named “new_share” will also be created.
Step 3: Restart the Samba
Then, restart the samba service using the systemctl command line utility:
$ sudo systemctl restart smbd

The Samba service has been restarted.
Step 4: Switch to Root User
After restarting, switch to the root user as we need to configure the password afterward:
$ sudo -s

Step 5: Set a Password
Set the password for the Samba user so unauthorized users cannot access it:
# smbpasswd -a itslinux

After setting the password, use the keyword “exit” to switch back the normal user.
Step 6: Install Samba-Client
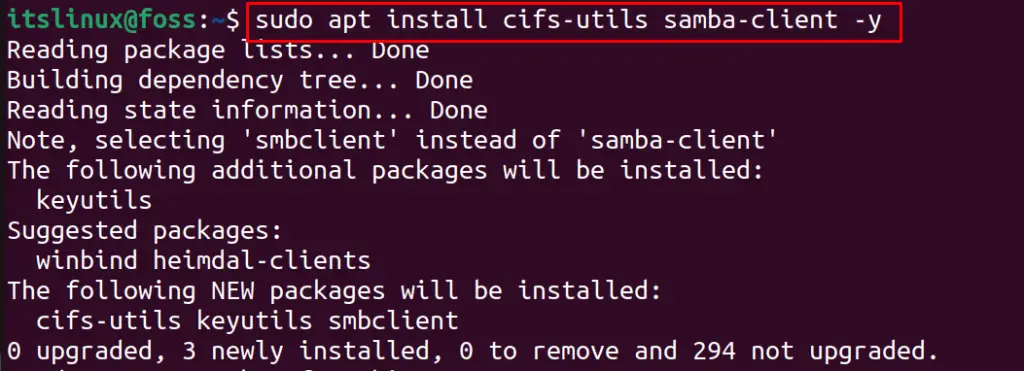
To establish the connection between Linux and Windows, we have to install the client and Utils package of Samba on Ubuntu via the command:
$ sudo apt install cifs-utils samba-client -y
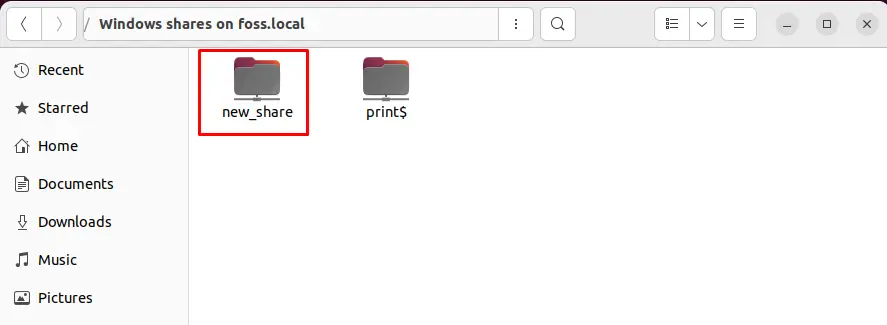
After the installation, open the “Other Locations” file manager and a new location will be seen:
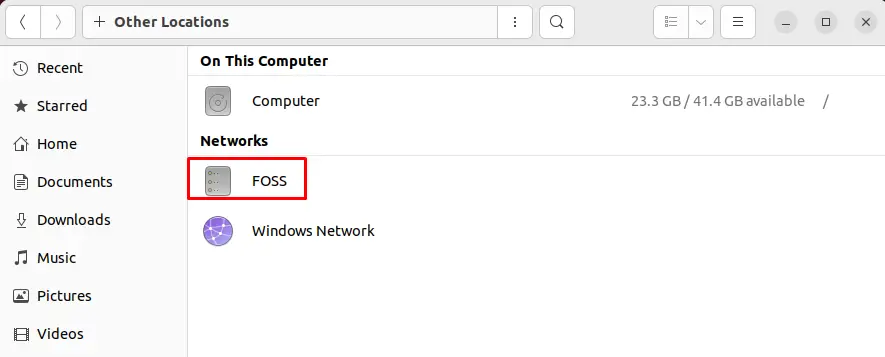
Click on the folder, and the “new_share” directory will be available, which can be used to share files. This directory was made during the execution of step 2 of this write-up:
How to Remove Samba on Ubuntu 22.04?
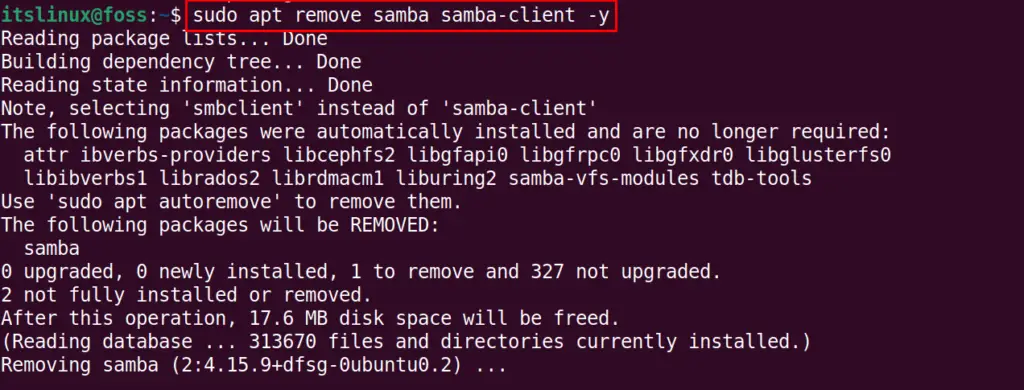
To remove the Samba-Client and Samba from Ubuntu 22.04, run the command:
$ sudo apt remove samba samba-client -y
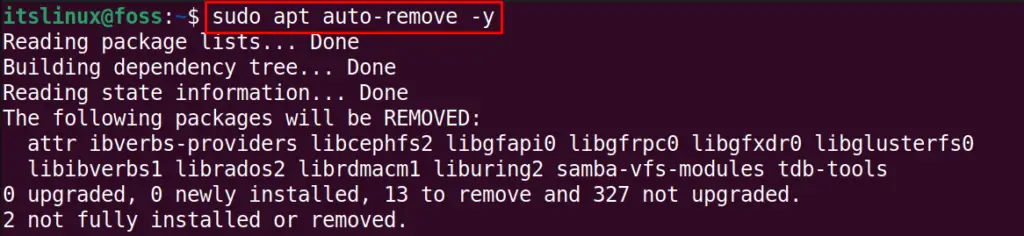
After removing both packages, it is recommended to use the command to remove any unnecessary packages:
$ sudo apt auto-remove -y
That’s all about the installation, configuration, and removal of the Samba on Ubuntu 22.04.
Conclusion
To install the Samba on Ubuntu, run the command “sudo apt install samba -y” in the terminal. To configure Samba, the users need to access the file, i.e., “sudo nano /etc/samba/smb.conf”, and do the recommended steps. This post has briefly explained the installation and configuration steps of Samba on Ubuntu 22.04.
