
GNOME is the desktop environment for Ubuntu which is a popular distribution of Linux. However, some users may have installed an earlier version of Ubuntu that uses Unity as the default desktop environment, or they may have accidentally removed GNOME while trying to remove unwanted software.
This guide aims to explain the step-by-step procedures for installing GNOME on Ubuntu. The content that supports this tutorial is mentioned below:
Let’s start the installation process of the GNOME desktop.
Method 1: How to Install Complete GNOME Package on Ubuntu?
GNOME provides a user-friendly interface, including a menu system, a panel for launching applications, and a file manager. To install GNOME on Ubuntu, the apt package manager is used. The steps by step instructions to install GNOME are provided below:
Step 1: Update System Repository
To update the system repository, the “update” command is used with the “sudo” privileges as given below:
$ sudo apt update

The output updates all the packages in the Ubuntu repository.
Step 2: Install the GNOME Desktop Environment
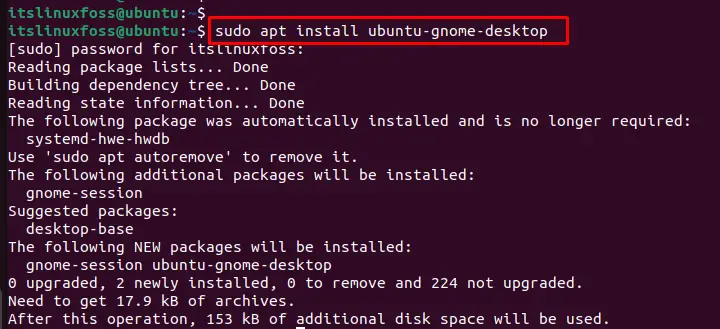
To install the GNOME Desktop Environment, execute the “ubuntu-gnome-desktop” command using the “sudo” privileges as below:
$ sudo apt install ubuntu-gnome-desktop
After the successful execution of the above command, reboot the system by following the below step.
Step 3: Reboot System
Once the installation is complete, reboot the operating system to configure all dependencies files:
$ reboot

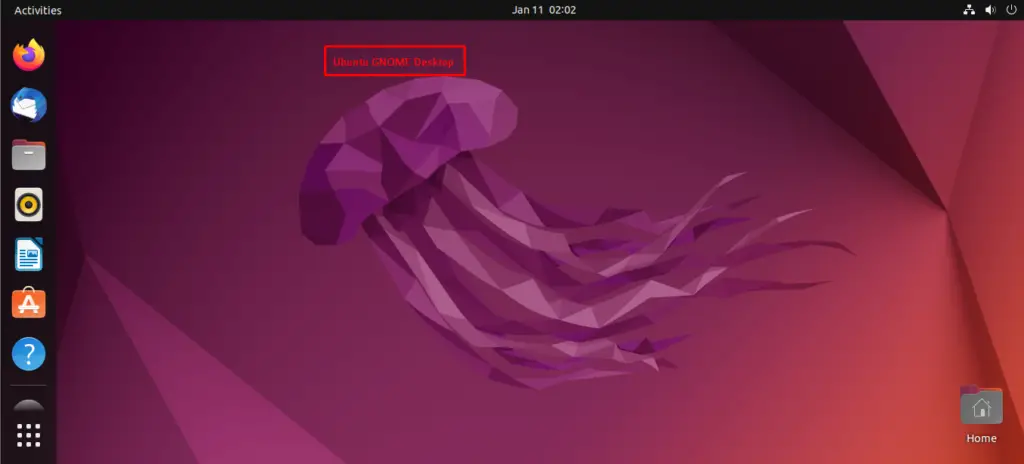
Step 4: Verify the GNOME Desktop Environment
After rebooting the system, the fresh screen of the GNOME desktop environment can be displayed in the below screenshot:
Let’s head over the GNOME desktop minimal method.
Method 2: How to Install GNOME Desktop Minimal on Ubuntu?
The GNOME desktop minimal is the lighter version of GNOME, having limited functionality compared to the GNOME desktop environment. The step-by-step instructions are provided below to install the GNOME desktop minimal:
Step 1: Install the GNOME Desktop Minimal
To install the GNOME desktop minimal version on Ubuntu, execute the “ubuntu-desktop-minimal” command with the “sudo” privilege as below:
$ sudo apt install ubuntu-desktop-minimal
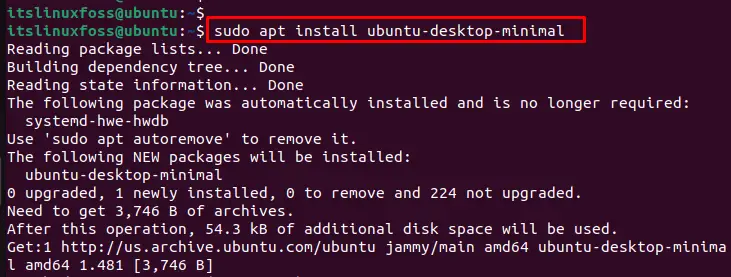
The above command installs all required packages that are associated with the GNOME.
Step 2: Reboot System
Once the installation is complete, reboot the operating system to configure all dependencies files:
$ reboot

This command takes some time to restart the system.
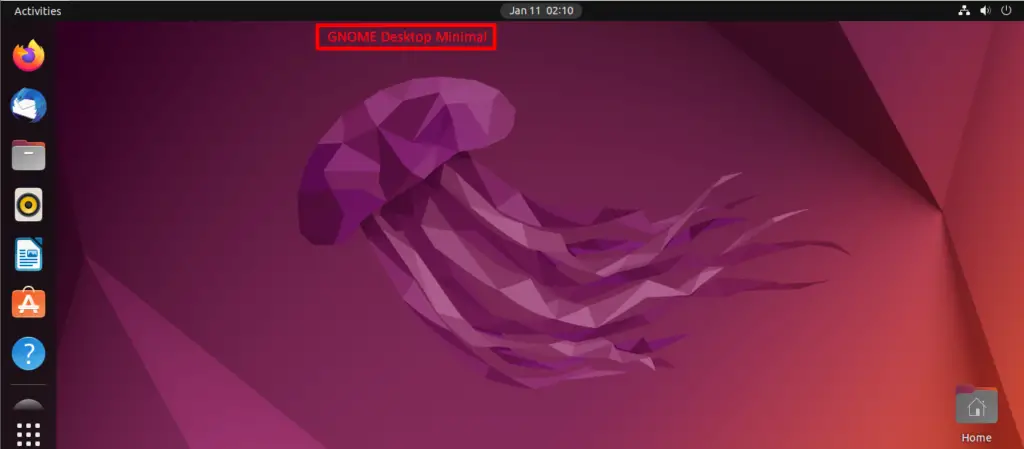
Step 3: Verify the GNOME Desktop Minimal
After restarting the system, the GNOME desktop minimal screen can be displayed below screenshot:
Step 4: Check the GNOME Version
To check the current version of GNOME, the “gnome-shell” command is utilized with the “version” option as below:
$ gnome-shell --version

The output shows that the installed version of GNOME is “42.5”.
That is all from the installation of GNOME on Ubuntu.
How to Remove GNOME From Ubuntu?
To uninstall the GNOME desktop version, the “autoremove” utility is used with the “sudo” privilege as below:
$ sudo apt autoremove ubuntu-gnome-desktop
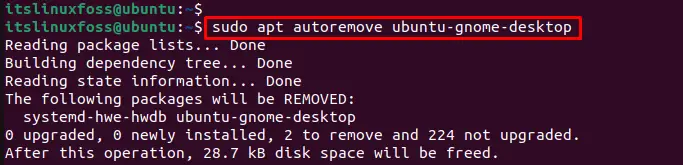
It removes all the dependencies files with the “GNOME” desktop environment from the system.
Conclusion
To install the GNOME desktop environment and minimal version, run the “ubuntu-gnome-desktop” and “ubuntu-desktop-minimal” commands. Additionally, you can check the current version of GNOME by executing the “gnome-shell” command with the “version” option. This article has explained the step-by-step procedure to install GNOME on Ubuntu.
