
ImageMagick is an open-source software suite that is used for multiple purposes such as editing images and videos. Moreover, it is supported in different formats including PNG, and JPEG. It is usually used to create thumbnails, gifs, and rendering videos.
ImageMagick is one of the tools known by web developers and graphic designers. It has a broad application in different domains of daily life including the medical discipline, astronomy, and scientific-based research.
Some of the tasks in image and video editing which can be done by using ImageMagick are:
- It is used for the creation of animated GIFs
- It supports color management with color profiles
- It supports the color threshold
- It can be used to overlap the image with another
- It is used to read, write, process the images with the large pixel files
- It can insert special effects and transform the images
ImageMagick can be downloaded and installed on multiple operating systems including the Linux, IOS, MacOS, and Windows platforms. This write-up will demonstrate the installation and basic usage of ImageMagick on Debian following the outline:
- How to Install ImageMagick on Debian Linux Using the Terminal
- Method 1: Install ImageMagick on Debian Using the Source Code
- Method 2: Install ImageMagick on Debian Using the Package List
- What is the Basic Usage of the ImageMagick on Debian Linux
- Examples
- How to Uninstall ImageMagick on Debian
Let’s start the post by exploring the installation steps of ImageMagick on Debian.
How to Install ImageMagick on Debian Linux Using the Terminal?
ImageMagick can be installed on Debian either by using its source package or from the default package list of Debian as explained in the next sections.
Method 1: Install ImageMagick on Debian Using the Source Code
To install ImageMagick on Debian using the source code, open the terminal and follow the instructions explained in the next-mentioned steps.
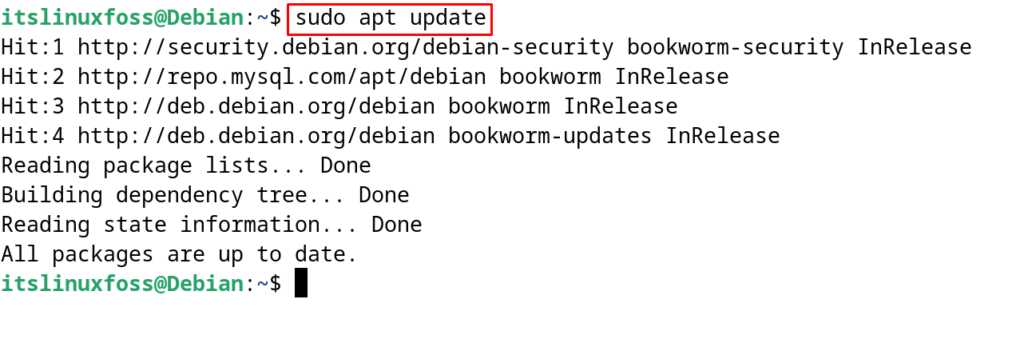
Step 1: Update the Package List
First, update the default package list of Debian with the execution of the command:
$ sudo apt update
Step 2: Install Git
ImageMagick’s repository is supposed to be cloned from Git. Therefore, it is important to install Git with the method explained in this linked blog.
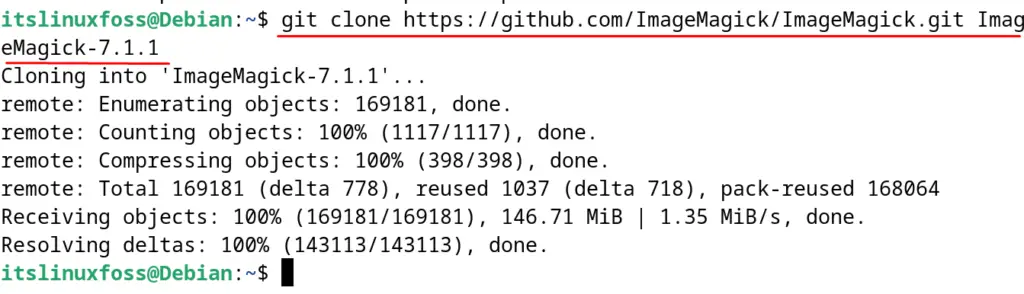
Step 3: Clone the ImageMagick’s Repository
After installing the “Git” package, now its time to clone the repository of ImageMagick with the execution of the following command:
$ git clone https://github.com/ImageMagick/ImageMagick.git ImageMagick-7.1.1
Step 4: Open the Cloned Repository
Now navigate to the cloned repository with the cd command:
$ cd ImageMagick-7.1.1

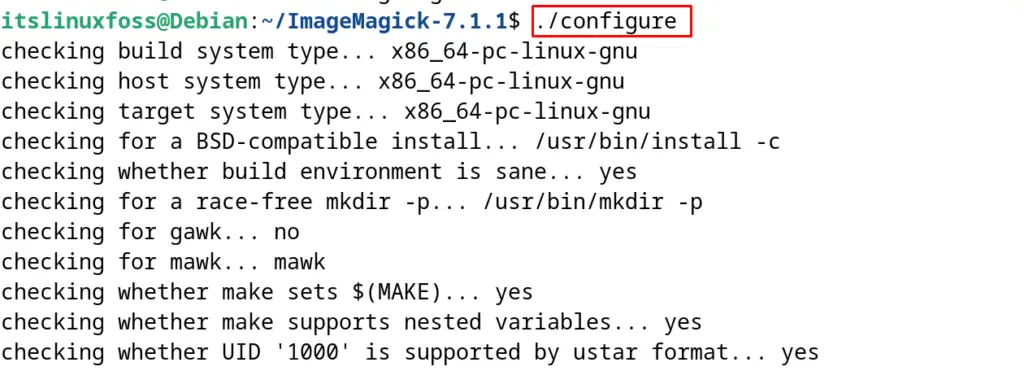
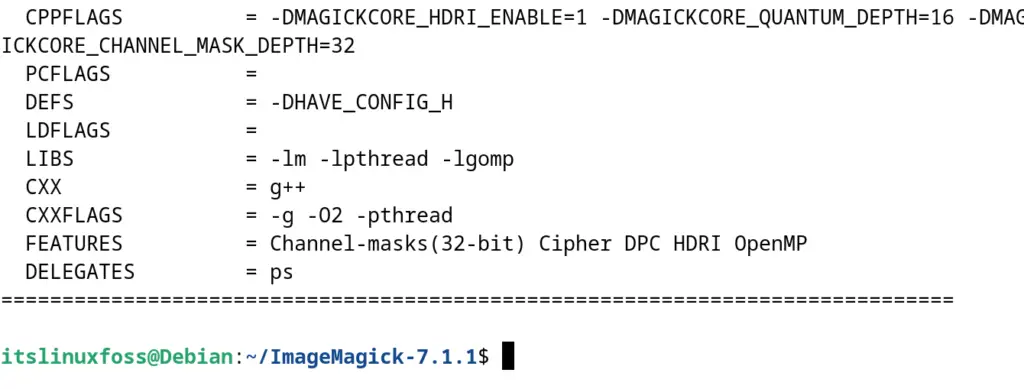
Step 5: Configure the ImageMagick
Configure the binaries of the ImageMagick’s source file by running the command:
$ ./configure
Step 6: Make the ImageMagick Binaries
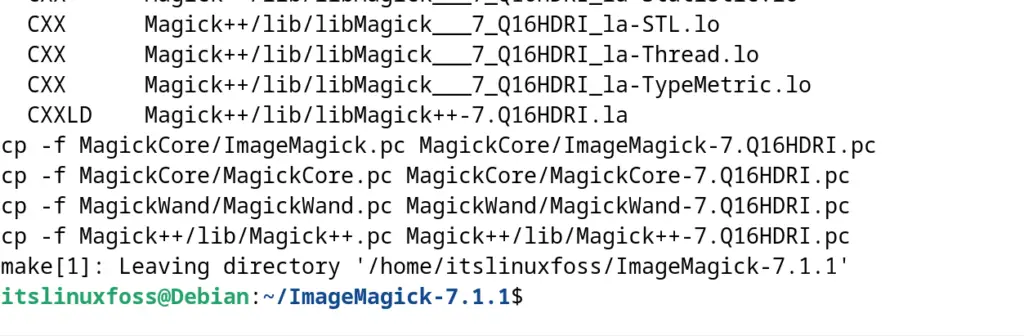
Now start the complication of the source binaries of the “ImageMagick” on Debian:
$ sudo make

If the “make” package is not installed on Debian, then follow the mentioned blog.
Step 7: Install ImageMagick on Debian
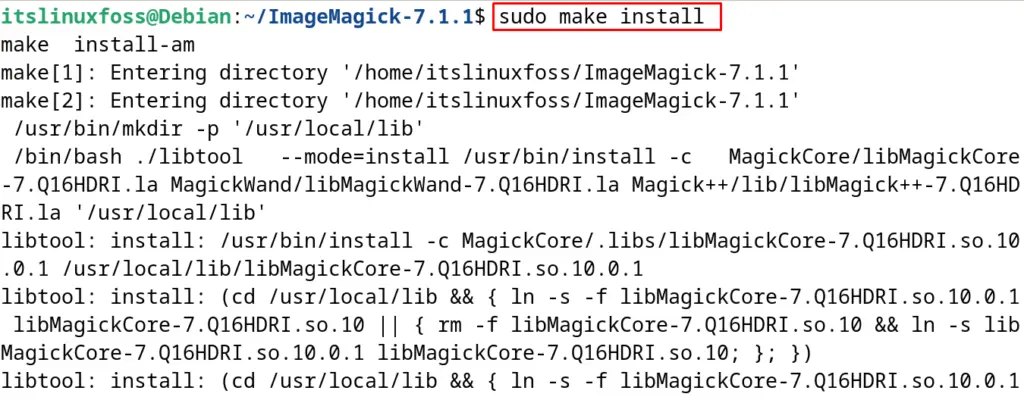
Finally, install ImageMagick on Debian after configuring and compiling its source binaries with the command:
$ sudo make install
Then run the command:
$ sudo ldconfig /usr/local/lib

Step 8: Confirm the Installation
To confirm the installation of “ImageMagick”, restart the terminal and display its installed version with the command:
$ magick --version
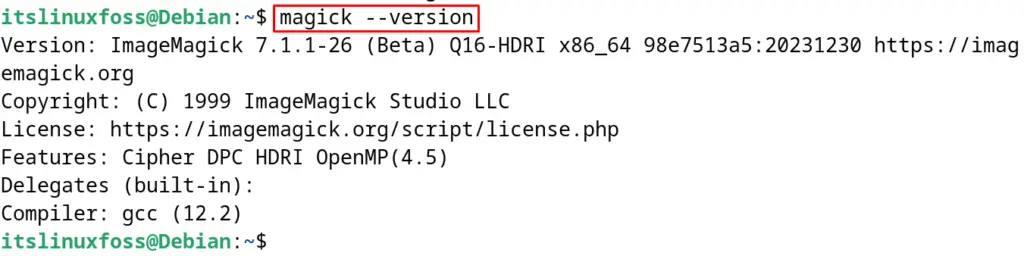
It means that the ImageMagick has been successfully installed on Debian 12 using its source binaries.
Method 2: Install ImageMagick on Debian Using the Package List
Another method to install the ImageMagick on Debian is by using the package list of Debian. For this, use the apt command’s “install” option and run the following command:
$ sudo apt install imagemagick -y
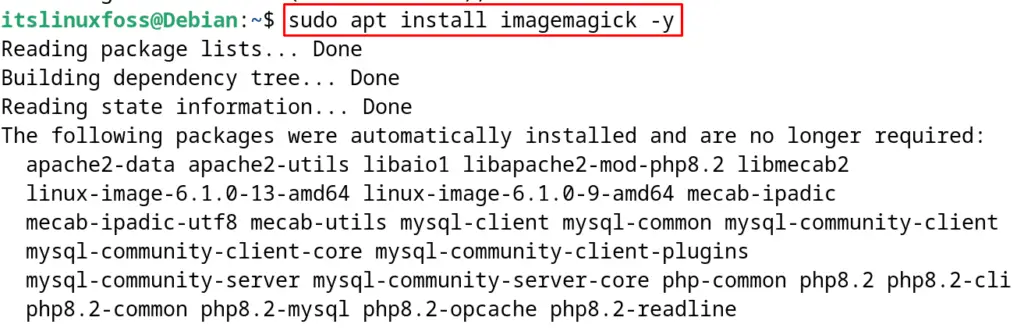
The package of the ImageMagick has been installed on Debian with the successful execution of the above command.
What is the Basic Usage of the ImageMagick on Debian Linux?
The basic usage of the ImageMagick has been explained with the next-mentioned examples.
Example 1: Convert Image Format Using the ImageMagick
To convert the formats of the images from one image format to another, ImageMagick can be used. For instance, convert the JPEG format of the image to the PNG, run the command:
$ convert [input_image] [output_image]
Example 2: Create a Thumbnail Using the ImageMagick
ImageMagick can also be used for creating the thumbnails. For example, to create the thumbnail of the input image with the resolution of 200×200, use the command:
$ convert [input_image] -thumbnail 200x200 [output_image]
Example 3: Resize Image Using the ImageMagick
Use the next mentioned command to resize the image in new dimensions:
$ convert [input_image] -resize 200x300 [output_image]
Example 4: Add the Text to Image Using the ImageMagick
To add the text using the ImageMagick, execute the command:
$ convert [input_image] -font Arial -pointsize 36 -fill black -draw "text 20,50 'Text_Message'" [output_image]
In the above command, the following flags are used:
- The “font” flag defines the font style of the text
- The “pointsize” flag defines the font size of the text
- The “fill” flag defines the font color of the text
- The “draw” flag defines the coordinates of the text
Example 5: Insert the Special Effects on the Image Using the ImageMagick
To apply the special effects on the image, use the ImageMagick application. For example, to apply the “sepia” effects with the tone of 80%, run the command:
$ convert [input_image] -sepia-tone 80% [output_image]
Example 6: Blur the Image
To blur the image, define the radius and sigma of the blur points, and run the command:
$ convert [input_image] -blur 0x8 [output_image]
Example 7: Crop the Image
Crop the image with the specific dimensions with the following command of ImageMagick:
$ convert [input_image] -crop 200x200+50+50 [output_image]
How to Uninstall ImageMagick on Debian?
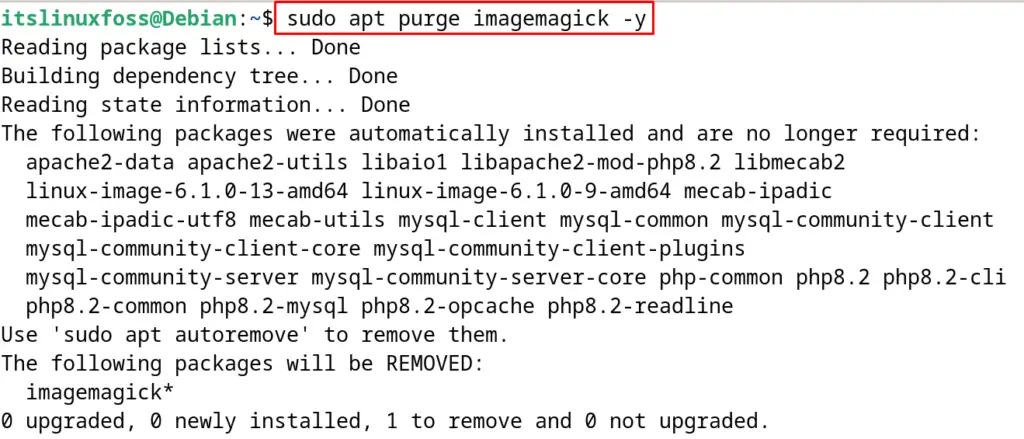
To uninstall and remove the installed package of “ImageMagick” with its configuration files, run the command:
$ sudo apt purge imagemagick -y
This is all about the basic usage and installation of the ImageMagick on Debian.
Conclusion
ImageMagick can be installed by running the “sudo apt install imagemagick -y” command in the terminal and also, it can also be installed using the source binaries of ImageMagick.
ImageMagick is used to edit the images and videos and is known by the graphic designers. It can be used to crop, resize, add special effects, and create a thumbnail.
ImageMagick’s installation method including the package list and source binaries has been explained in this post. Additionally, the basic usage of the ImageMagick has been explained in different examples.
