
JDK, known as Java Development Kit, is a basic component of Java. It is used to build Java applications by providing the core environment for software development. Java is an open-source and general-purpose language that is mostly used for gaming applications.
Java Development Kit (JDK) comprises Java Virtual Machine (JVM) that is used for application development. Moreover, it comprises JRE, Java compiler, Java doc generator, etc. JDK 14 is version 14 of Java that has introduced several latest features such as package tool, memory allocation, event streaming, etc.
This article will provide you a vast knowledge to enhance your learning on how to install JDK 14 on Ubuntu 22.04.
Method 1: How to install JDK 14 on Ubuntu 22.04 from an archive file?
Ubuntu doesn’t come with the JDK packages in its default packages repository. However, it can be installed on the latest release of Ubuntu 22.04 from the archive file of JDK 14. To fulfill this aim, go along with the step-by-step process mentioned as follows:
Step 1: Update System repository
It is a good practice to update the system’s official repository for updated/latest packages. For this purpose, run the following command:
$ sudo apt update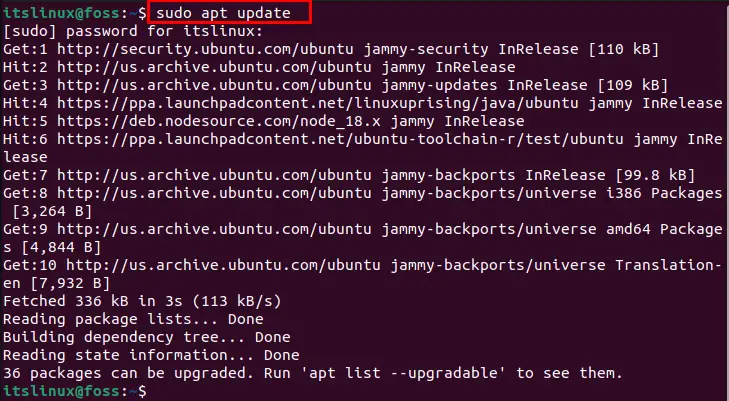
The system repository is updated.
Step 2: Download the JDK 14 .tar (archive) file
After updating the system, download the .tar file of JDK 14 using the below-mentioned command as follows:
$ curl -O https://download.java.net/java/GA/jdk14/076bab302c7b4508975440c56f6cc26a/36/GPL/openjdk-14_linux-x64_bin.tar.gz
The .tar file of JDK 14 is downloaded.
Step 3: Extract JDK 14 .tar file
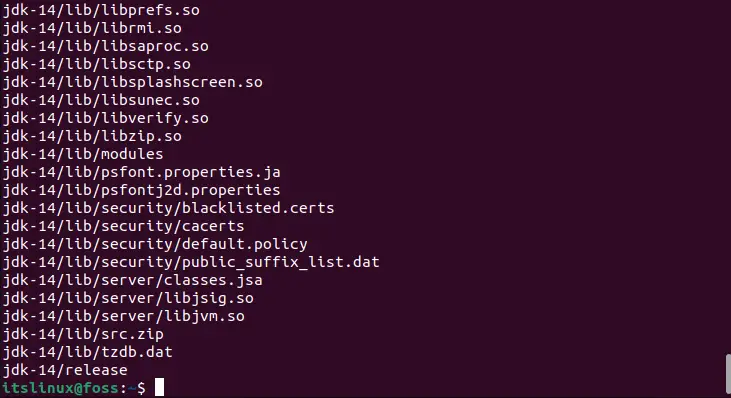
To extract the newly downloaded .tar (archive) file of JDK 14, run the following command:
$ sudo tar xvf openjdk-14_linux-x64_bin.tar.gz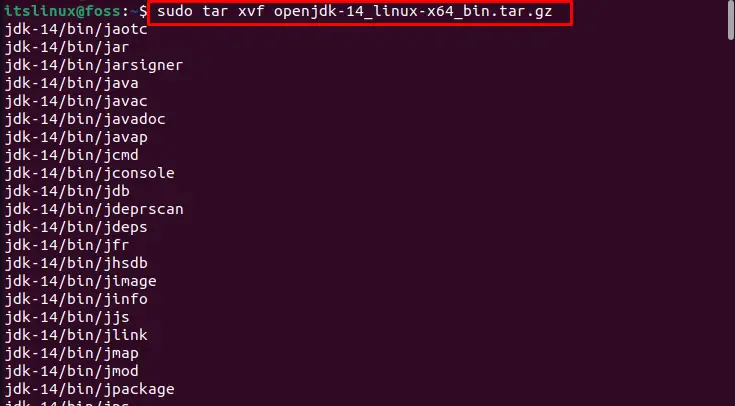
Step 4: Configure Java environment
After extracting the JDK 14 archive file, configure the Java environment on Ubuntu 22.04. To fulfill this aim, move the JDK-14 extracted folder into the opt directory:
$ sudo mv jdk-14 /opt/
Now, execute the following profile command:
$ sudo tee /etc/profile.d/jdk14.sh <<EOFAdd the following variable path for JDK 14 in the JDK14’s script file:
> export JAVA_HOME=/opt/jdk-14
> export PATH=\$PATH:\$JAVA_HOME/bin
> EOF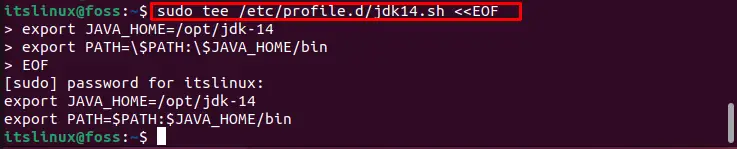
The variable path for JDK 14 is added.
To execute the JDK 14 profile script file (where the path is added), run the following command:
$ source /etc/profile.d/jdk14.sh
Step 5: Verify JDK 14
After executing the JDK 14 profile file, you can verify the existence of JDK 14 by using the variable path for Java. For this purpose, run the following command:
$ echo $JAVA_HOME
It can be seen that JDK-14 is installed on Ubuntu 22.04.
Method 2: How to install JDK 14 on Ubuntu 22.04 from the Debian package?
JDK 14 can be installed on Ubuntu 22.04 from the .deb package of JDK-14. To install the JDK-14 on Ubuntu via the .deb package, follow the provided step-by-step guide in the following.
Step 1: Download the .deb package
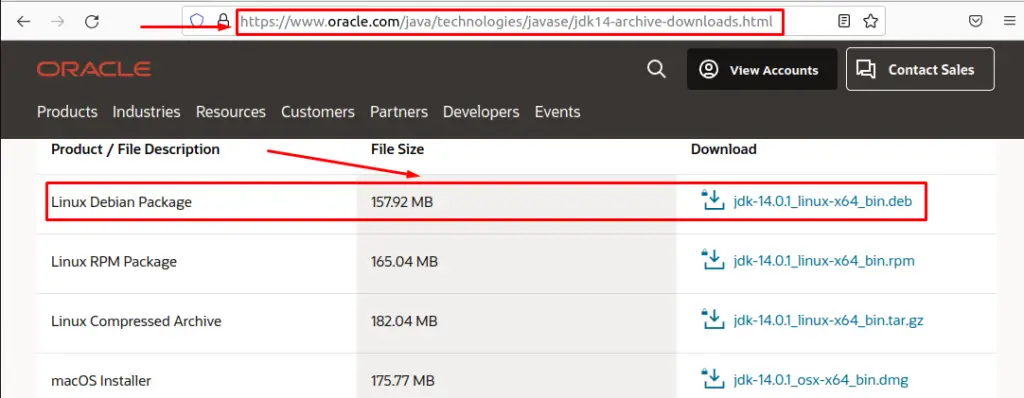
The .deb package of JDK 14 can be downloaded from the official web page of Oracle using the following link:
https://www.oracle.com/java/technologies/javase/jdk14-archive-downloads.htmlIt will open the following page where you can download the .deb package of JDK 14:
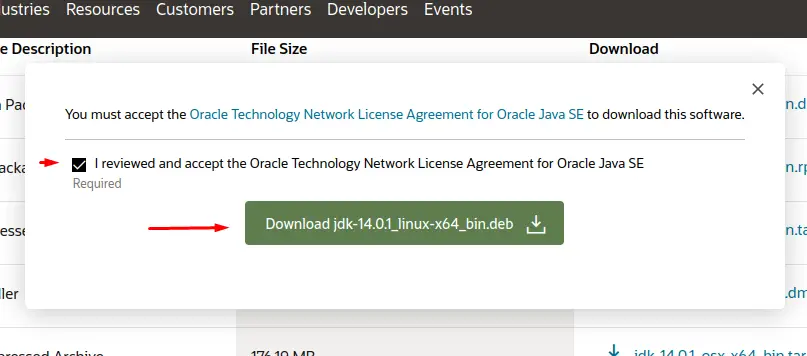
After selecting the required package, the following interface will open. Click on the Download option shown as follows:
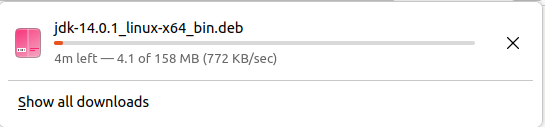
The download will start as follows:
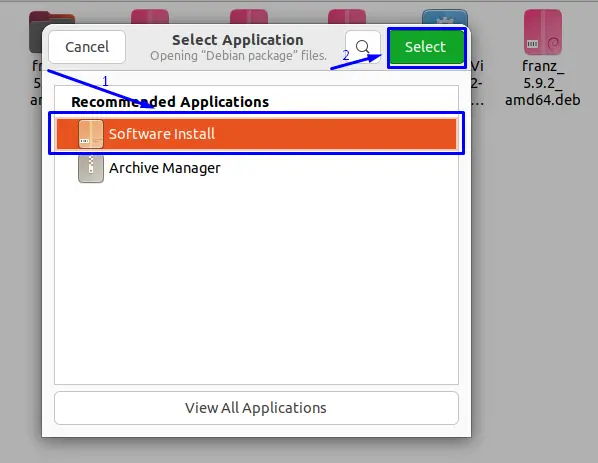
Step 2: Install the JDK 14
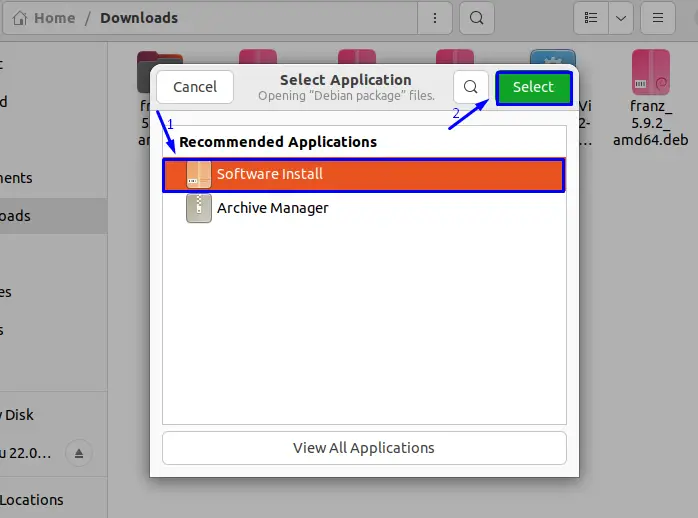
To install the JDK 14, navigate towards the downloads and right-click on the .deb file. Choose the Software Install option and click on Select.
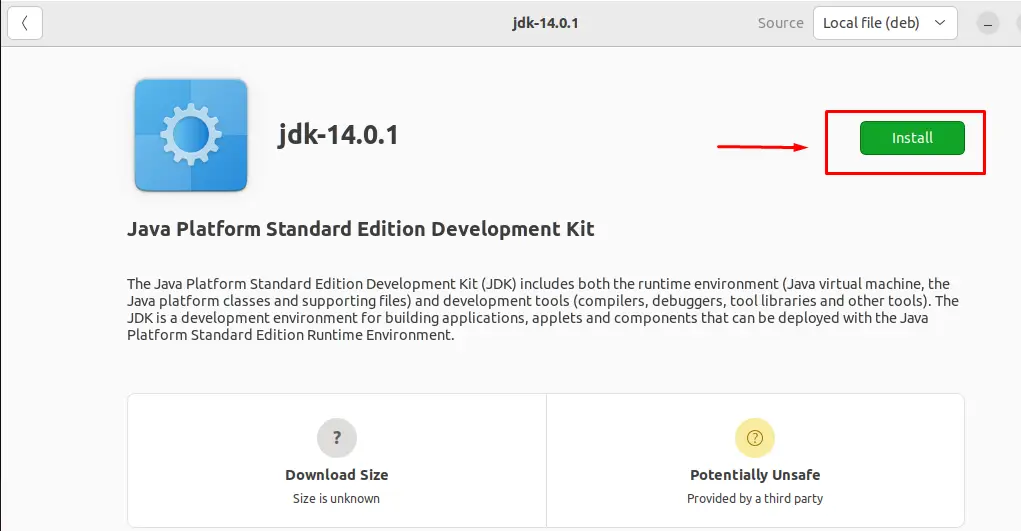
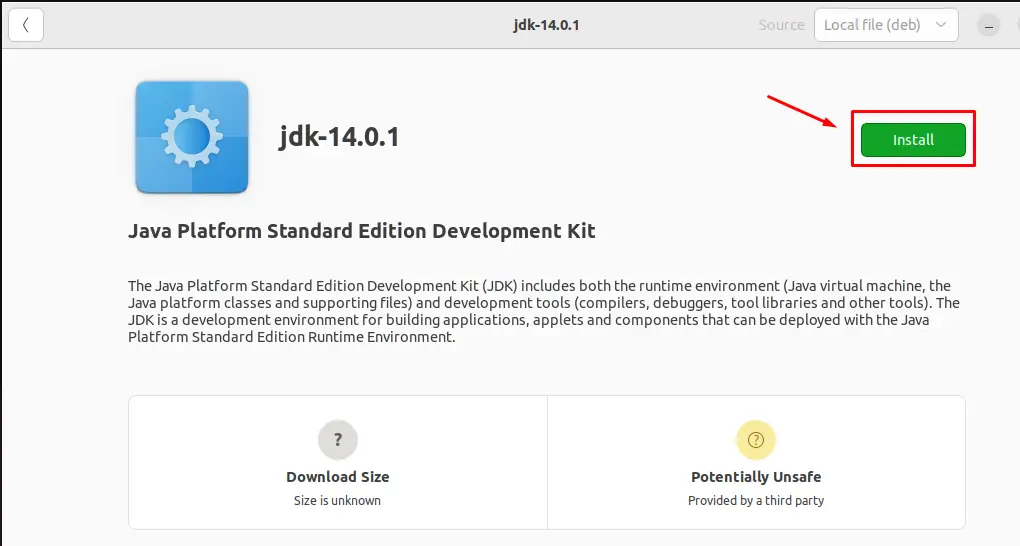
Click on the Install option in the following window:
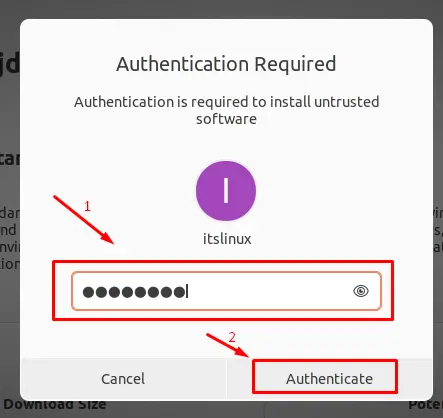
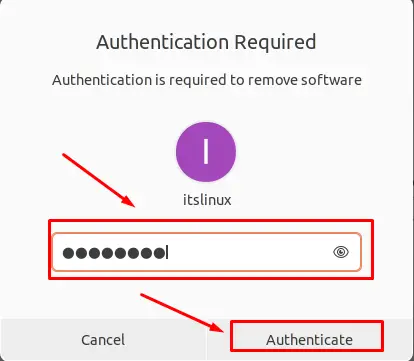
Enter the Password in the following authentication Pop-up and push the Authenticate option:
It will install JDK 14 on Ubuntu 22.04 as follows:
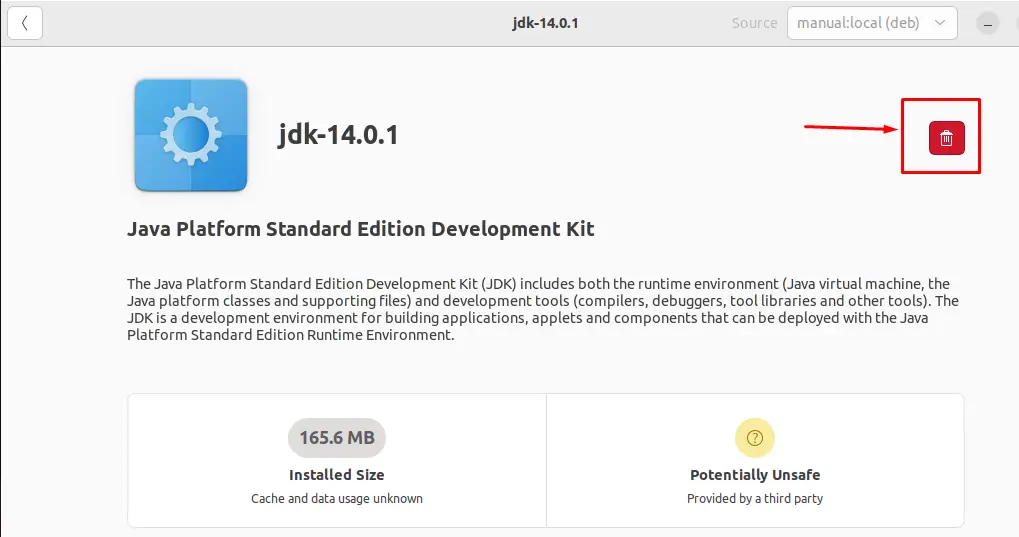
The Delete icon represents that JDK 14 has been installed on Ubuntu 22.04.
How to remove JDK 14 from Ubuntu 22.04?
If you want to remove the JDK 14 from Ubuntu 22.04, then follow the below-mentioned guide one by one:
Step 1: Open the JDK 14
Install option and click on the Select option as follows:
Step 2: Delete JDK 14
Click on the Delete icon as follows:
In the following pop-up, click on Uninstall.

Enter the Password in the following authentication Pop-up and push the Authenticate option:
It will delete the JDK 14 from Ubuntu 22.04.
The Install option represents that the application was removed successfully.
Congratulations! You have learned the method to install the JDK 14 on Ubuntu 22.04 successfully.
Conclusion
Java Development Kit (JDK) 14 can be installed on Ubuntu 22.04 using the archive (.tar) file or Debian package. Java-Development-Kit is a basic component of Java. It is used to build Java applications by providing the core environment for software development. This descriptive write-up illustrated the installation method of JDK 14 using the archive (.tar) file and .deb package of JDK-14.

Saryia is a technology entrepreneur and digital publisher specializing in Linux, open-source technologies, and developer education.