The “curl” is an external command line tool that is utilized to send and receive requests to or from the server using the terminal. It provides flexibility and control to the Linux users over the URLs on the terminal. By entering the desired URL and the option, the user can request the server and download data from it and vice versa.
Having the latest version of cURL on the system makes it favorable to get uninterrupted results.
This guide enlists possible methods to install the latest curl with the following contents:
Method 1: Install the latest “curl” Using the Default Packages List
The “curl” command line tool does not come by default into most Linux distributions. To install it into the well-known Linux distributions through packet manager, follow the step-by-step instructions:
Step 1: Update the System
Before installing the latest curl first step is to update the current Linux system by using the following commands:
$ sudo yum update                                #For RHEL/CentOS
$ sudo dnf check-update                          #For Fedora
$ sudo pacman -Sy                                #For Arch Linux
$ sudo apt update                                #For Ubuntu/Debian

Step 2: Install the Latest curl Utility
Once all the system packages are updated then use the following commands to install latest curl on most popular Linux distributions:
$ sudo yum install curl                        # For RHEL/CentOS
$ sudo dnf install curl                        # For Fedora
$ sudo pacman -Sy curl                         # For Arch Linux
$ sudo apt install curl                        # For Ubuntu/Debian
In this scenario the latest version of curl is installed into “Ubuntu 22.04”:

The curl utility is installed successfully into the “Ubuntu22.04” system.
Step 3: Check the curl Version
Use the “–version” flag of the “curl” utility to check/verify that the latest curl is installed into the “Ubuntu 22.04” system:
$ curl --version
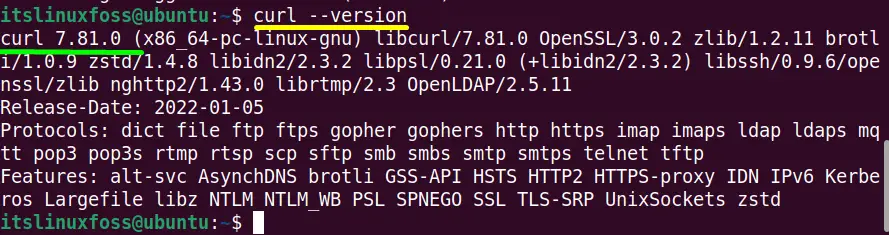
The output verifies that the “apt” package manager has installed the latest version of curl utility, i.e., “7.81.0”.
Method 2: Install the latest curl Using Source Code
Apart from the package manager, the user can also download and install the latest curl utility through its official website. To perform this task, some essential steps are required that are listed below:
Prerequisites: Install Source Code Compiling Tools
While installing any package through source code, it is necessary to get the necessary compilers and tools required to make/install the source files:
$ sudo apt install build-essential
$ sudo yum groupinstall "Development Tools"
Step 1: Access the curl Utility Website
First, open the curl official website with the help of the provided link “https://curl.se/download/” as it contains “curl download archive” files having specified version:
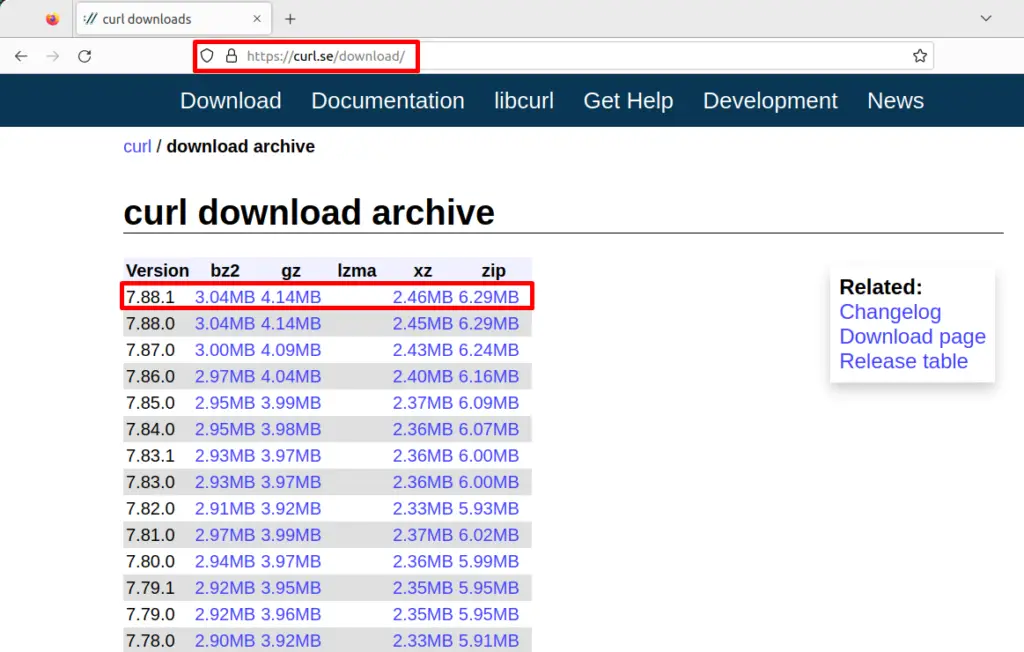
From this page, the user can download the custom version of the “curl” utility.
Step 2: Download the curl Archive File
Right-click on the archive file (user choice) of the latest release and copy its “.zip” file link. Download the copied link of the latest “curl” tool by utilizing the “wget” command:
$ wget https://curl.se/download/curl-7.88.1.zip
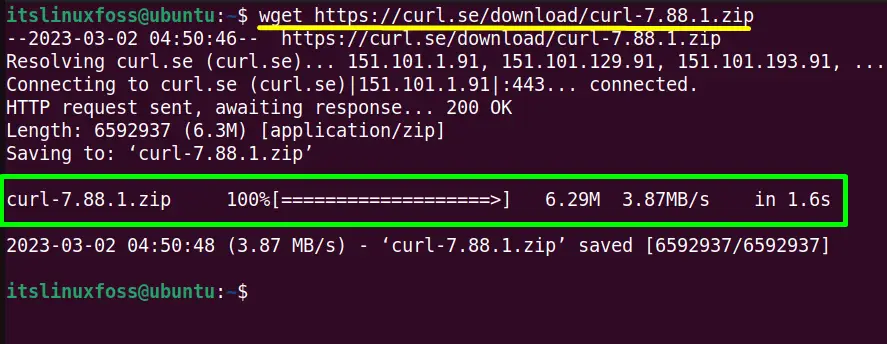
The latest curl “.zip” file has been successfully downloaded into “Ubuntu 22.04”.
Step 3: Unzip the curl Archive File
When the “.zip” file is downloaded, unzip it using the “unzip” command in the following way:
$ unzip curl-7.88.1.zip
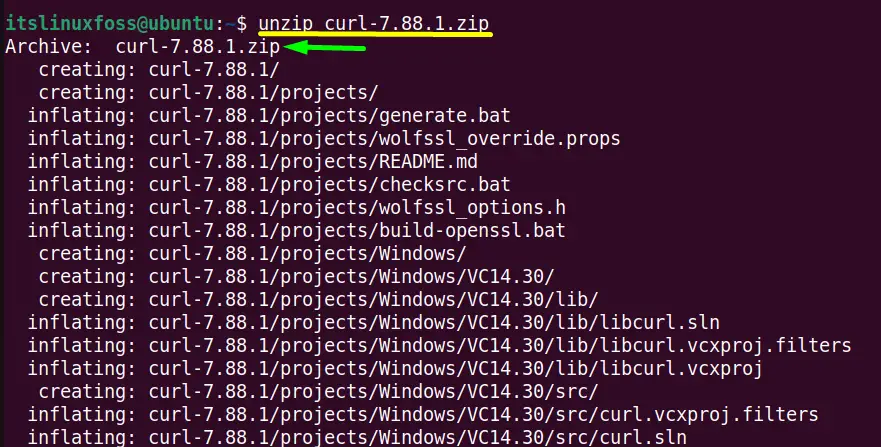
The “curl” zip file has been extracted into the automatically created “curl-7.88.1.zip” directory.
Change the present working “home” directory and navigate to the “curl-7.88.1” using the “cd” command:
$ cd curl-7.88.1

Step 4: Set “curl” Location
Compile and install curl into the “local storage of the “Ubuntu” system using the below-mentioned command:
$ ./configure --prefix=$HOME/curl
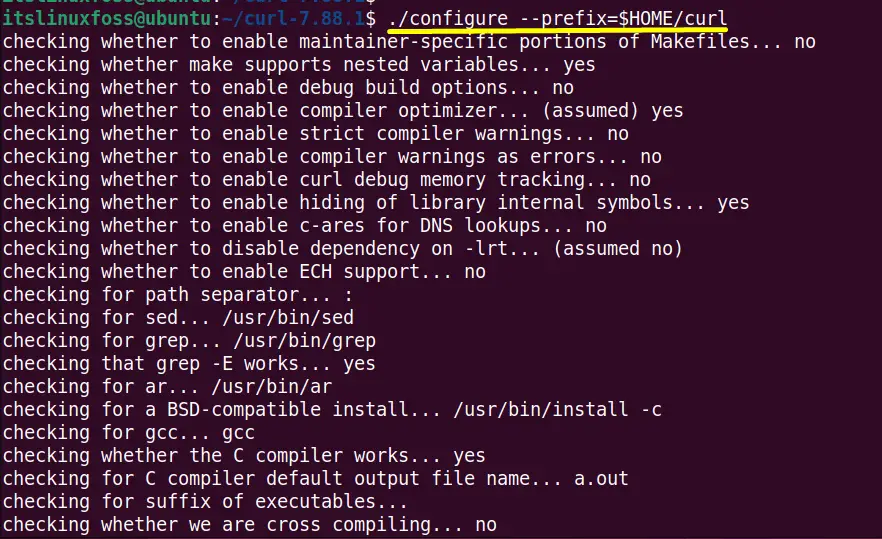
This command installs the curl into a different hierarchy other than “/usr/local”.
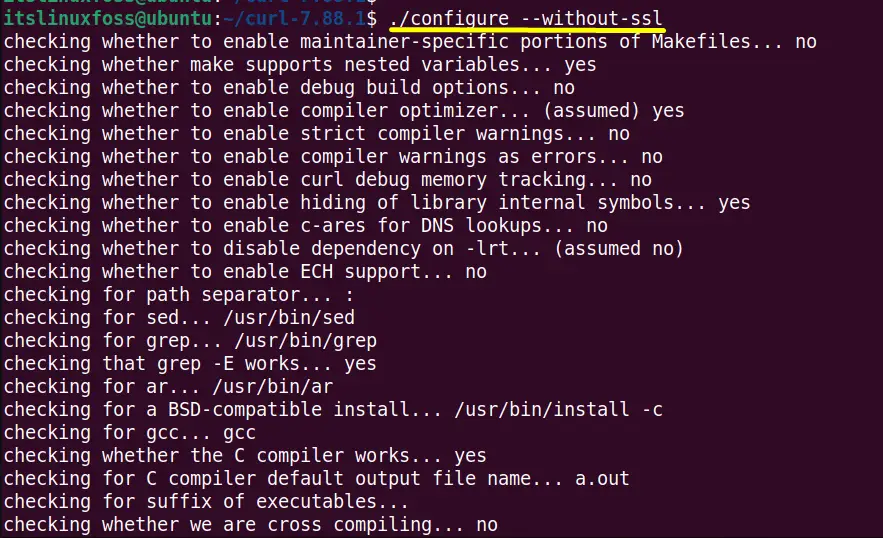
Step 5: Install Curl
The configuration script of curl requires the working SSL library to perform SSL certificate verification. If the user wants to install curl without SSL support, then configure it like this:
$ ./configure --without-ssl
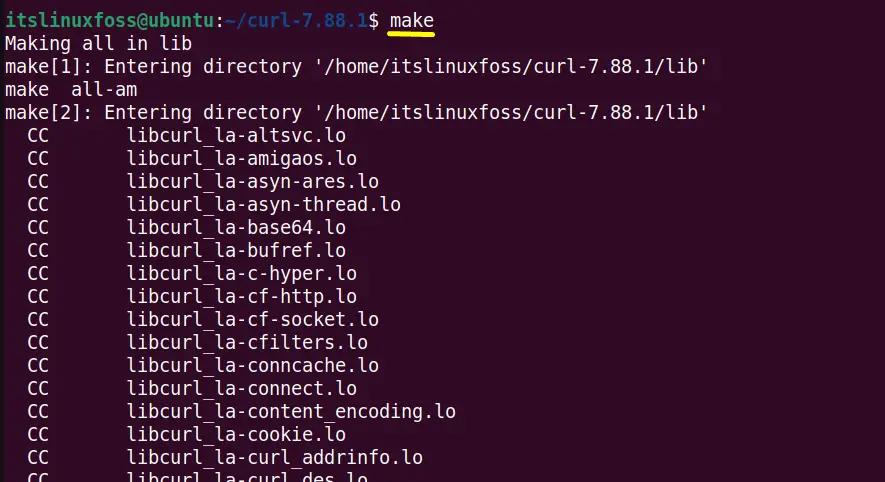
Make works on the guidelines of the Makefile and converts the source code into machine language i.e binary. On the other hand “make install” copies the binaries into their correct location defined in the ./configure and the Makefile to install the program:
$ make
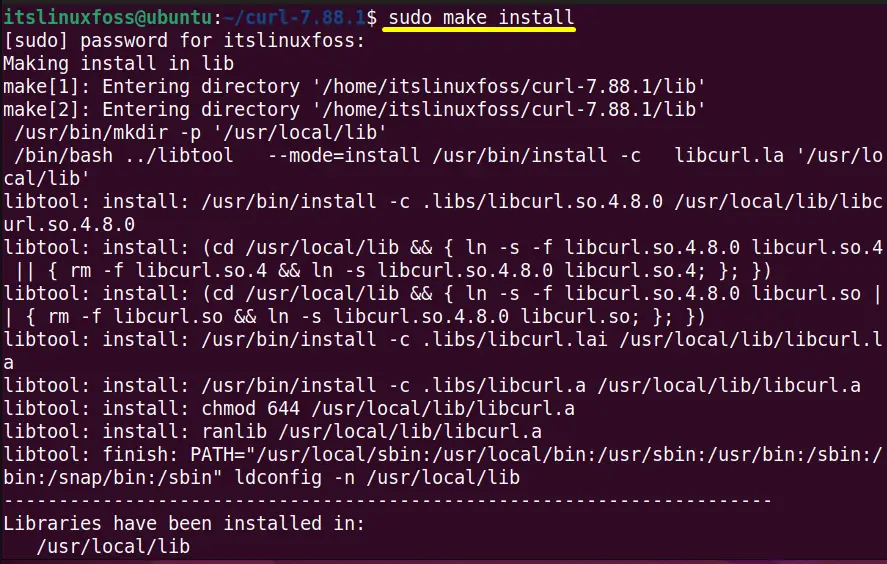
Use the “sudo” for root user privileges to run “make install,” which installs the “curl” tool program after copying the binary into the place defined in “./configure”:
$ sudo make install
Step 6: Create Bash Profile
The .bash_profile is the hidden file used to modify the user configuration settings. It contains export variables, login commands, and variable specifications.
It can be simply created in the default “nano” editor using this command:
$ nano ~/.bash_profile

Add the following lines to the above-created file:
export PATH=$HOME/curl/bin:$PATH

Press “Ctrl+S” to save and “Ctrl+X” to exit the terminal.
Update the “bash_profile” to make the changes effective with the help of the below-typed command:
$ . ~/.bash_profile

Step 7: Verify the curl Utility
Execute the “which” to check the absolute path of the latest “curl” tool installed in the system:
$ which curl

Now, run the “curl” followed by the “–version” keyword to check its installed version:
$ curl --version

The output confirms that “curl” utility having its latest version has been successfully installed.
Conclusion
In Linux and its distributions, to install the “curl” command line tool uses their default package managers i.e “apt” for Ubuntu/Debian, “yum” for CentOS/RHEL, and “dnf” for fedora. In addition, the latest release of “curl” can also be installed using the “Source Code” method mentioned in this guide.
This guide has provided all possible workable methods to install the latest curl on Linux.
